New Online Tool Will Help MO Prioritize Plant Management
/
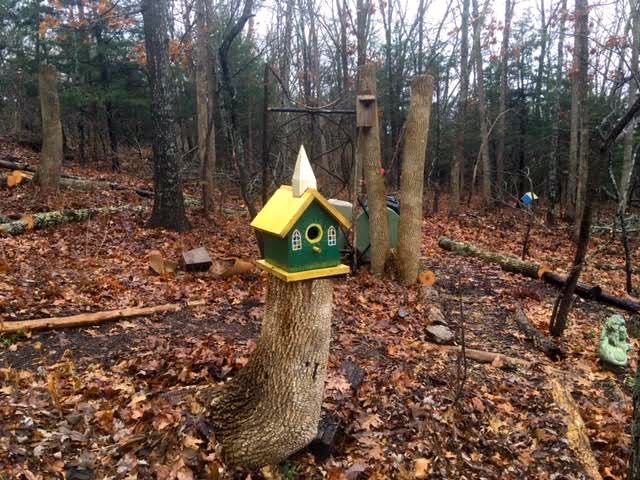
This is bush honeysuckle in winter, one of Missouri’s top 10 invasives. It kills everything that grows under it. (Photo by Charlotte Ekker Wiggins)
New Online Tool Will Help Missouri Prioritize Plant Management
Jefferson City, MO (February 8, 2019)—Yesterday, at the Missouri Natural Resources Conference in Osage Beach, MO, Dr. Quinn Long, a member of the Missouri Invasive Plant Task Force (MoIP), presented a statewide comprehensive invasive plant assessment during the workshop organized by MoIP, Invasive Species Collaboration: Informing the Masses, Building the Armies, Stemming the Flow, and Turning the Tide.
"One of the biggest threats to Missouri's—and the nation's—native plants and animals, and to many facets of our economy, are invasive plants," said Carol Davit, MoIP Chair and Executive Director of the Missouri Prairie Foundation. "Invasive plants and animals—including that small percentage of non-native plants that, intentionally or accidentally, have been introduced here and have spread rapidly—are second only to outright habitat destruction in the loss of native biodiversity, can have negative impacts on our cattle, timber, and outdoor recreation industries, cause headaches for private landowners, and nationally, cost billions of dollars in control efforts annually."
Dr. Quinn Long, botanist, Director of Shaw Nature Reserve, and MoIP member, worked since 2015 to lead the MoIP working group that assembled and analyzed invasive plant data for the assessment.
“This assessment—complete with maps for each of the 142 species assessed—will provide a valuable tool for landowners, land managers, and natural resource planners to focus their efforts on invasive plant management,” said Long.
The assessment maps depict abundance, impact, and rate of spread of these plants in the state.
MoIP is a dedicated group of representatives from land-holding agencies and natural resource management professionals from across the state.
"We are pleased to present this important new tool, which is critical to assertive, prioritized invasive plant management efforts. Many individuals have worked very hard to make this assessment possible, including more than 25 reviewers; Phillip Hanberry, contractor with the Missouri Department of Conservation who generated the assessment maps; and Tina Casagrand, MoIP contractor who loaded and linked all maps to the MoIP website, where they are available for all to consult and use."
MoIP is housed and administered by Grow Native!, a native plant education and marketing program of the Missouri Prairie Foundation. The purpose of MoIP—working as a united, supportive front—is to review, discuss, and recommend actions related to managing known and potential non-native invasive plant species that pose threats in Missouri and elsewhere in the lower Midwest.
For more information about MoIP, definitions of invasive plants, and many other resources, visit www.moinvasives.org.
So take the pledge and don’t plant, even better yet, remove the following:

These are Missouri’s top ten invasive plants that need to be removed. (Photo by Charlotte Ekker Wiggins)
I have been waging war against bush honeysuckle on my one acre hillside garden for years. Most of it has been removed; now I periodically check to make sure the plants on my neighbor’s property is now encroaching again.
Charlotte