Raspberry Cedar Arbor
/
The raspberry cedar trellis borders the front of a soon to be raised garden bed. (Photo by Charlotte Ekker Wiggins)
Raspberry Cedar Arbor
Old gardening books recommend growing raspberries in home gardens because they are delicate to move and hard to keep fresh. I decided to grow them because I love the berries and have had some in my garden in the past.
Helping the vines grow in a semi-orderly fashion has not been very - well, pretty. The recommendations are usually to build a flower bed with tall wires or to grow them along a wooden fence. Since I don’t like either, I decided to build a raspberry bed using cut down cedar branches.
I was inspired by my friend Tom’s garden. As a gift last year, he gave me an air compressor with a nail gun, a must to easily shape the cedar branches into fences, arbors and gates.
Frankly the part that takes the most time is cutting and collecting the branches. For several weeks, my pile of cut down cedar branches looked like I was getting ready to start a huge bonfire in the middle of my driveway.

Cut cedar branches in a pile waiting to become garden arbors. (Photo by Charlotte Ekker Wiggins)
At first I trimmed some of the branches, then decided to wait until after I had them attached. There is a bit of art and a good dab of carpentry skills to not nail my finger with the nail gun but it is not hard to do. I found the most challenging part was choosing cedar branches that best fit the openings between the vertical supports, similar to one of my Irish Chain quilt patterns.
Here is my finished raspberry cedar trellis, now installed in the center of what I have dubbed the “berry patch.” This is one of several beds in the area. Another bed has blueberries.

I started by making the two short sides, about 3 feet long. (Photo by Charlotte Ekker Wiggins)
Each piece was made to size and separately, then tied together in the actual berry patch.
The large center arch was finished in the berry patch to make sure we had it covered.

Next came the almost 10-foot back fence. (Photo by Charlotte Ekker Wiggins)
You can add as few or as many cedar pieces as you want. I left an opening in the top to allow sun through.

This is the other short side of the cedar fence. (Photo by Charlotte Ekker Wiggins)
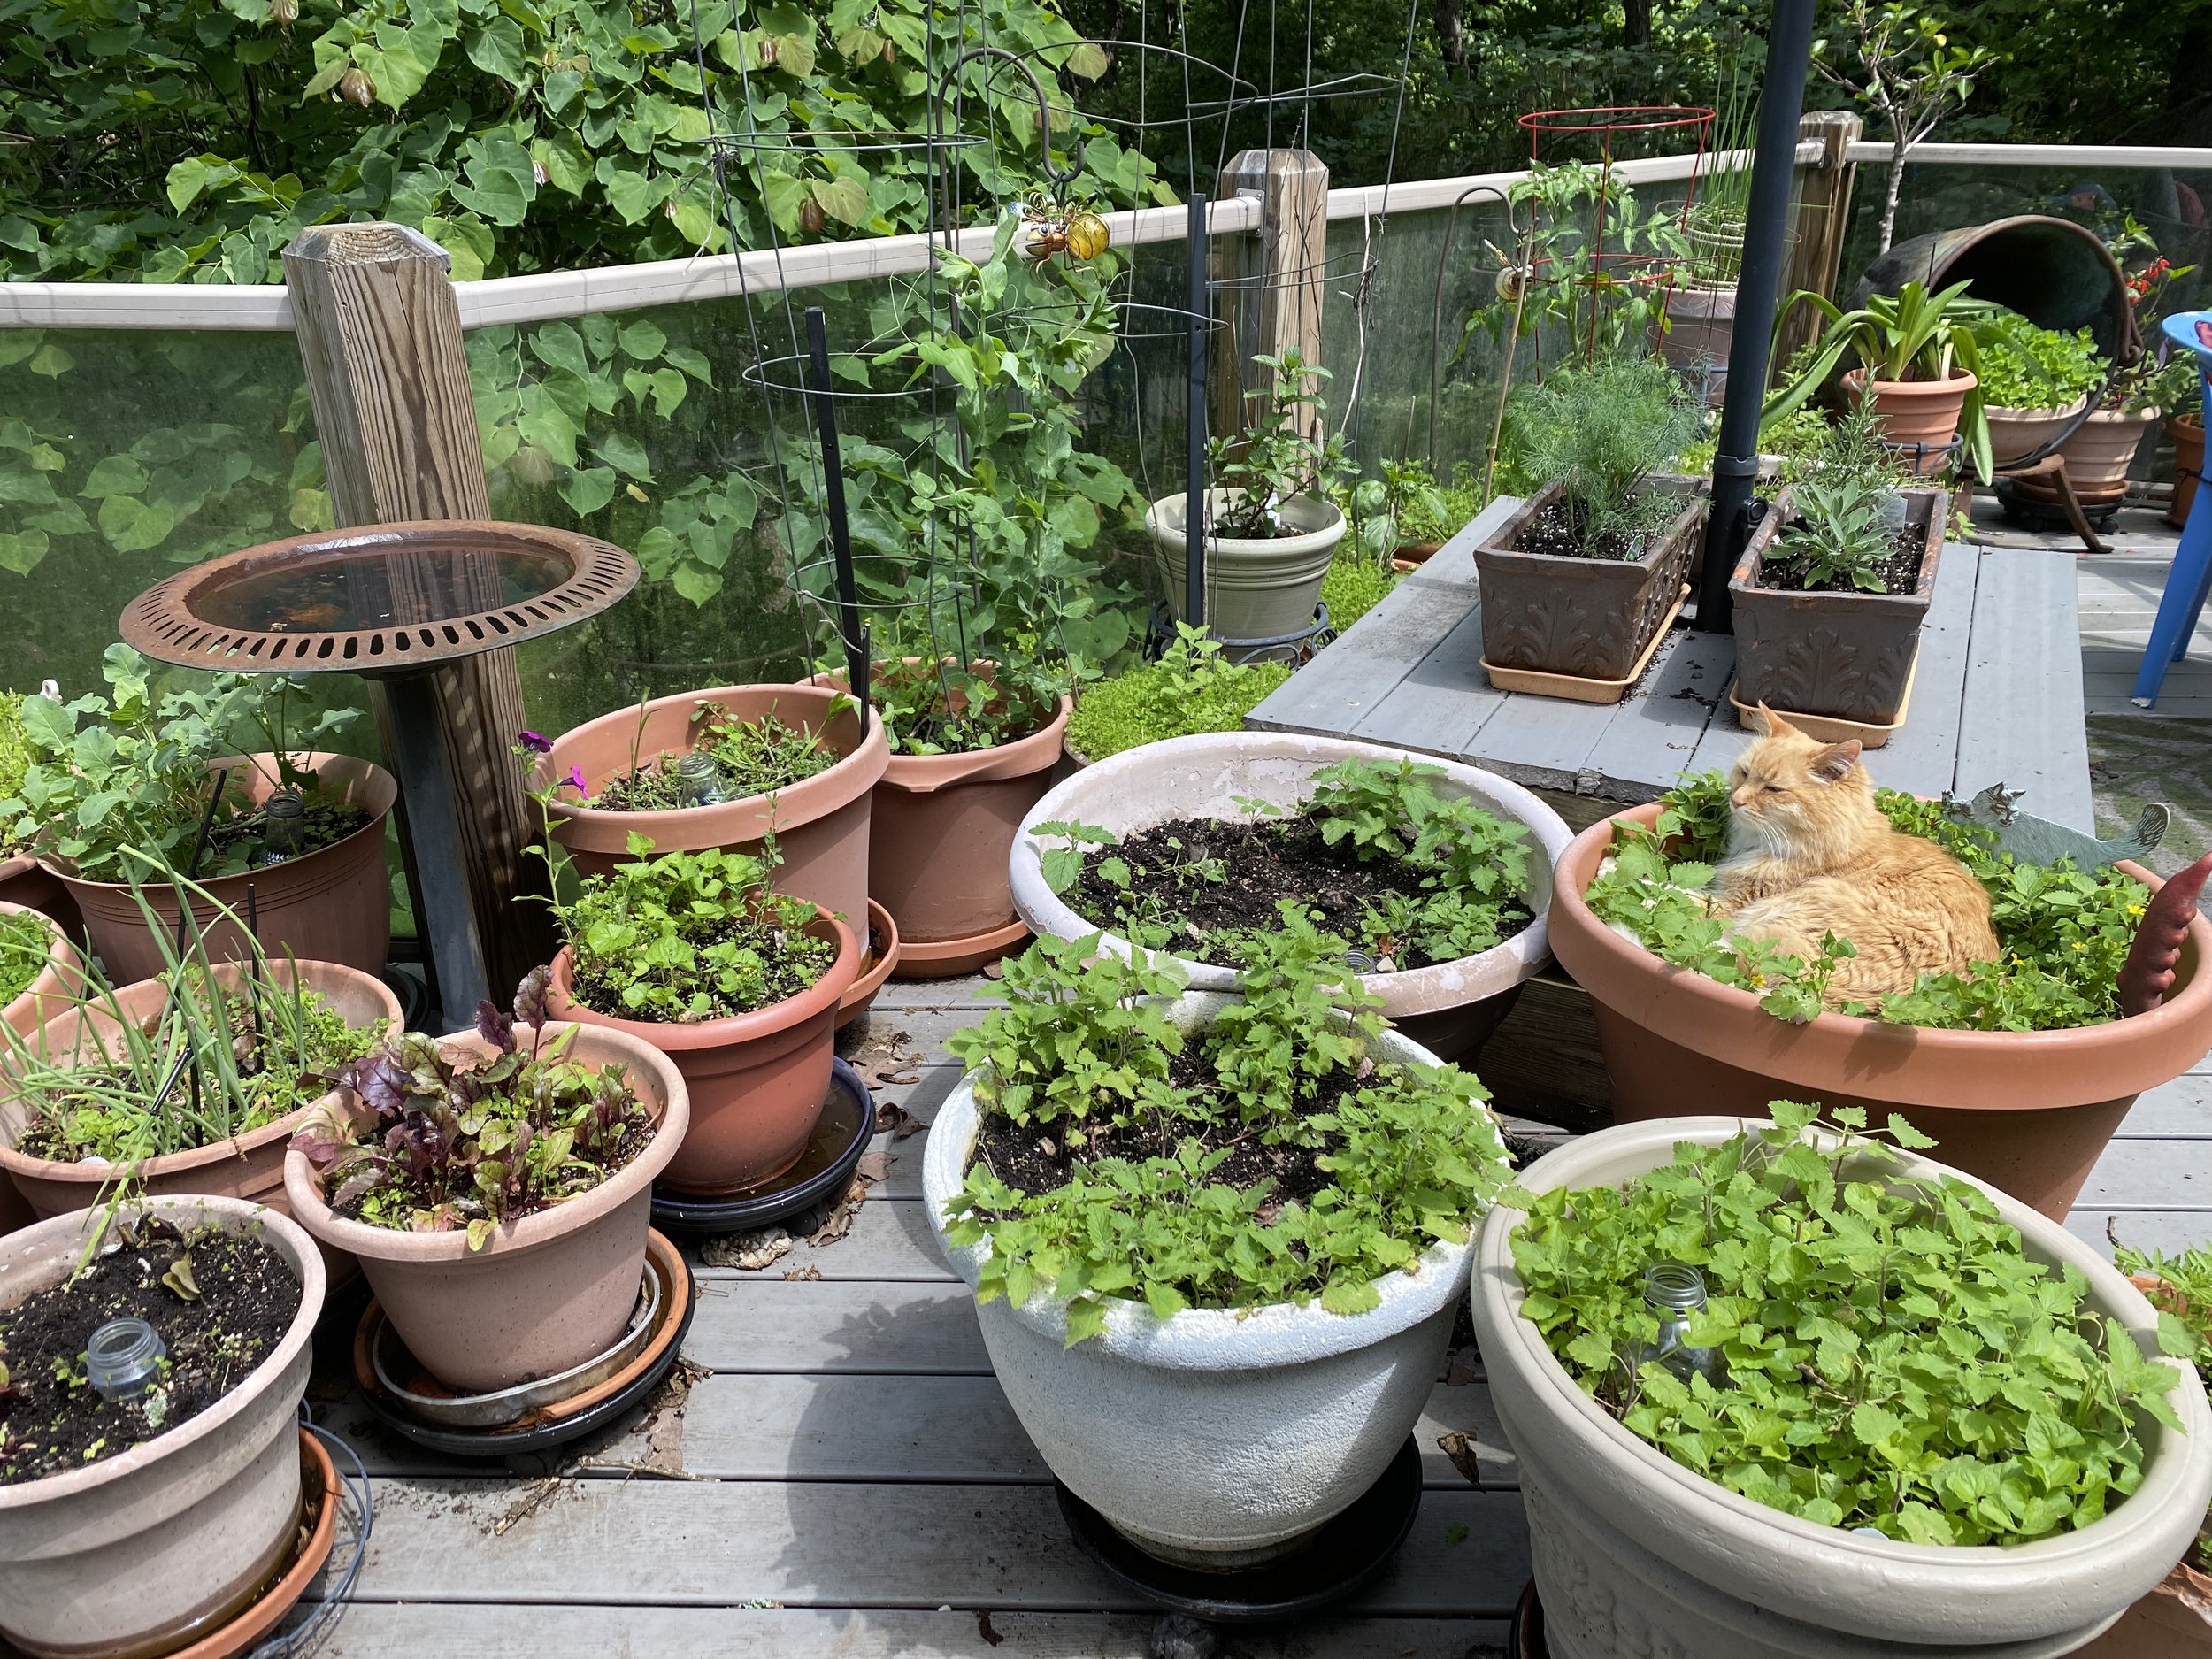
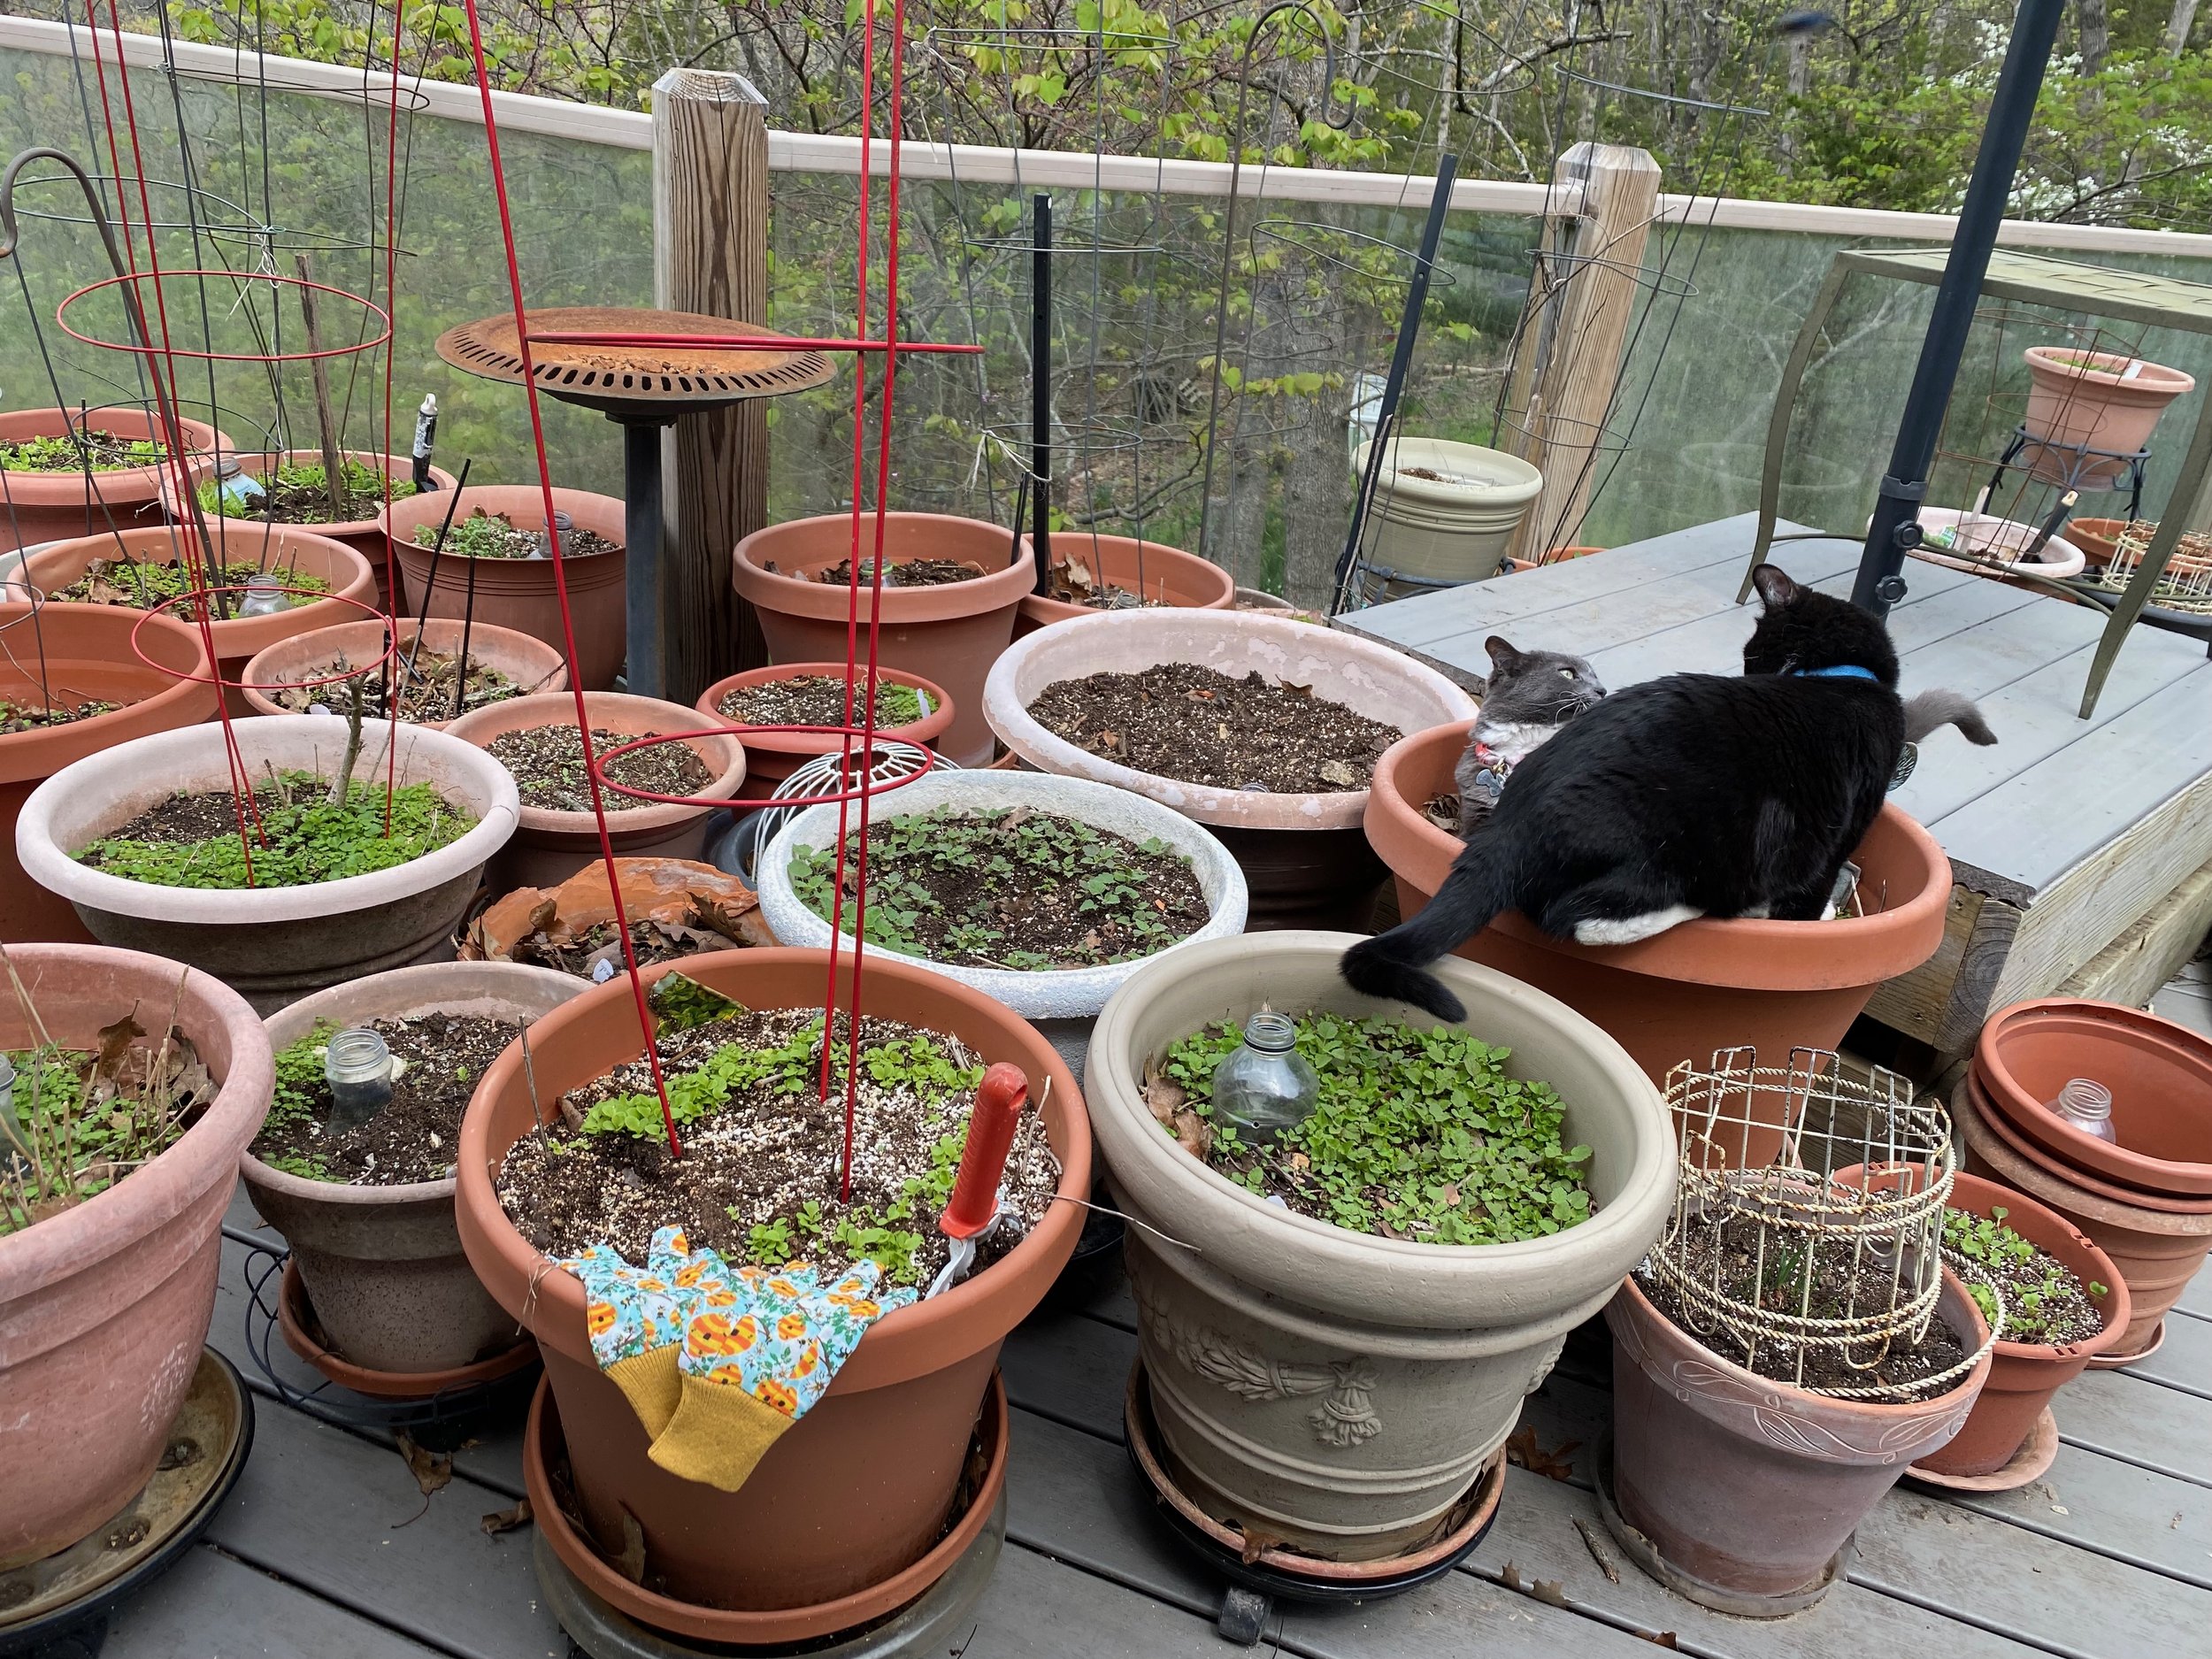
My raspberry patch has milk jugs sunk into the soil to help keep the soil moist.

Cedar branches are woven inside the fence border. (Photo by Charlotte Ekker Wiggins)
Established raspberry plants now wind their way around the cedar arbor. I also added a couple new potted raspberry plants that should fill up the bed nicely next year.
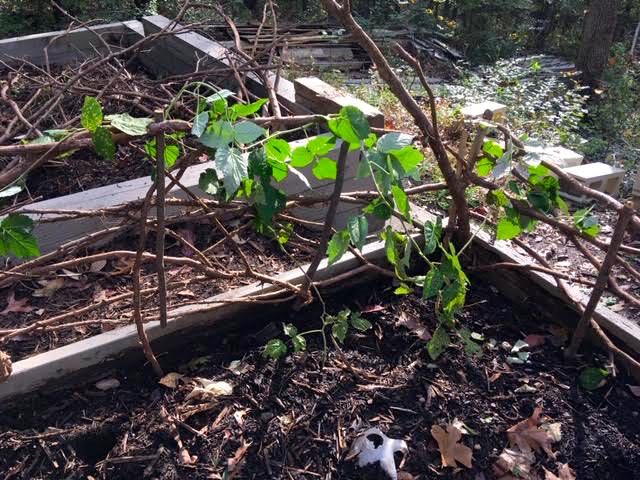
A raspberry now fills the corner of the cedar arbor. (Photo by Charlotte Ekker Wiggins)
It may take several years before I have berry-producing canes but I don’t mind, I ook forward to watching this berry patch grow!
Charlotte