March Gardening Chores
/
time to line up my birdhouses that need repairs. (charlotte ekker wiggins photo)
March Gardening Chores
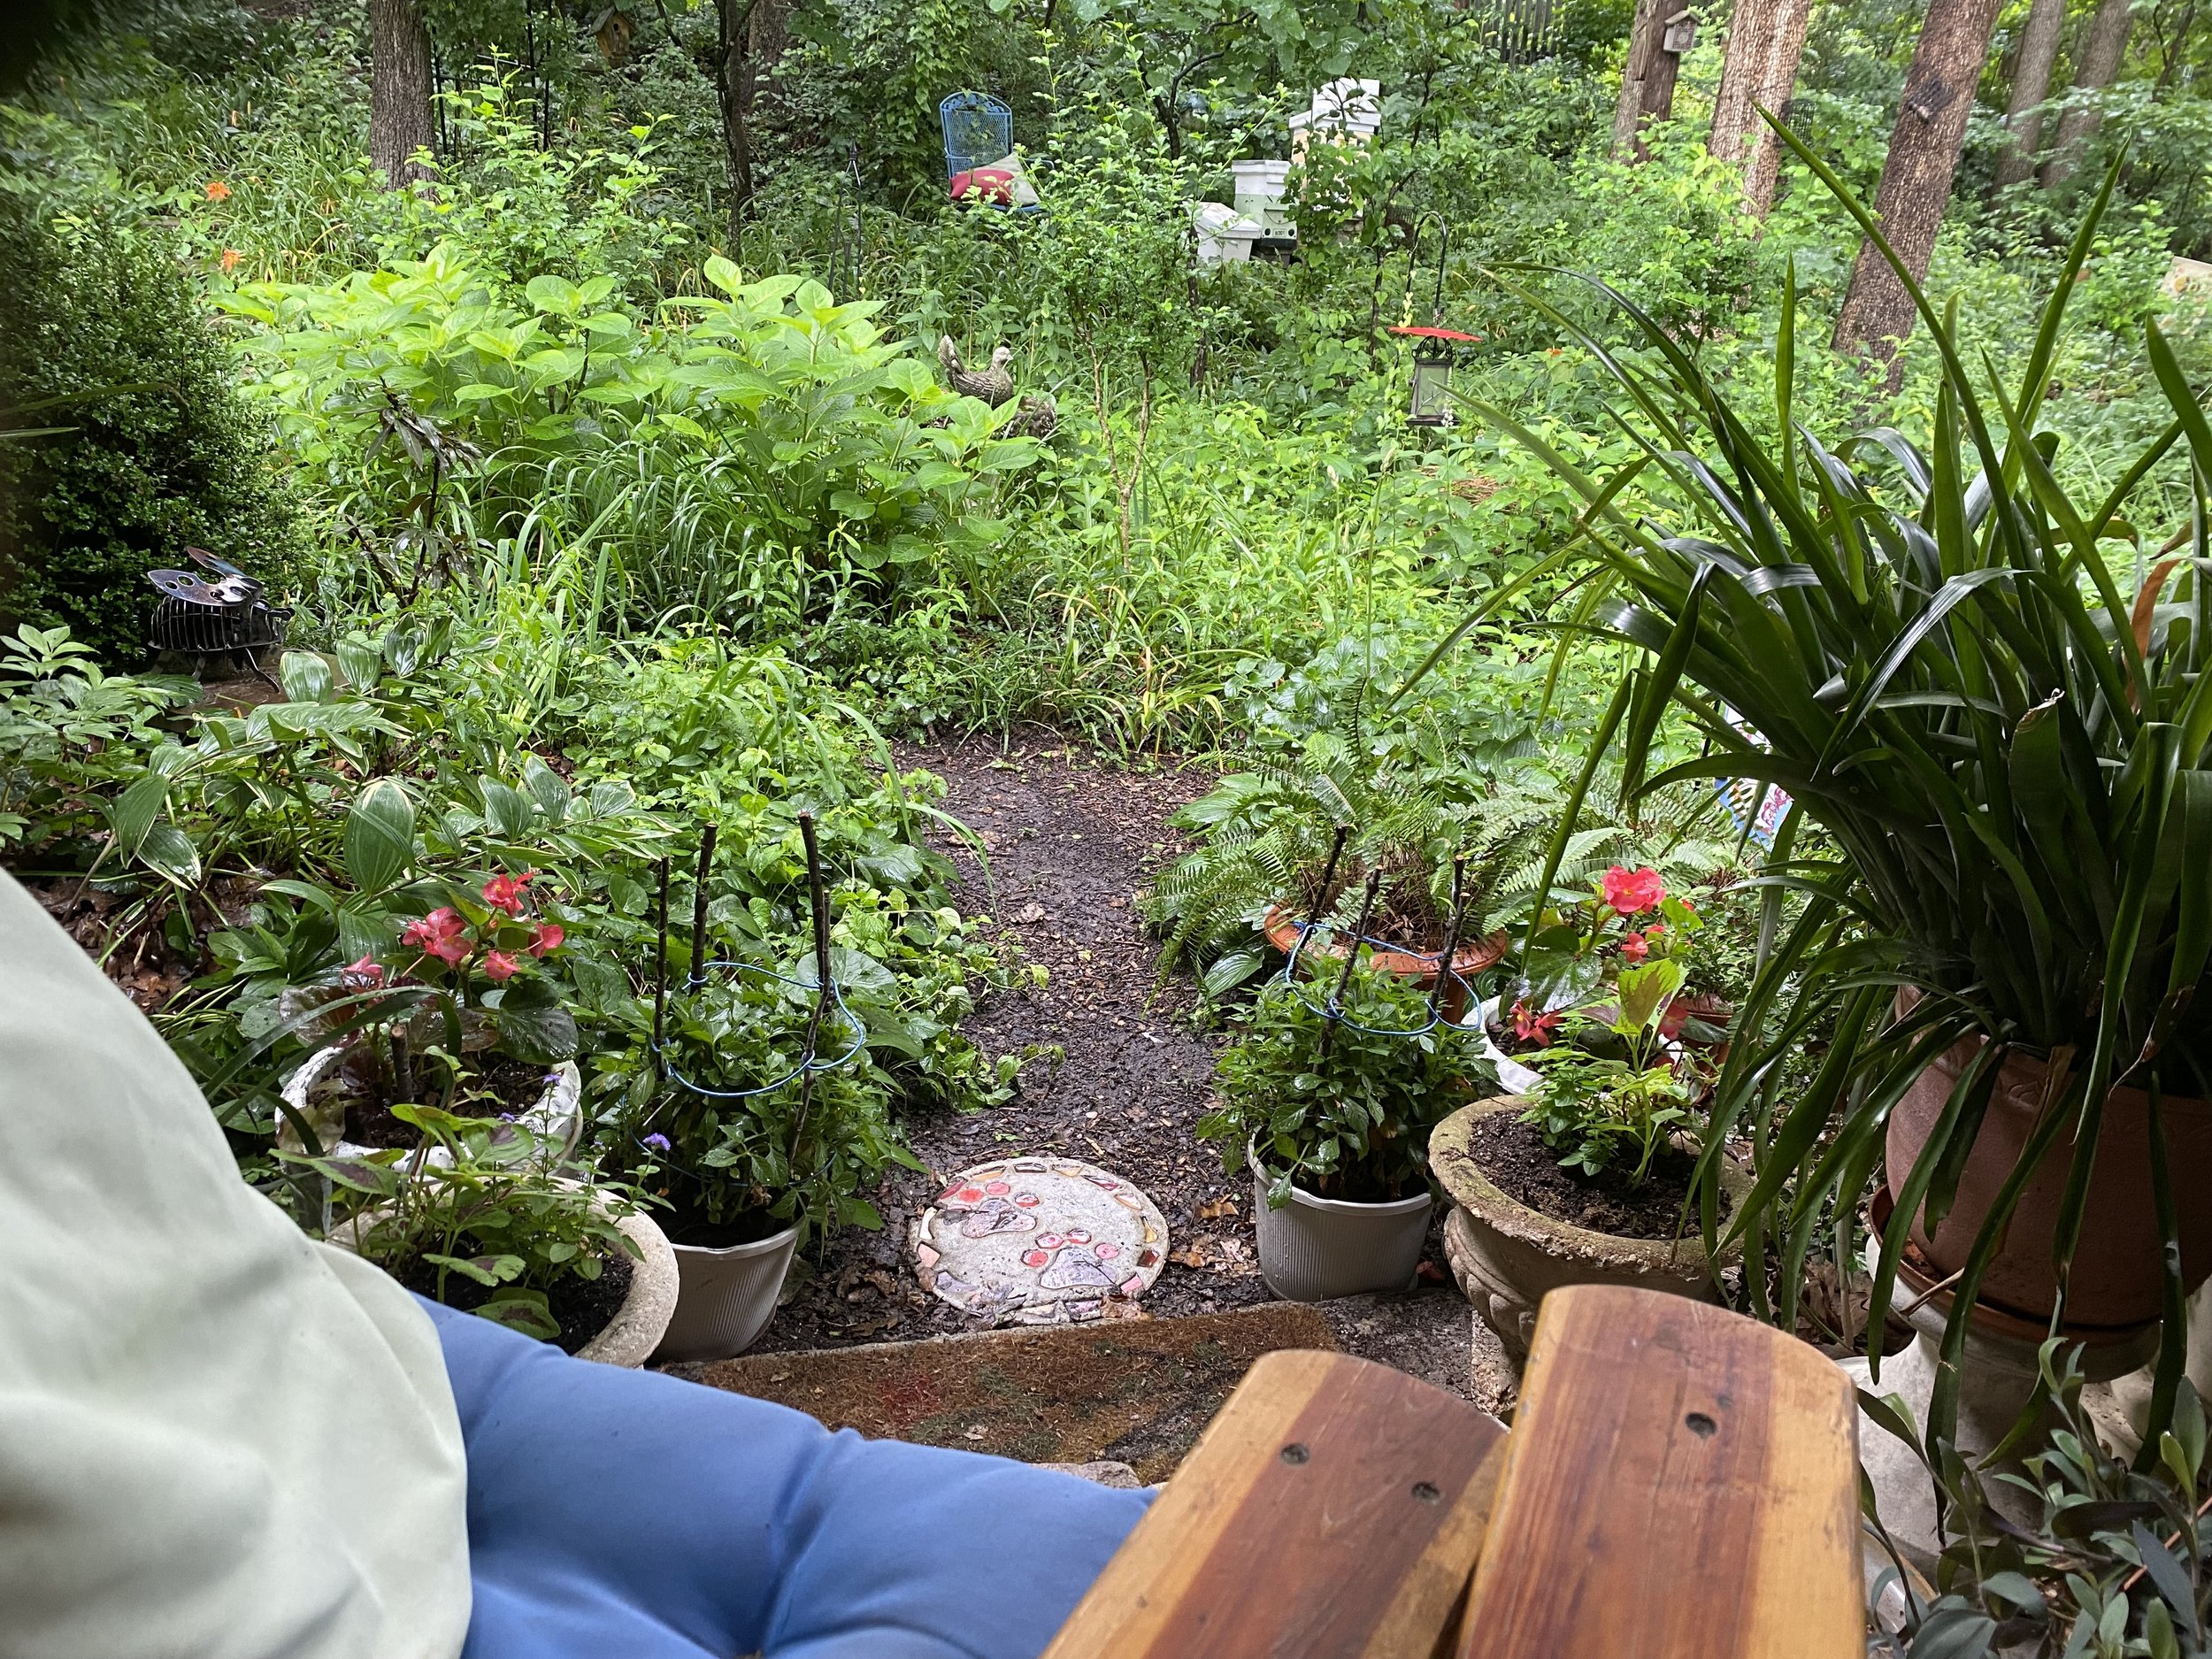
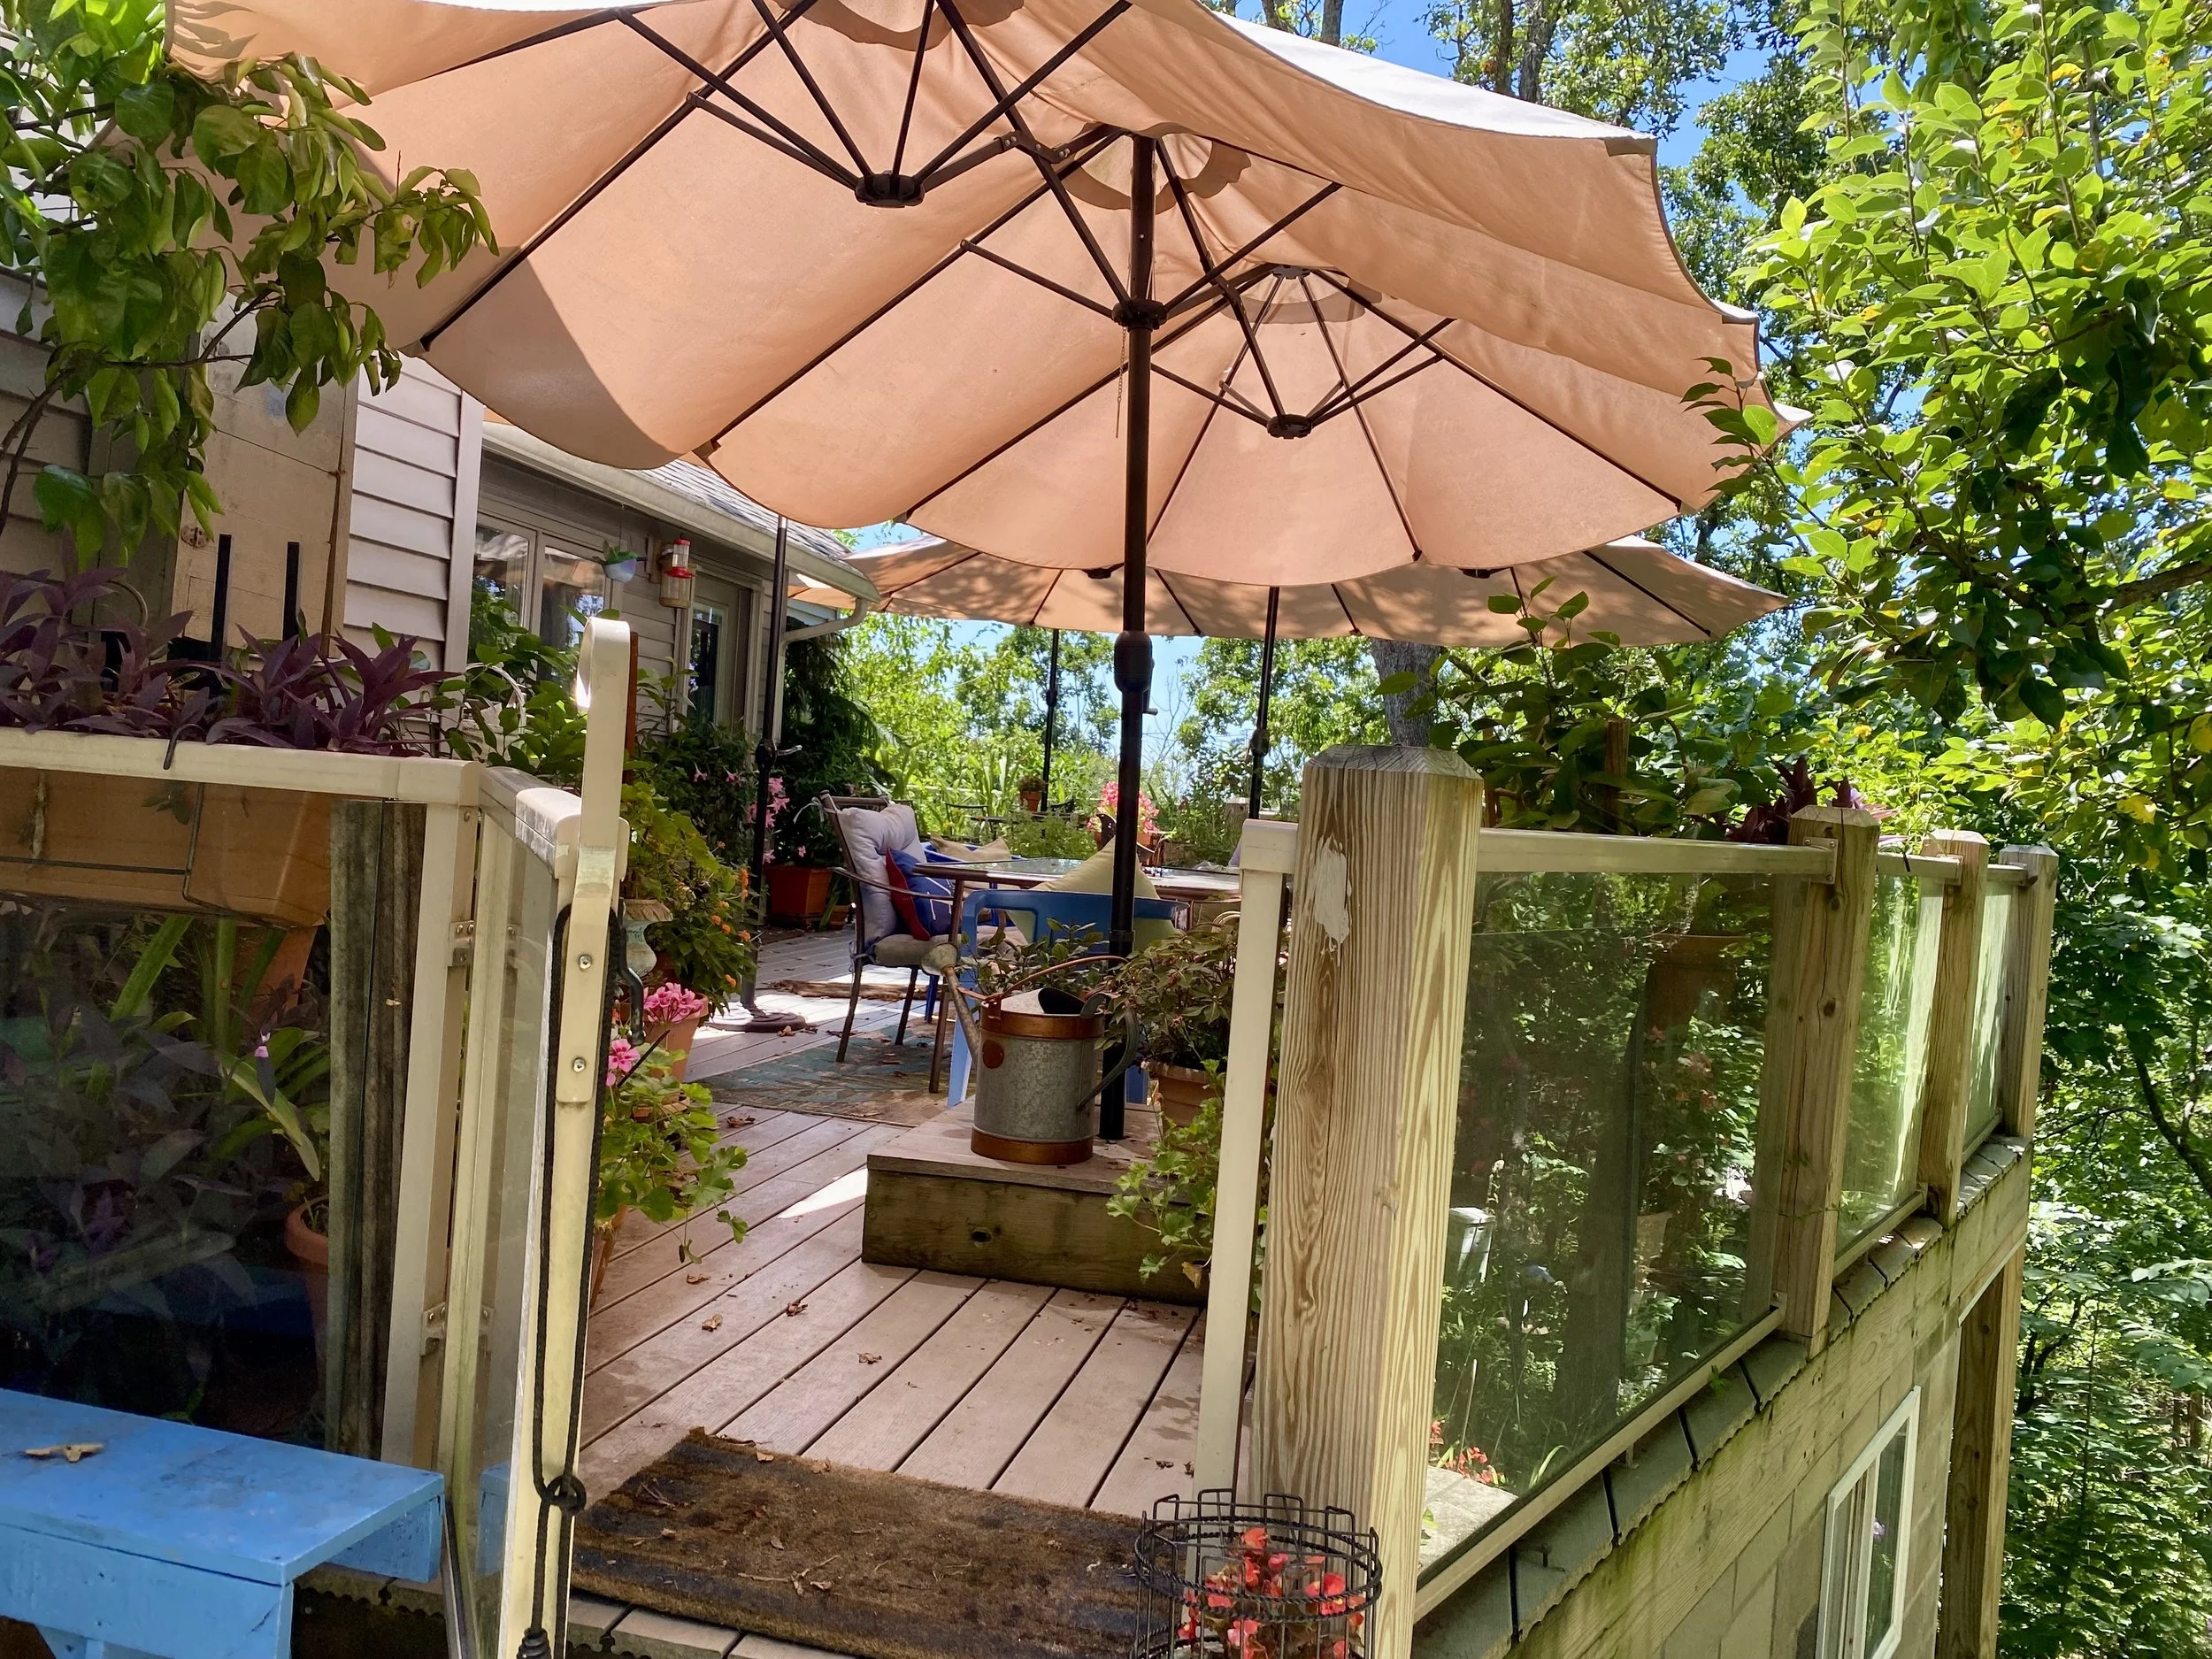
Are you ready for spring? March is the beginning of spring and daffodil days in my garden; one of my former neighbors used to refer to my garden as “Daffodilland.” The weather can also be a little challenging in USDA Hardiness zone 6b so March can be a hit and miss month in terms of getting a lot done.
The forecast for March 2025 is an early spring so better get started on some of these gardening chores:
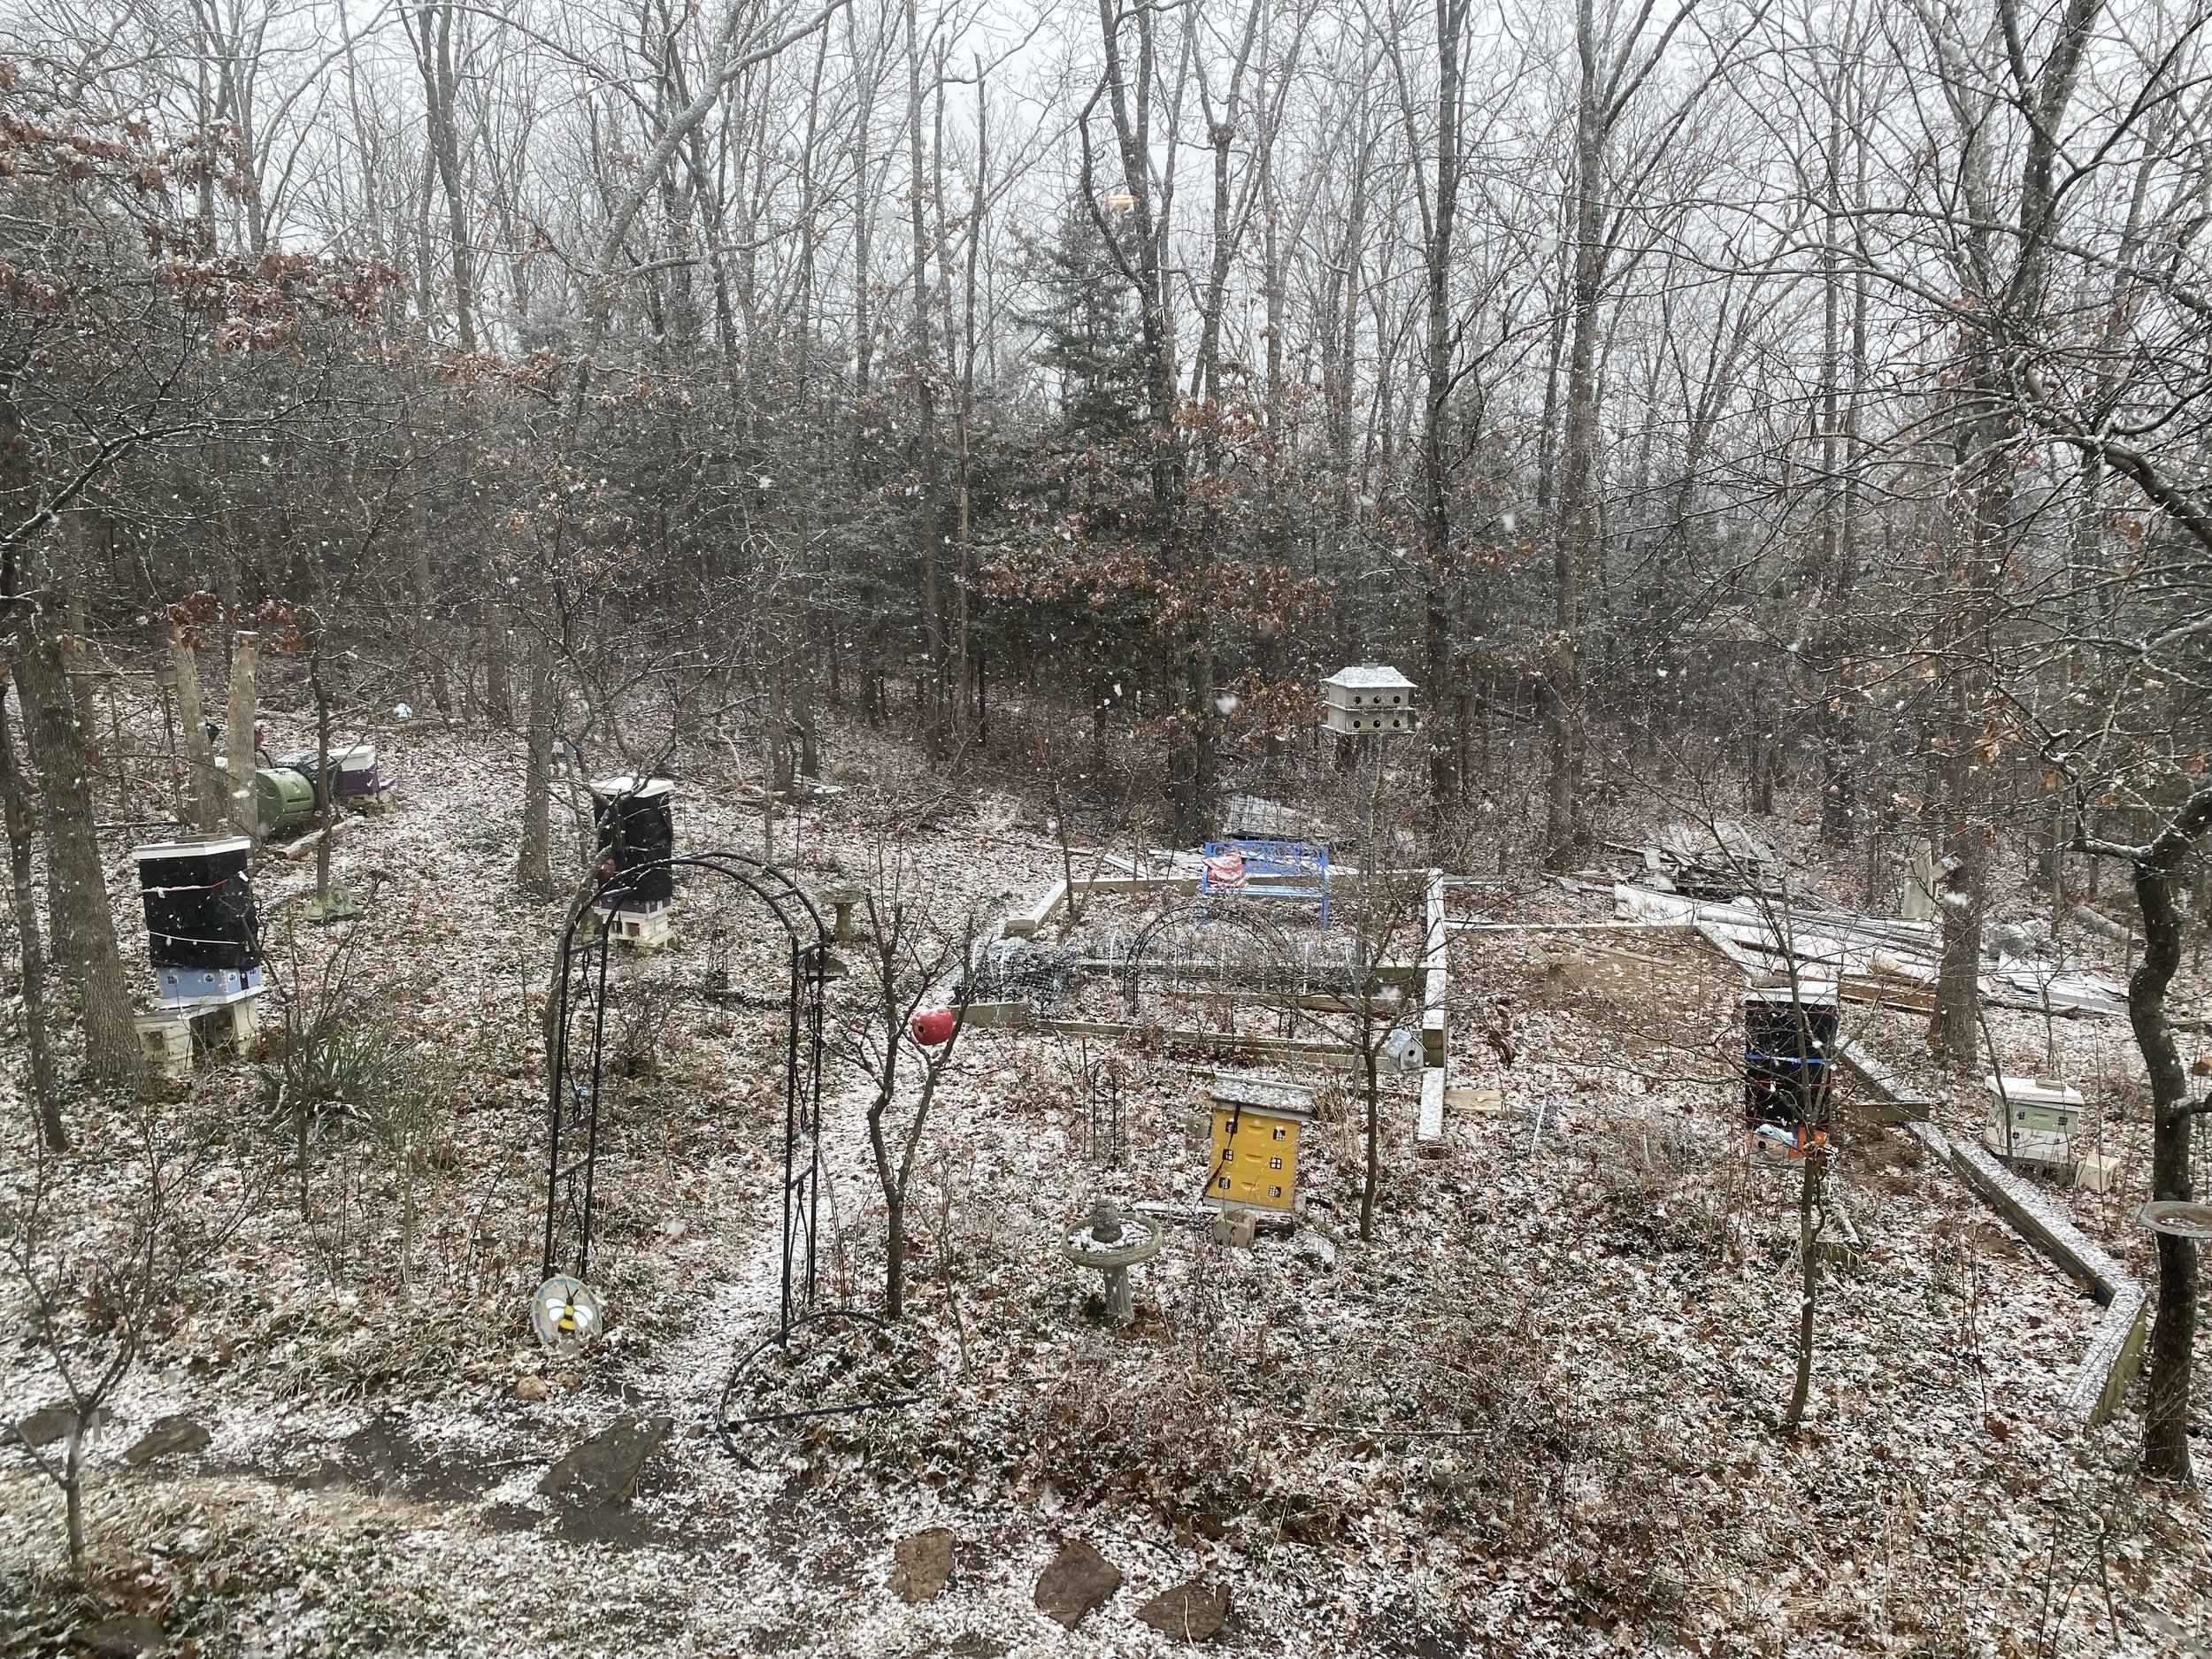
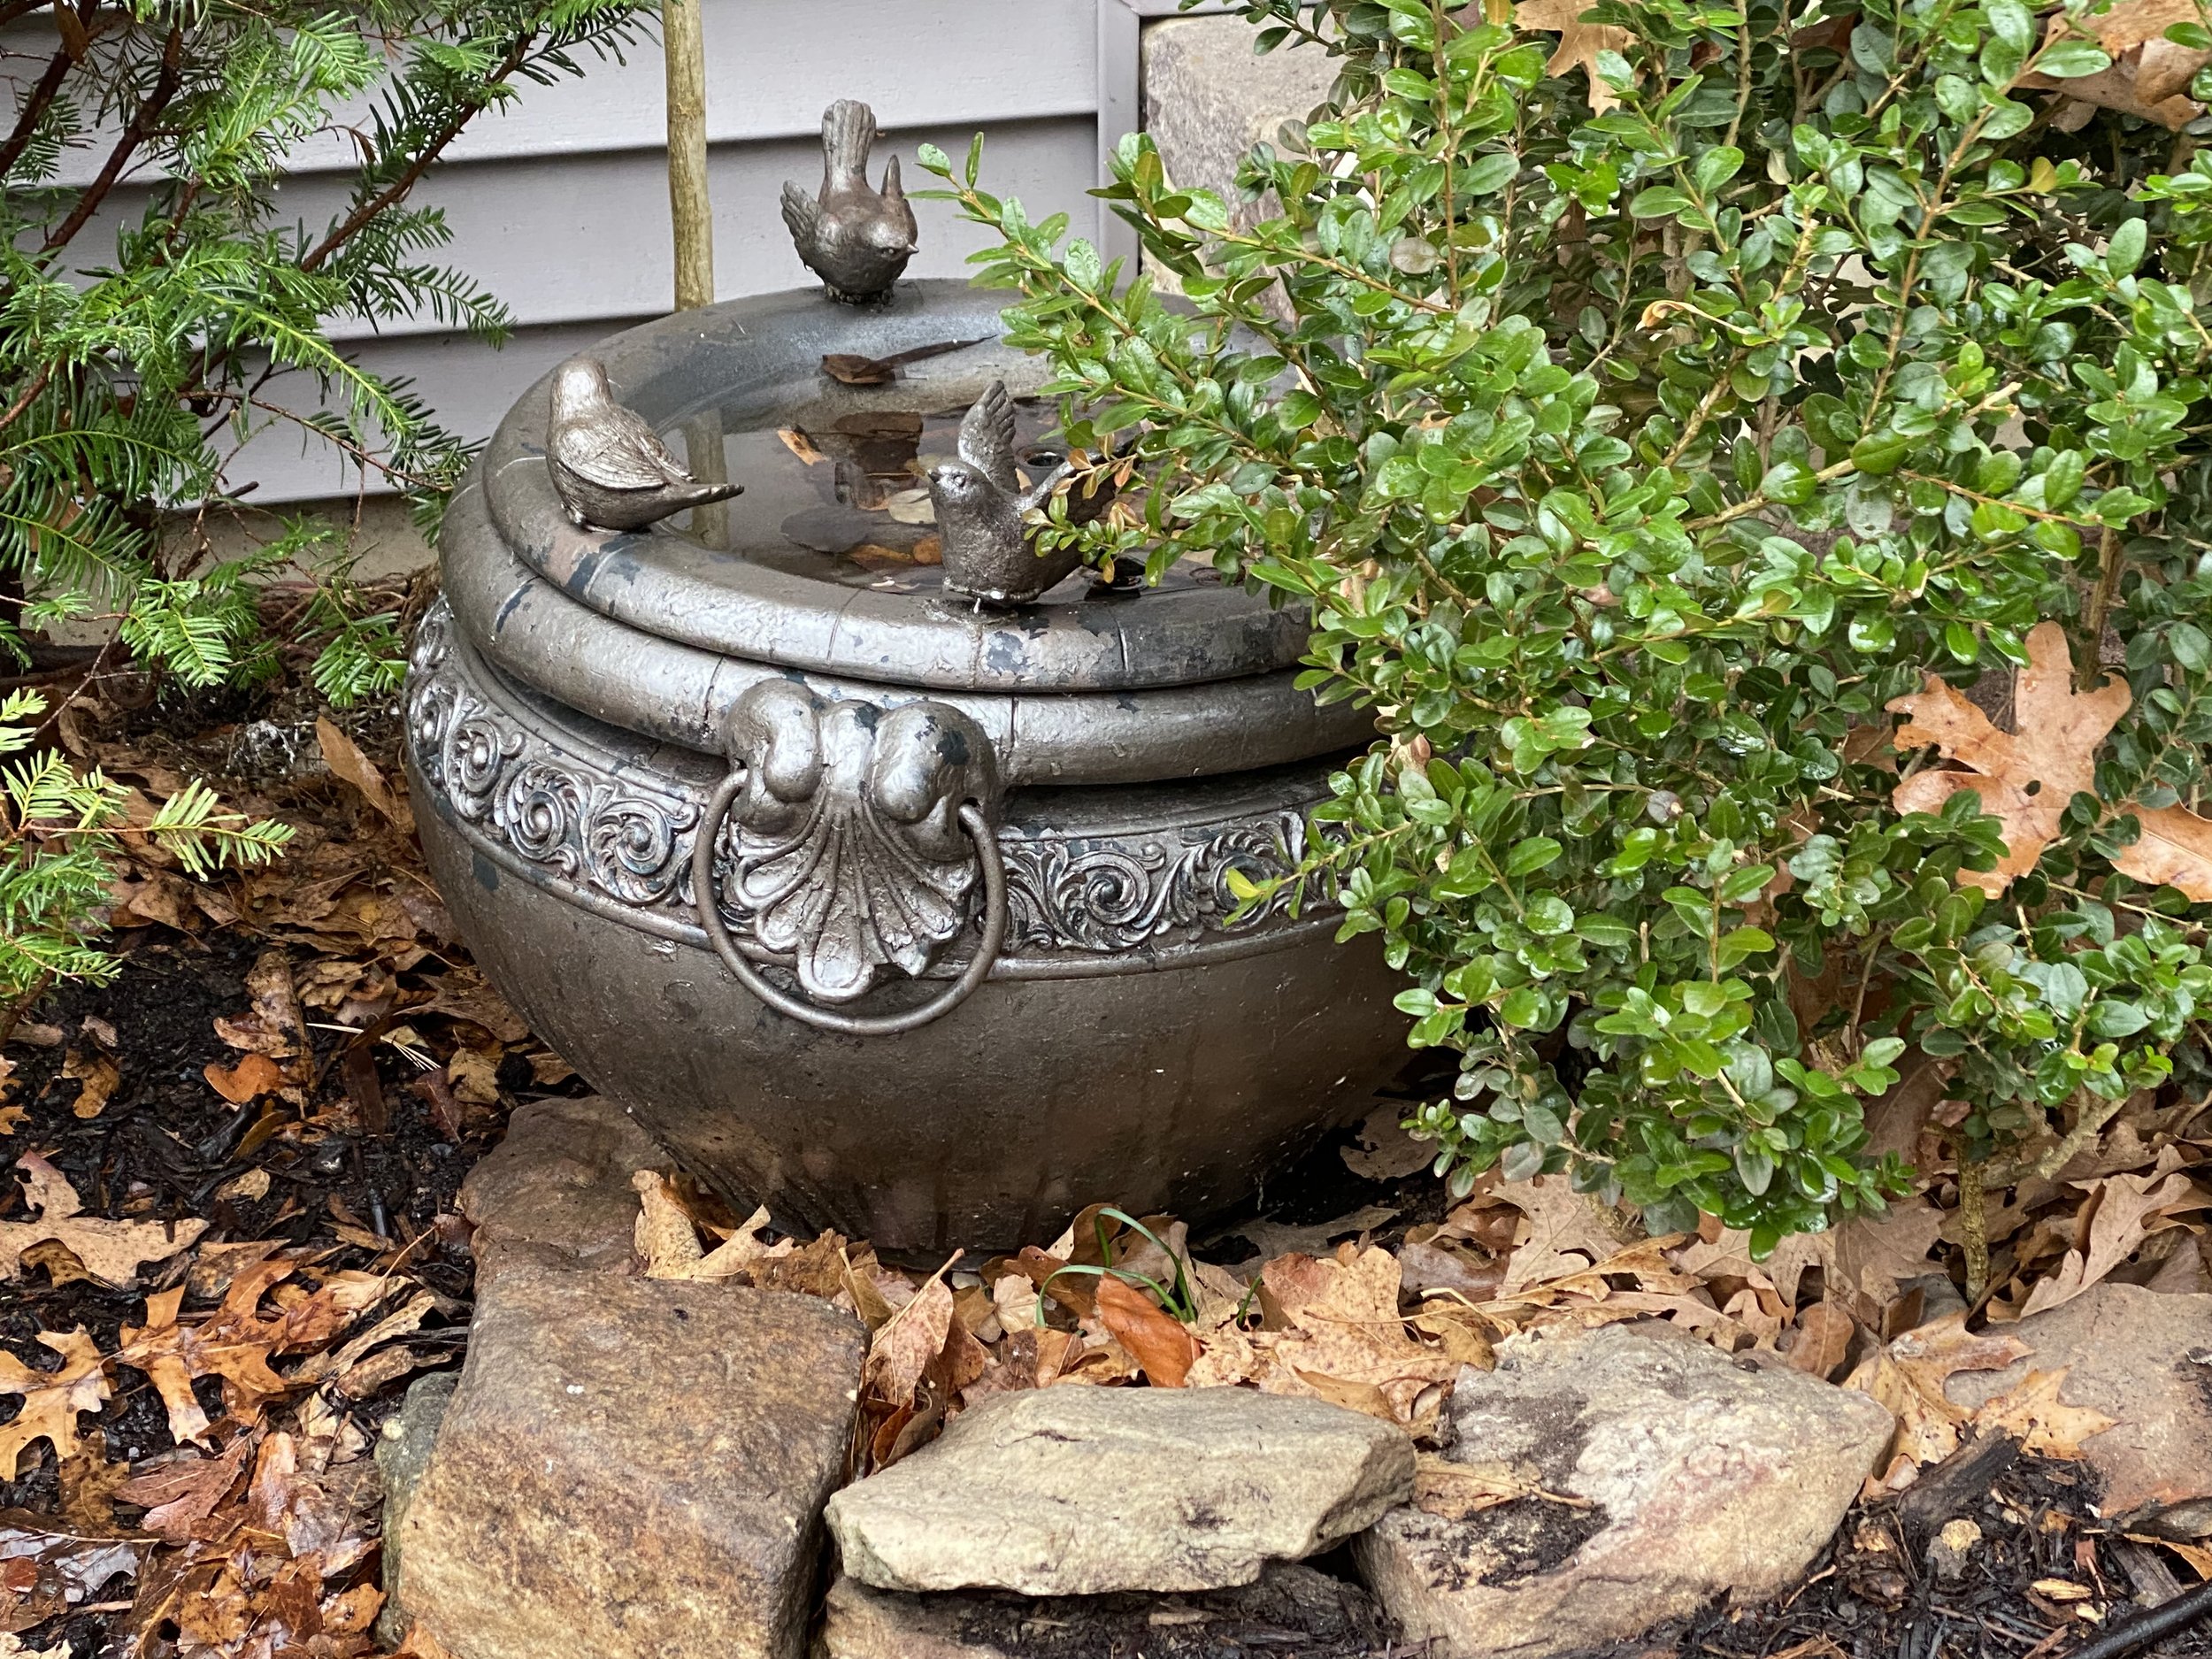
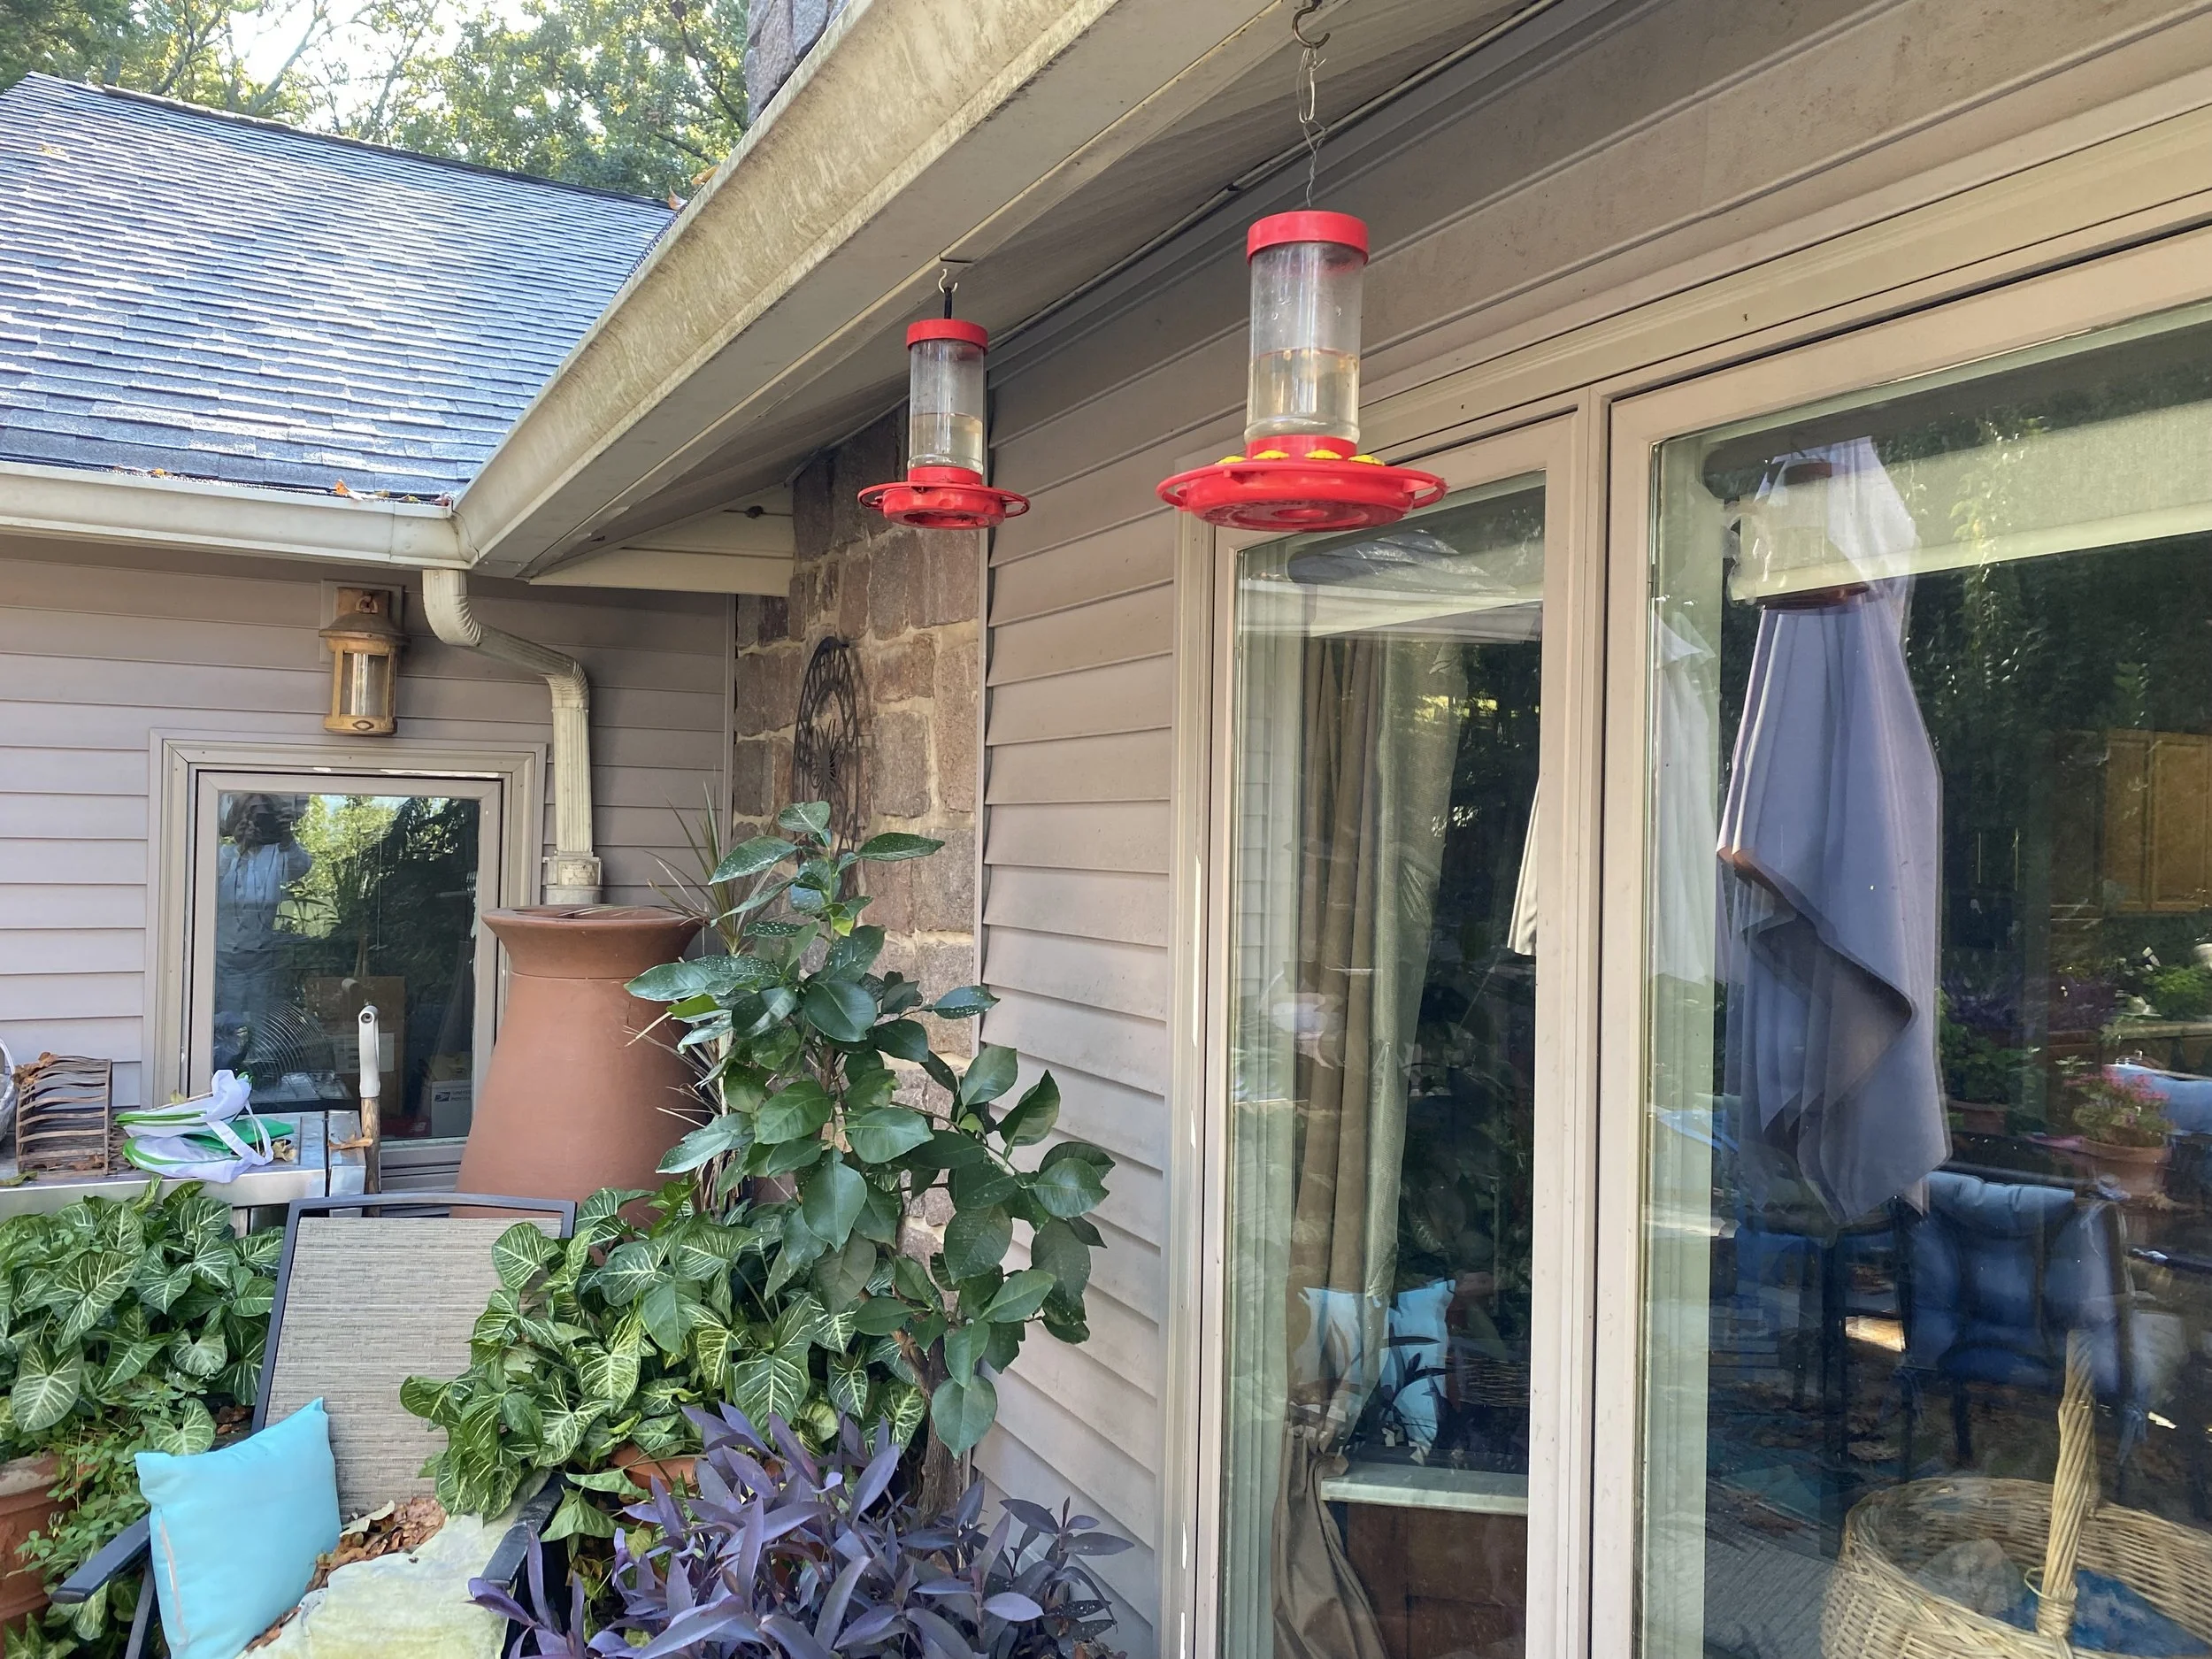
1. Time to get birdhouses repaired and hanging in my garden. Attracting birds is a great way to manage unwanted bugs without using insecticides and pesticides.
The birdhouses also serve as homes for paper wasps, a wonderful pollinator we often find on porches and other unwanted areas. By giving them an alternative home, they can still pollinate gardens without getting in the way.
2. Prune and fertilize roses. On the first warm day, I remove all dead branches so the new growth will have room. I also add coffee grounds, banana peels, Epsom salts and crushed egg shells mixed into the soil around the base of the plants. Gently, you don’t want to tear up the roots. Also a good time to mulch.
3. Plant onion sets around roses to keep bugs at bay. Three for miniature roses, 5-6 for the larger roses.
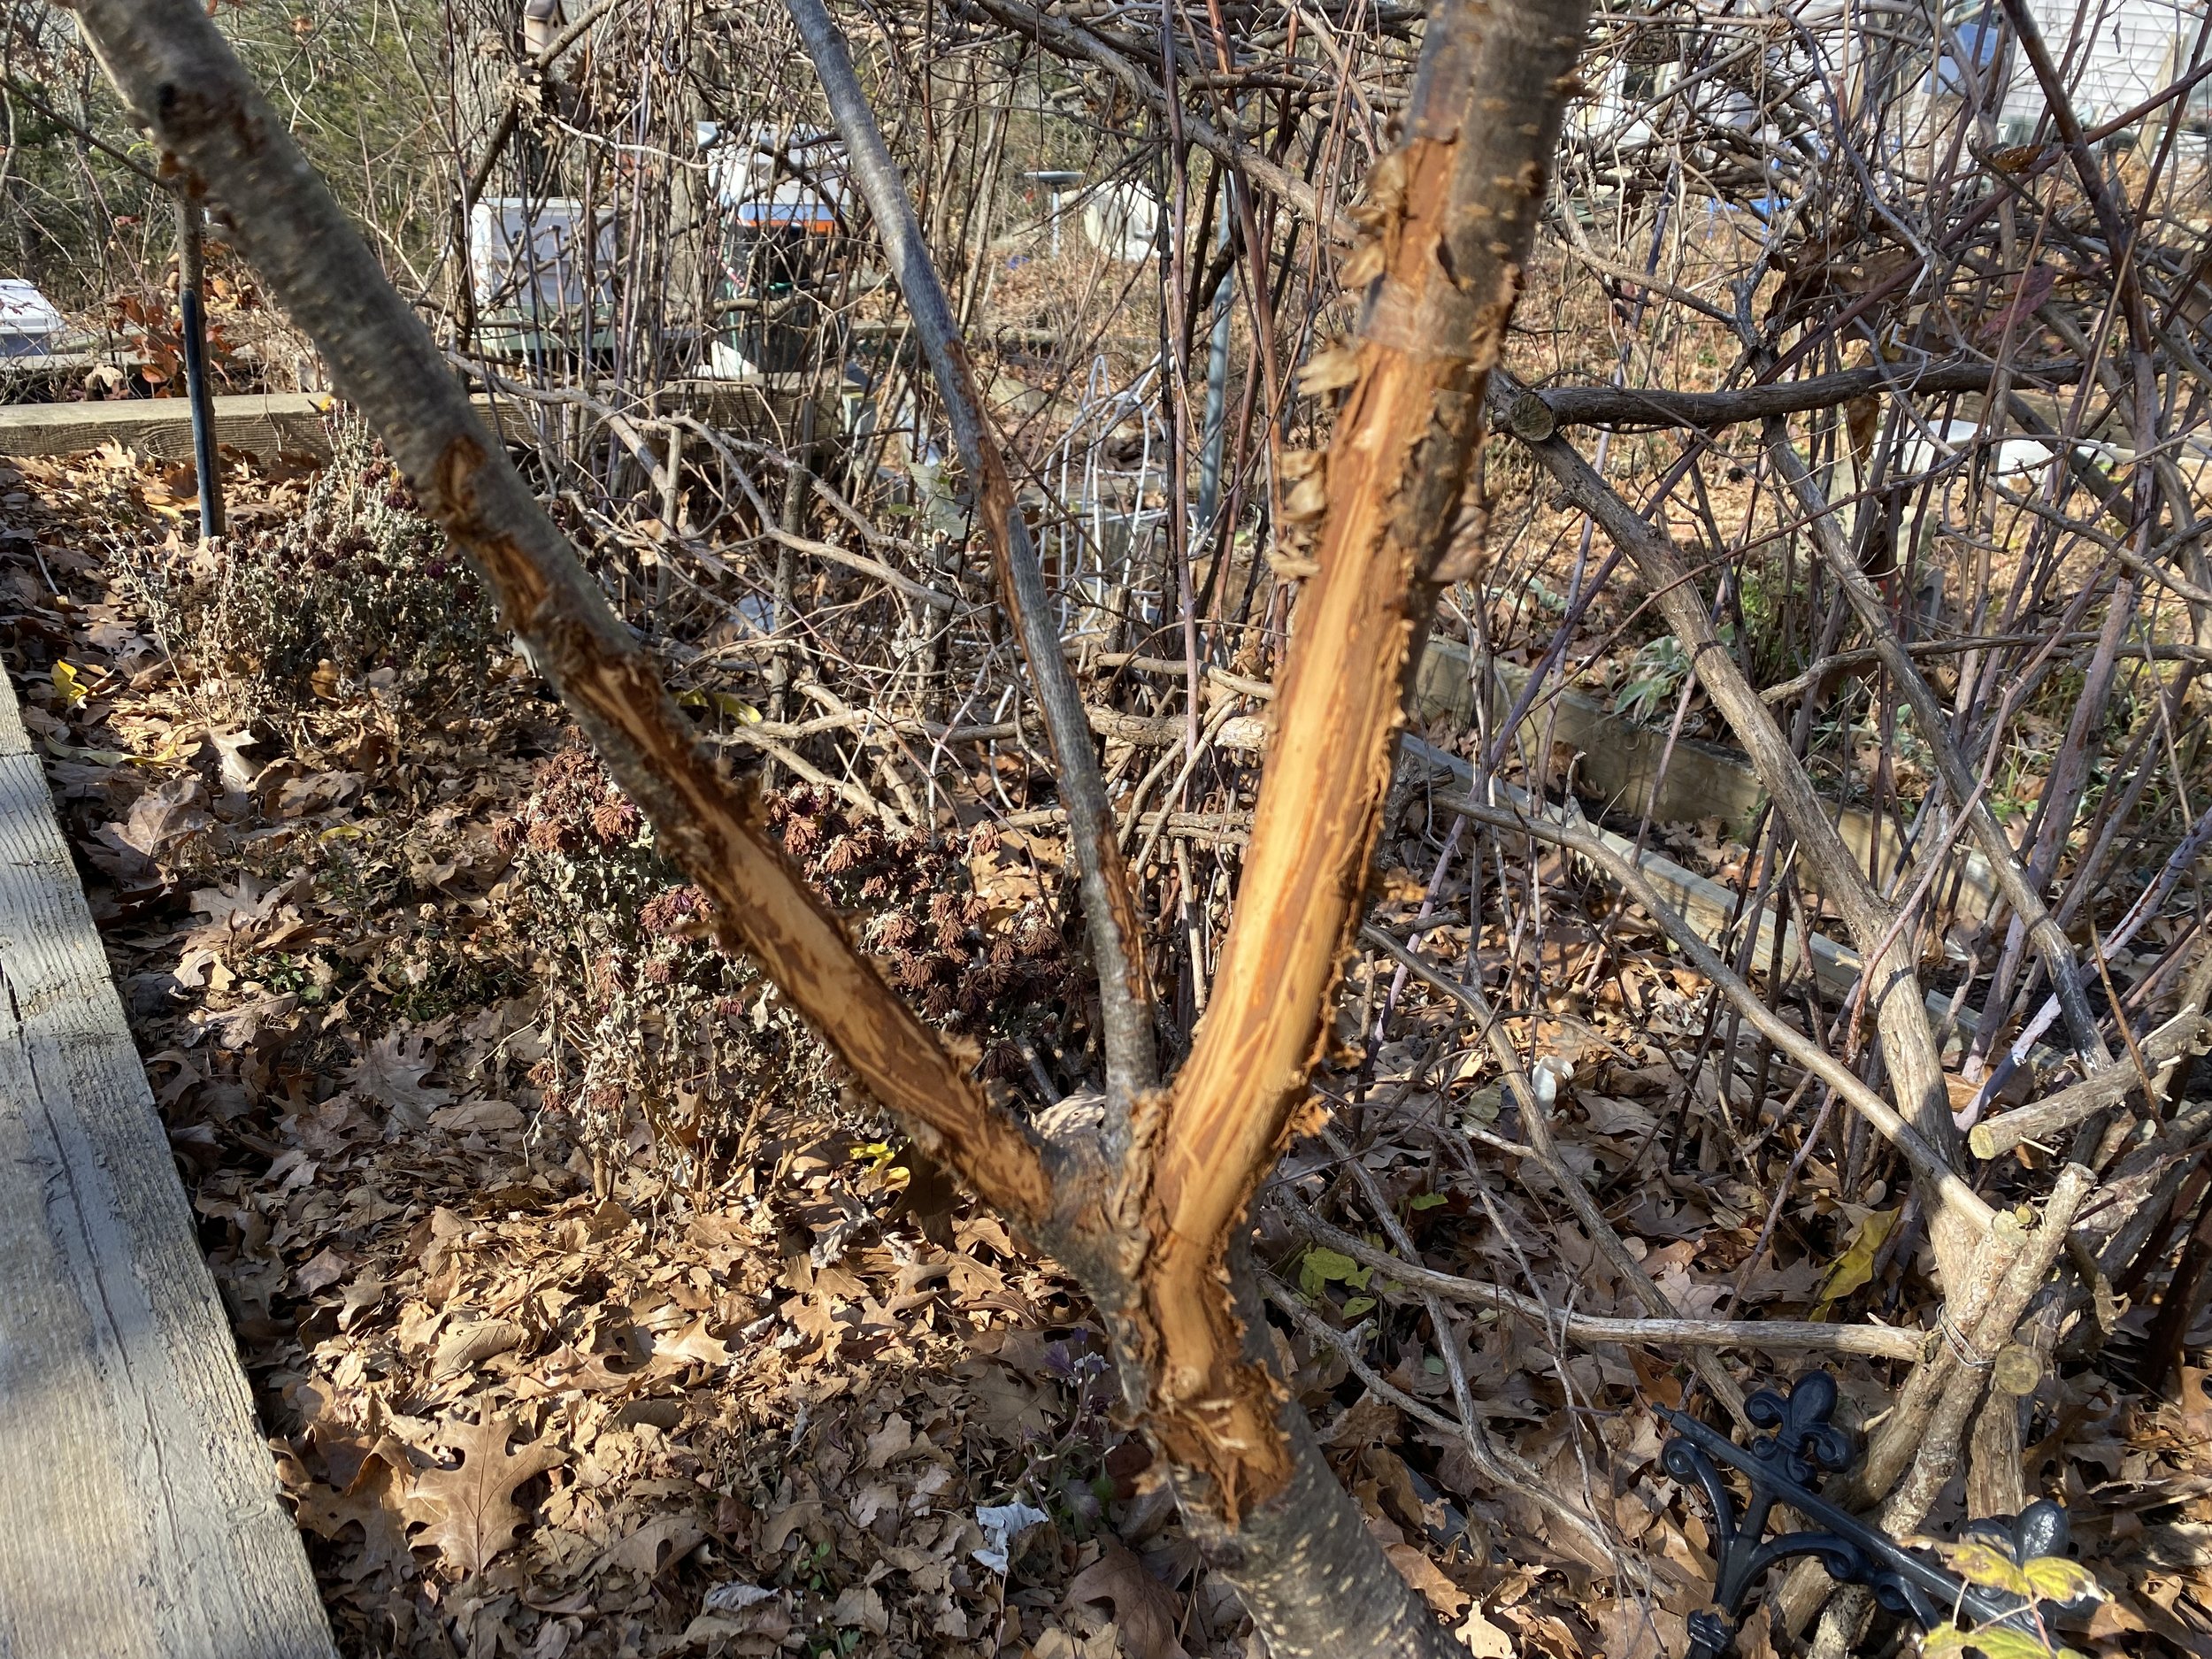
4. Prune fruit trees. Nothing elaborate, I make sure the branches don’t cross and are open in the center. Also mulch. Make a tire around the base leaving the space up at the tree trunk open.
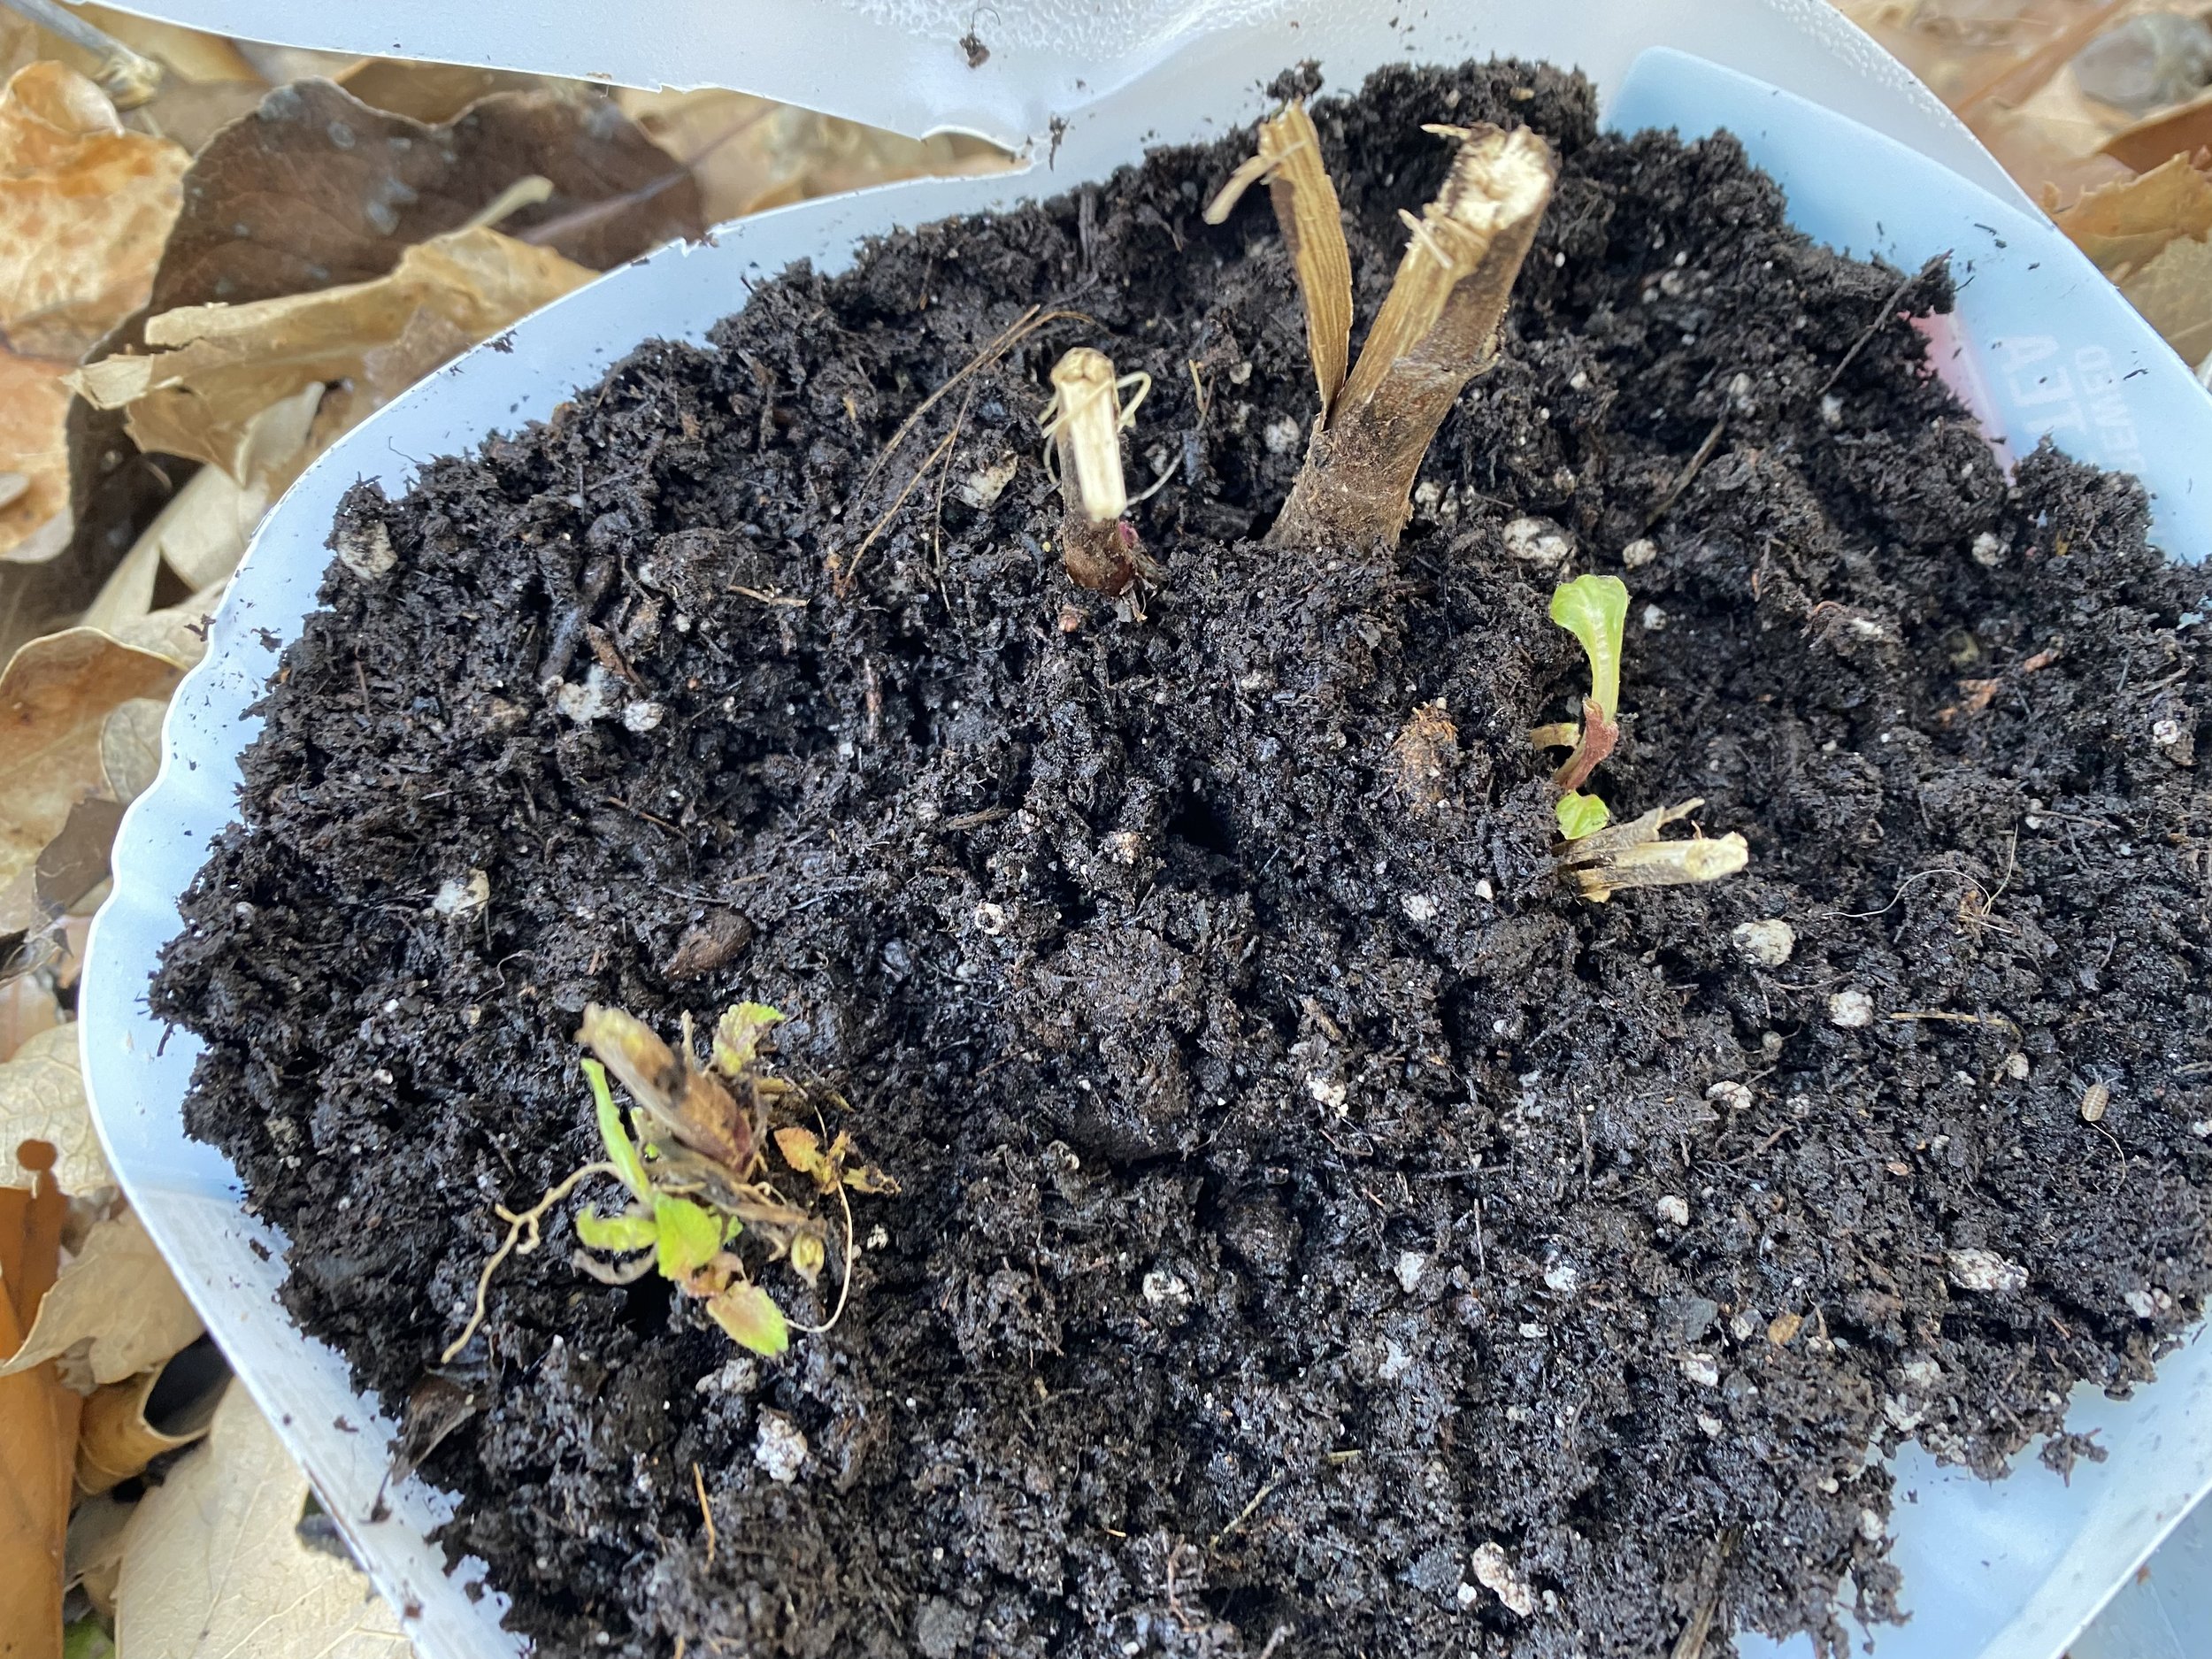
5. My hellebores and ‘Autumn Joy’ Sedum get the old greenery cut off so any new growth gets to shine. The Sedum starts look like tiny green roses close to the ground.
6. Mulch. My over-wintering mulch pile is ready to spread over new areas that need cover for the season and areas that lost cover over winter. Good time to load up the wheelbarrow and keep a supply at hand.
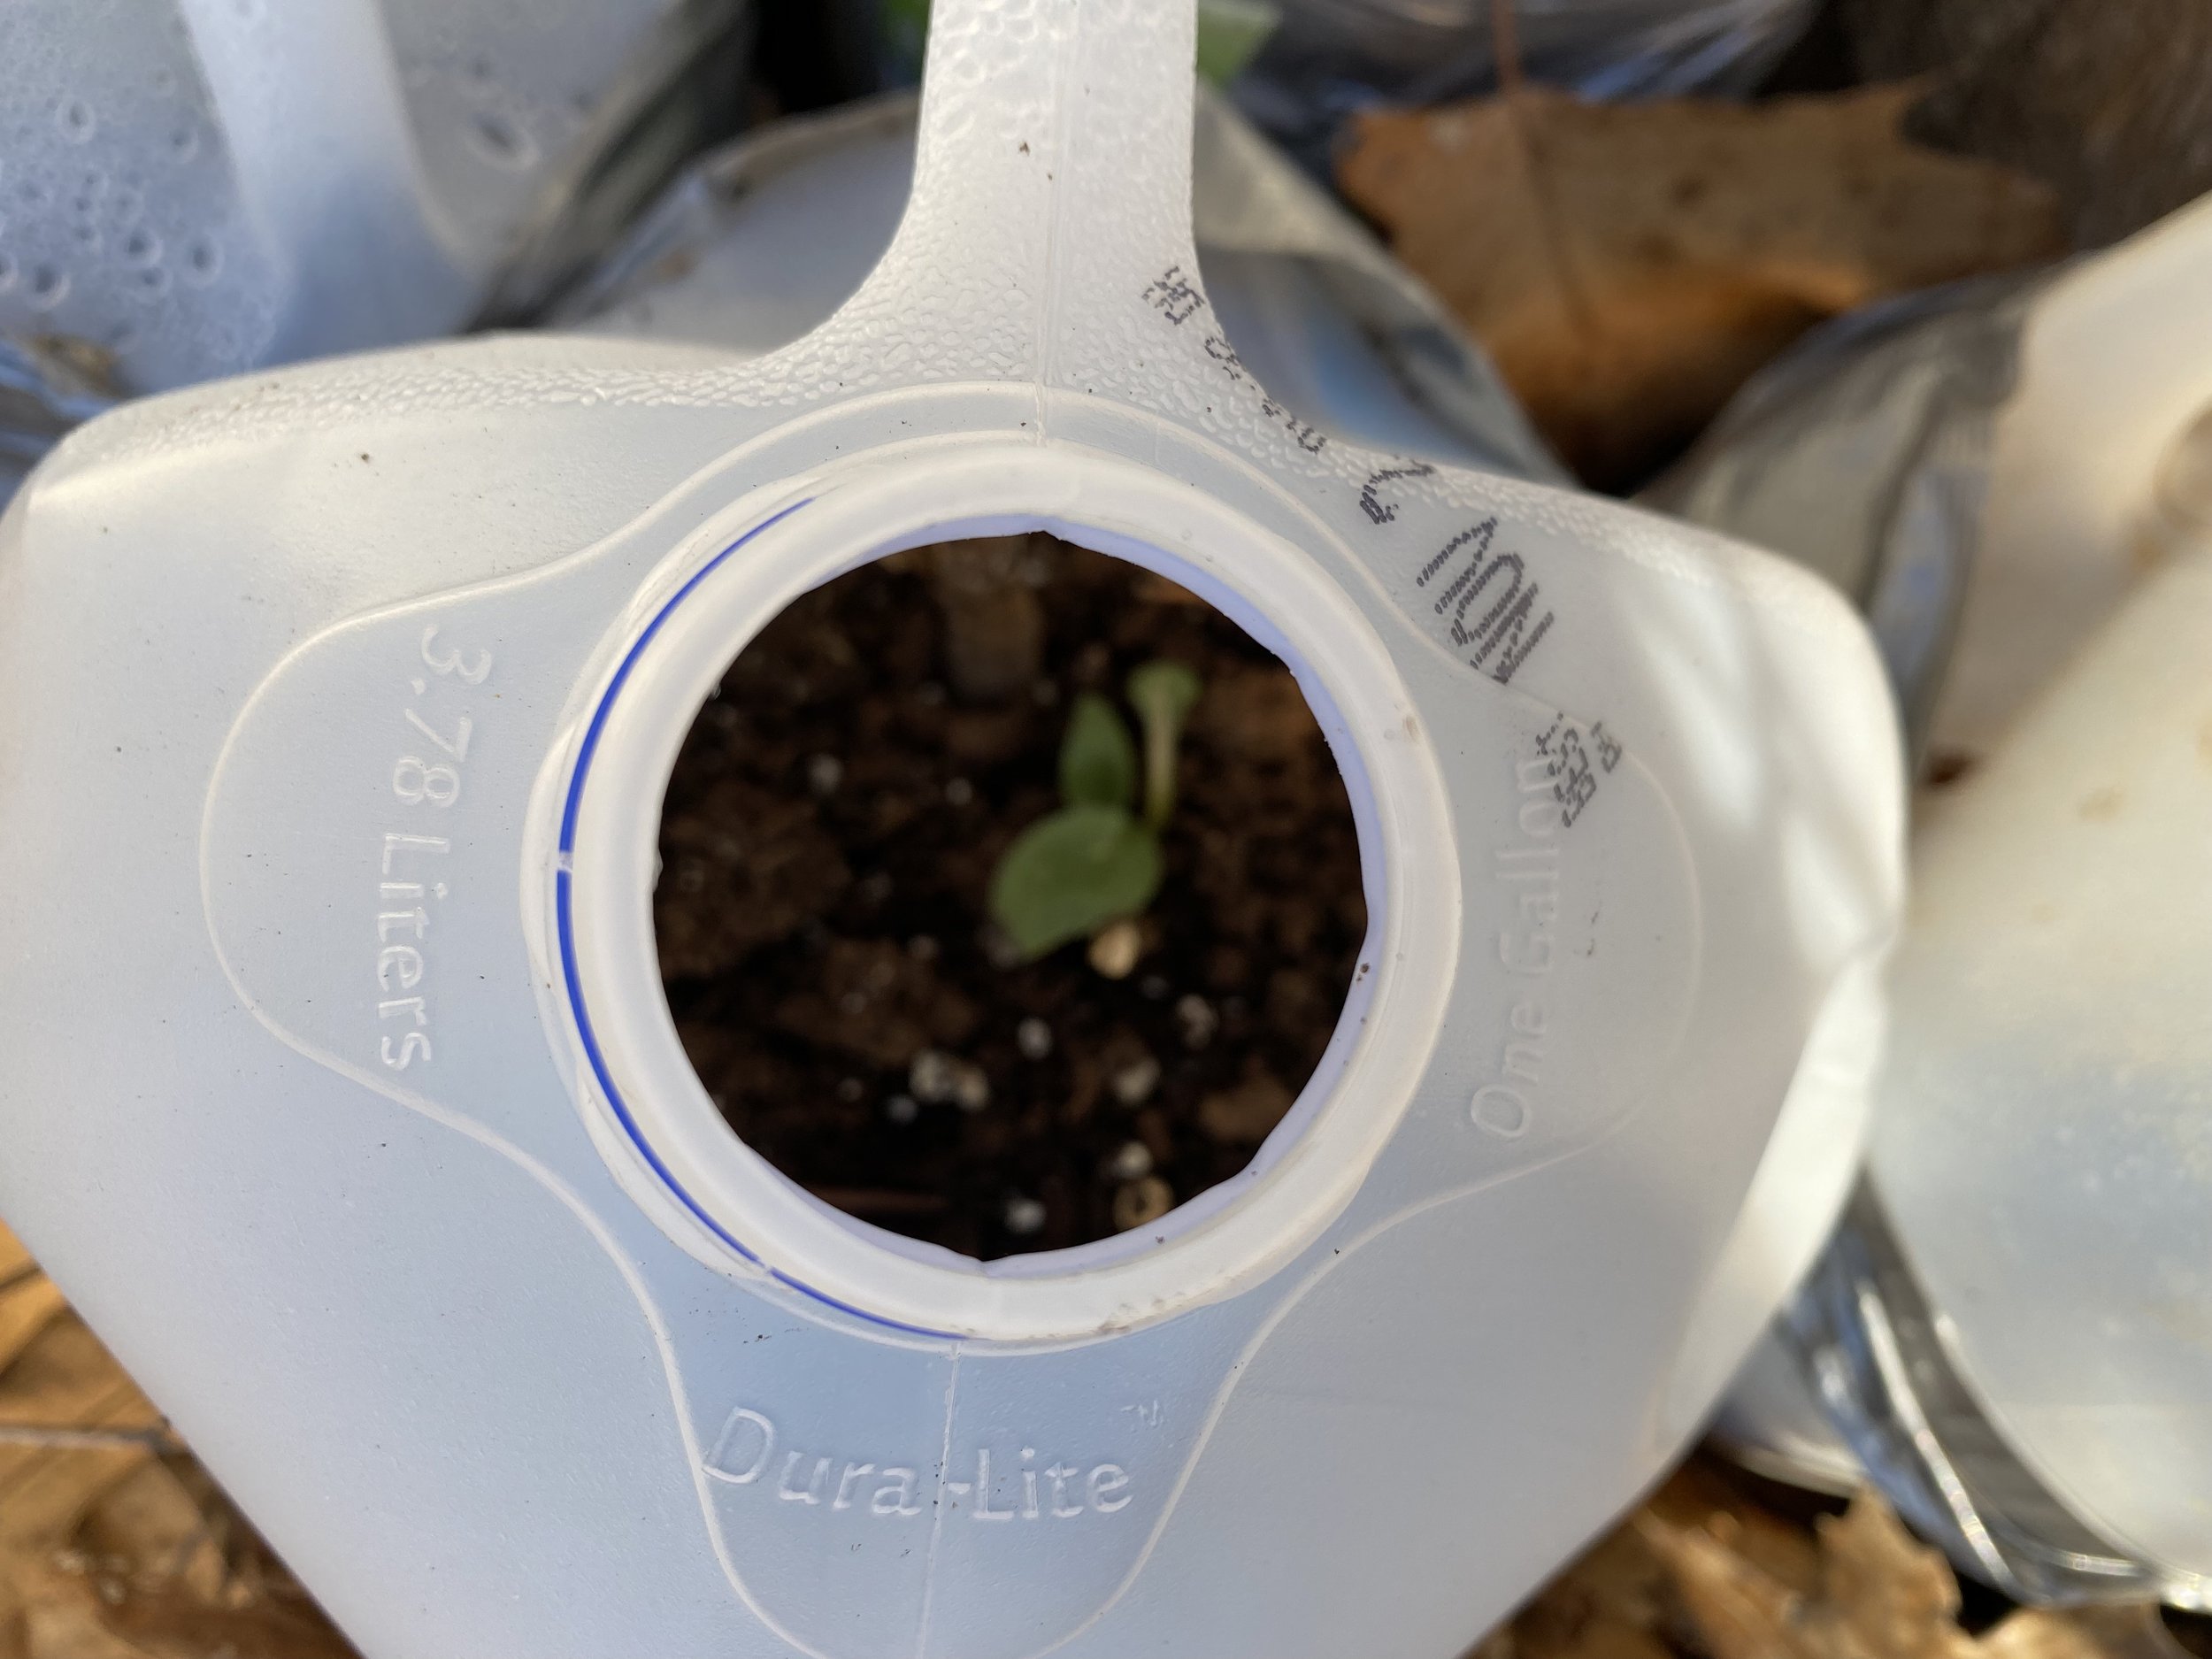
7. If you didn’t get your lettuce and spinach out in February, get them planted this month.
8. March and St. Patrick’s Day is also the time to plant potatoes, radishes and carrots.
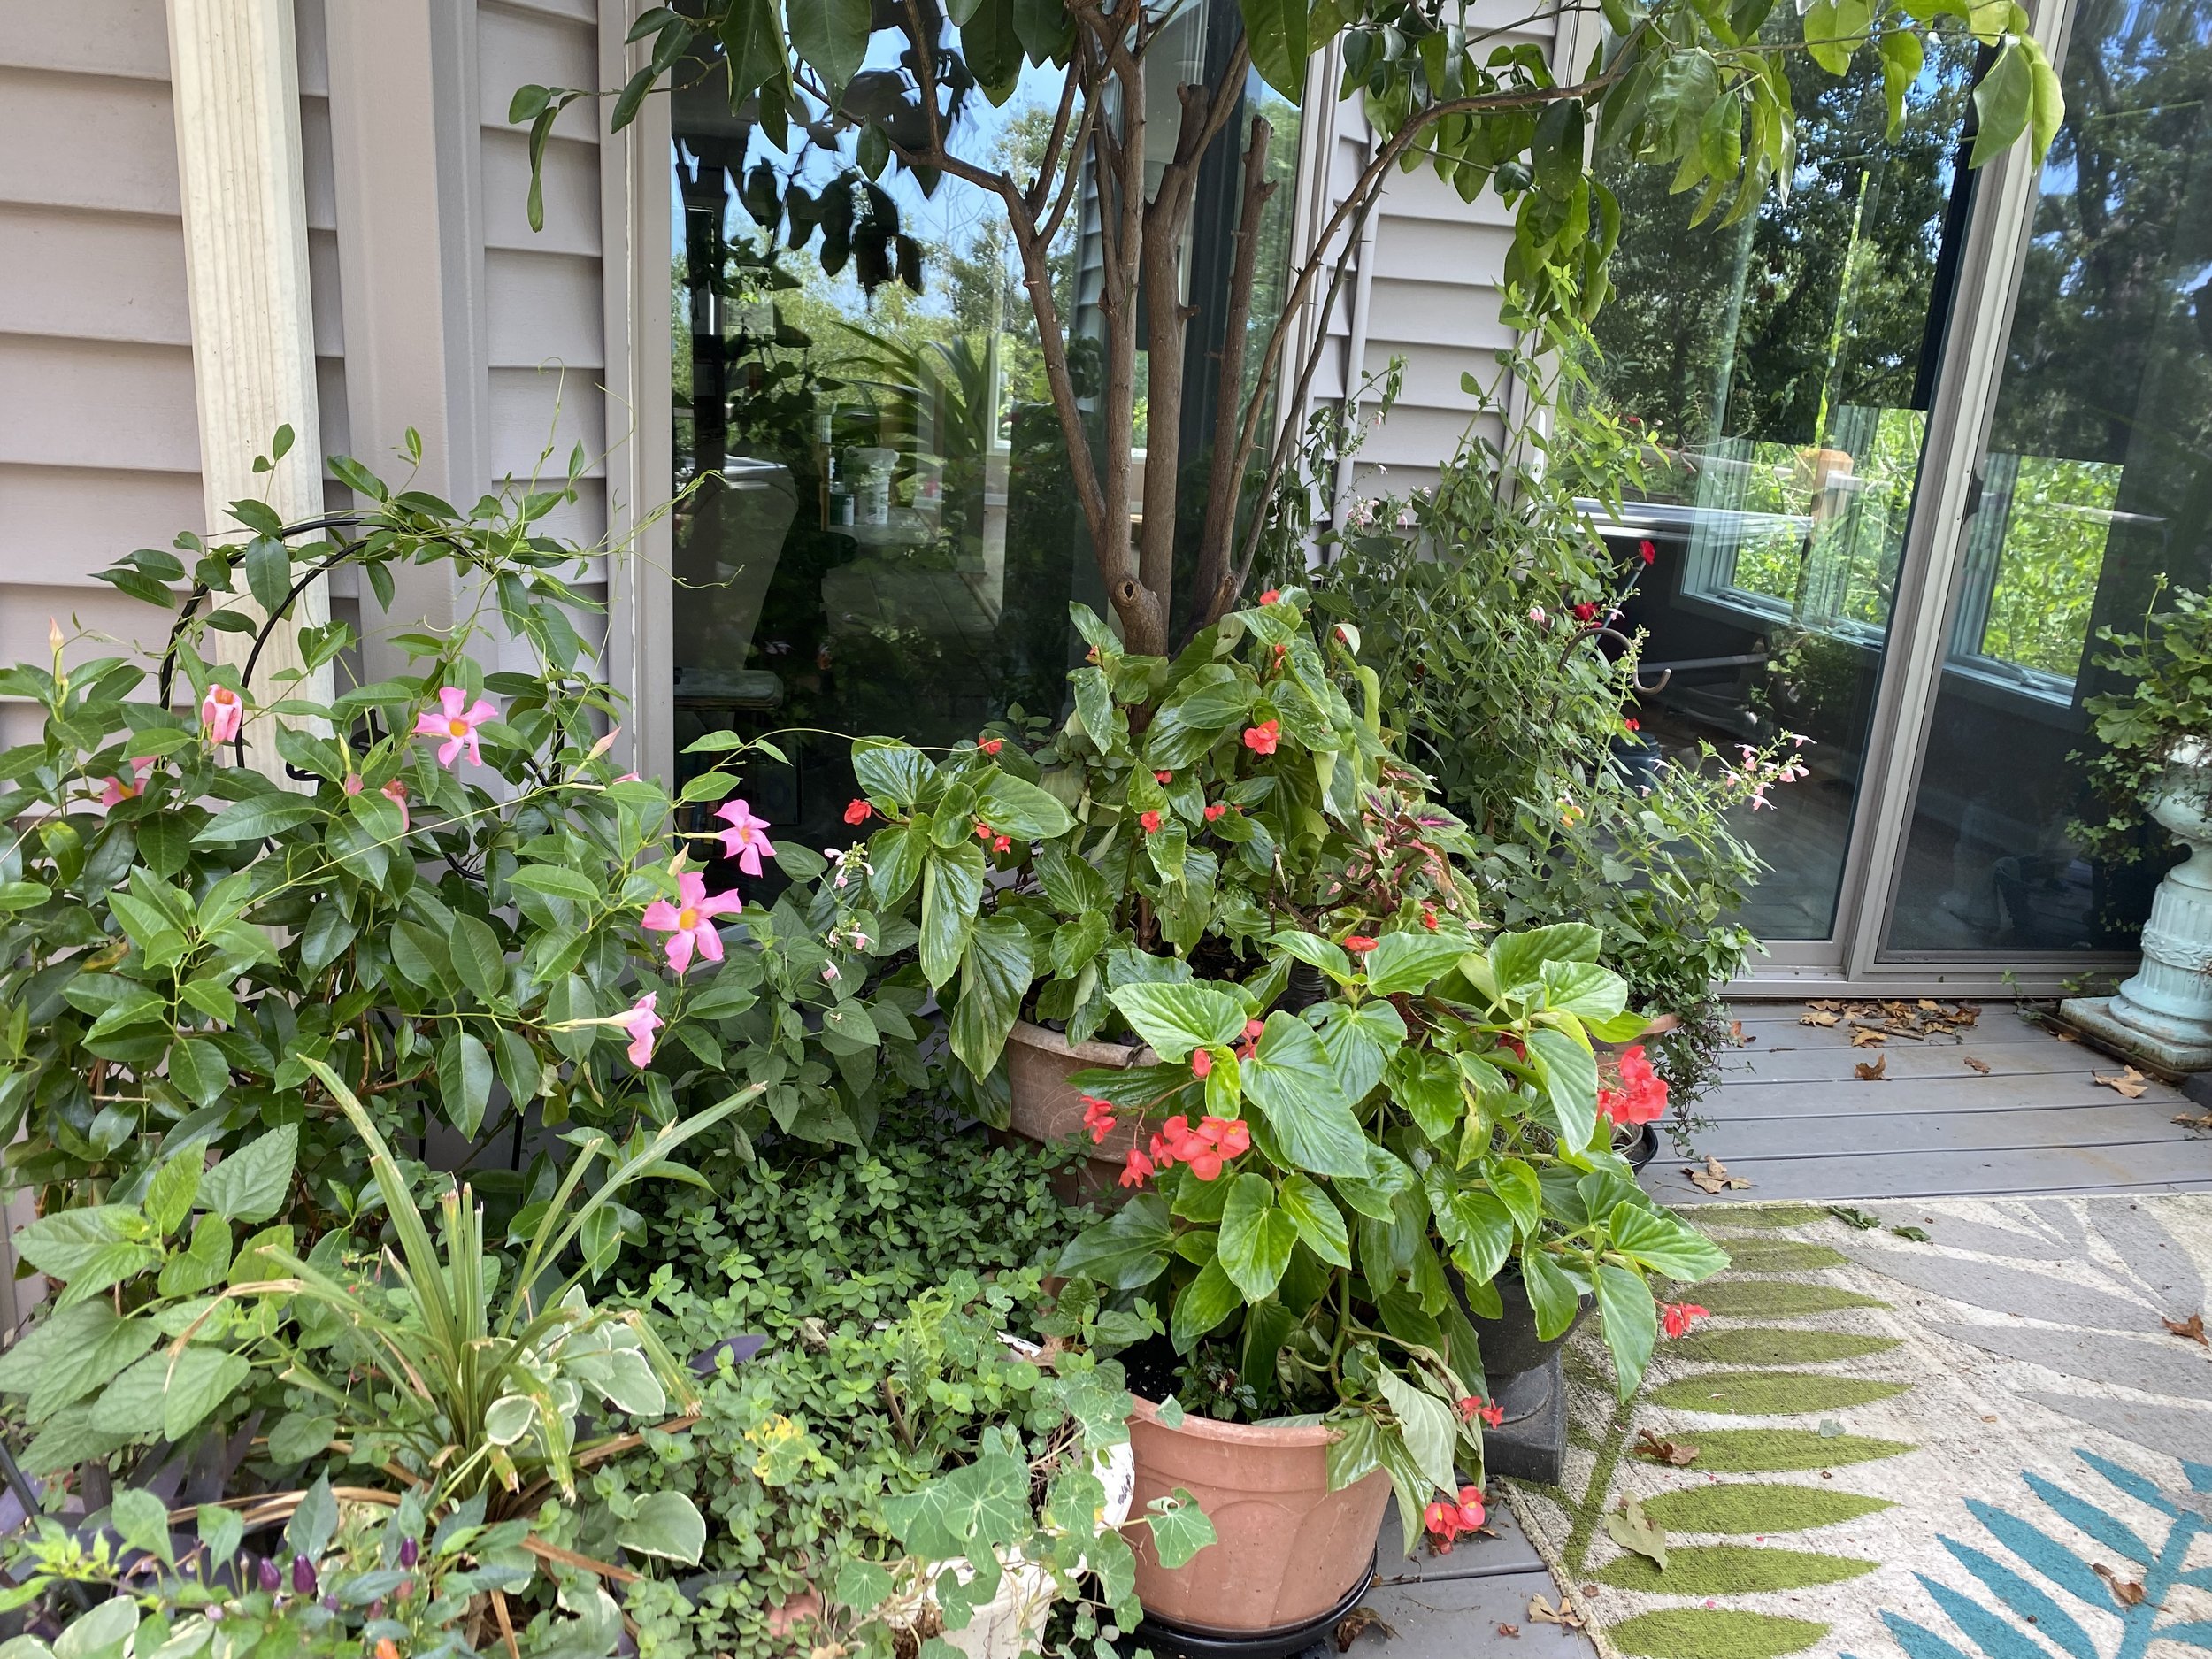
9. The last frost day for this zone is Mother’s Day in May so it’s a little too early to get much else planted and much too early to move tropical plants outside, even if you are ready to toss them out on their aggravating dropping leaves by now. Give them a little rainwater and that will help tide them over for another month or so.
10. Also check inside plants for bugs. Look under leaves and if you see white bugs, clean off with a damp cloth wet with water and dishwashing liquid. Spray soil with a few drops of dishwashing liquid in water in a spray bottle to get rid of eggs. Start watering with ¼ strength fertilizer since days are getting longer.
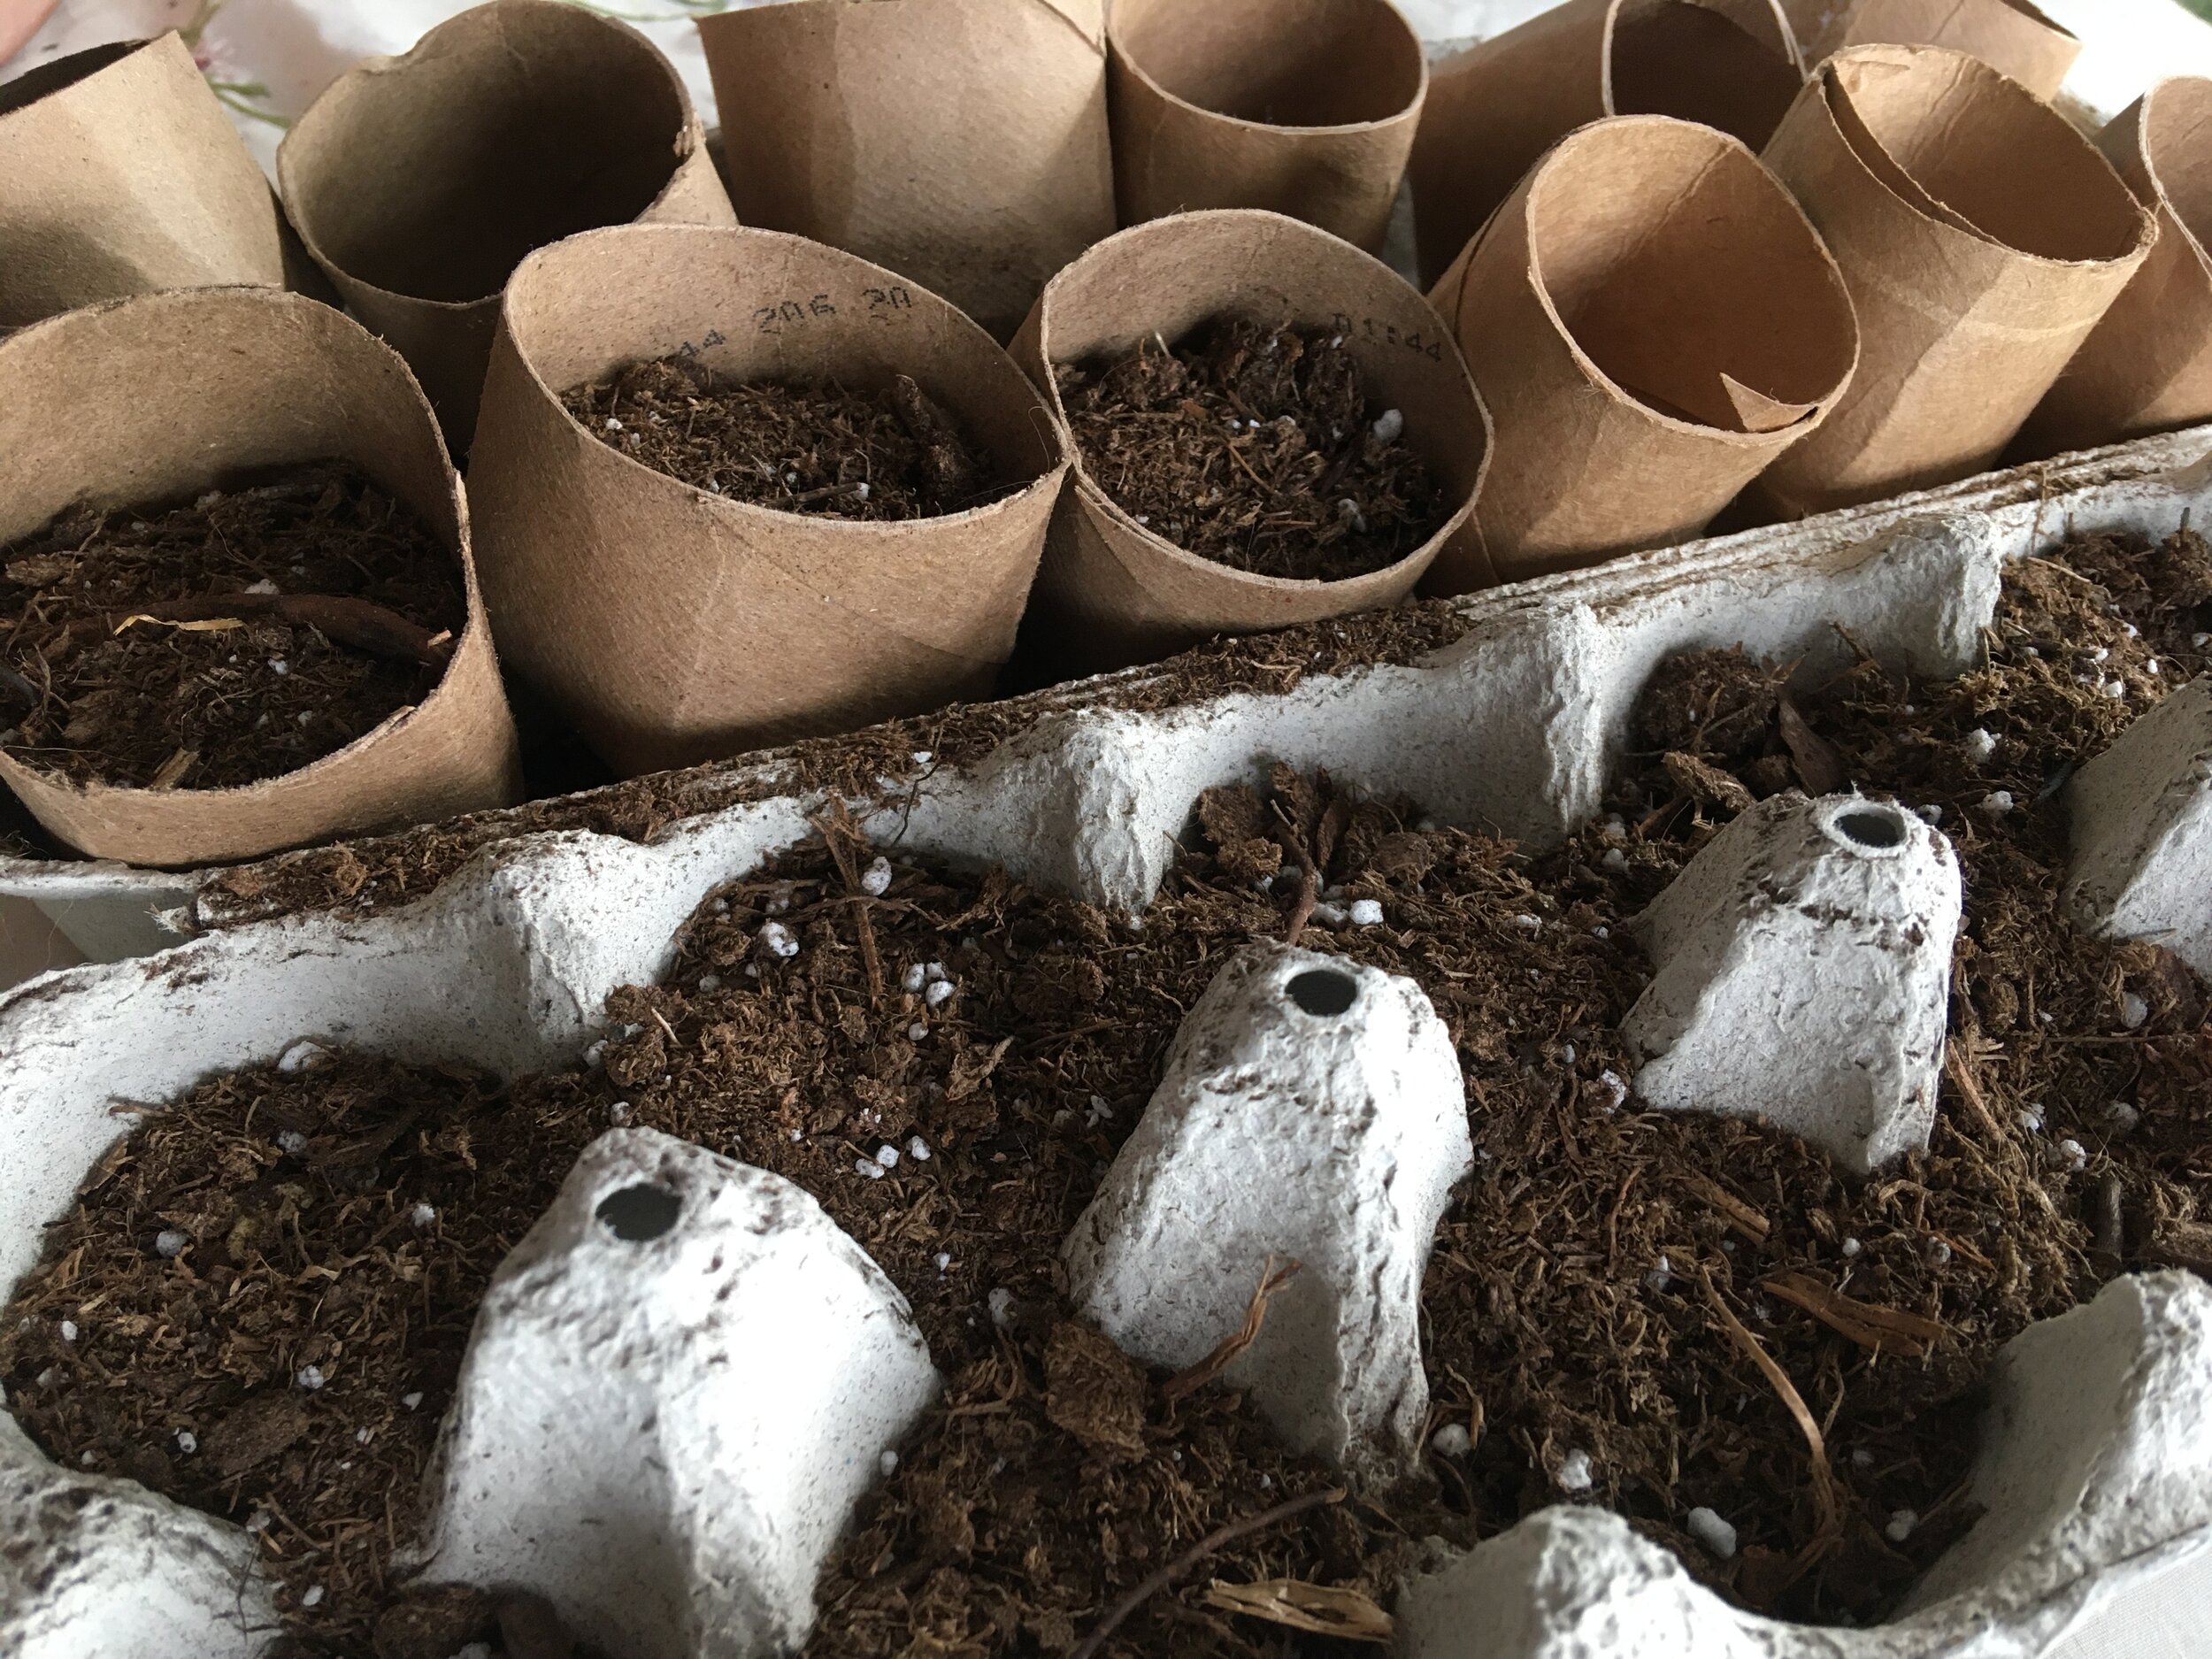
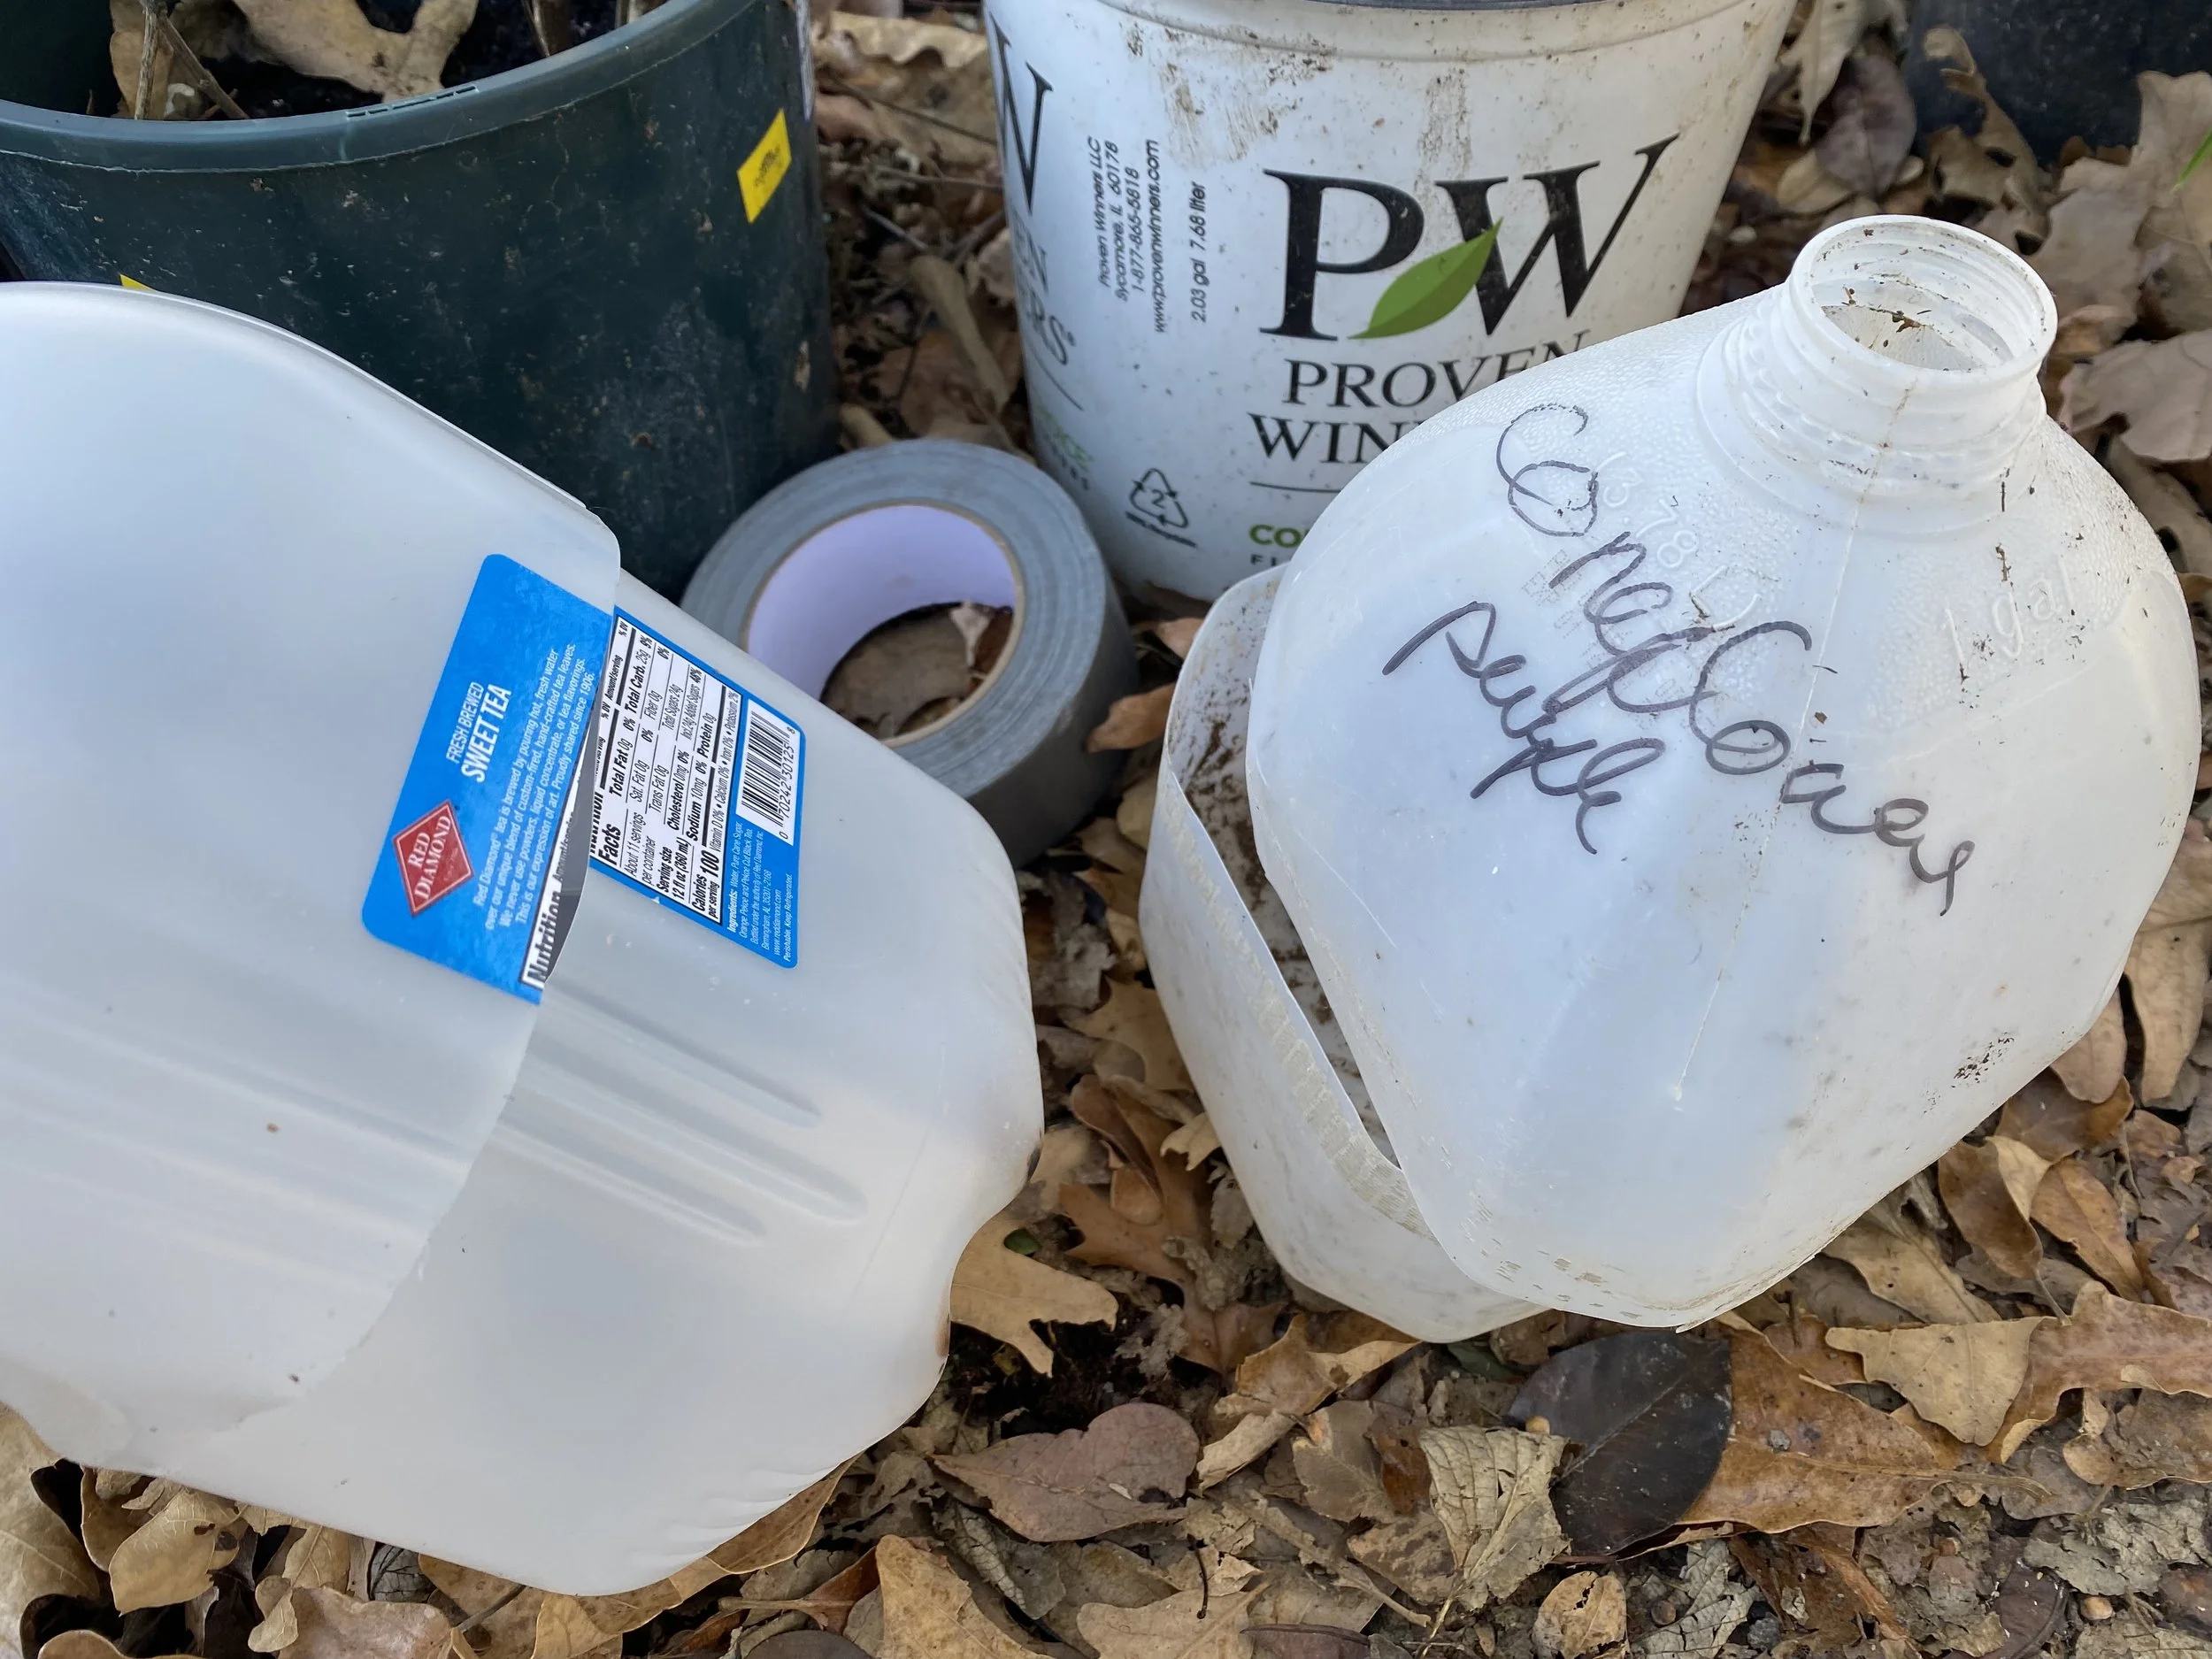
11. Time to get lettuce seeds and onion starts in pots. They don’t mind the cold spring weather.
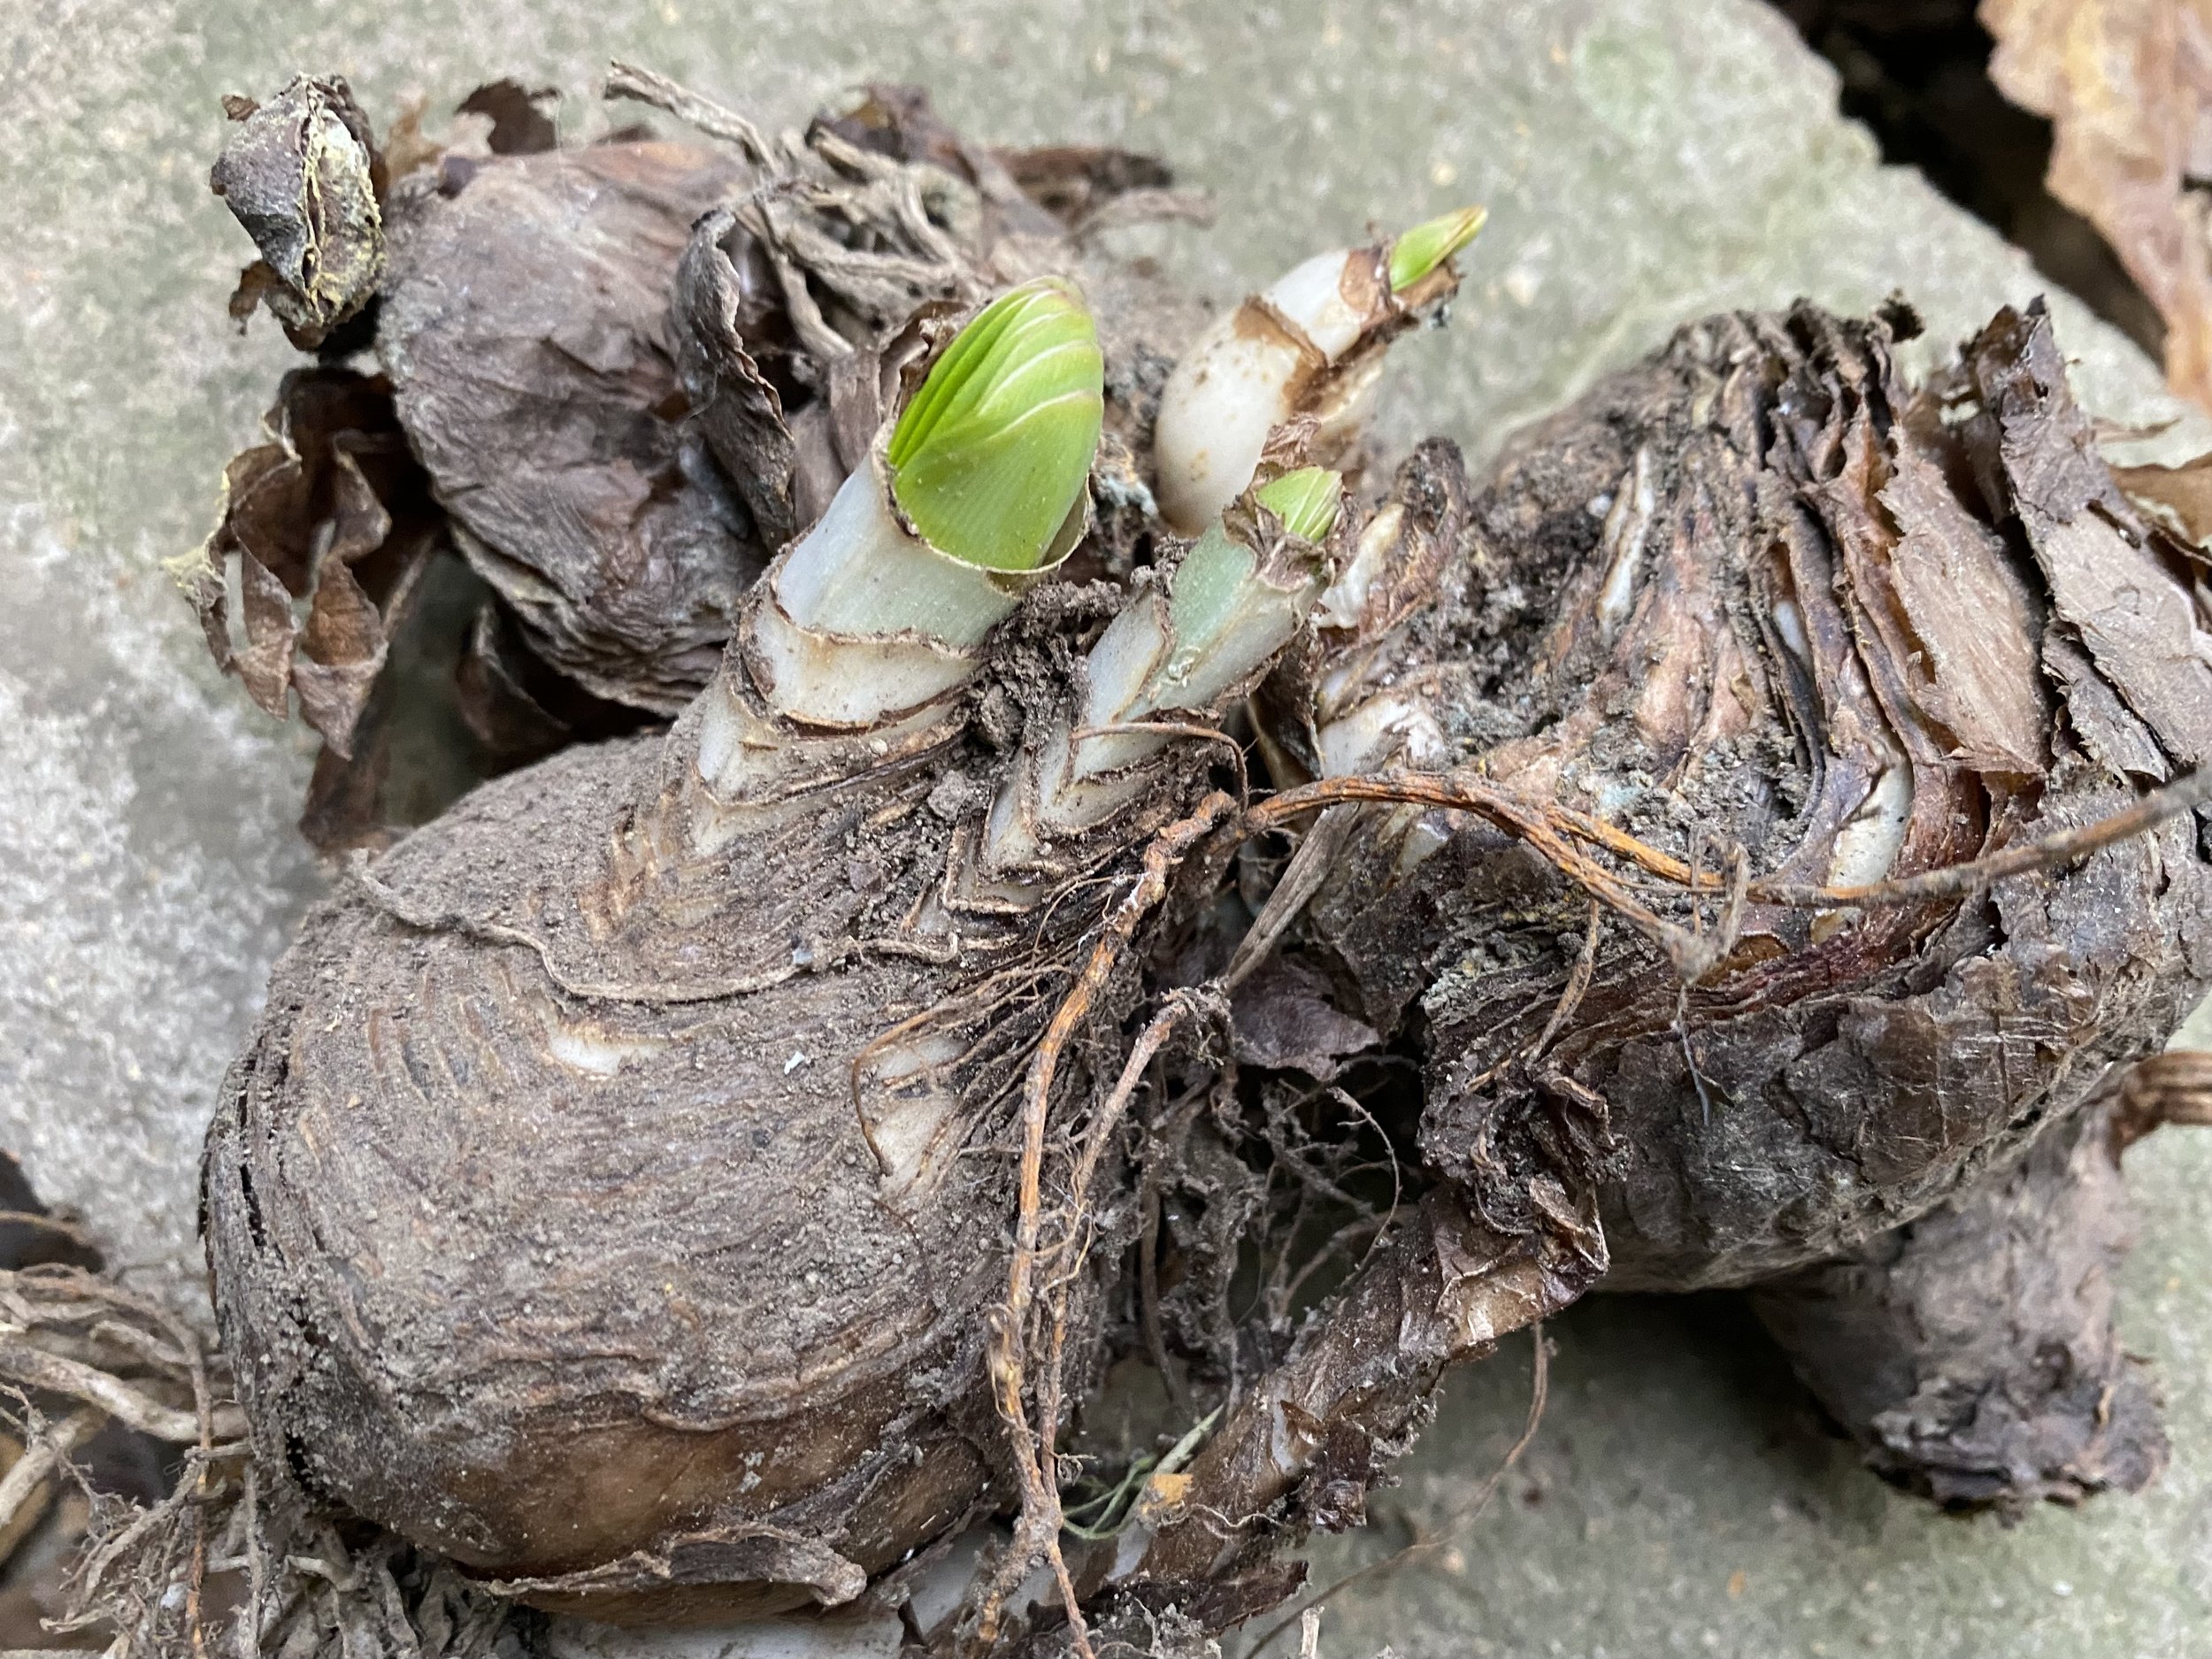
12. Take time to enjoy the sunshine and start to identify the beginning shoots of spring-blooming plants.
For more gardening, beekeeping, cooking and easy home decor tips, subscribe to Garden Notes, my free weekly newsletter.