Impacts of El Nino on Our Gardens
/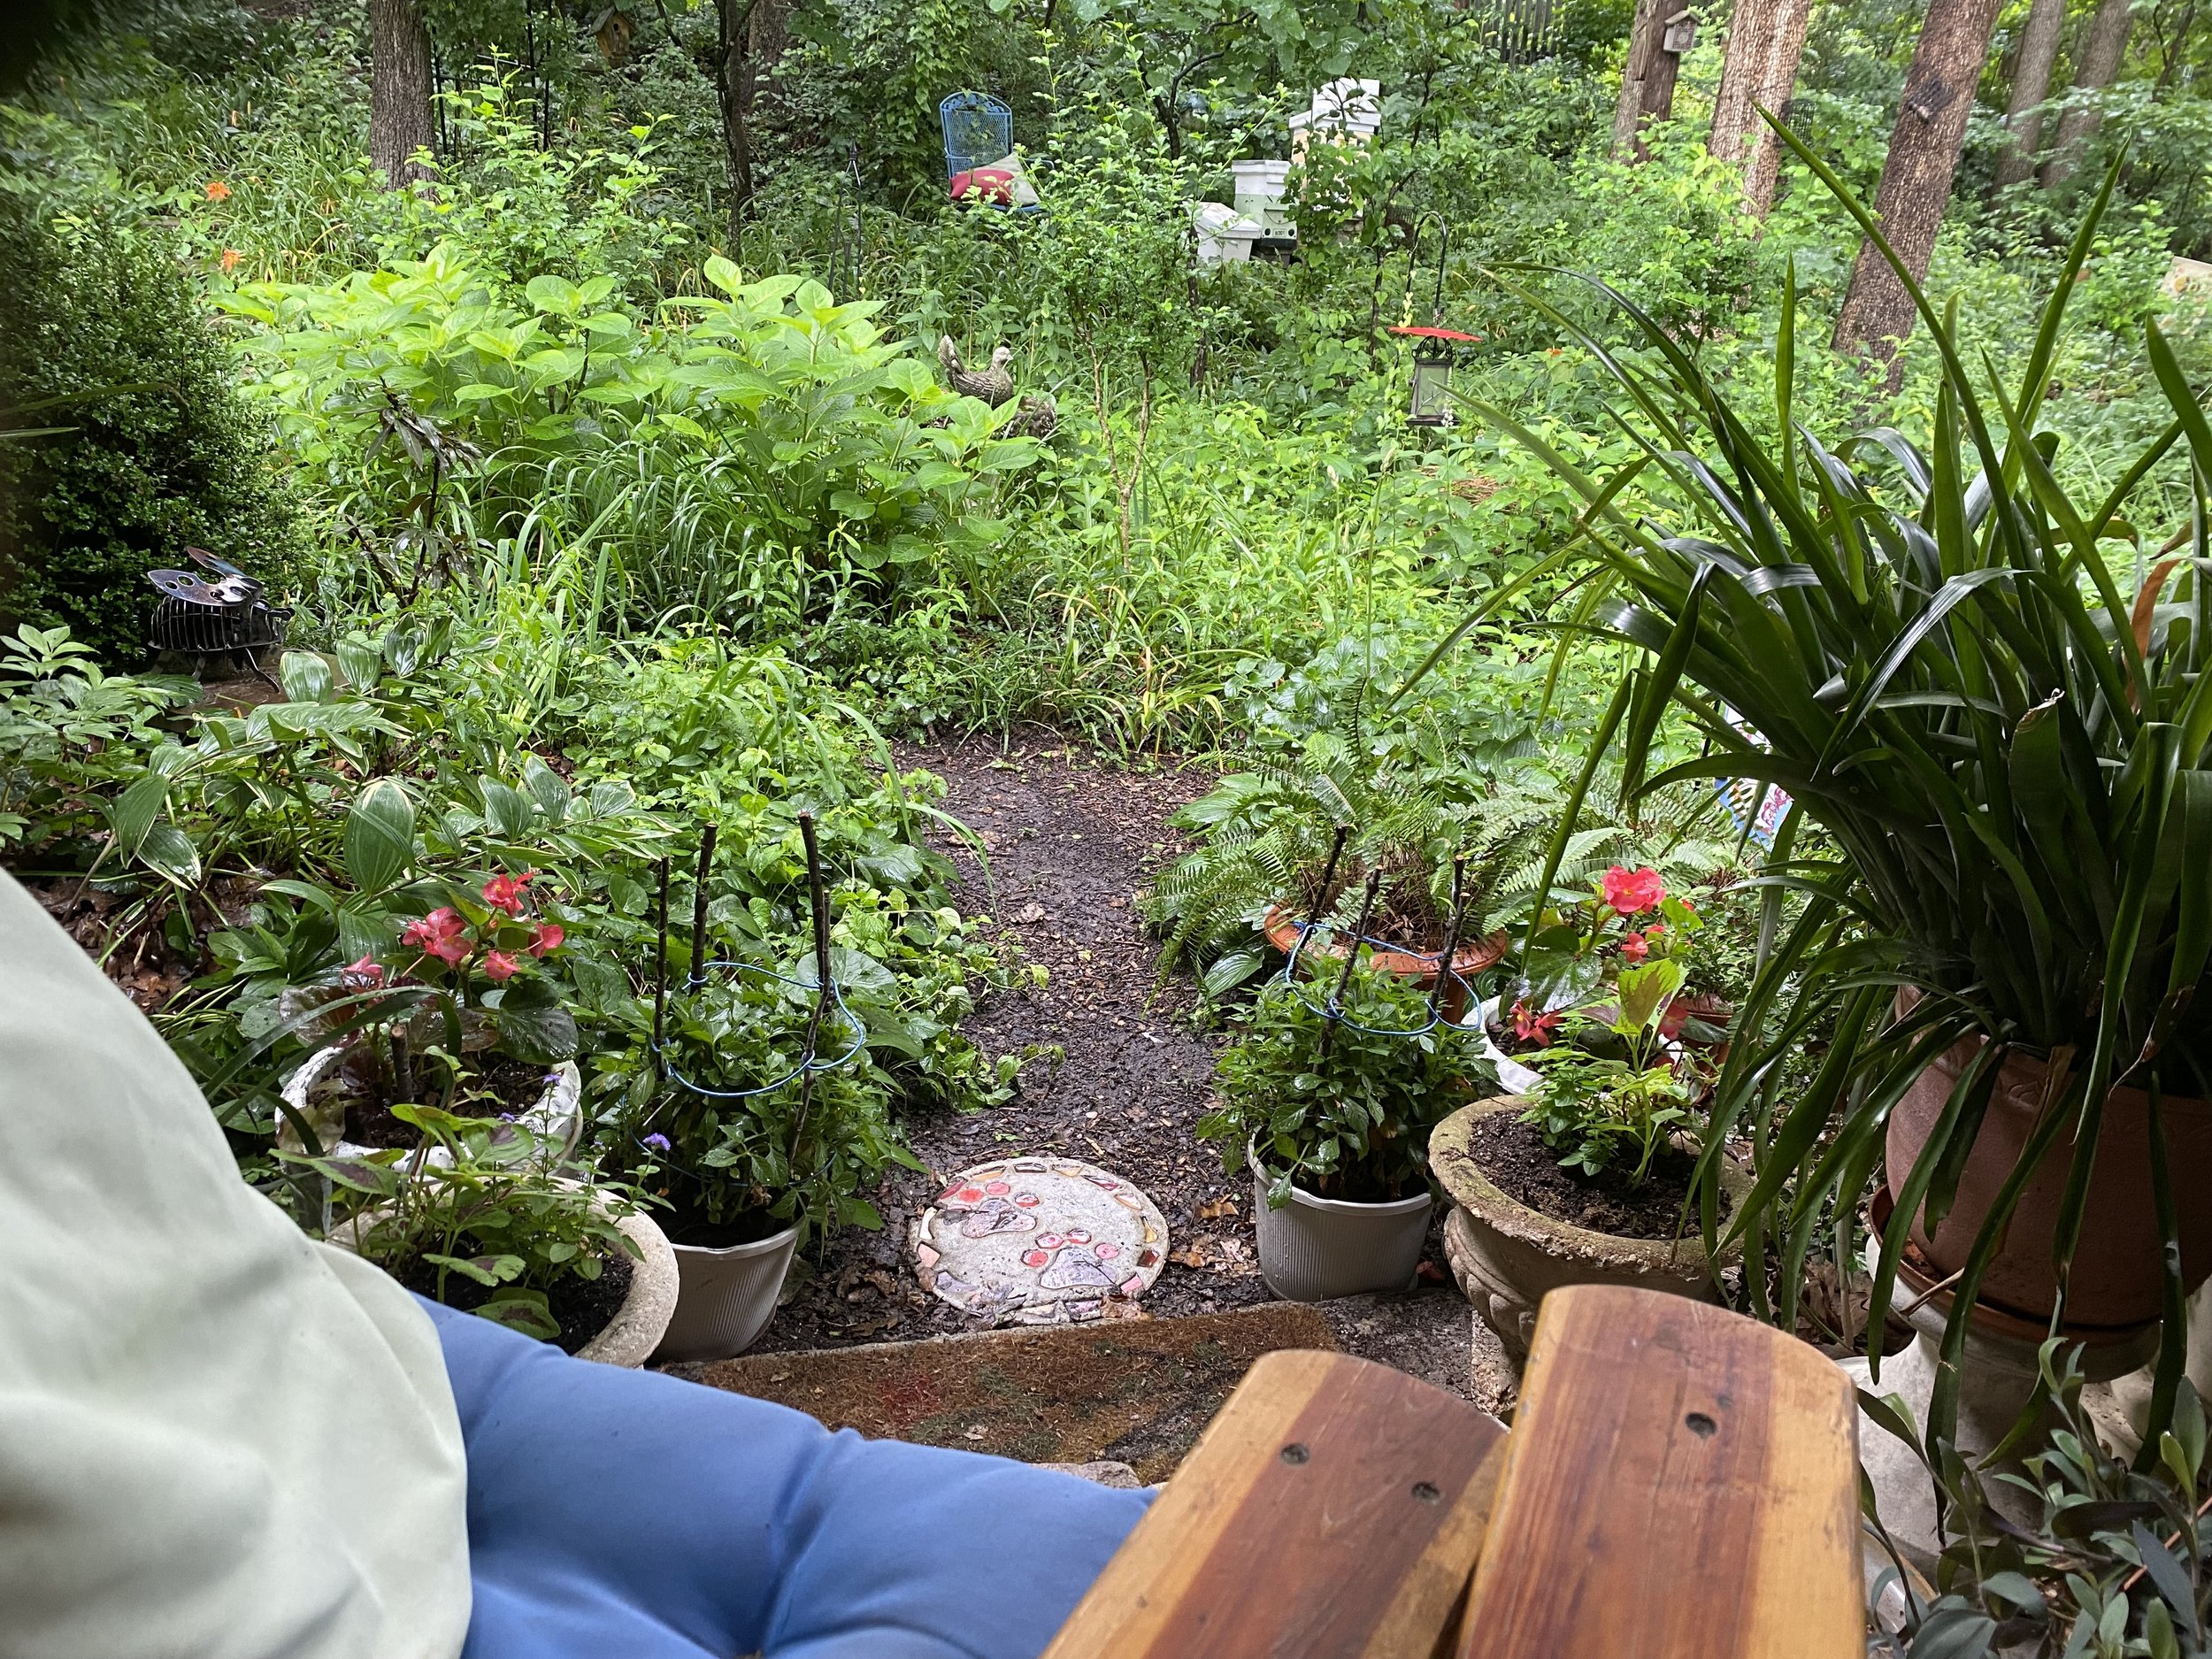
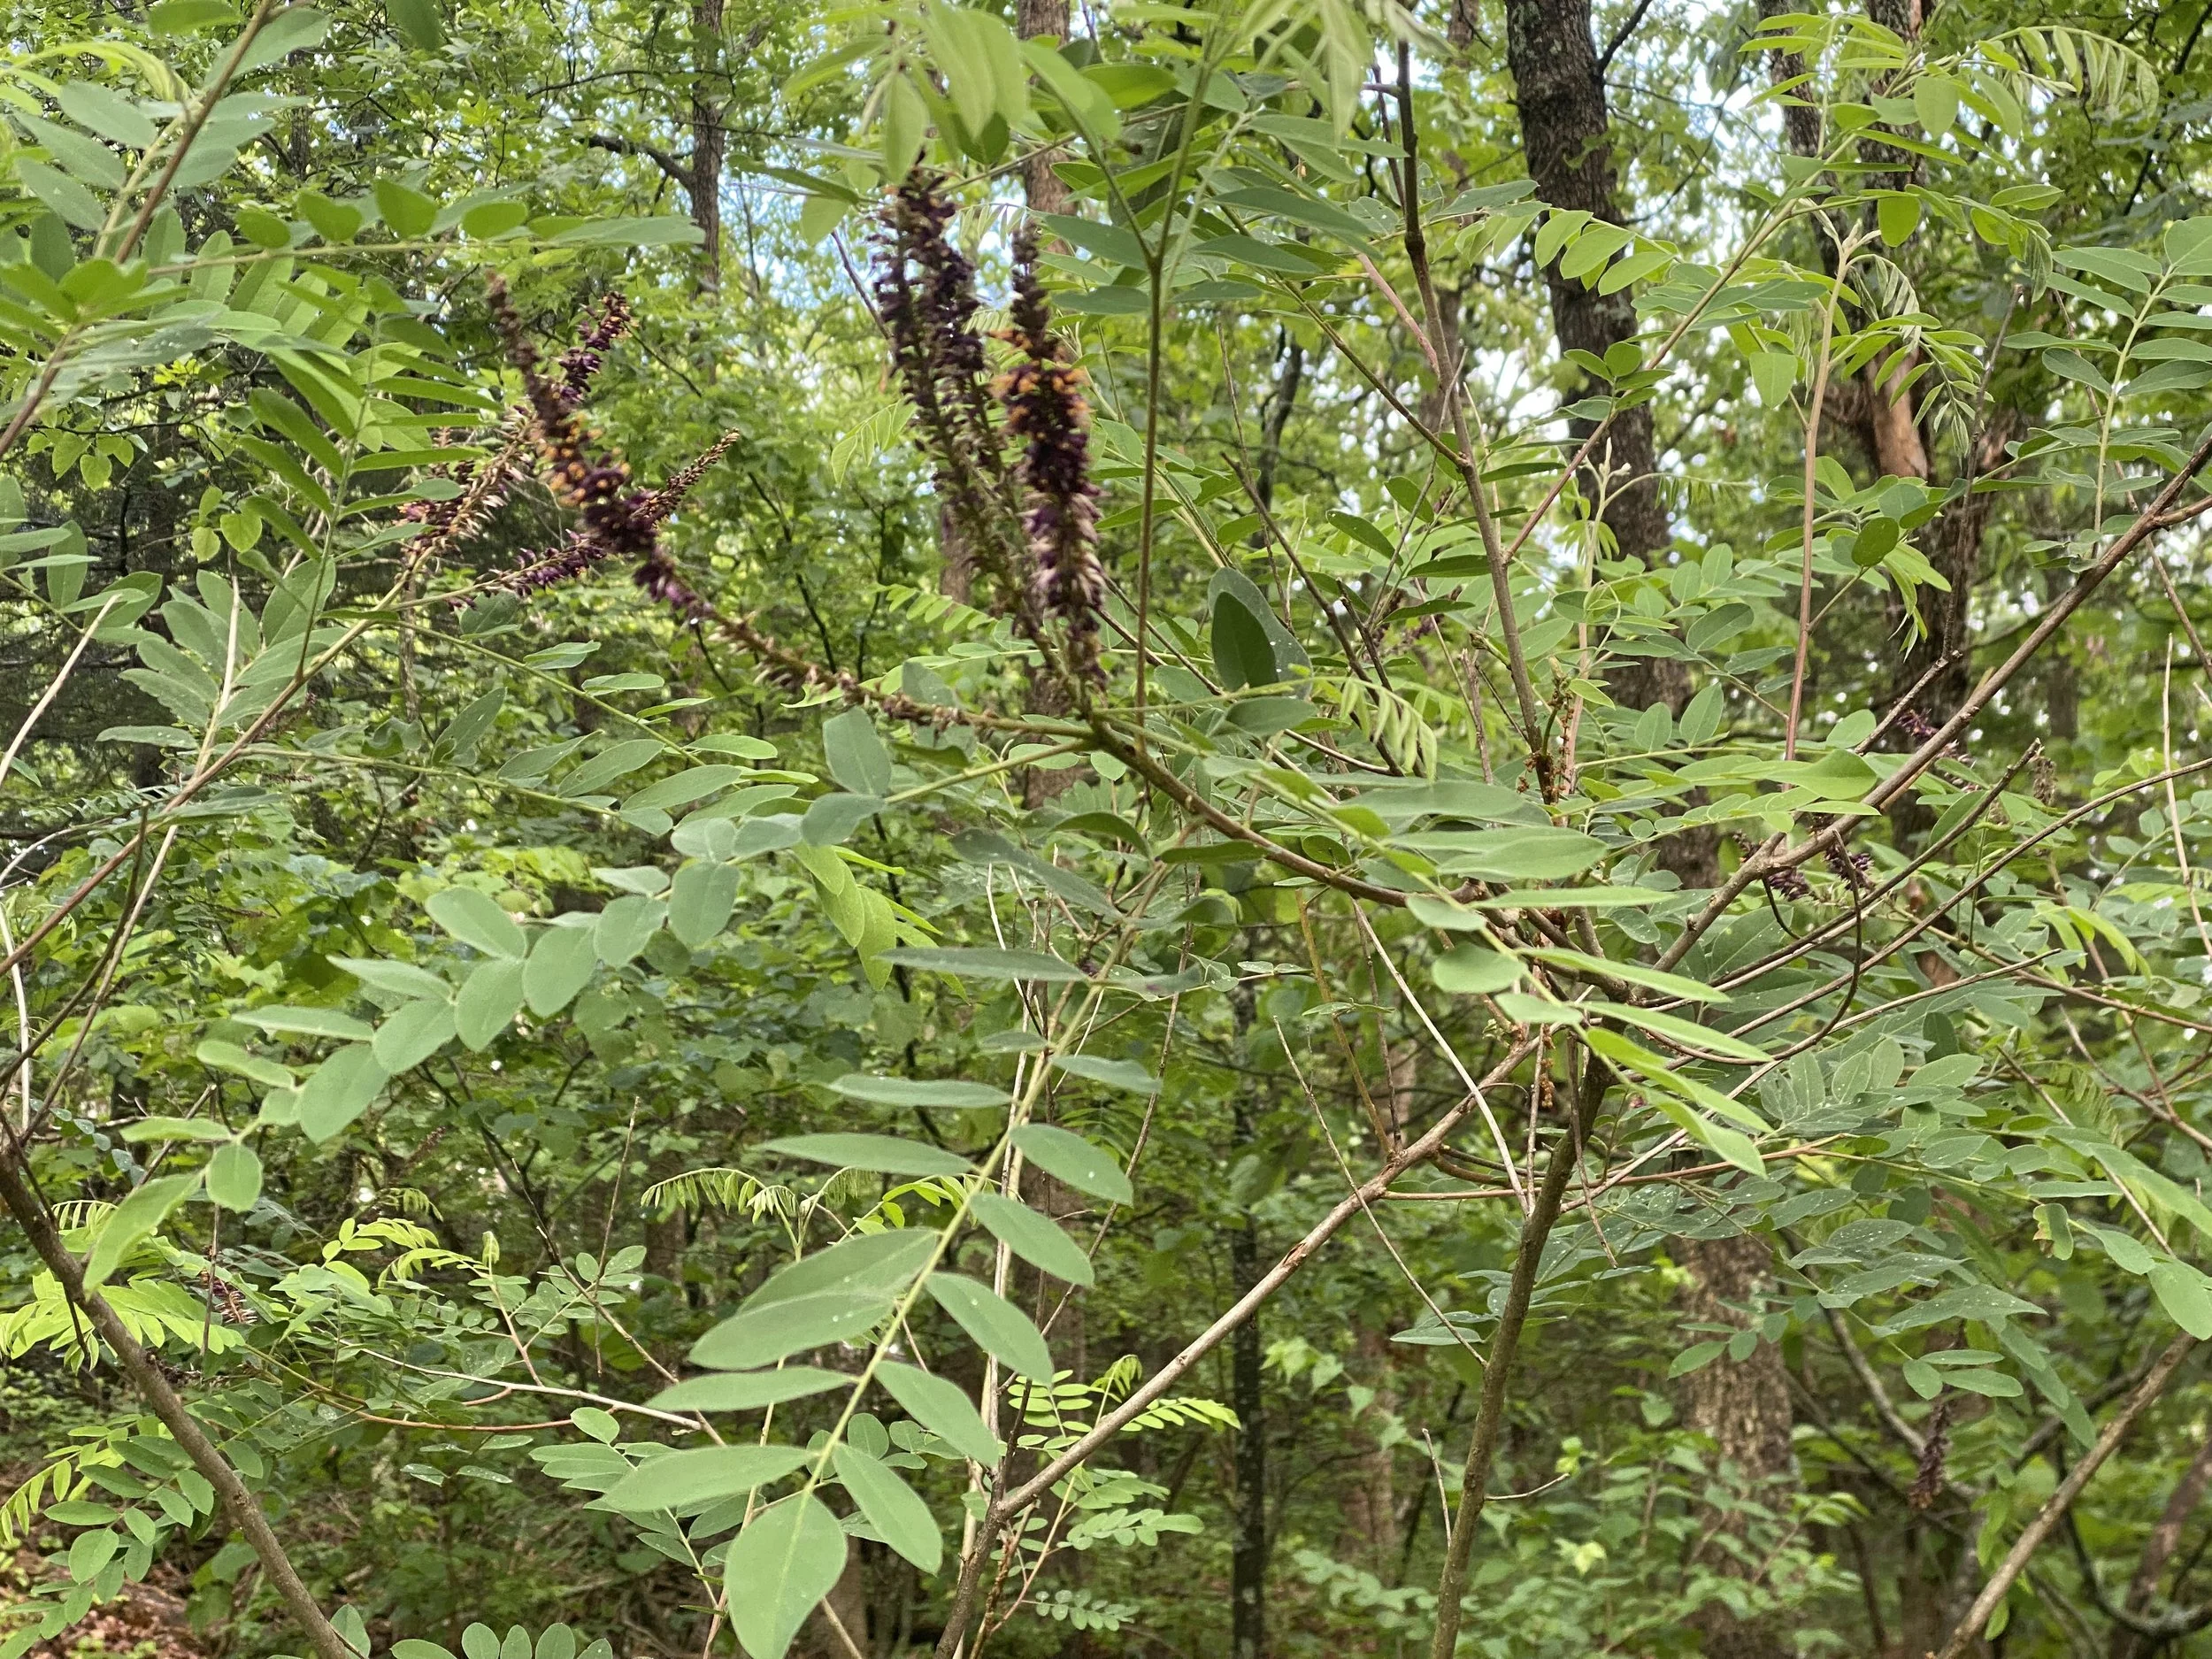
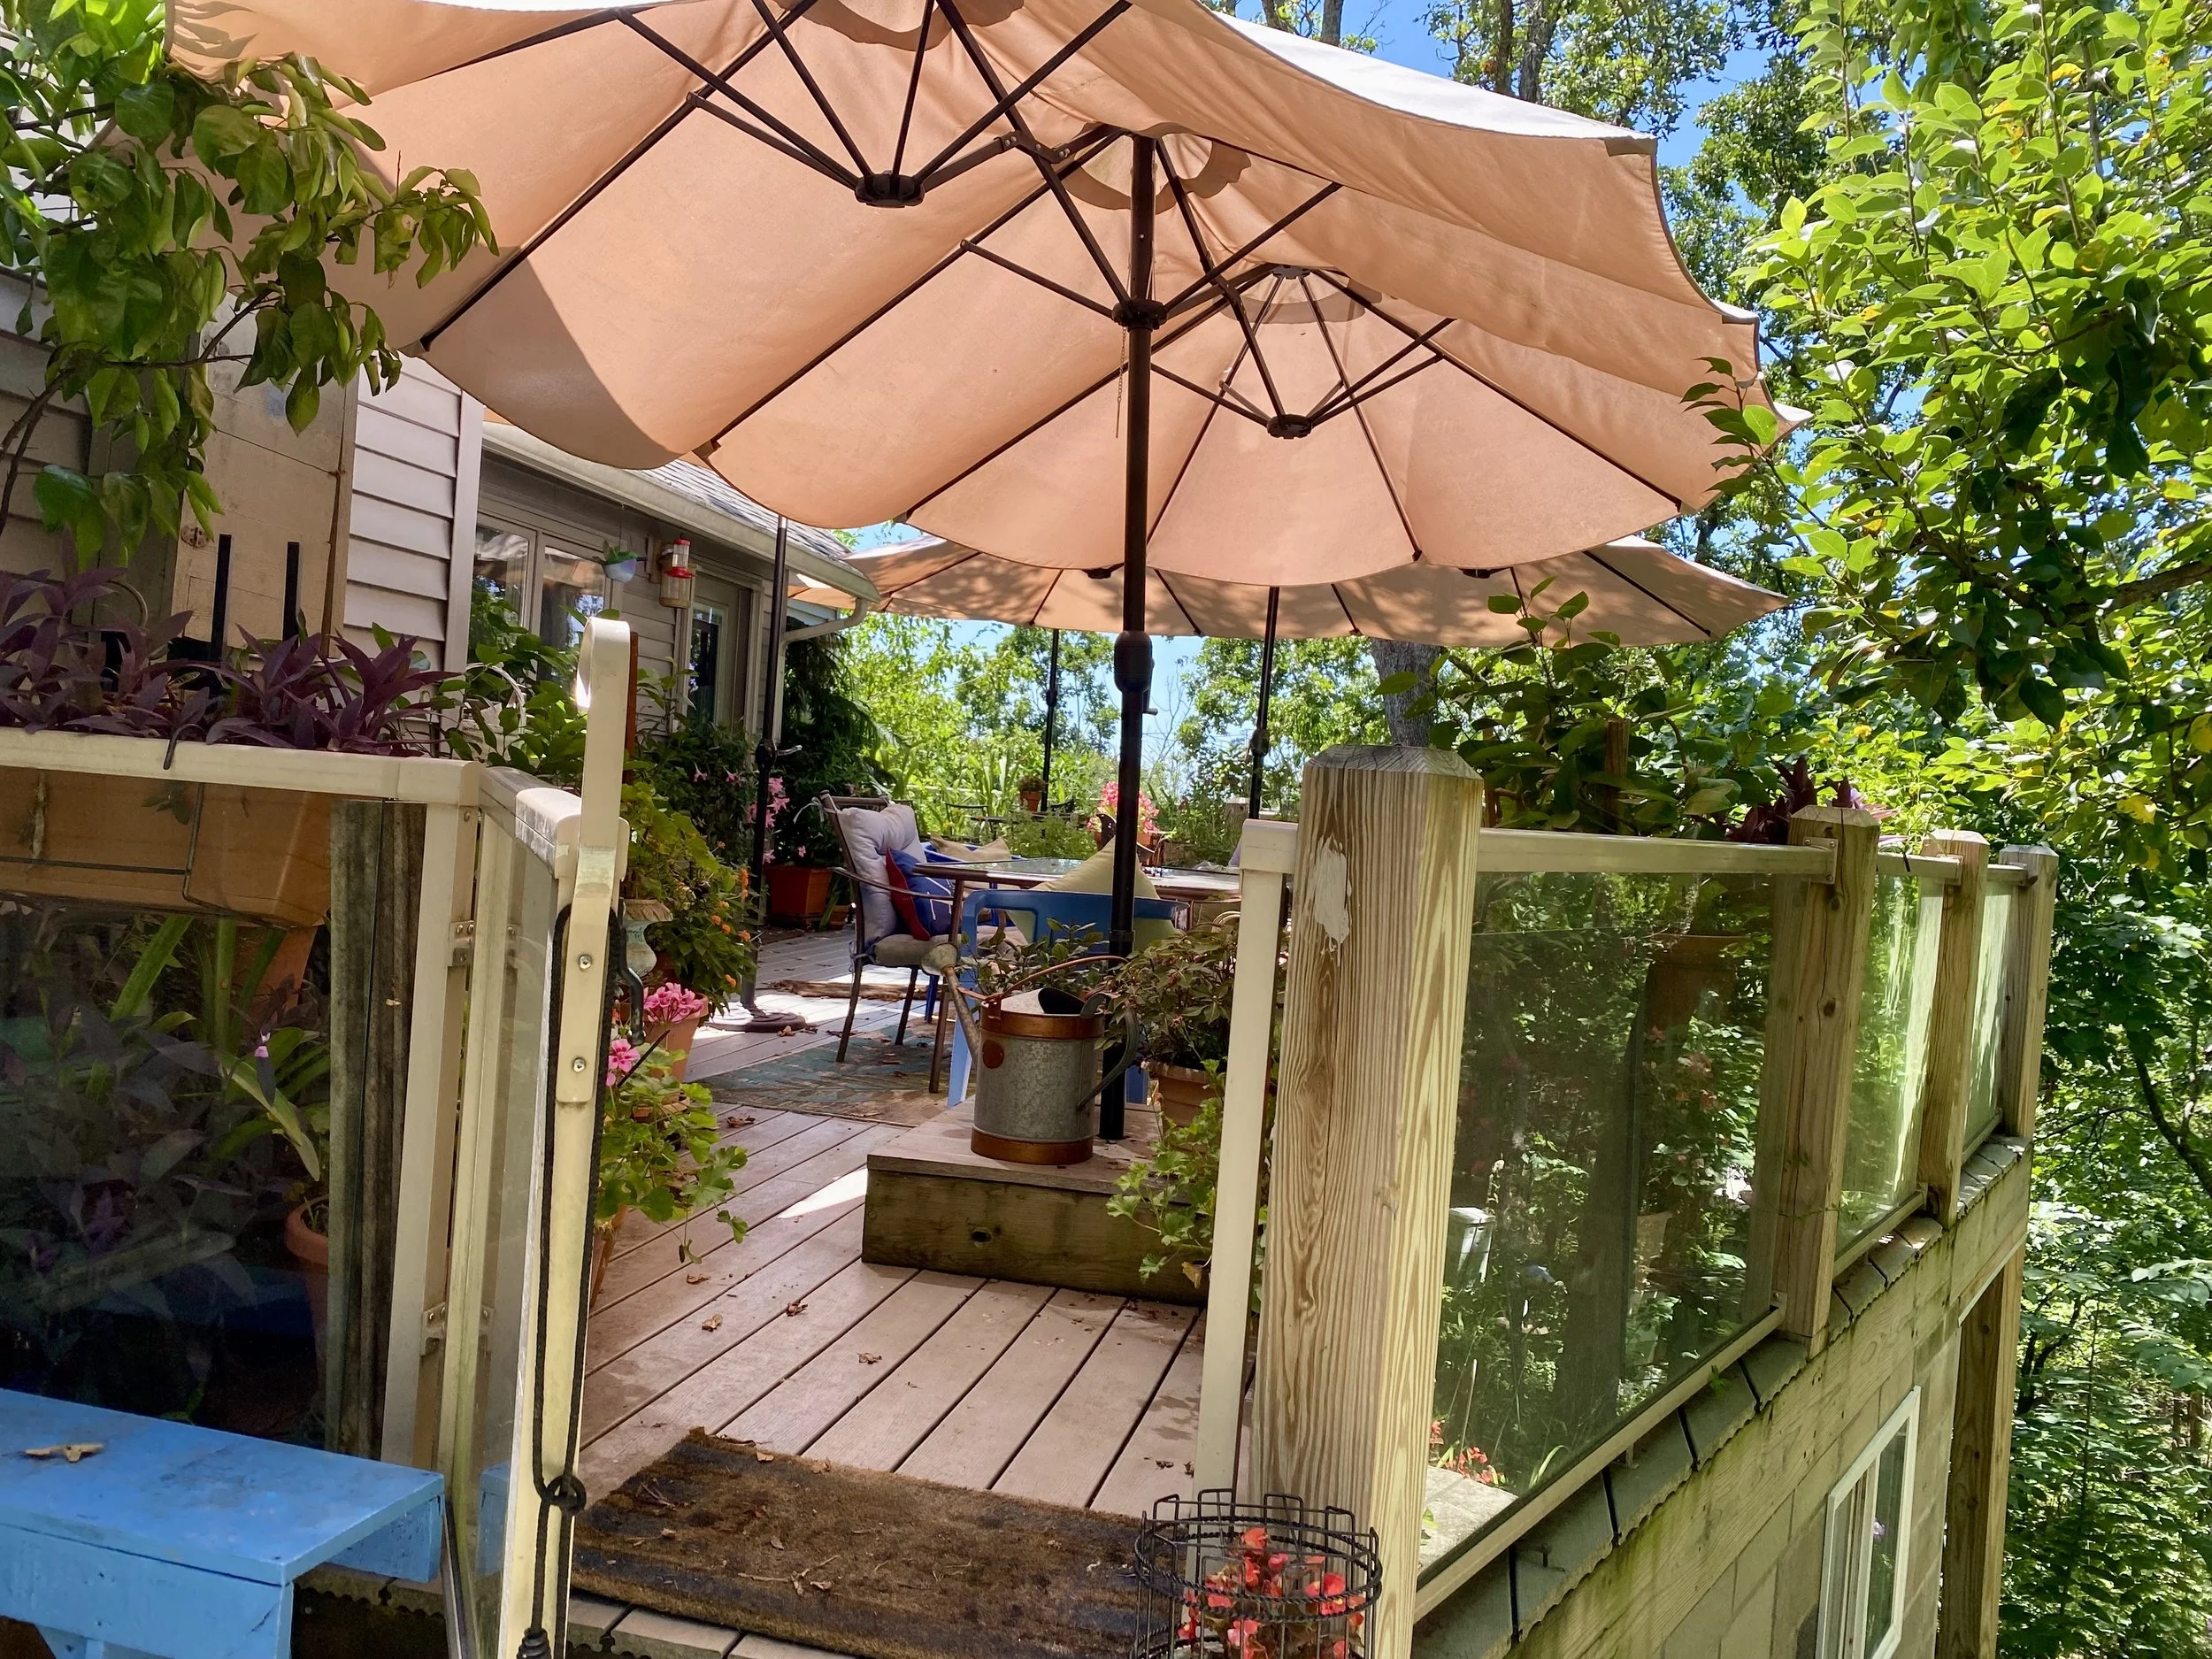
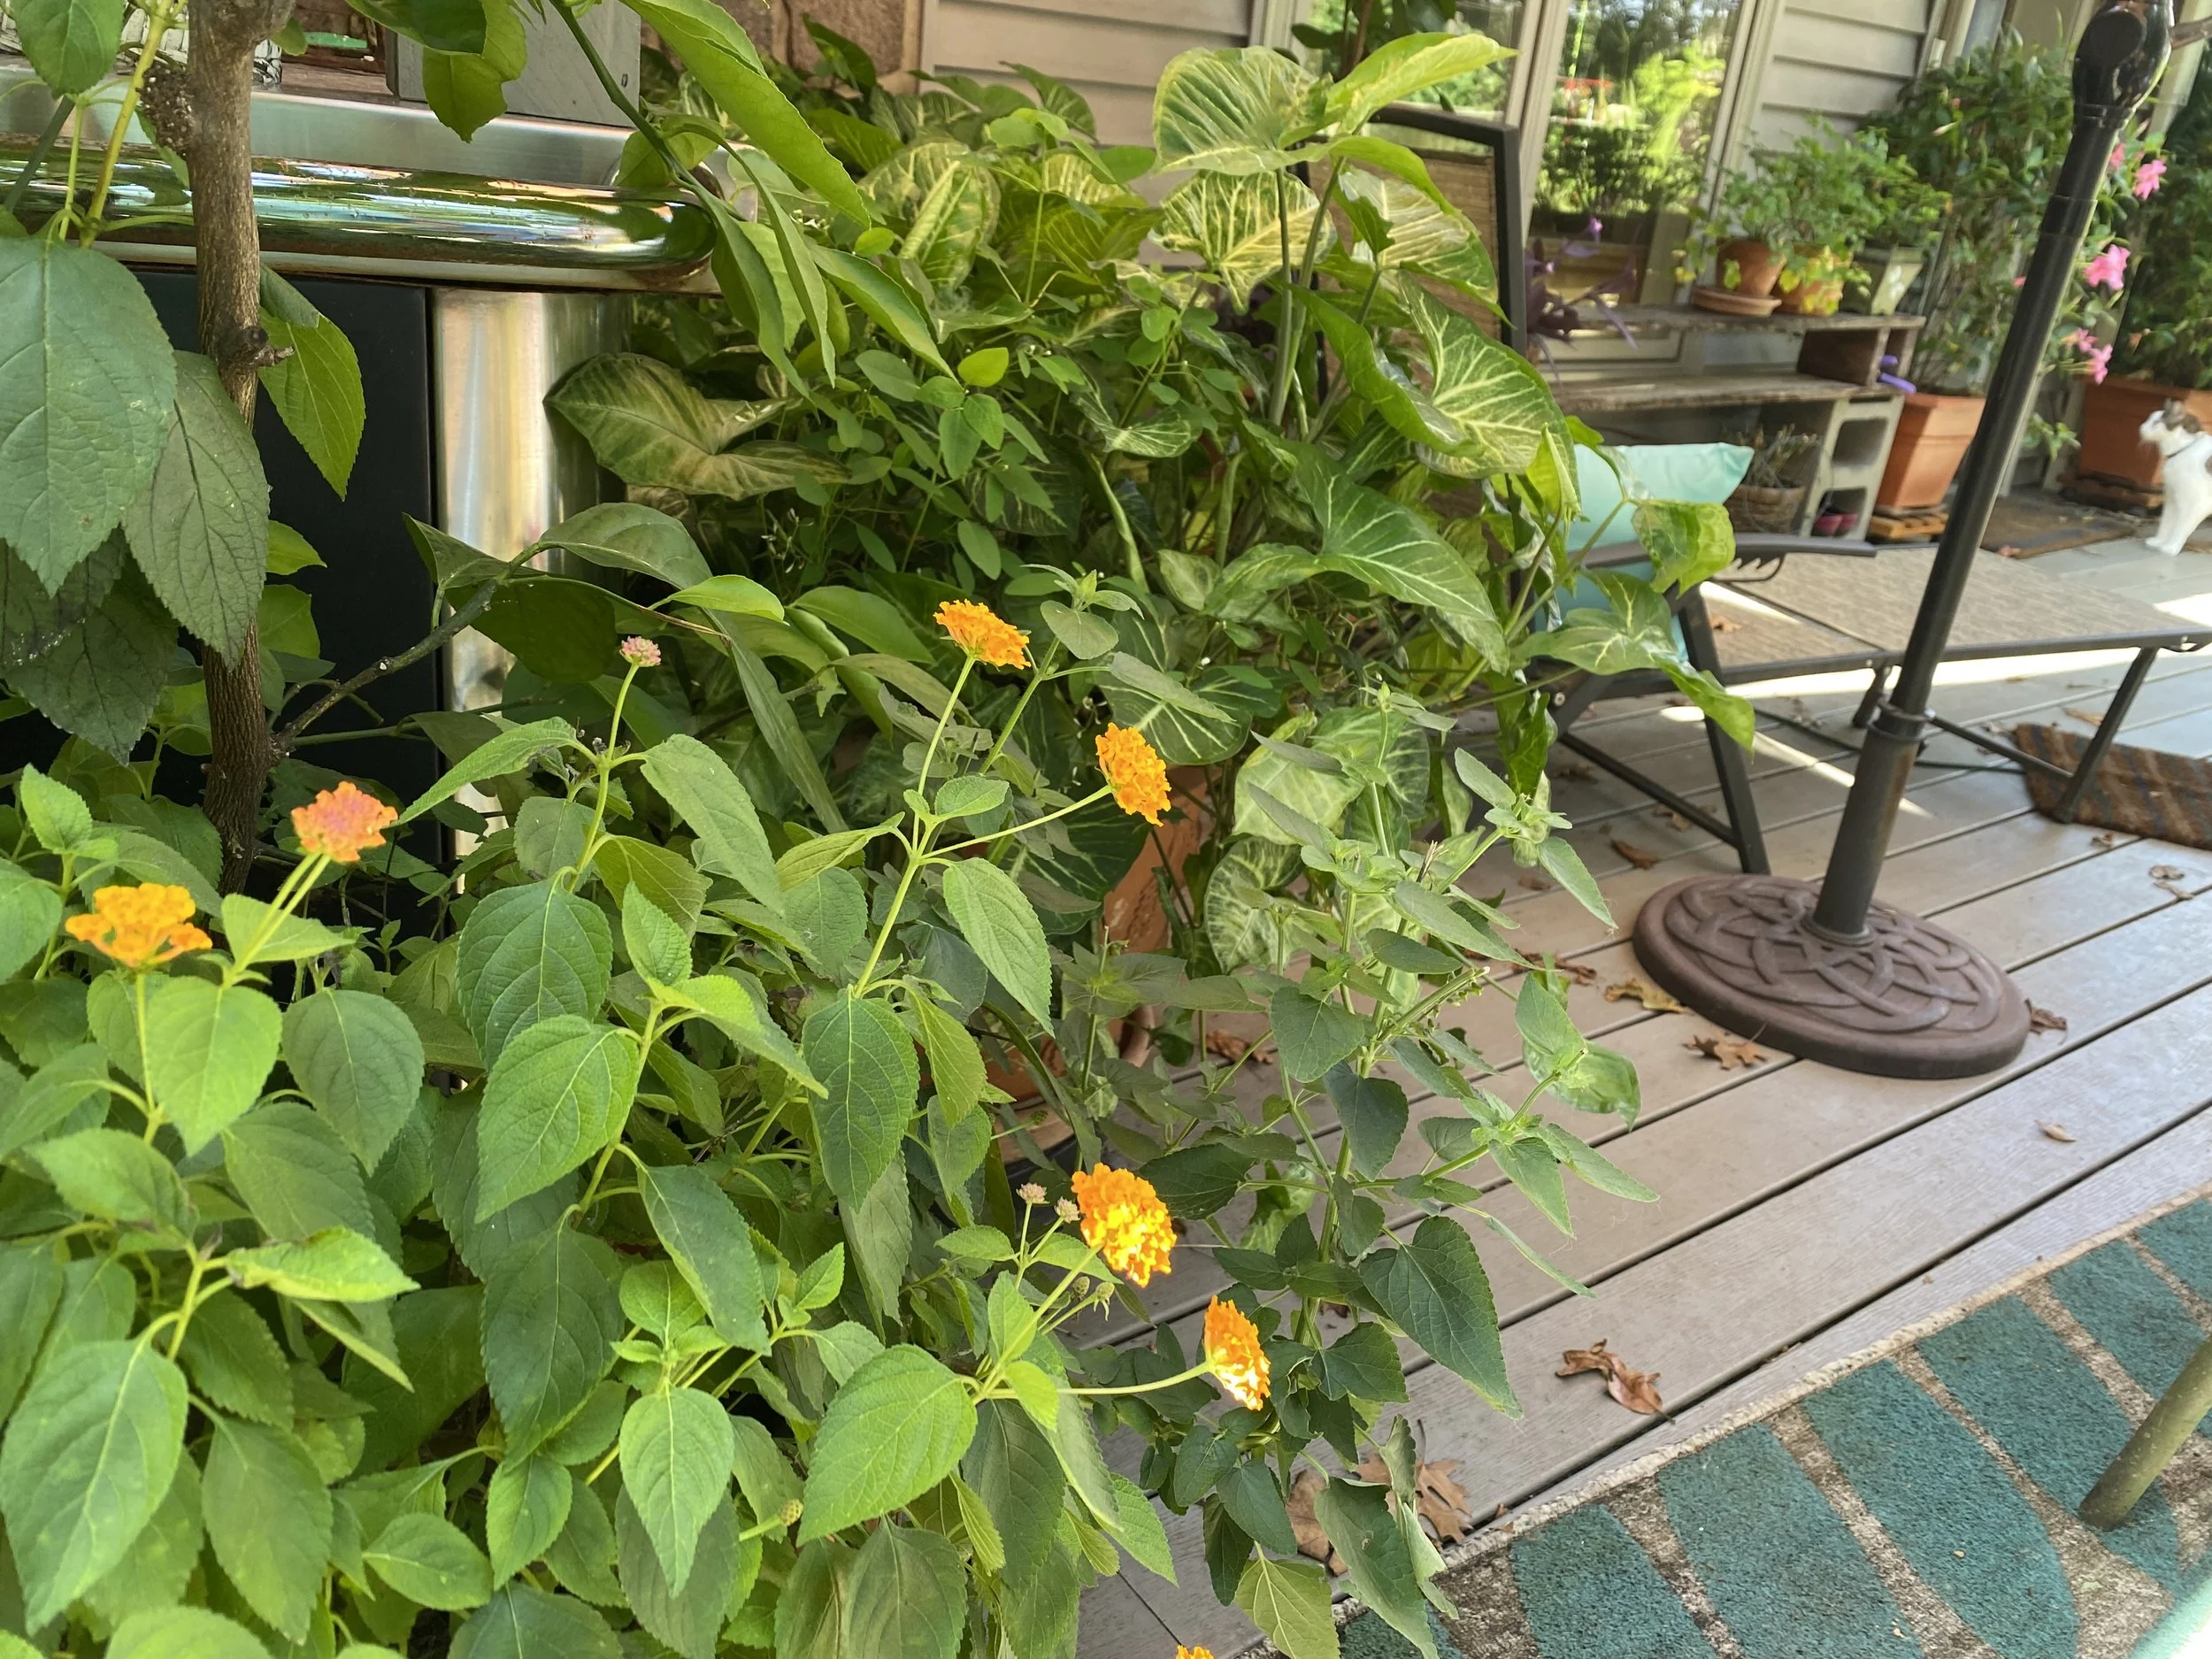
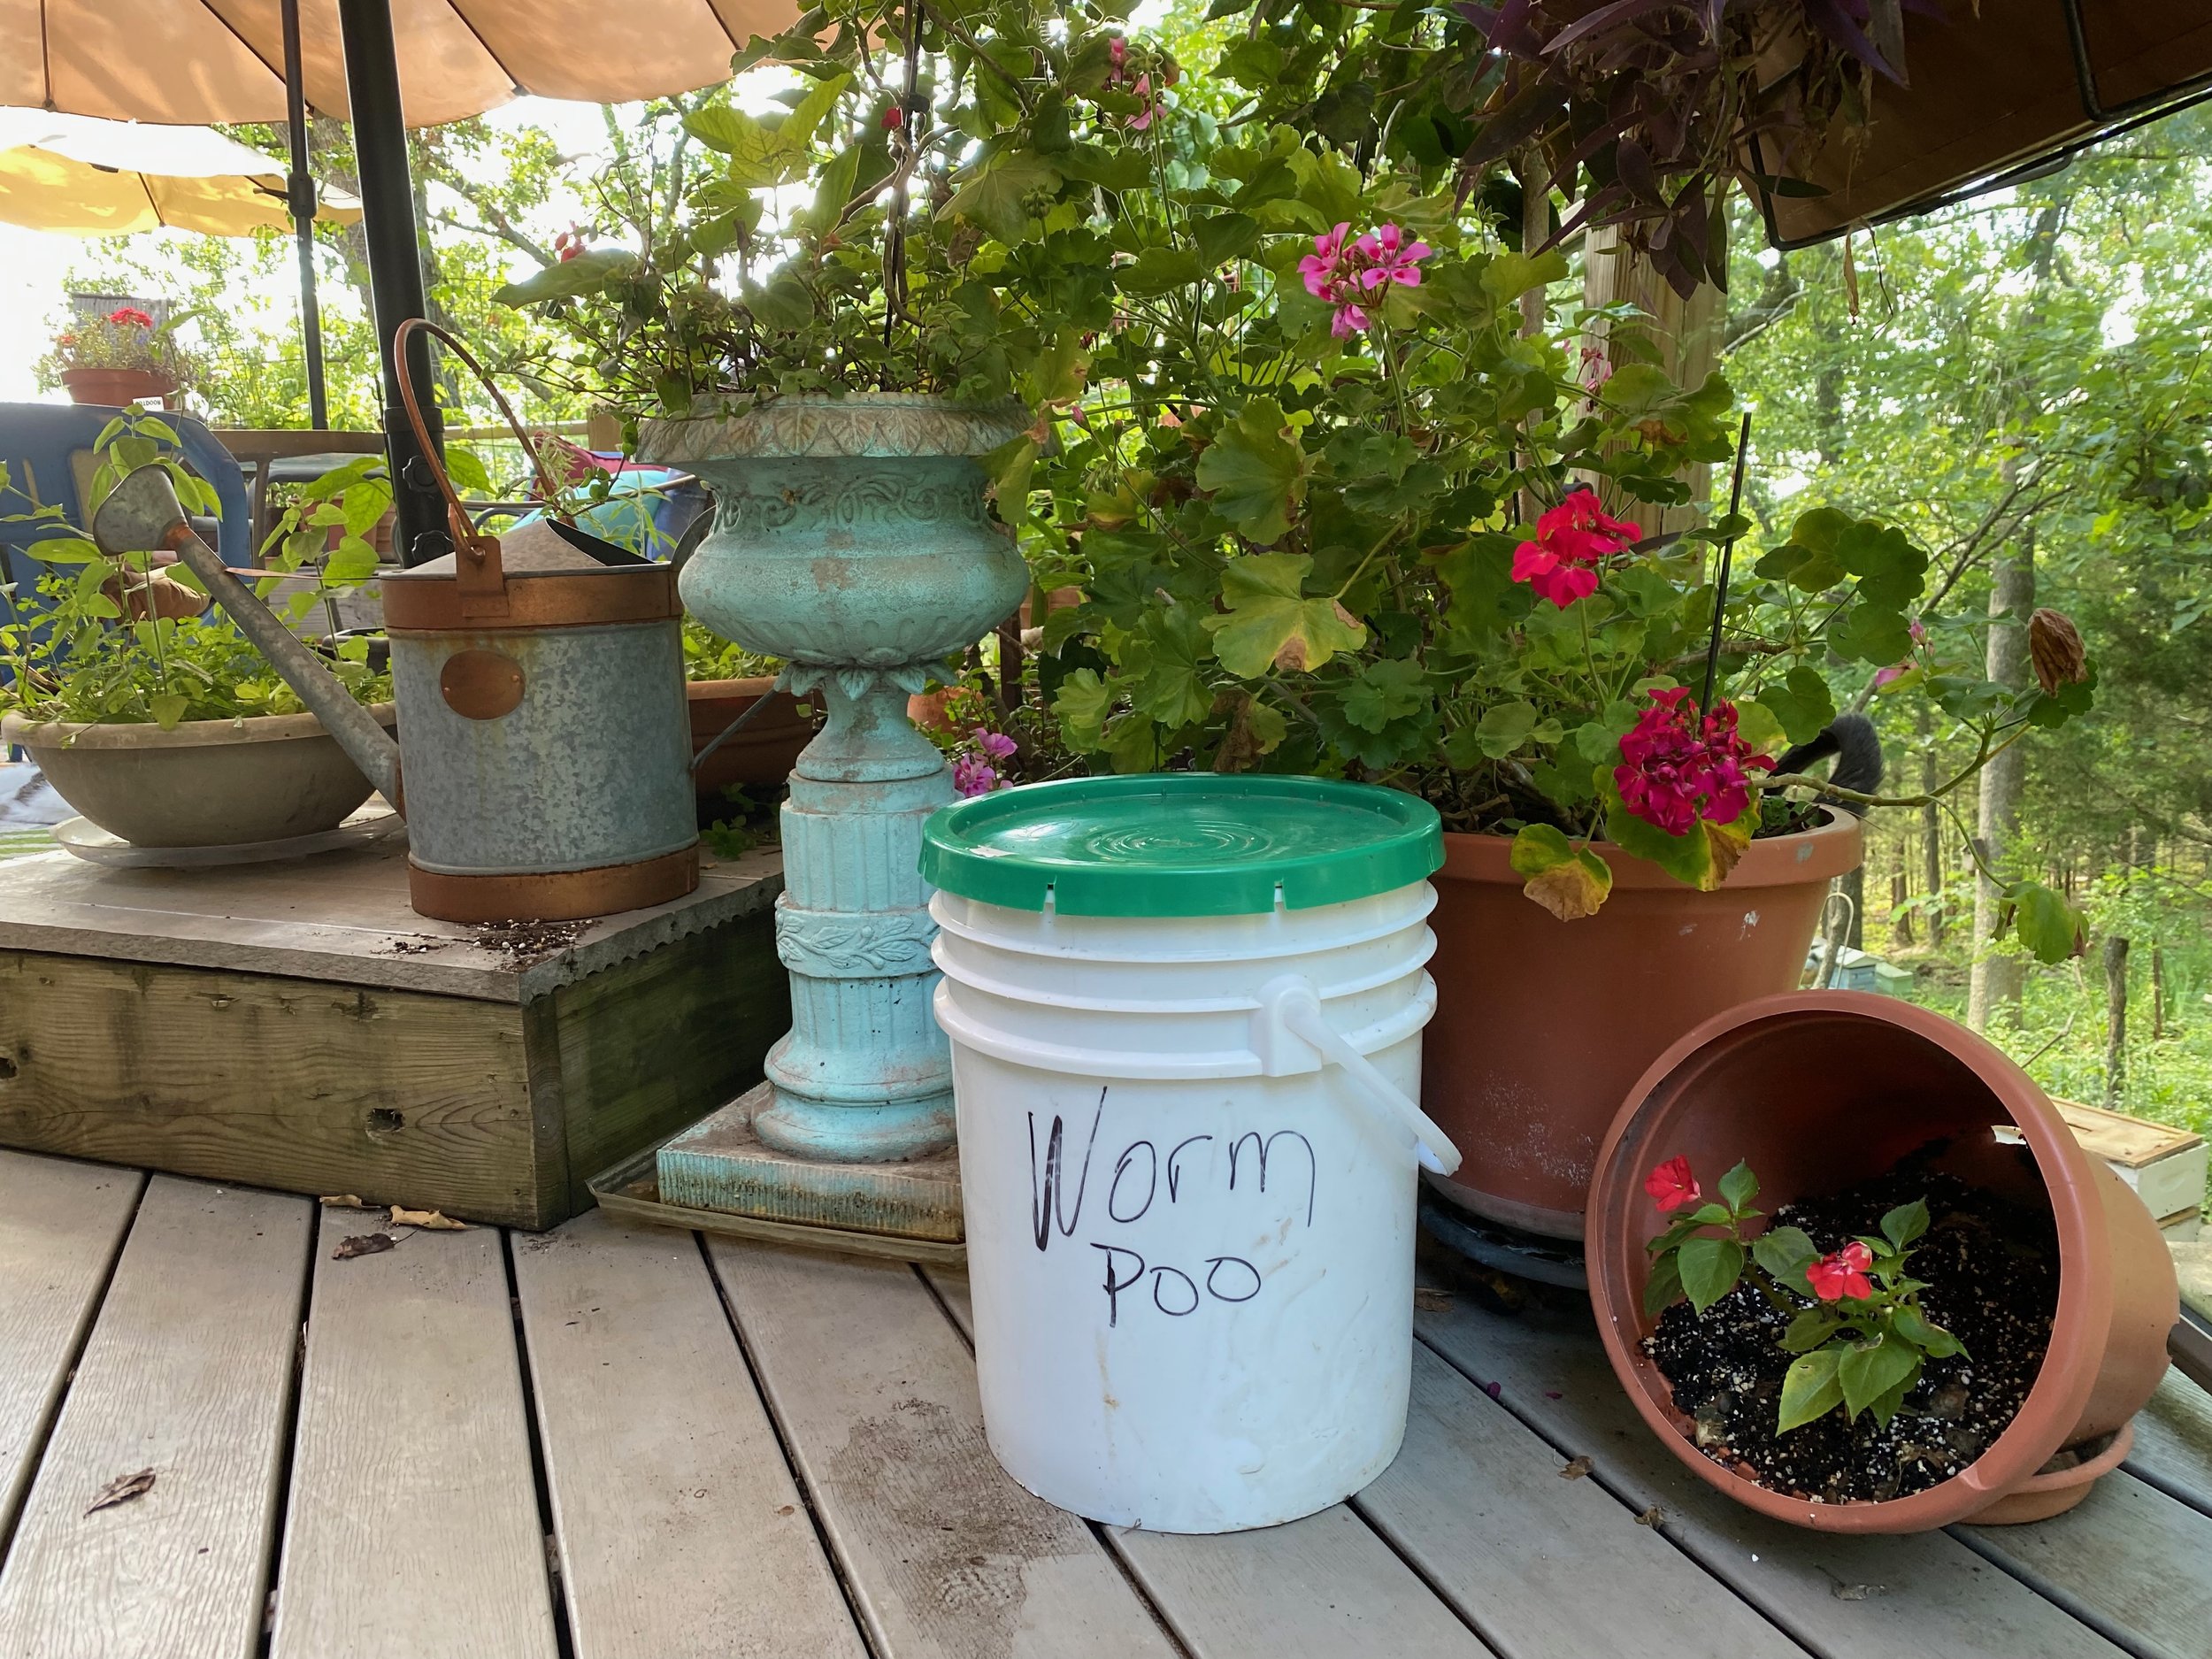
Above normal spring rainfall has encouraged plant growth in my garden. (charlotte ekker wiggins photo)
What Could El Niño Mean for Our Gardens and Bees This Summer?
As gardeners and beekeepers, we spend plenty of time watching the weather. This year, many people are asking about the possible effects of El Niño. While no climate pattern guarantees a specific outcome, El Niño can influence temperature, rainfall, plant growth, and pollinator activity across much of the United States. Understanding these potential impacts can help us prepare rather than react.
What Is El Niño?
El Niño is a natural climate pattern that occurs when surface waters in the equatorial Pacific Ocean become warmer than average. Those warmer waters can shift weather patterns around the globe, affecting rainfall, temperatures, storm tracks, and drought conditions. For gardeners and beekeepers, the important takeaway is that El Niño often influences how much moisture we receive and how temperatures fluctuate during the growing season.
What Gardeners May Notice
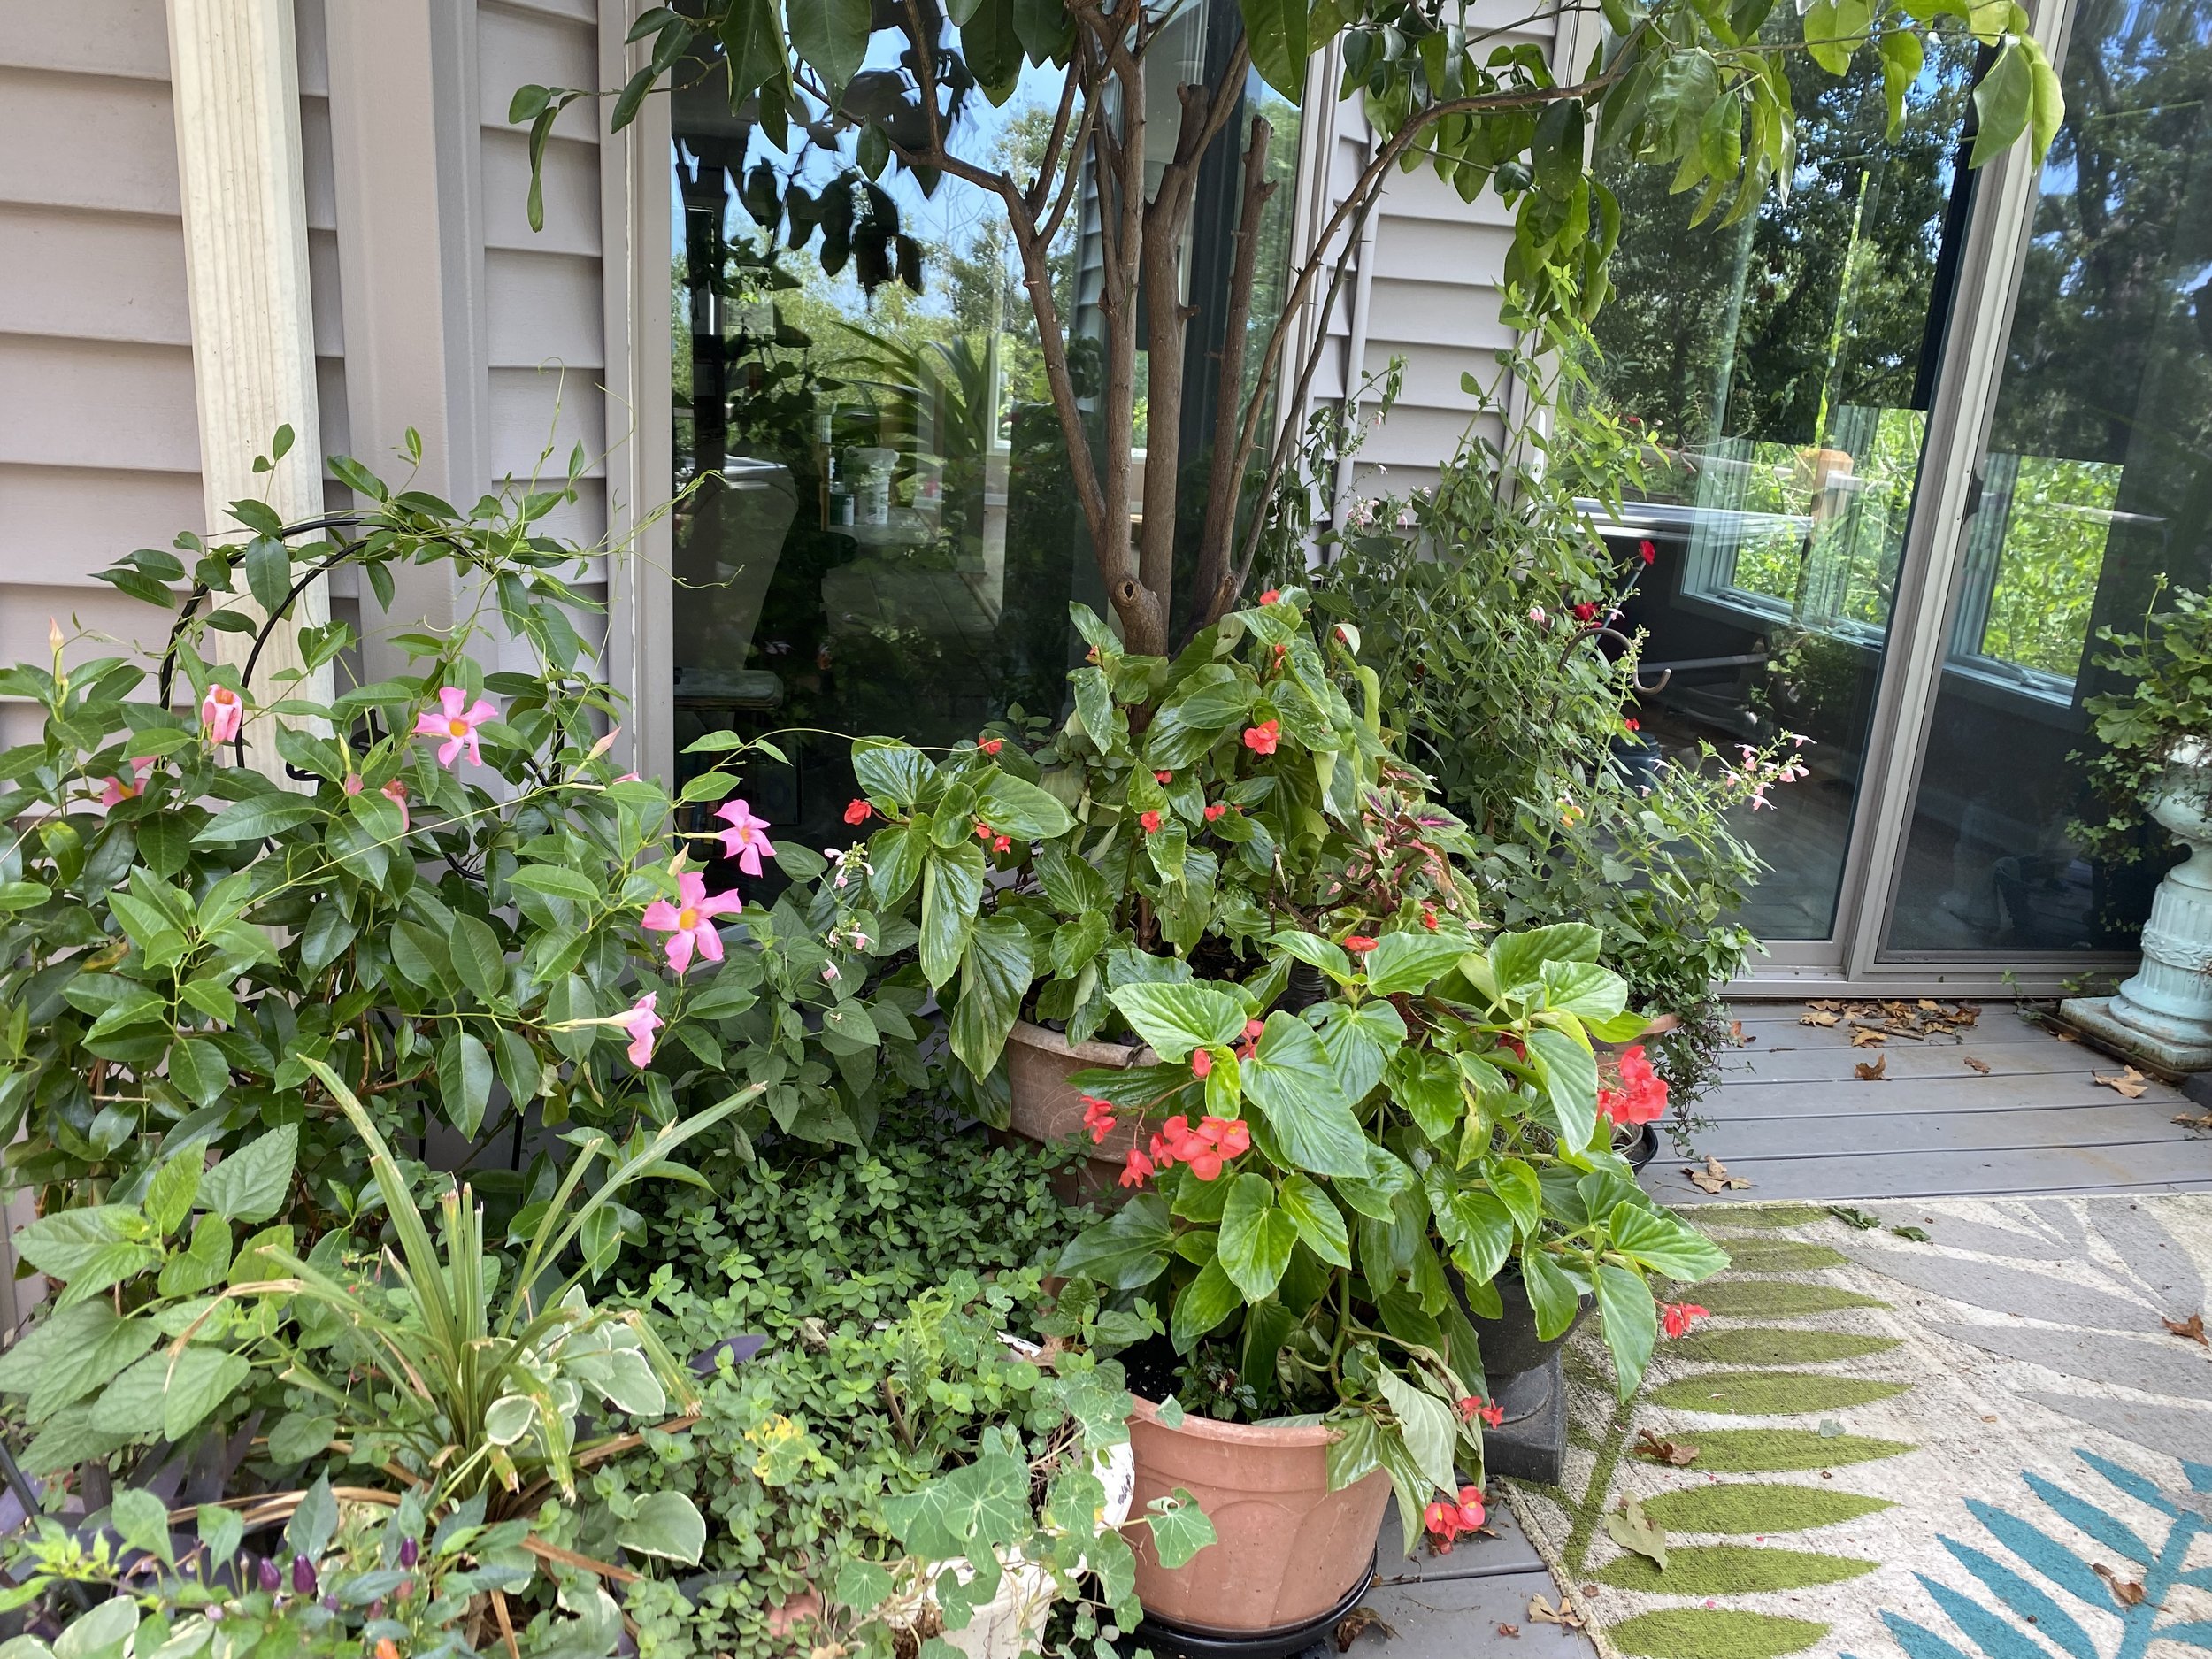
If your area experiences above-average rainfall like mine has, plants may grow vigorously. Trees, shrubs, perennials, and vegetables often respond well to consistent moisture. However, excess moisture can also create ideal conditions for:
1. Typical Garden Problems
• Powdery mildew on phlox, bee balm, squash, and zinnias
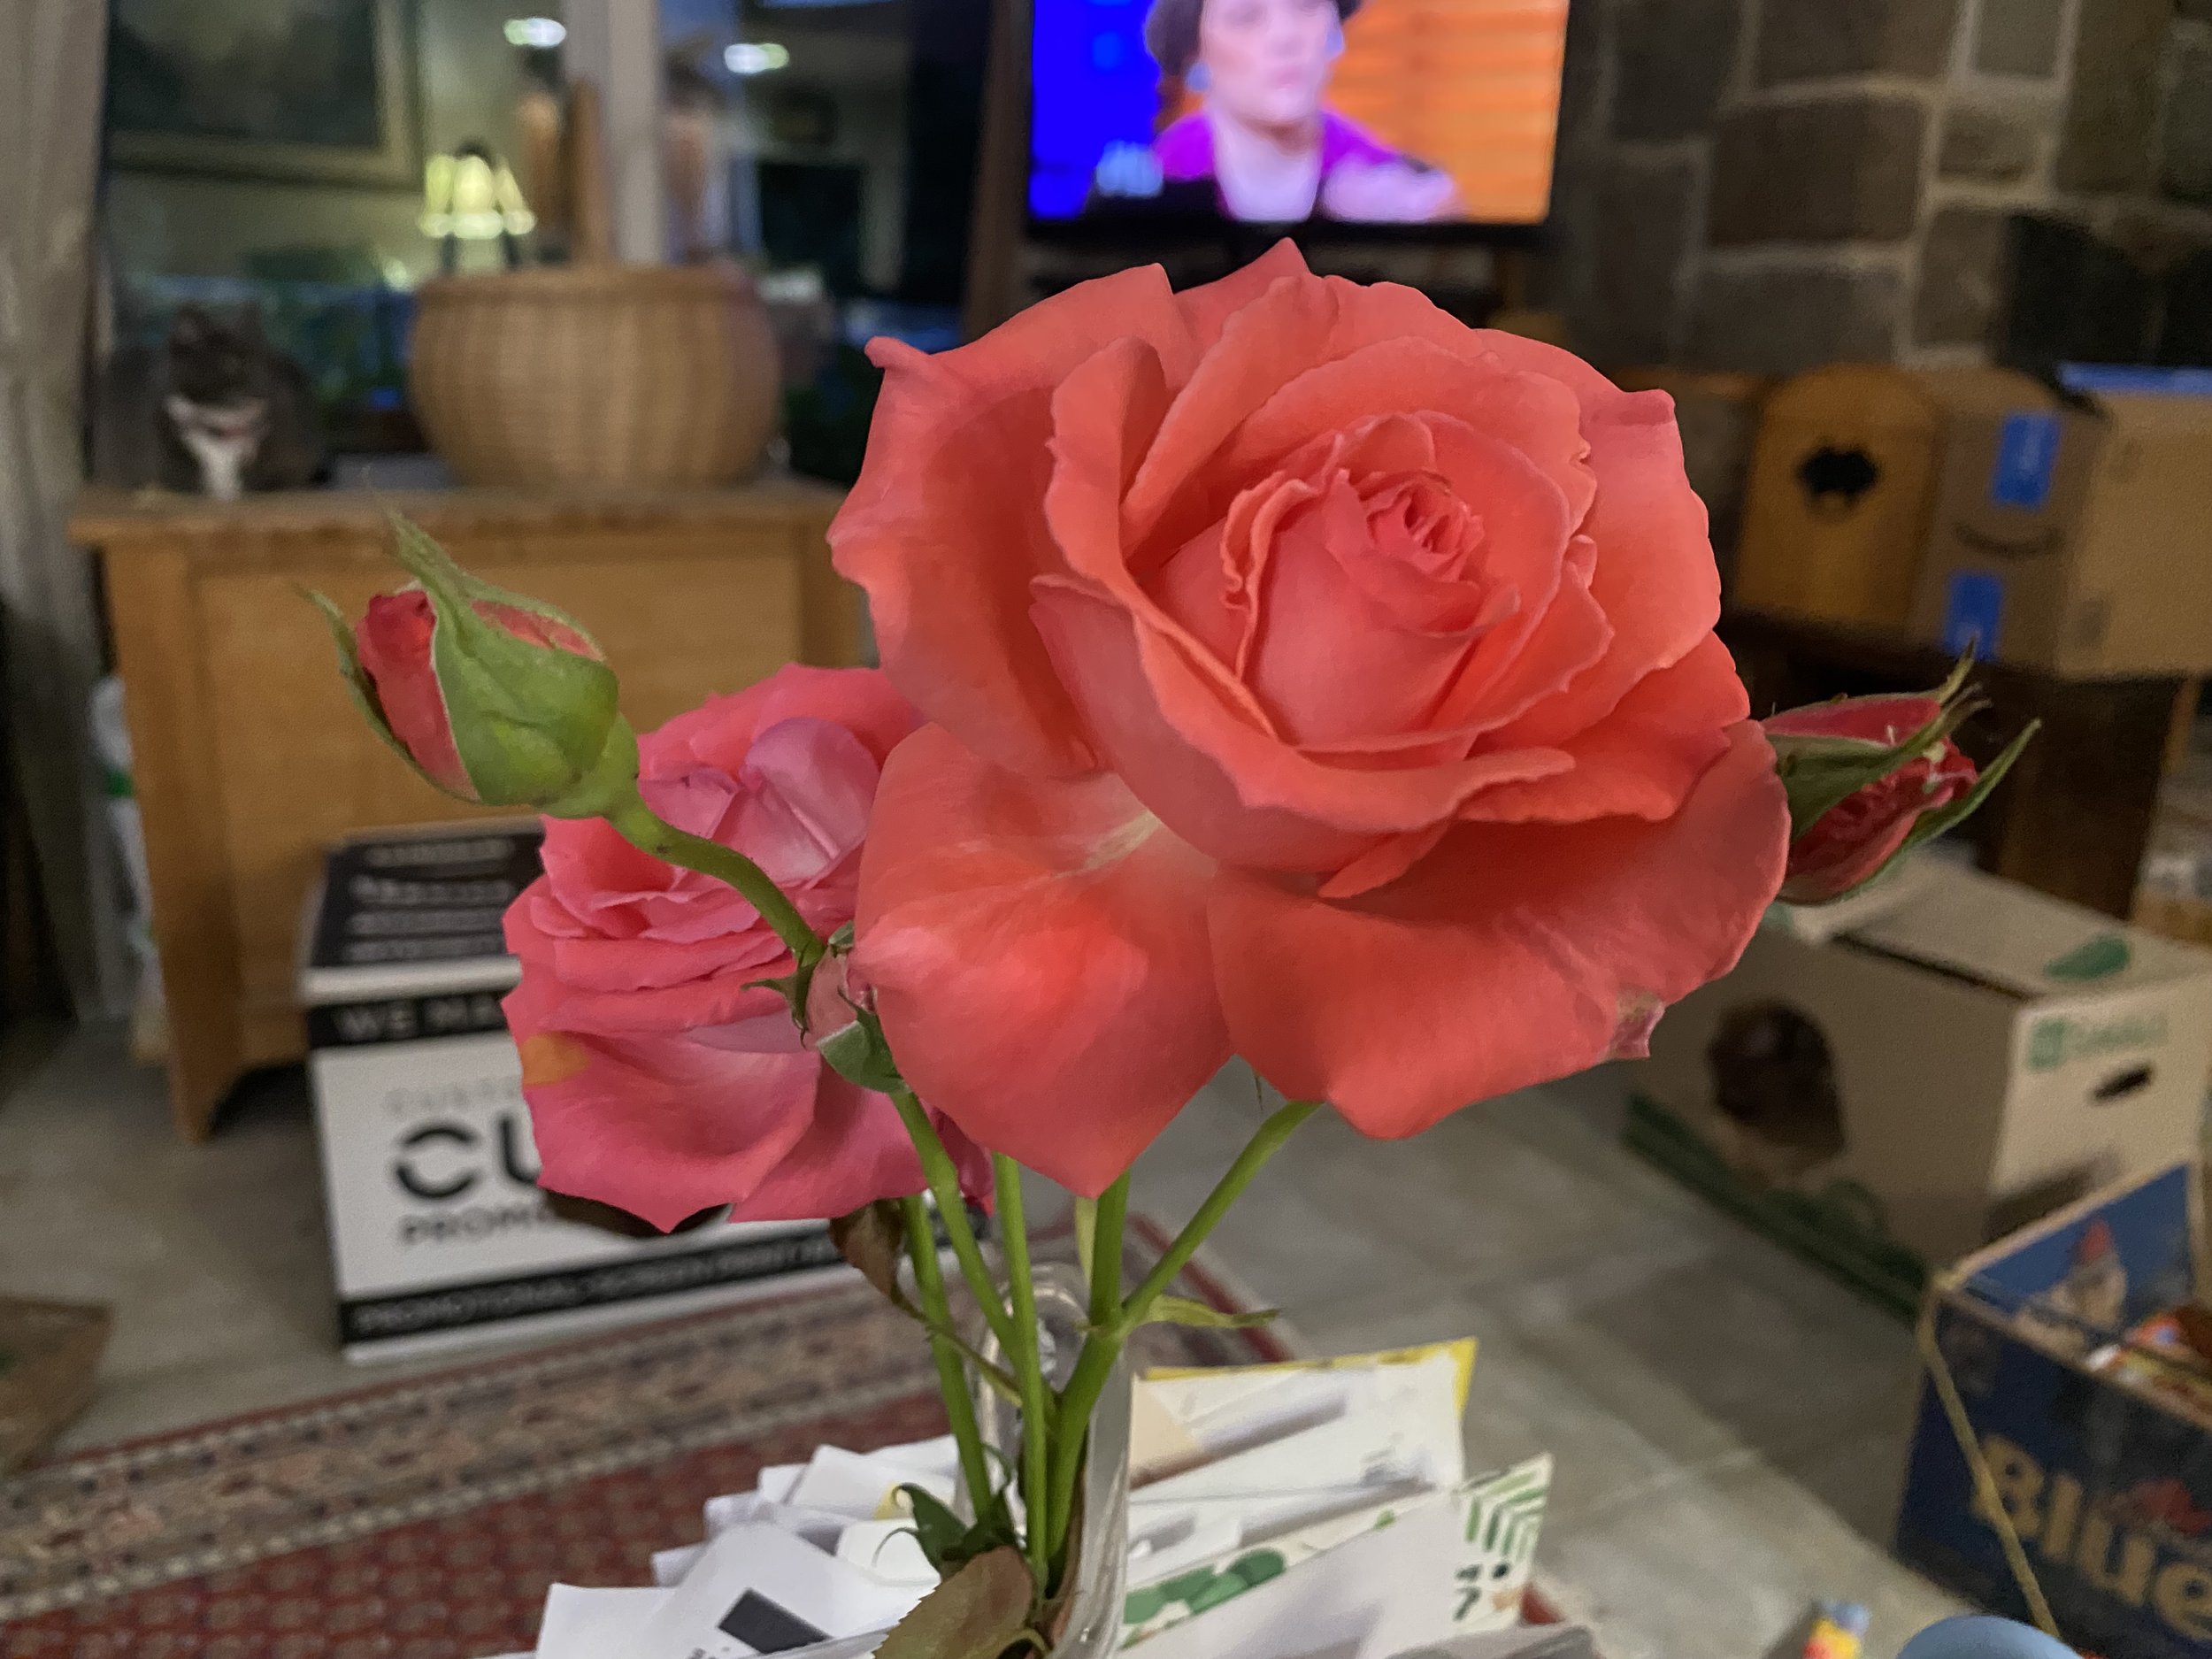
• Black spot on roses
• Root rot in poorly drained soils
• Increased slug and snail populations
• Mosquito outbreaks around standing water
Keep plants properly spaced for air circulation and remove diseased foliage promptly.
2. Nutrients May Leach Away
Heavy rains can wash nitrogen and other nutrients below the root zone. Vegetable gardens may require supplemental fertilization during the season, especially tomatoes, peppers, corn, and leafy greens. Watch for yellowing leaves that may indicate nutrient deficiencies.
3. Weeds Love Favorable Conditions
Unfortunately, many weeds thrive when moisture is abundant. Stay ahead of them with mulch and frequent light weeding before they set seed. Remember: one year's weeds can become next year's headache.
What Beekeepers May Notice
1. Longer Bloom Periods
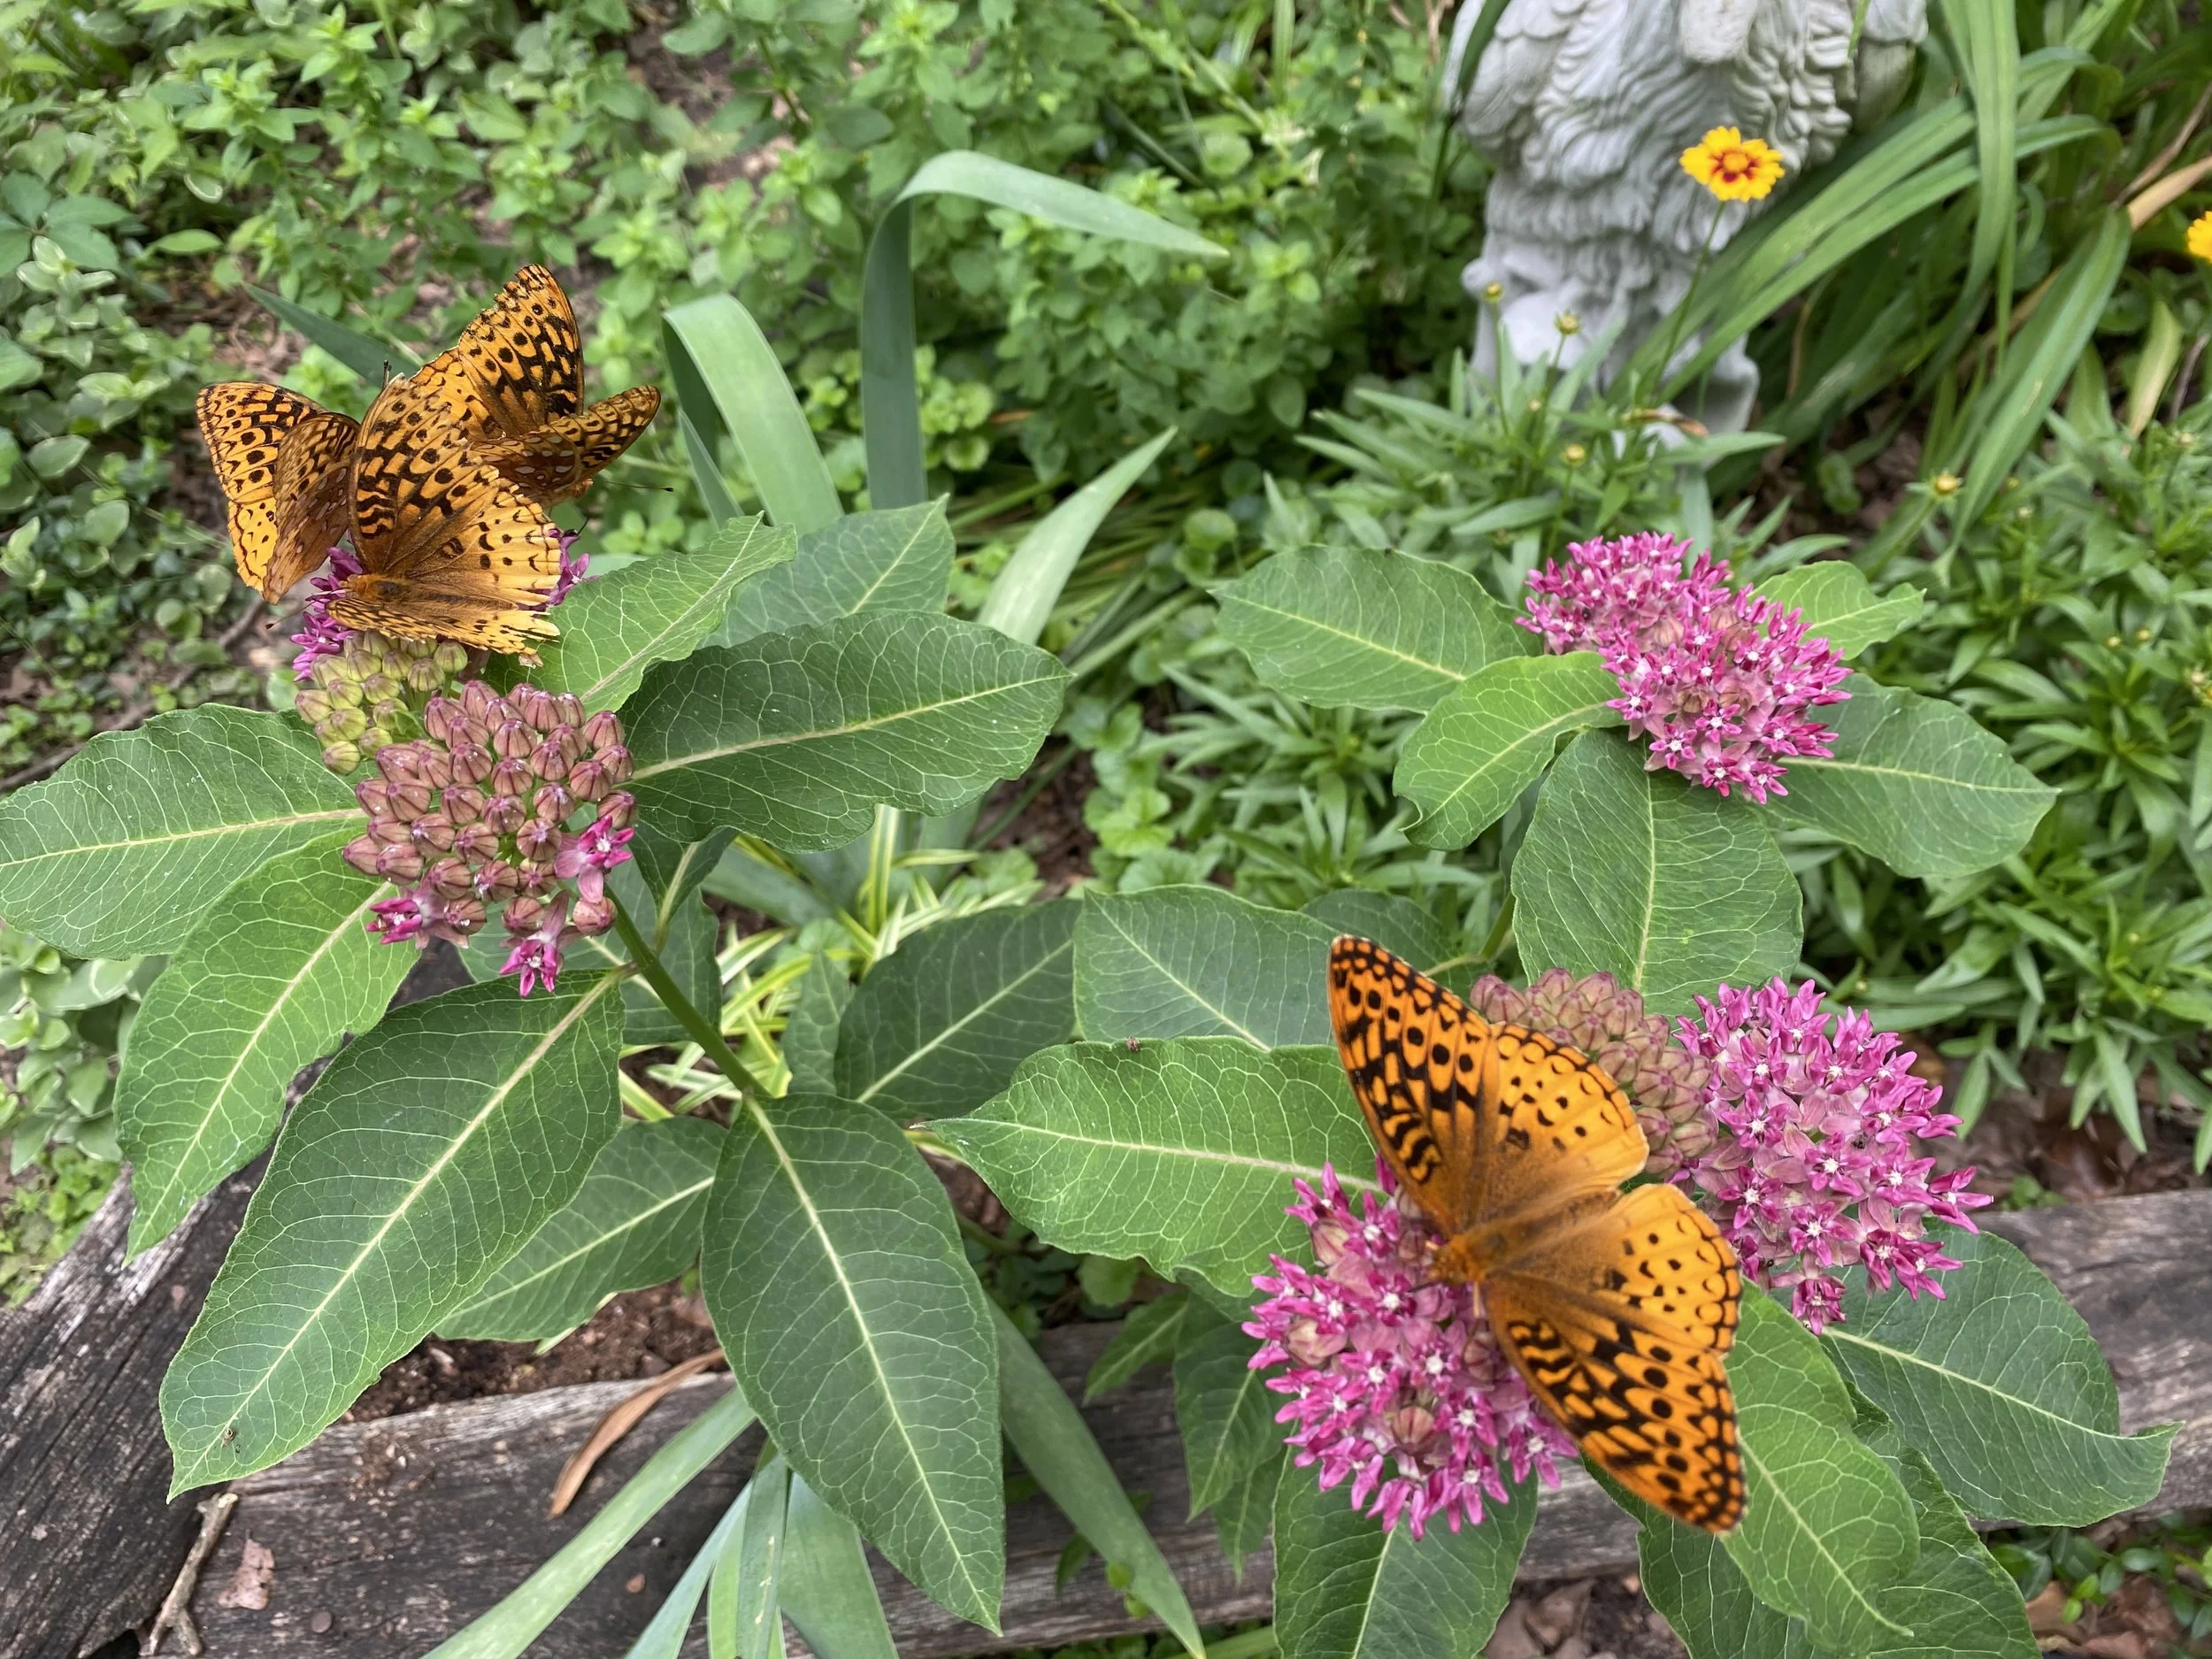
If rainfall is adequate and temperatures remain moderate, many flowering plants produce more blooms and nectar. This can create excellent foraging conditions for honey bees and native pollinators. Clover, basswood, wildflowers, and many garden plants may provide extended nectar flows.
2. Colonies May Expand Rapidly
Abundant forage often stimulates brood production. Strong colonies can grow quickly and may require additional hive space sooner than expected. Monitor colonies regularly for:
• Congestion
• Queen cell production
• Swarming preparations
• Honey storage space
A productive nectar year can quickly become a swarming year if colonies are not managed proactively.
3. Disease and Pest Pressure May Increase
Warm, humid conditions can favor some bee diseases and pests. Beekeepers should continue routine monitoring for:
• Varroa mites
• Small hive beetles
• Chalkbrood
• Moisture-related issues inside hives
Healthy colonies with good ventilation are generally more resilient.
The Wild Card: Severe Weather
El Niño years can also bring periods of intense storms in some regions. Strong winds, hail, flash flooding, and heavy downpours can damage gardens and disrupt pollinator activity.
Consider:
• Staking tall flowers and vegetables
• Securing bee hive lids and equipment
• Improving drainage around vulnerable plants
• Keeping emergency supplies on hand
Gardening and Beekeeping Lessons from El Niño
One of the greatest lessons nature teaches us is flexibility. Whether a season turns wetter, drier, hotter, or cooler than expected, resilient gardens and healthy pollinator habitats are built through diversity. A garden filled with many species of flowers, vegetables, shrubs, and trees can better withstand weather extremes. Likewise, diverse pollinator plantings provide forage during both favorable and challenging conditions.
Instead of trying to predict every weather event, focus on creating systems that can weather storms and adapt.
For more gardening, beekeeping, cooking and easy home decor tips, subscribe to Garden Notes.
Charlotte