Homemade Seed Tape

Paper towels make a good base for saving seeds to plant later. (Photo by Charlotte Ekker Wiggins)

Paper towels make a good base for saving seeds to plant later. (Charlotte Ekker Wiggins photoo)

Homemade Seed Tape

Do you remember seed tape?

It was popular a couple of decades ago and sold as an easy way to garden. The package someone gave me for Christmas back then included 1x8 foot tissue paper with seeds glued between two layers. I planted the roll but nothing grew from it that year.

But the concept stayed in the back of my mind.

Then one year when I was traveling I saved some seeds in a paper towel and a new idea was born. I can make my own version of seed tape and ensure it’s from a stock I like.

Two years ago, I started to save my favorite tomato seeds from the plants I was growing. My experiment was with cherry tomatoes, which I grow every year in pots.

Favorite tomato seeds can be pricey to make sure you know the source. (Photo by Charlotte Ekker Wiggins)

Favorite tomato seeds can be pricey to make sure you know the source. (Charlotte Ekker Wiggins photo)

Now it’s easy to say why bother until you start to see the prices for tomato seeds.

So how do you save the seeds?

Open the fruit you want to collect seeds from and spread them across a paper towel. Label. Allow to dry. Other fruit you can try include strawberries, green peppers and - what else would you like to try?

Don’t forget to label the seeds as they dry, then cut out the corner and store in an envelope. (Photo by Charlotte Ekker Wiggins)

Don’t forget to label the seeds as they dry, then cut out the corner and store in an envelope. (Charlotte Ekker Wiggins photo)

Once dry, save in paper envelopes. You can recycle envelopes by cutting them in half and taping the cut end. Remember to label the outside of envelope. Store in a dry place until it’s time to plant.

You can also do this with other seeds.

For more gardening, beekeeping, cooking and easy home decor tips, subscribe to Garden Notes.

Charlotte

Getting Soil Tested

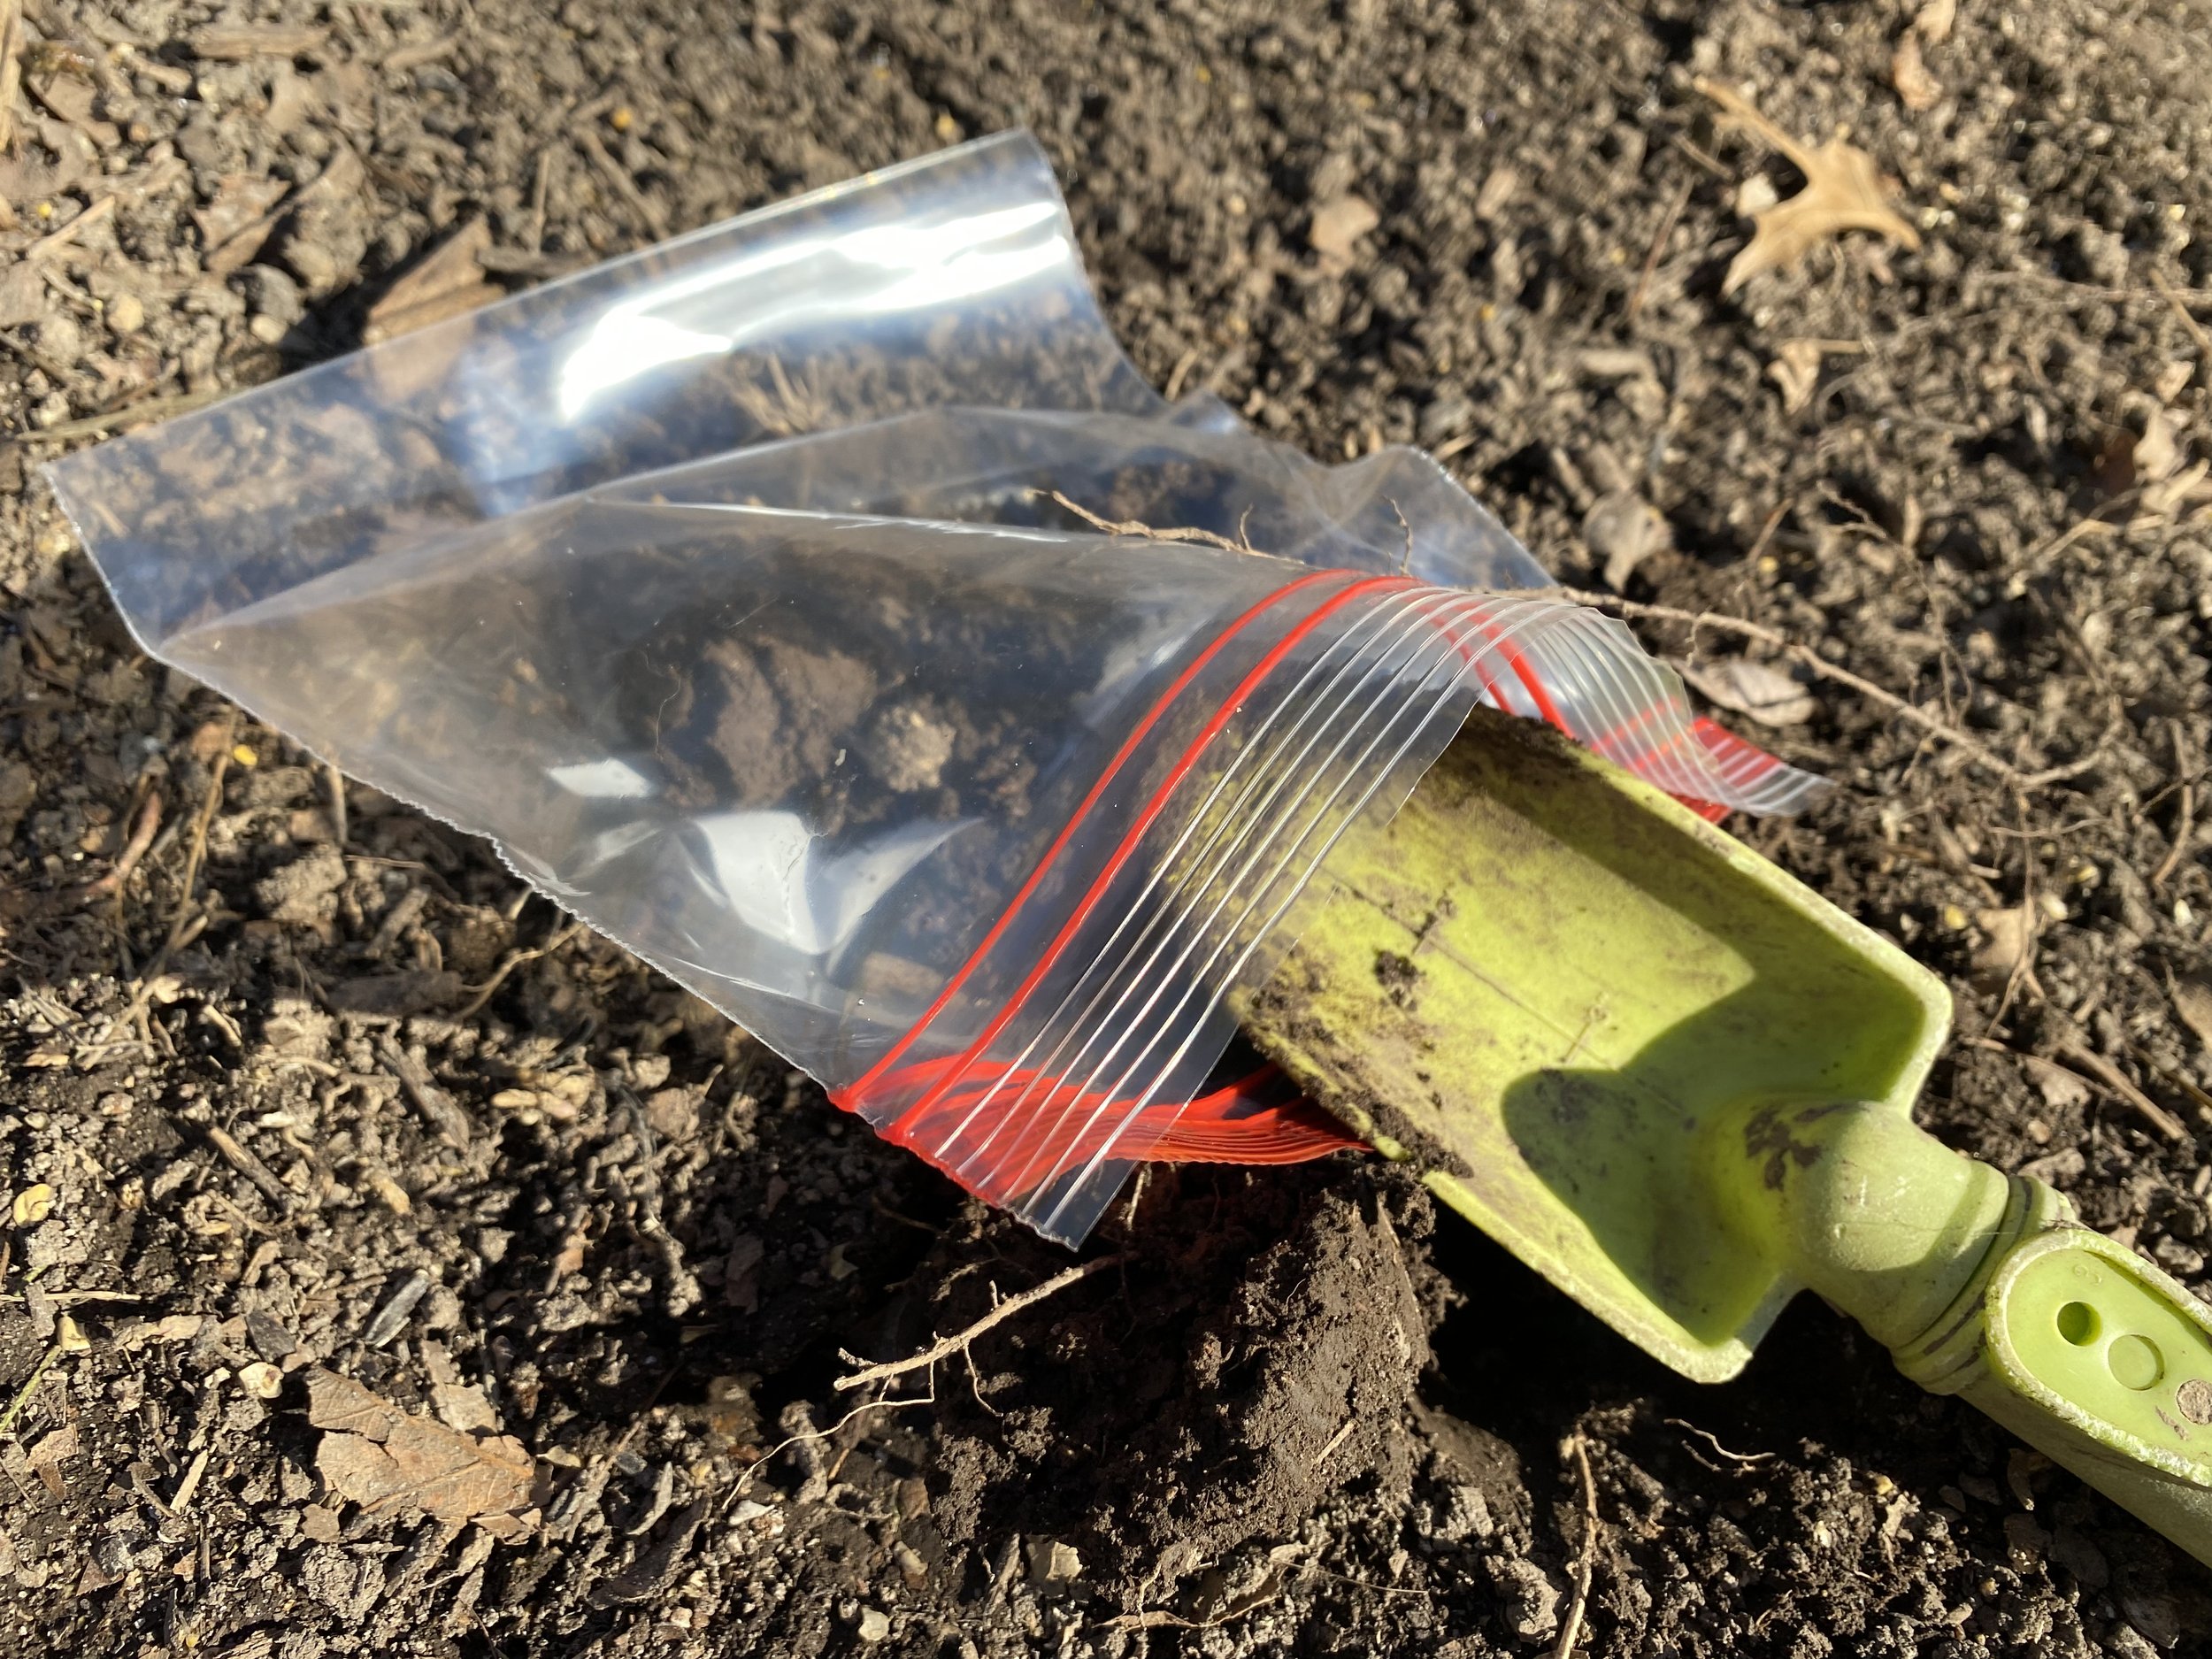
Getting soil samples is as easy as scooping up soil from around your garden. (Charlotte Ekker Wiggins photo)

Time to Test Soil

As spring fever hits, this is the perfect time to get your soil tested. Of all of the things we can do to make our gardens better, knowing what kind of soil we have, and what will grow best in it, is by far the most important step we can take. And it tends to cure black thumbs!

A sil test will help assess the current state of your soil and make recommendations of how to improve it for what you want to plant.

I did my first soil test through the University of Missouri Extension a couple of decades ago and repeat it every 2-3 years. Working a Missouri limestone hillside into a garden, it’s helpful to monitor how the soil amendments I have added change the soil composition.

Soil is assessed on a scale of 1-14. A middle seven is neutral. The chart extremes are sweet, higher than 7+ , and bitter, lower than 7. That’s what the Ph designation tells you. To successfully grow most plants, you want a good solid seven. On either end, blueberries and hydrangeas prefer a little more acid growing conditions; butterfly bushes and lilacs prefer sweeter soil.

How to Collect Soil for Sampling

Using a freezer bag, collect 1 1/2 cups of soil from 6-8 spots around the garden from about 6 inches deep - if you can dig that deep.

Seal it up and take it to your local University of Missouri Extension office with $15. You will need to tell them what kind of plants you want to raise to get the most out of your soil test results.

Within a couple of weeks, the soil test report will be emailed to you with the results and recommendations, as appropriate.

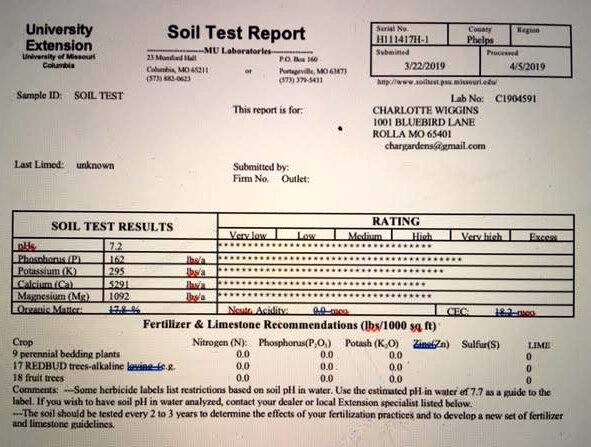
The following are a couple of soil test examples, starting with a home garden.

Example Home Garden Soil Test

This home garden soil test shows recommendations at bottom. (Charlotte Ekker Wiggins photo)

The soil test results are a little different for a field soil test.

Example Field Soil Test

A field test soil example covers more elements. (Charlotte Ekker Wiggins photo)


My One Acre Limestone Hillside Soil Test April 2019

Over the years, friends have asked how I grow what I grow on a limestone hillside garden, where my first neighbors said “nothing would grow.” For 35 years i have concentrated on adding organic matter to existing soil and being kind to the soil I do have.

My limestone hillside garden soil test from April 2019. (Charlotte Ekker Wiggins photo)

How to Improve Soil

At first blush, my Missouri limestone hillside garden should be acidic because I let the oak leaves fall on garden beds and only rake those that get in my way. Leaves, by the way, are excellent mulch and provide winter cover for a number of beneficial insects.

To improve my soil - well, actually to create soil - I added wood chips from our local recycling center along with compost. In addition, shredded leaves with grass clippings were also incorporated. These were added after the wood chips and shredded leaves sit for a few months as a mulch cover.

And to naturally enrich soil, I have wildlife branch piles that have encouraged rabbits, which add to enriching the soil. And they’re big. I snuck out into my apiary at 4 a.m. to close up a hive a couple of years ago and was astounded at the wildlife moving around, including one very large (and quite surprised as I was) rabbit. Maybe it was because I was standing down hill and the rabbit was uphill but that was one big “bun bun.”

Regardless of your soil test results, the best way to improve soil is to compost. Compost helps to feed the microorganisms in soil that keep plants healthy. You can start by composting kitchen scraps and gradually move to composters and composting bins. It really is the best thing you can do for your soil and plants and not hard to do once you establish the habit.

Did you know soil is not replaceable? Let’s take good cre of the soil we have!

For more gardening, beekeeping, cooking and easy home decor tips, subscribe to Garden Notes.

Charlotte

Making Toilet Paper Roll Pots

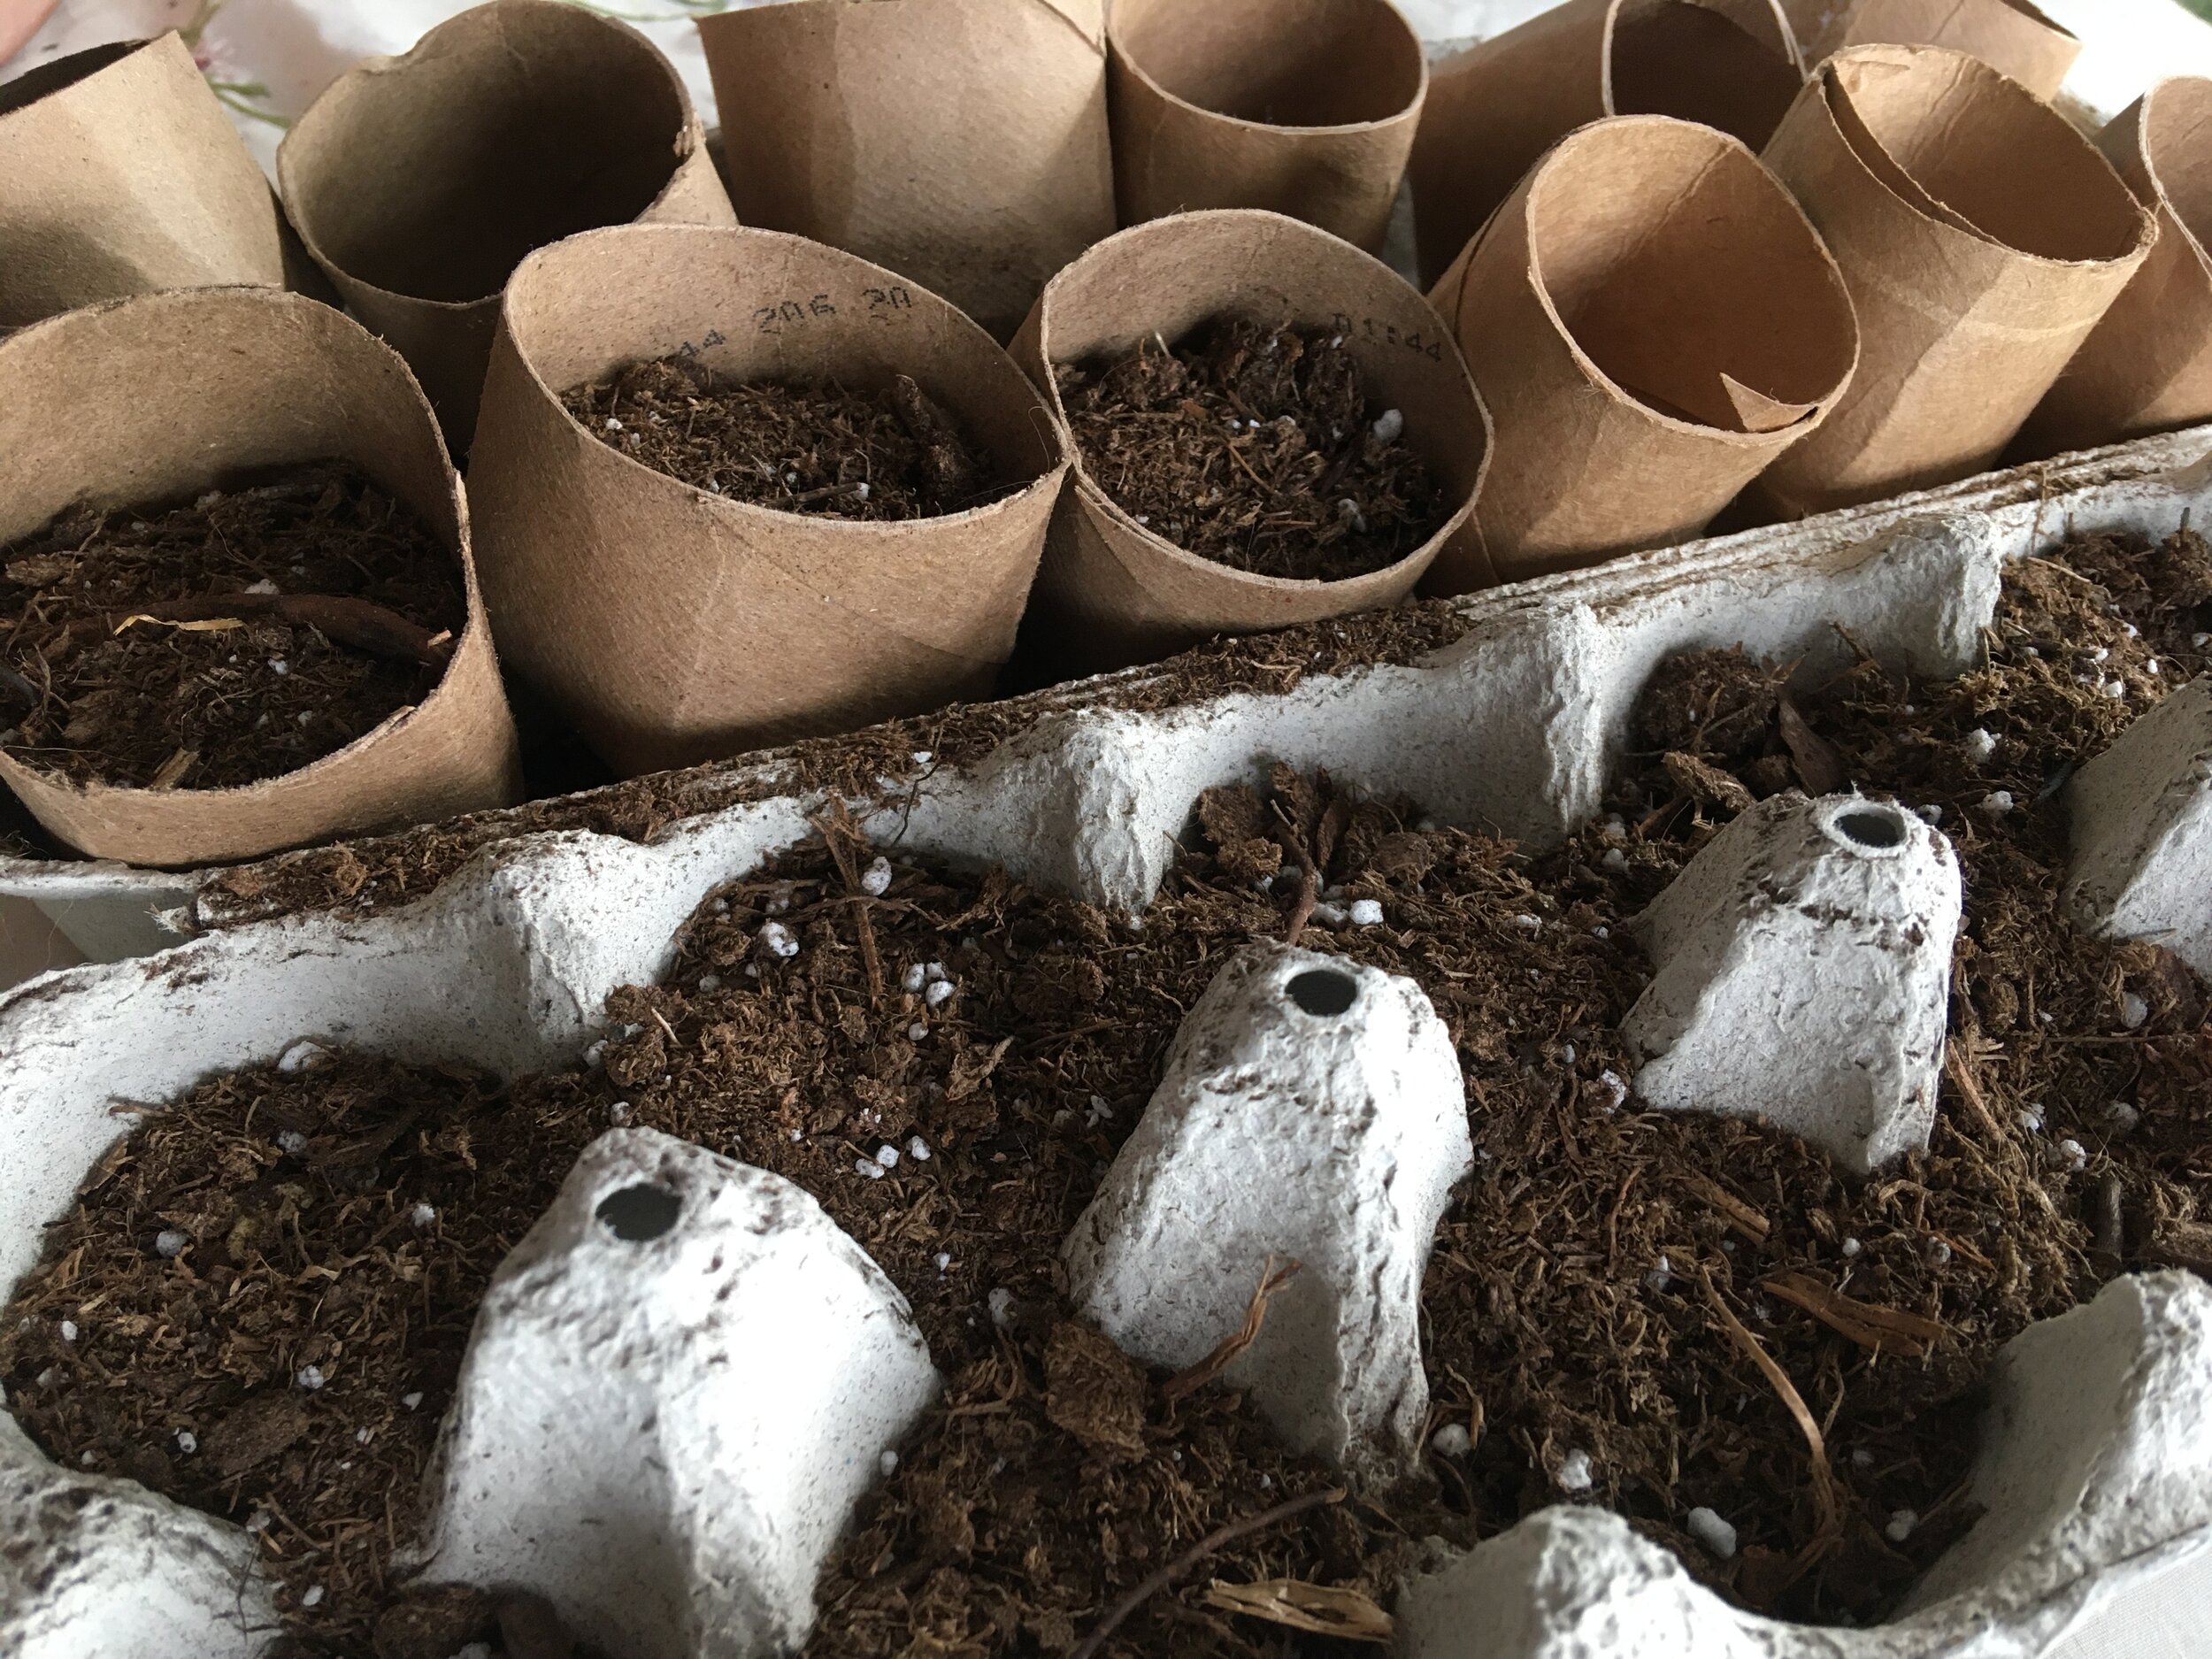
Toilet paper rolls cut in half make excellent seed starting pots. (Photo by Charlotte Ekker Wiggins)

Toilet paper rolls cut in half make excellent seed starting pots. (Charlotte Ekker Wiggins photo)

Toilet Paper Roll Pots

If you haven’t already, this is a good time to start saving your toilet paper and paper towel rolls to make compostable seed pots.

The rolls are not only hardy enough to help seedlings grow but they can be buried in the ground, seedlings and pot, when they are ready to go outside.

To make these seed pots, cut the toilet paper roll in half. Then gently fold the half and make a 1/4 inch cut on each folded side. Refold and make similar cuts on the edge of the other fold.

Tuck the folds as you would a box.

Fill with new potting soil.

Before planting, I spray soil with water so the seedlings can easily settle in.

Cardboard egg cartons are a good place to start your seeds. (Photo by Charlotte Ekker Wiggins)

Cardboard egg cartons are a good place to start your seeds. (Charlotte Ekker Wiggins photo)

For small seeds, I start them in cardboard egg cartons. When they are big enough, I can easily move them into the toilet paper roll pots.

The cardboard egg carton lid serves as a nice place to store the toilet paper rolls ready for the seedling transfer.

You can also start seeds in your toilet paper roll pots and keep them warm and moist. (Photo by Charlotte Ekker Wiggins)

You can also start seeds in your toilet paper roll pots and keep them warm and moist. (Charlotte Ekker Wiggins photo)

If you don’t have access to extra cardboard egg cartons, you can use a clear covered plastic container to start seeds in the toilet paper roll pots.

The trick is to keep the seeds warm and moist until they sprout.

Make small holes in the bottom of the clear top container so that the seeds don’t get too wet.

All of these kitchen items can be repurposed into seed starting options. (Photo by Charlotte Ekker Wiggins)

All of these kitchen items can be repurposed into seed starting options. (Charlotte Ekker Wiggins photos)

There are several kitchen items you can repurpose for gardening. My biggest challenge is finding somewhere to put them as I save them before using!

For more gardening, beekeeping, cooking and easy home decor tips, subscribe to Garden Notes.

Charlotte

Planting Daffodils

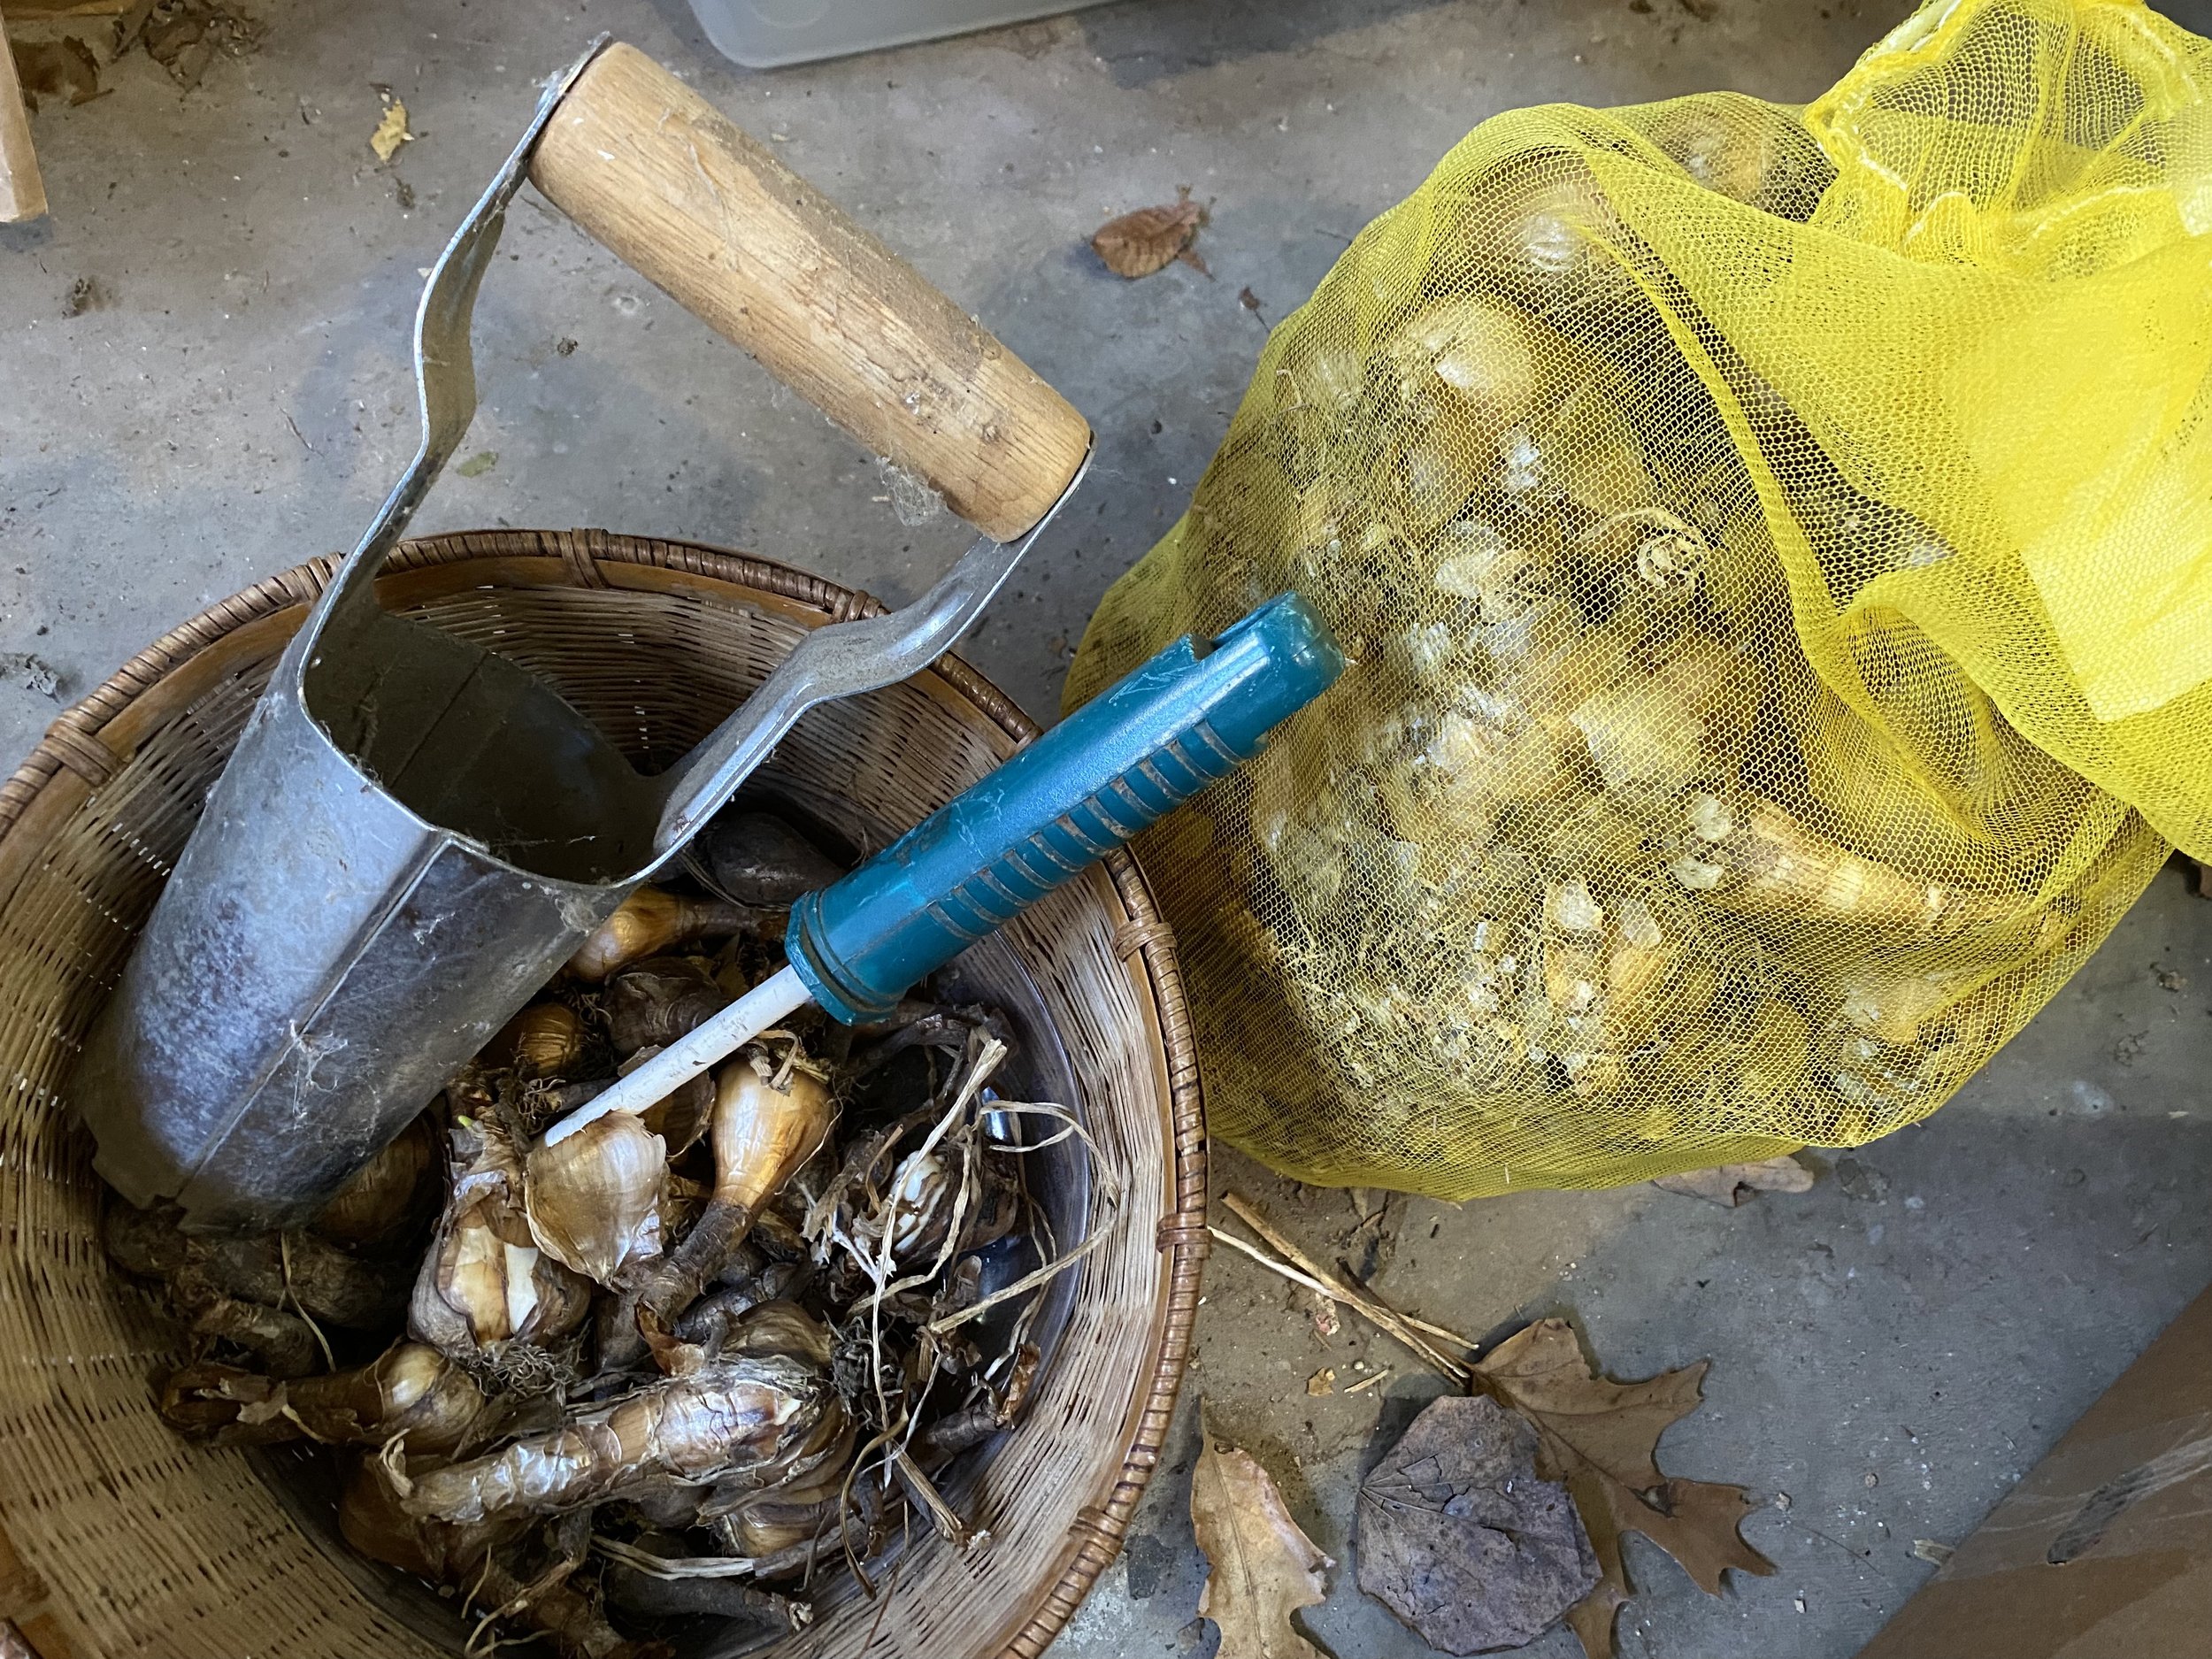
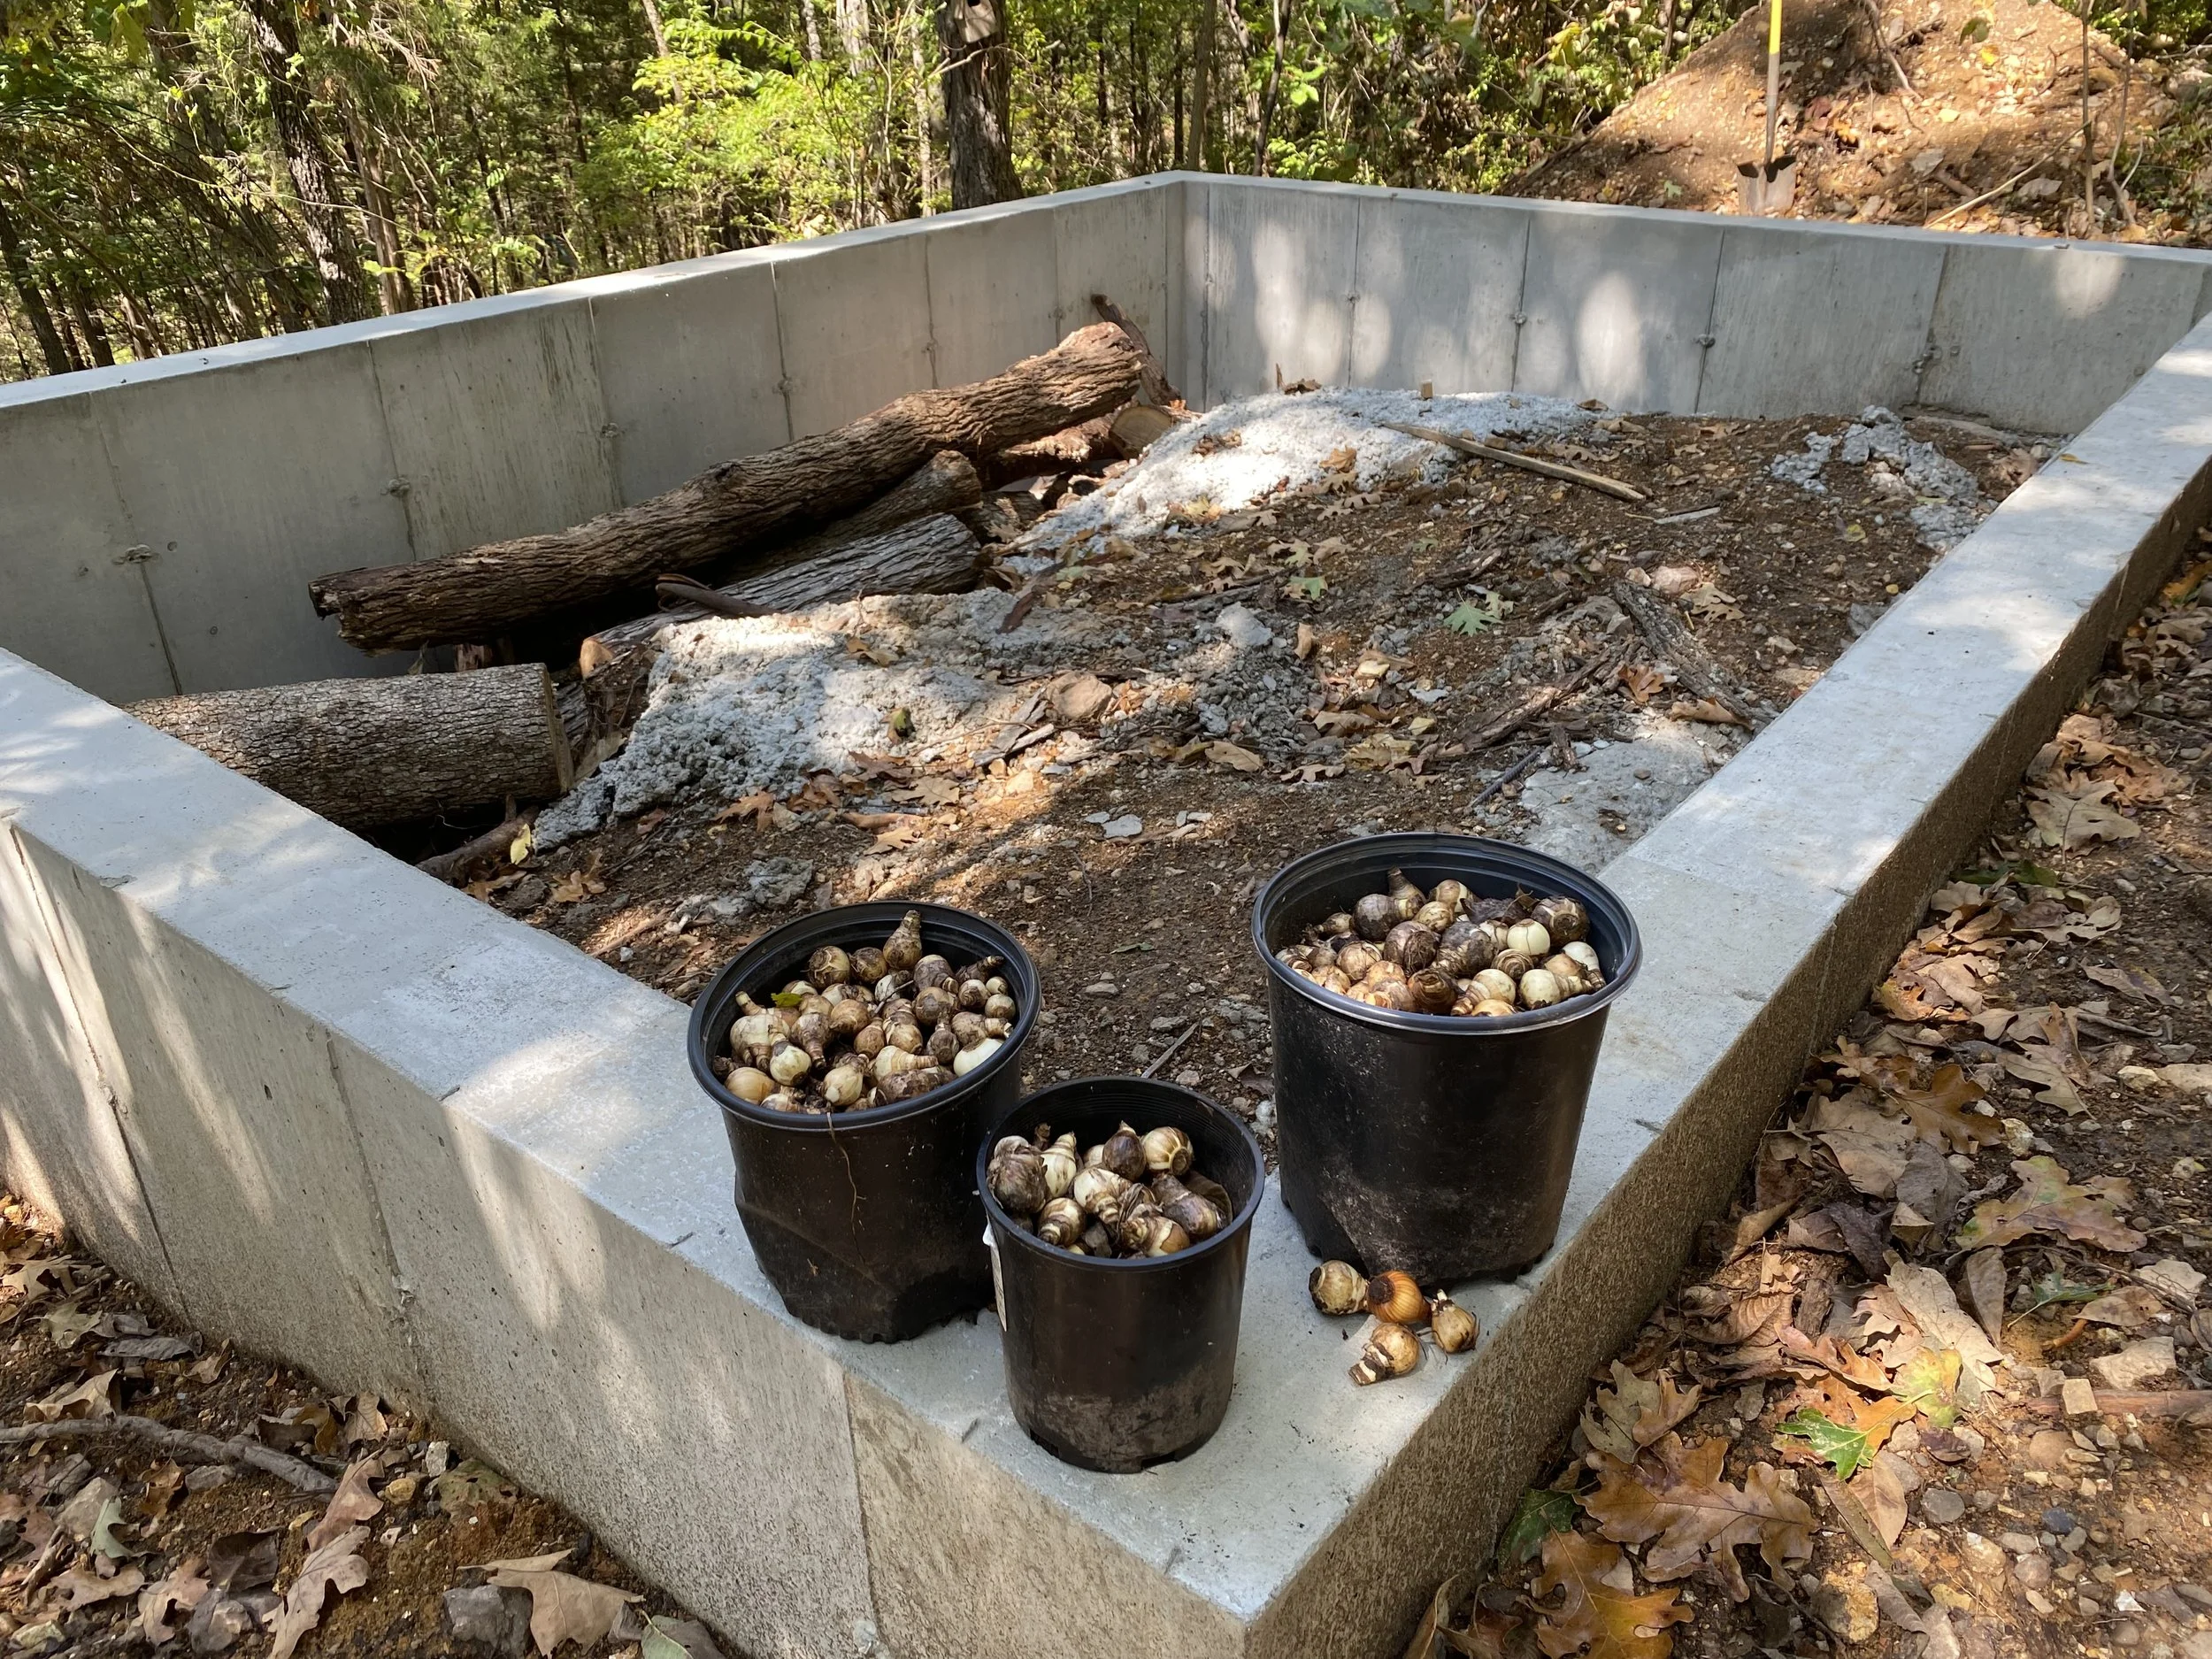
I still have daffodils to get into the groung this year. (charlotte ekker wiggins photo)

Planting Daffodils

Oh, my, so many daffodils to still get into the ground and I’m running out of time. Usually I get my daffodil bulbs planted September-November but I’m behind schedule this year. Luckily our ground in mid-Missouri is not frozen so I still have time to get these lovelies into the ground.'

In general, daffodils need 12 weeks exposed to cold temperatures around freezing. These temperatures stimulate a bio-chemical response that generates root growth and gets flowers started.

Here are some tips if you’re joining me getting daffodil bulbs planted:

  1. I ordered my bulbs in spring for fall delivery from a reputable provider. If you are buying bulbs from a nursery or garden center, select healthy, firm bulbs, the larger the bulbs the better.
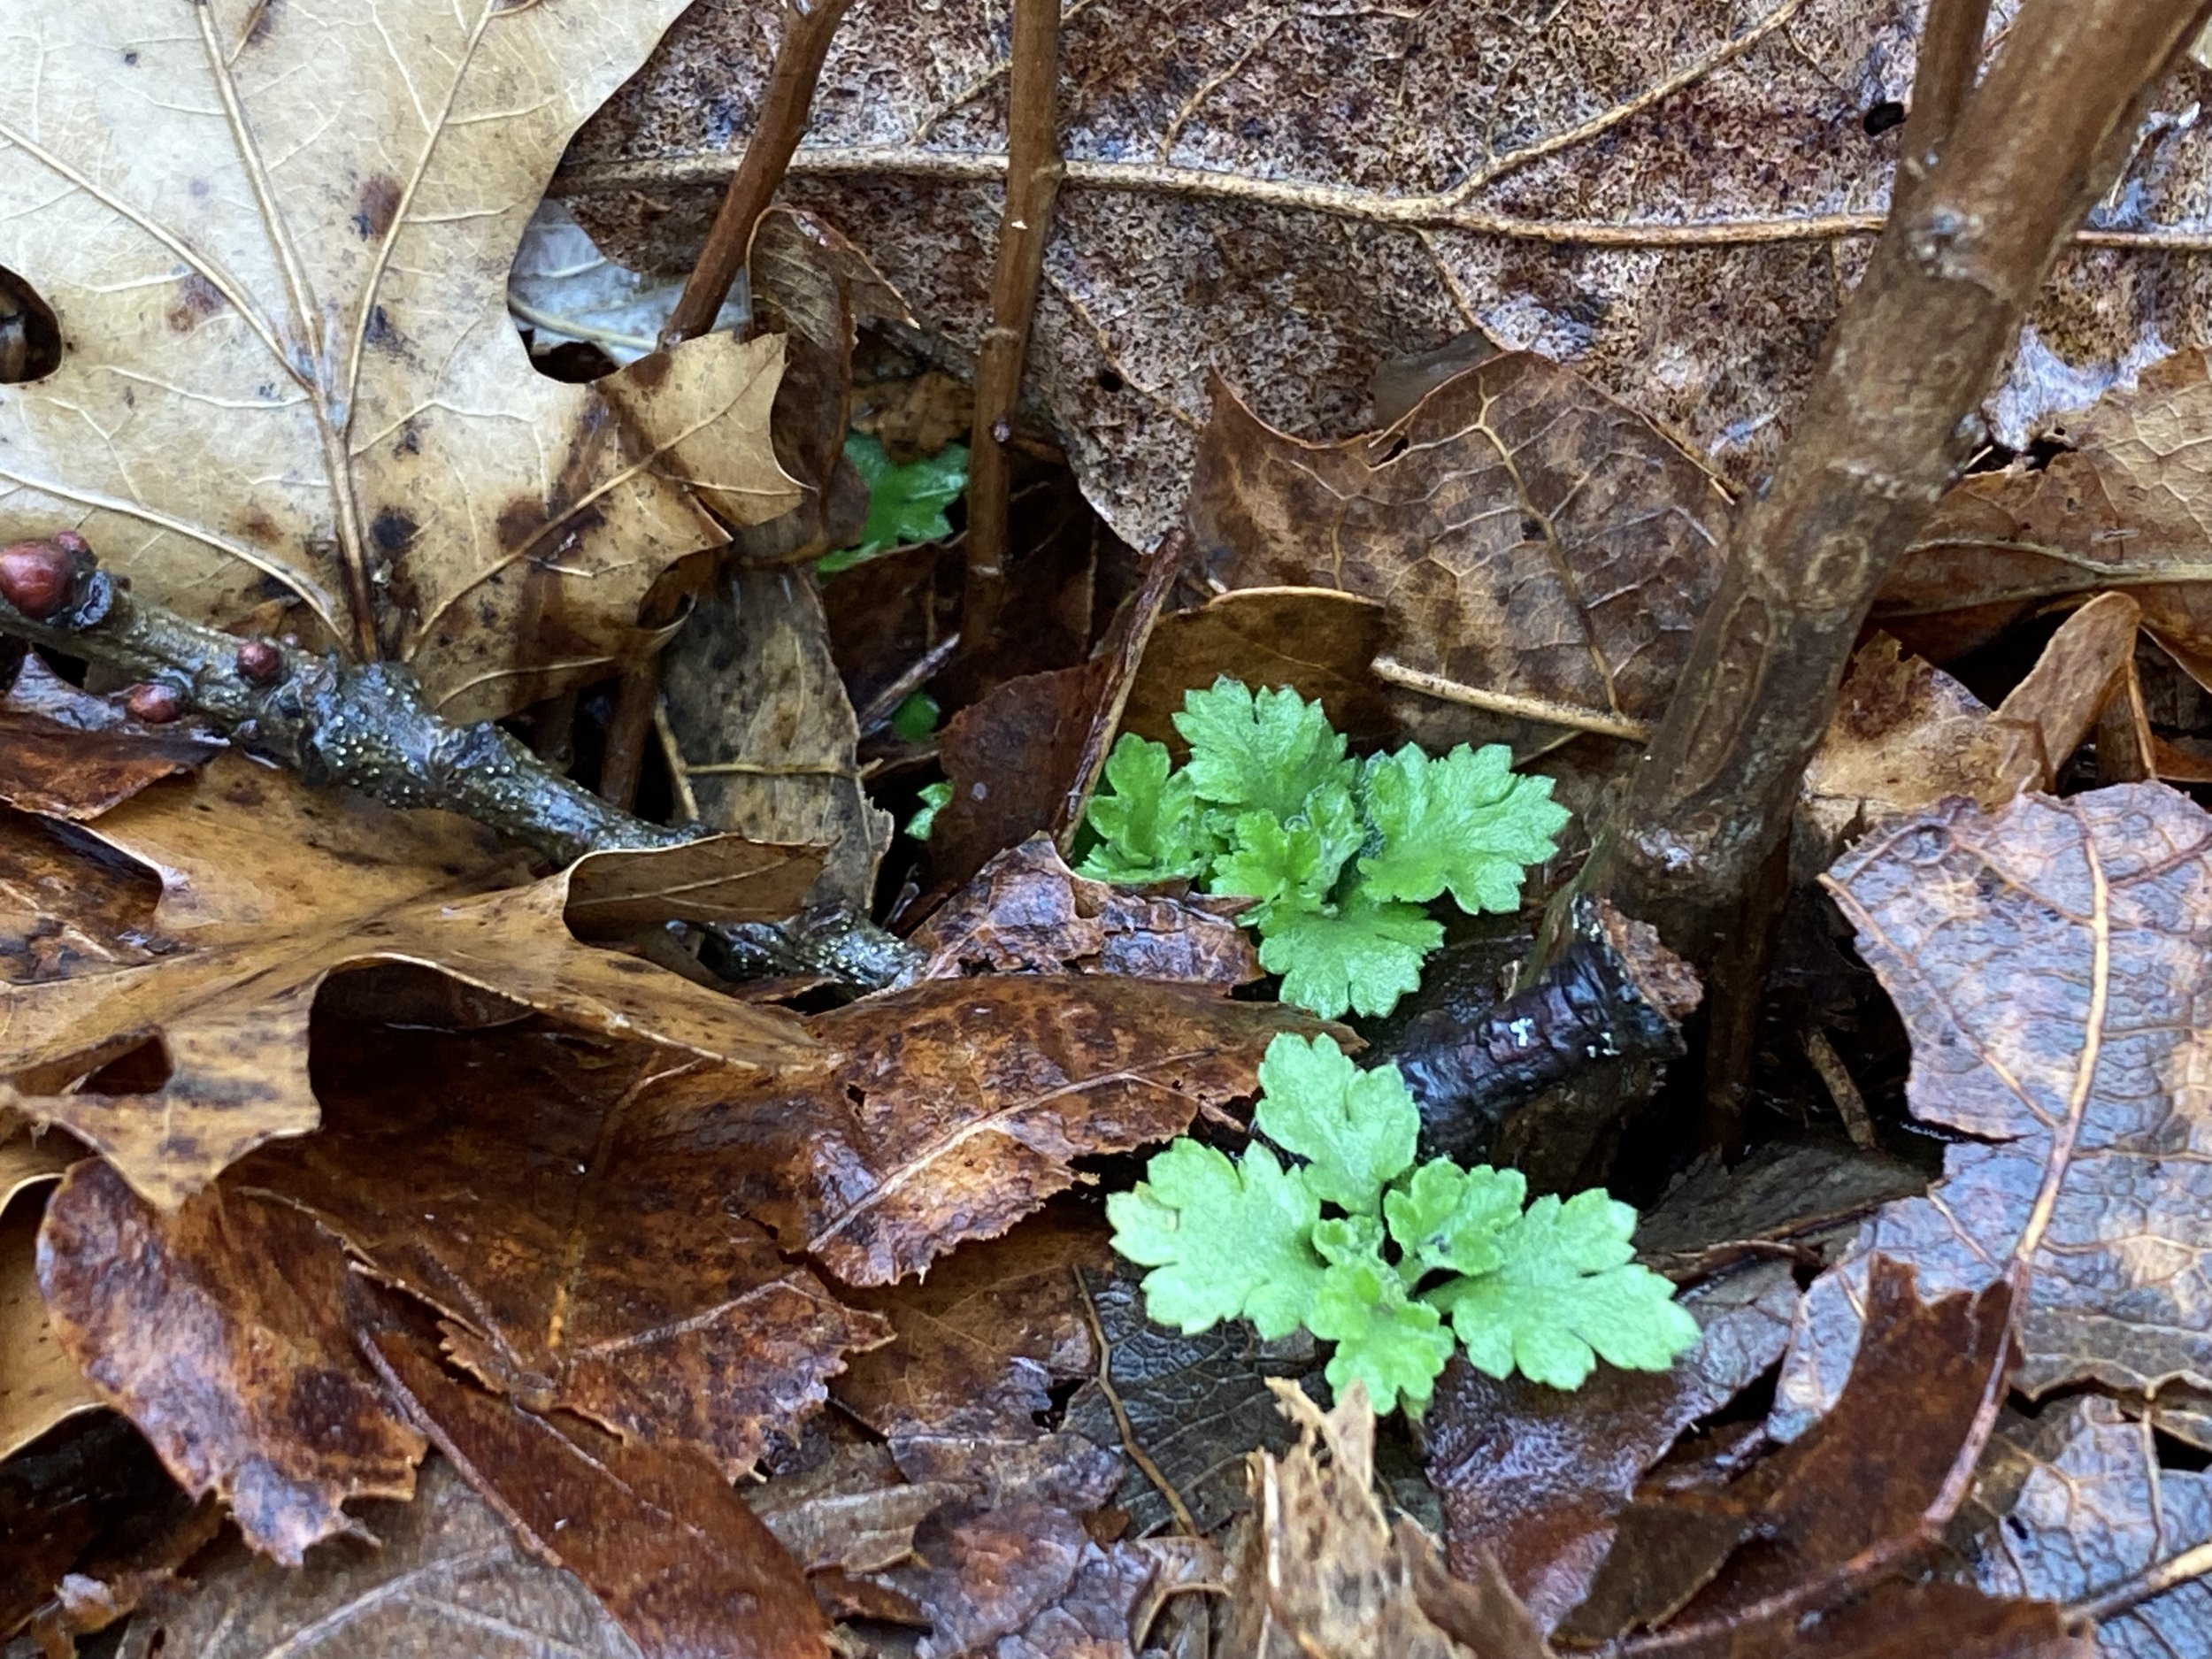
  2. Plant daffodil bulbs in the fall before the ground freezes, ideally 2-4 weeks before the first frost date in your area. However, if you miss the fall window, you can still plant them in winter before the ground becomes too hard.

  3. Daffodils prefer well-drained soil and full to partial sunlight. Choose a location with good drainage to prevent water logging, This can cause bulb rot.

  4. Ensure the soil is loose, well-draining, and amended with organic matter like compost. Loosen the soil to a depth of at least 6-8 inches.

  5. Plant bulbs at a depth about three times the bulb's height. Place them with the pointed end facing up.

  6. Space bulbs several inches apart to allow them room to grow and spread. If you want a more dramatic show, plant bulbs close together remembering you may have to move them in a few years when they stop blooming because they are growing too close.

  7. Dig a hole or trench for the bulbs. You can plant them individually or in groups. After placing the bulbs, cover them with soil and gently press down to remove air pockets.

  8. Remember to sprinkle the holes with bone meal to feed bulbs as they grow.

  9. After planting, water the area thoroughly to settle the soil and provide initial moisture to the bulbs.

  10. Apply a layer of mulch uch as shredded leaves to help insulate the soil and regulate temperature during winter. This can also prevent frost heaving.
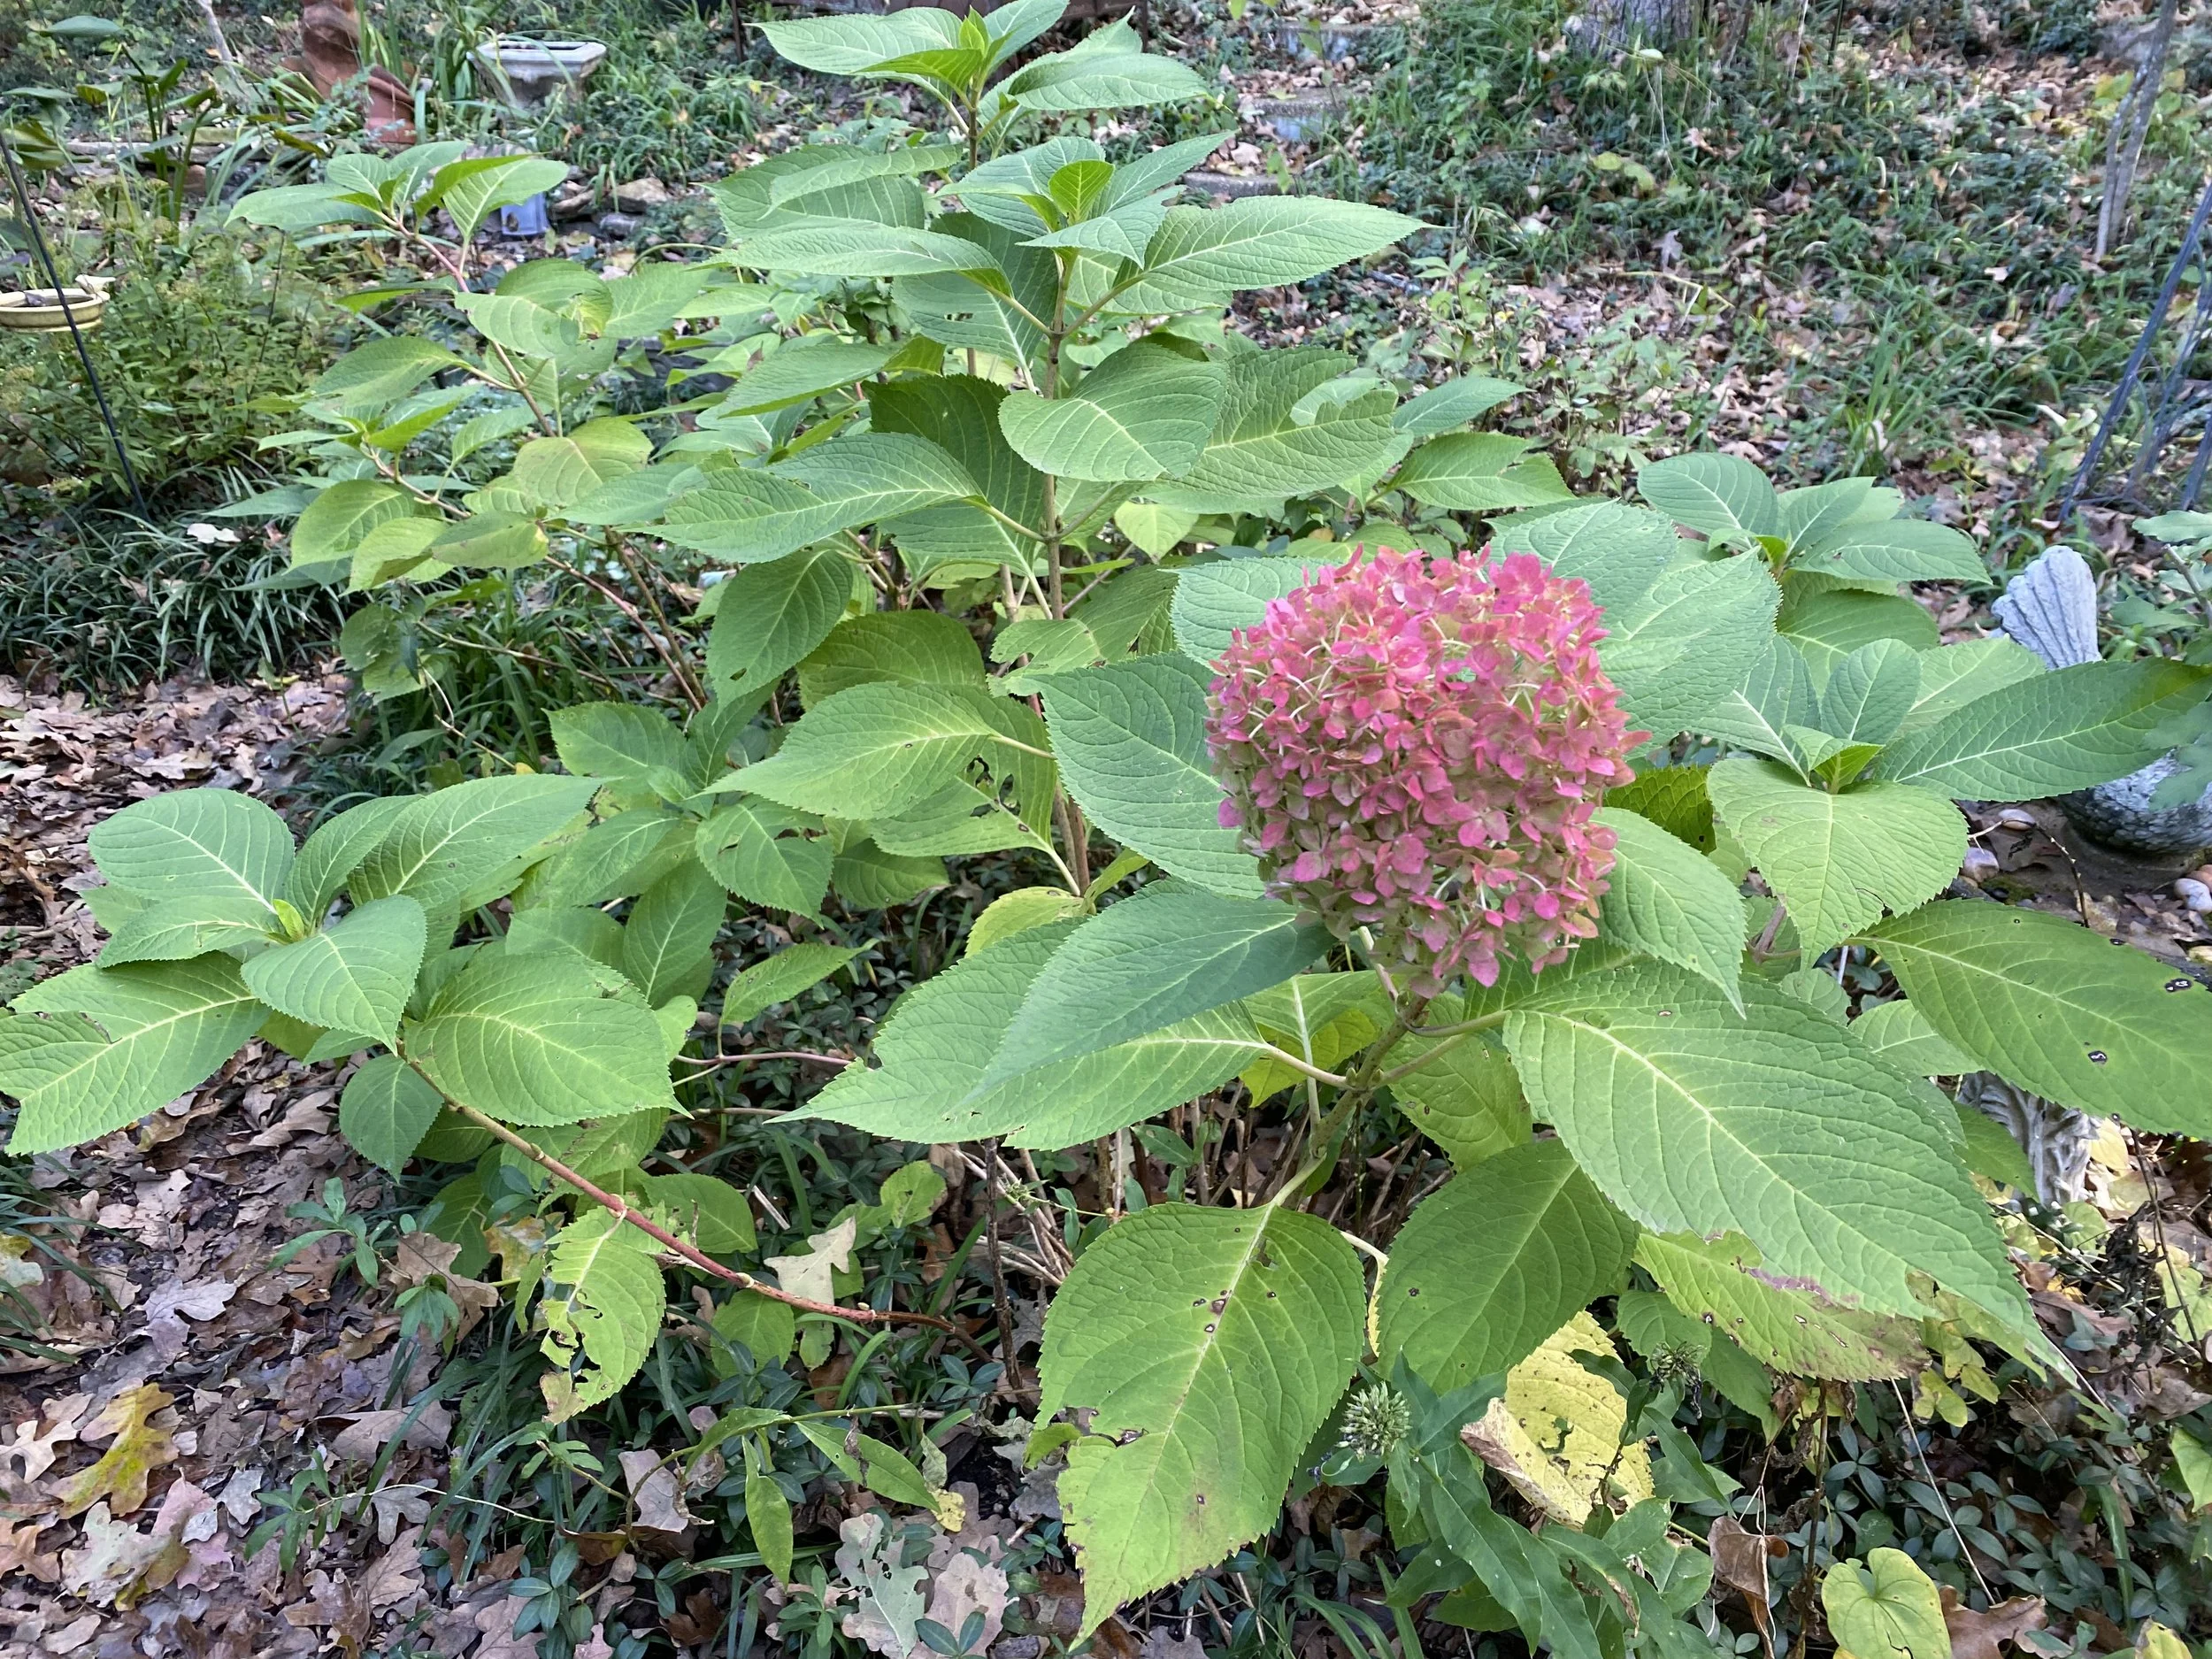
    One more note: As our climate continues to warm up, there is less moisture in the form of rain and snow. During the winter, if there's a period of drought or the soil dries out due to lack of snow cover, consider lightly watering the bulbs.

    For more gardening, beekeeping, cooking and easy home decor tips, subscribe to Garden Notes.

    Charlotte

After Rain Chores

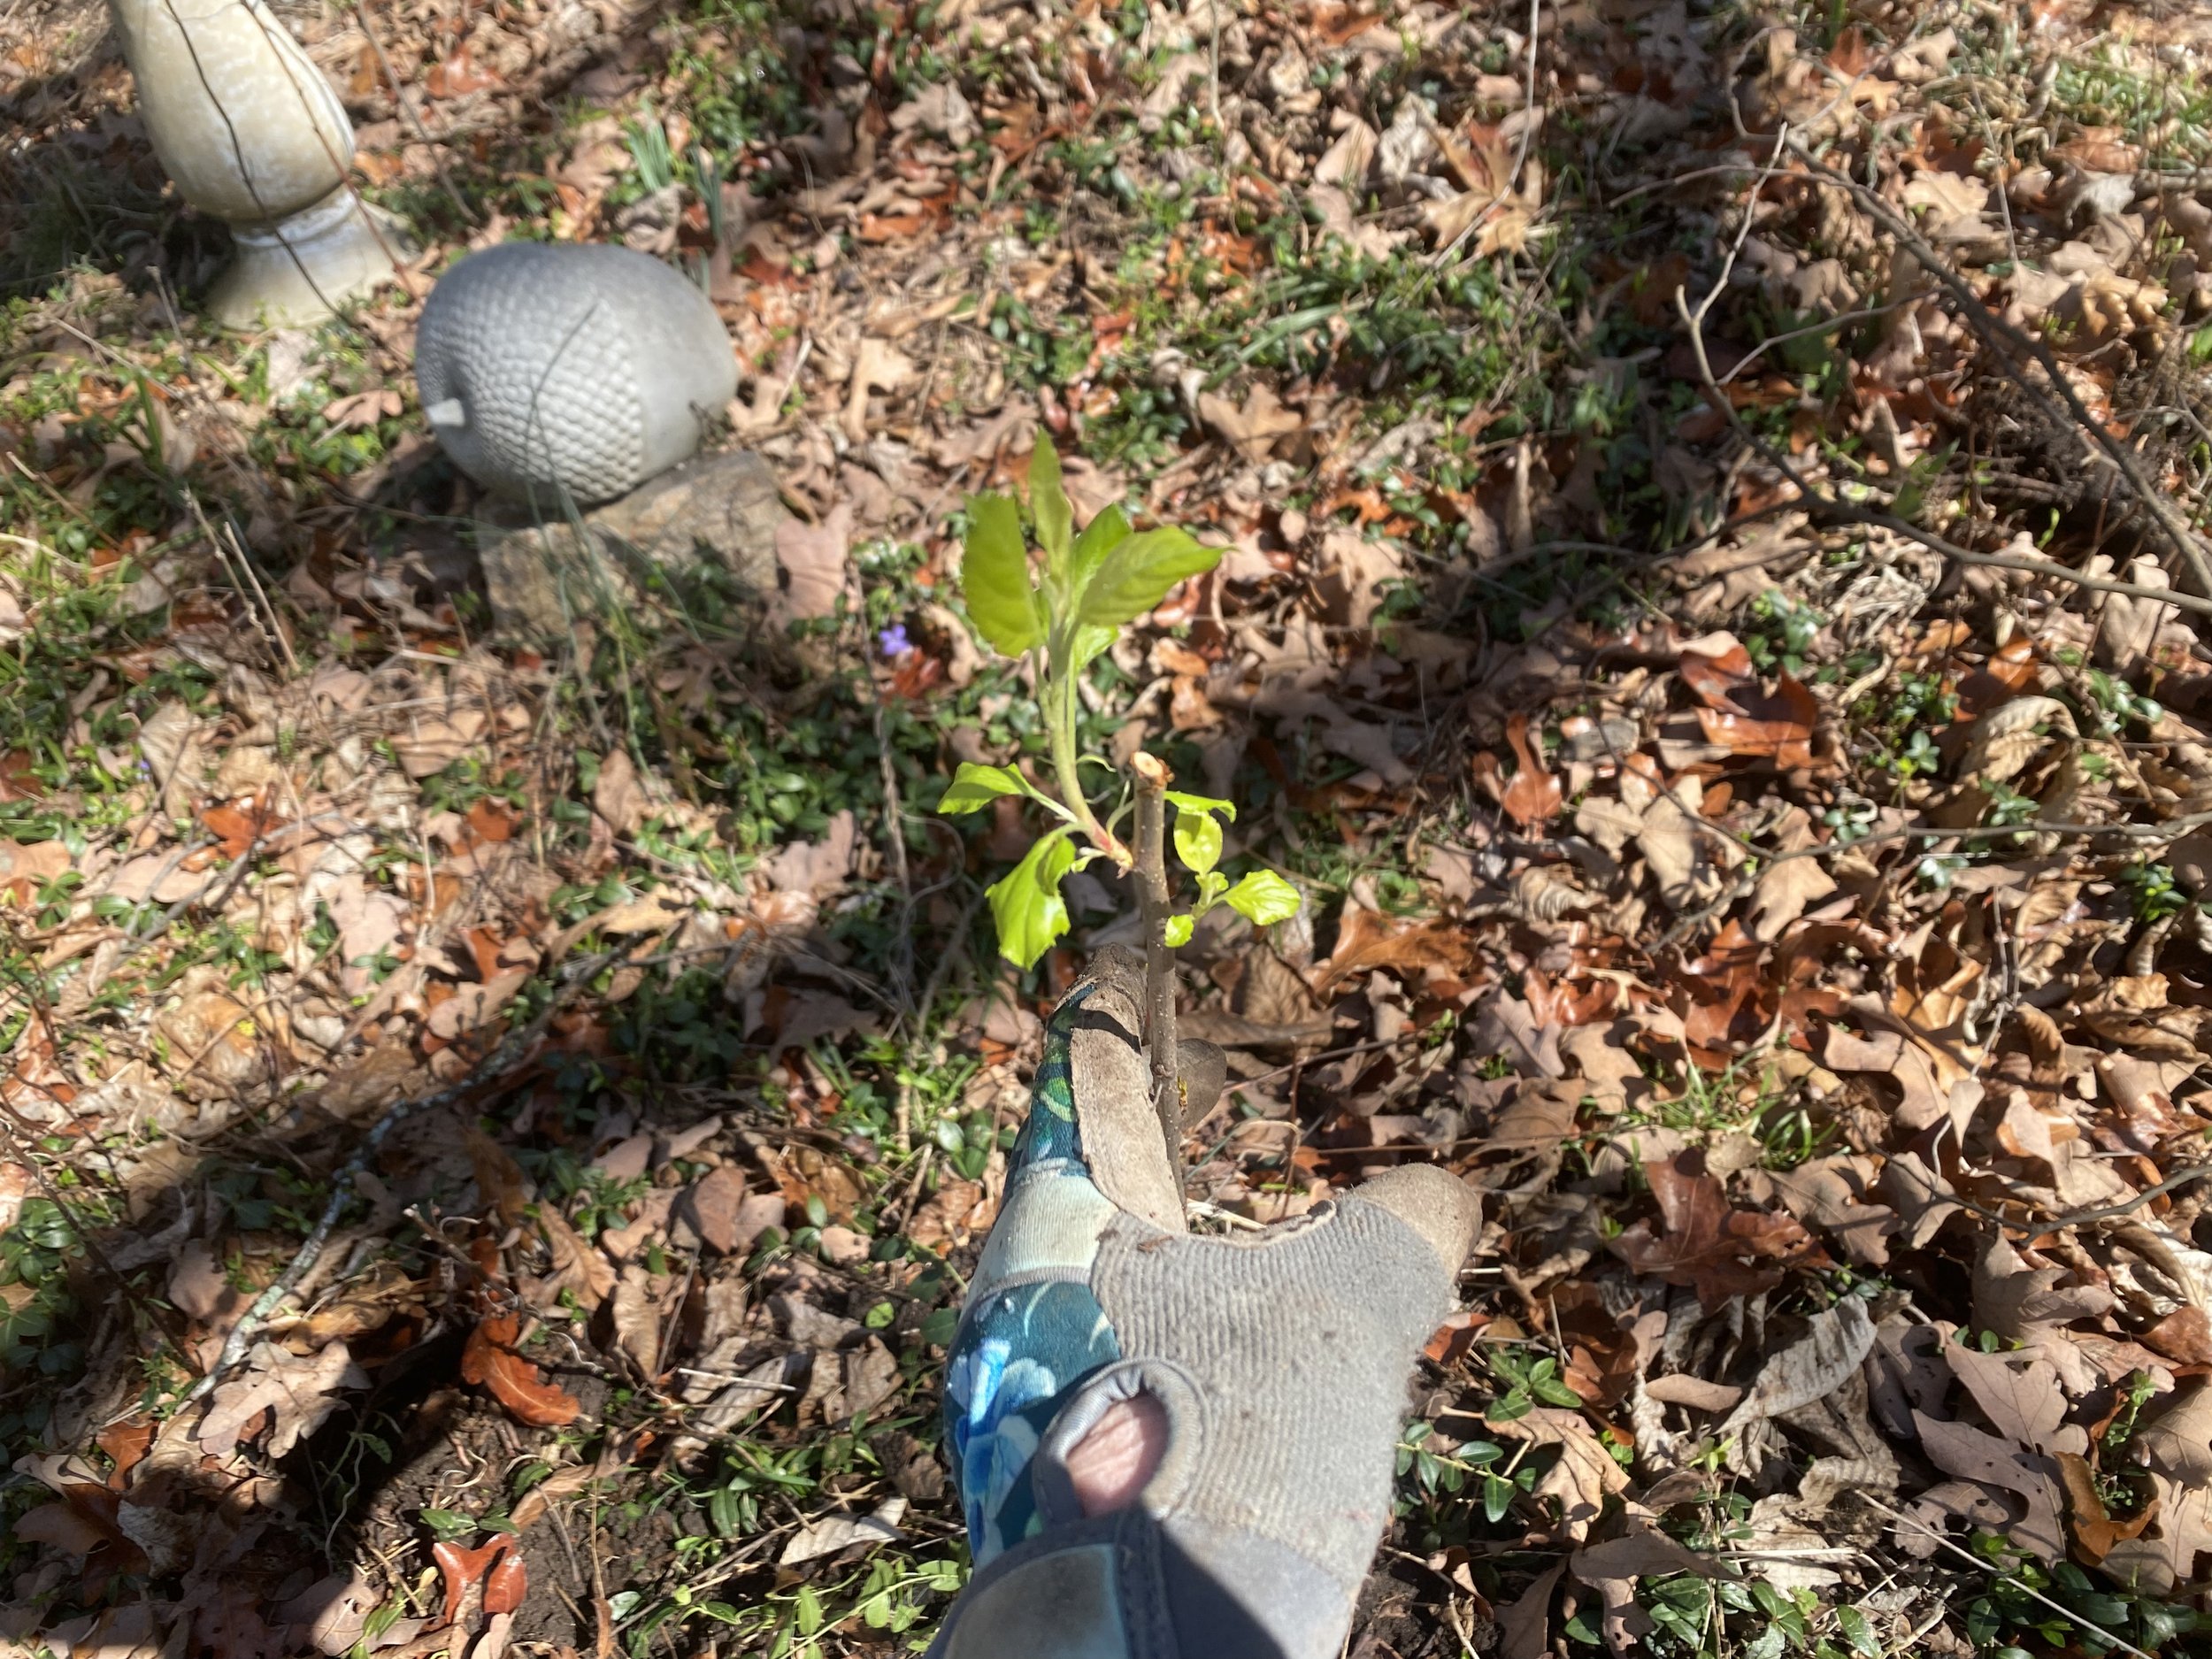
A gift crabapple tree is going in where a cherry tree died last year. (charlotte ekker wiggins photo)

After Rain Chores

Besides my pick axes and boots, rain is the next favorite garden assistant. When you plant on a limestone hillside, rain is not only critical for your success but it also can be helpful.

One of the first things I did when I started to develop flower beds - more like shelves with rock borders, I made sure the rain coming from uphill property would keep the flower shelves hydrated. That meant making small trenches to guide the water and lowering the flowering shelves so they could naturally collect water.
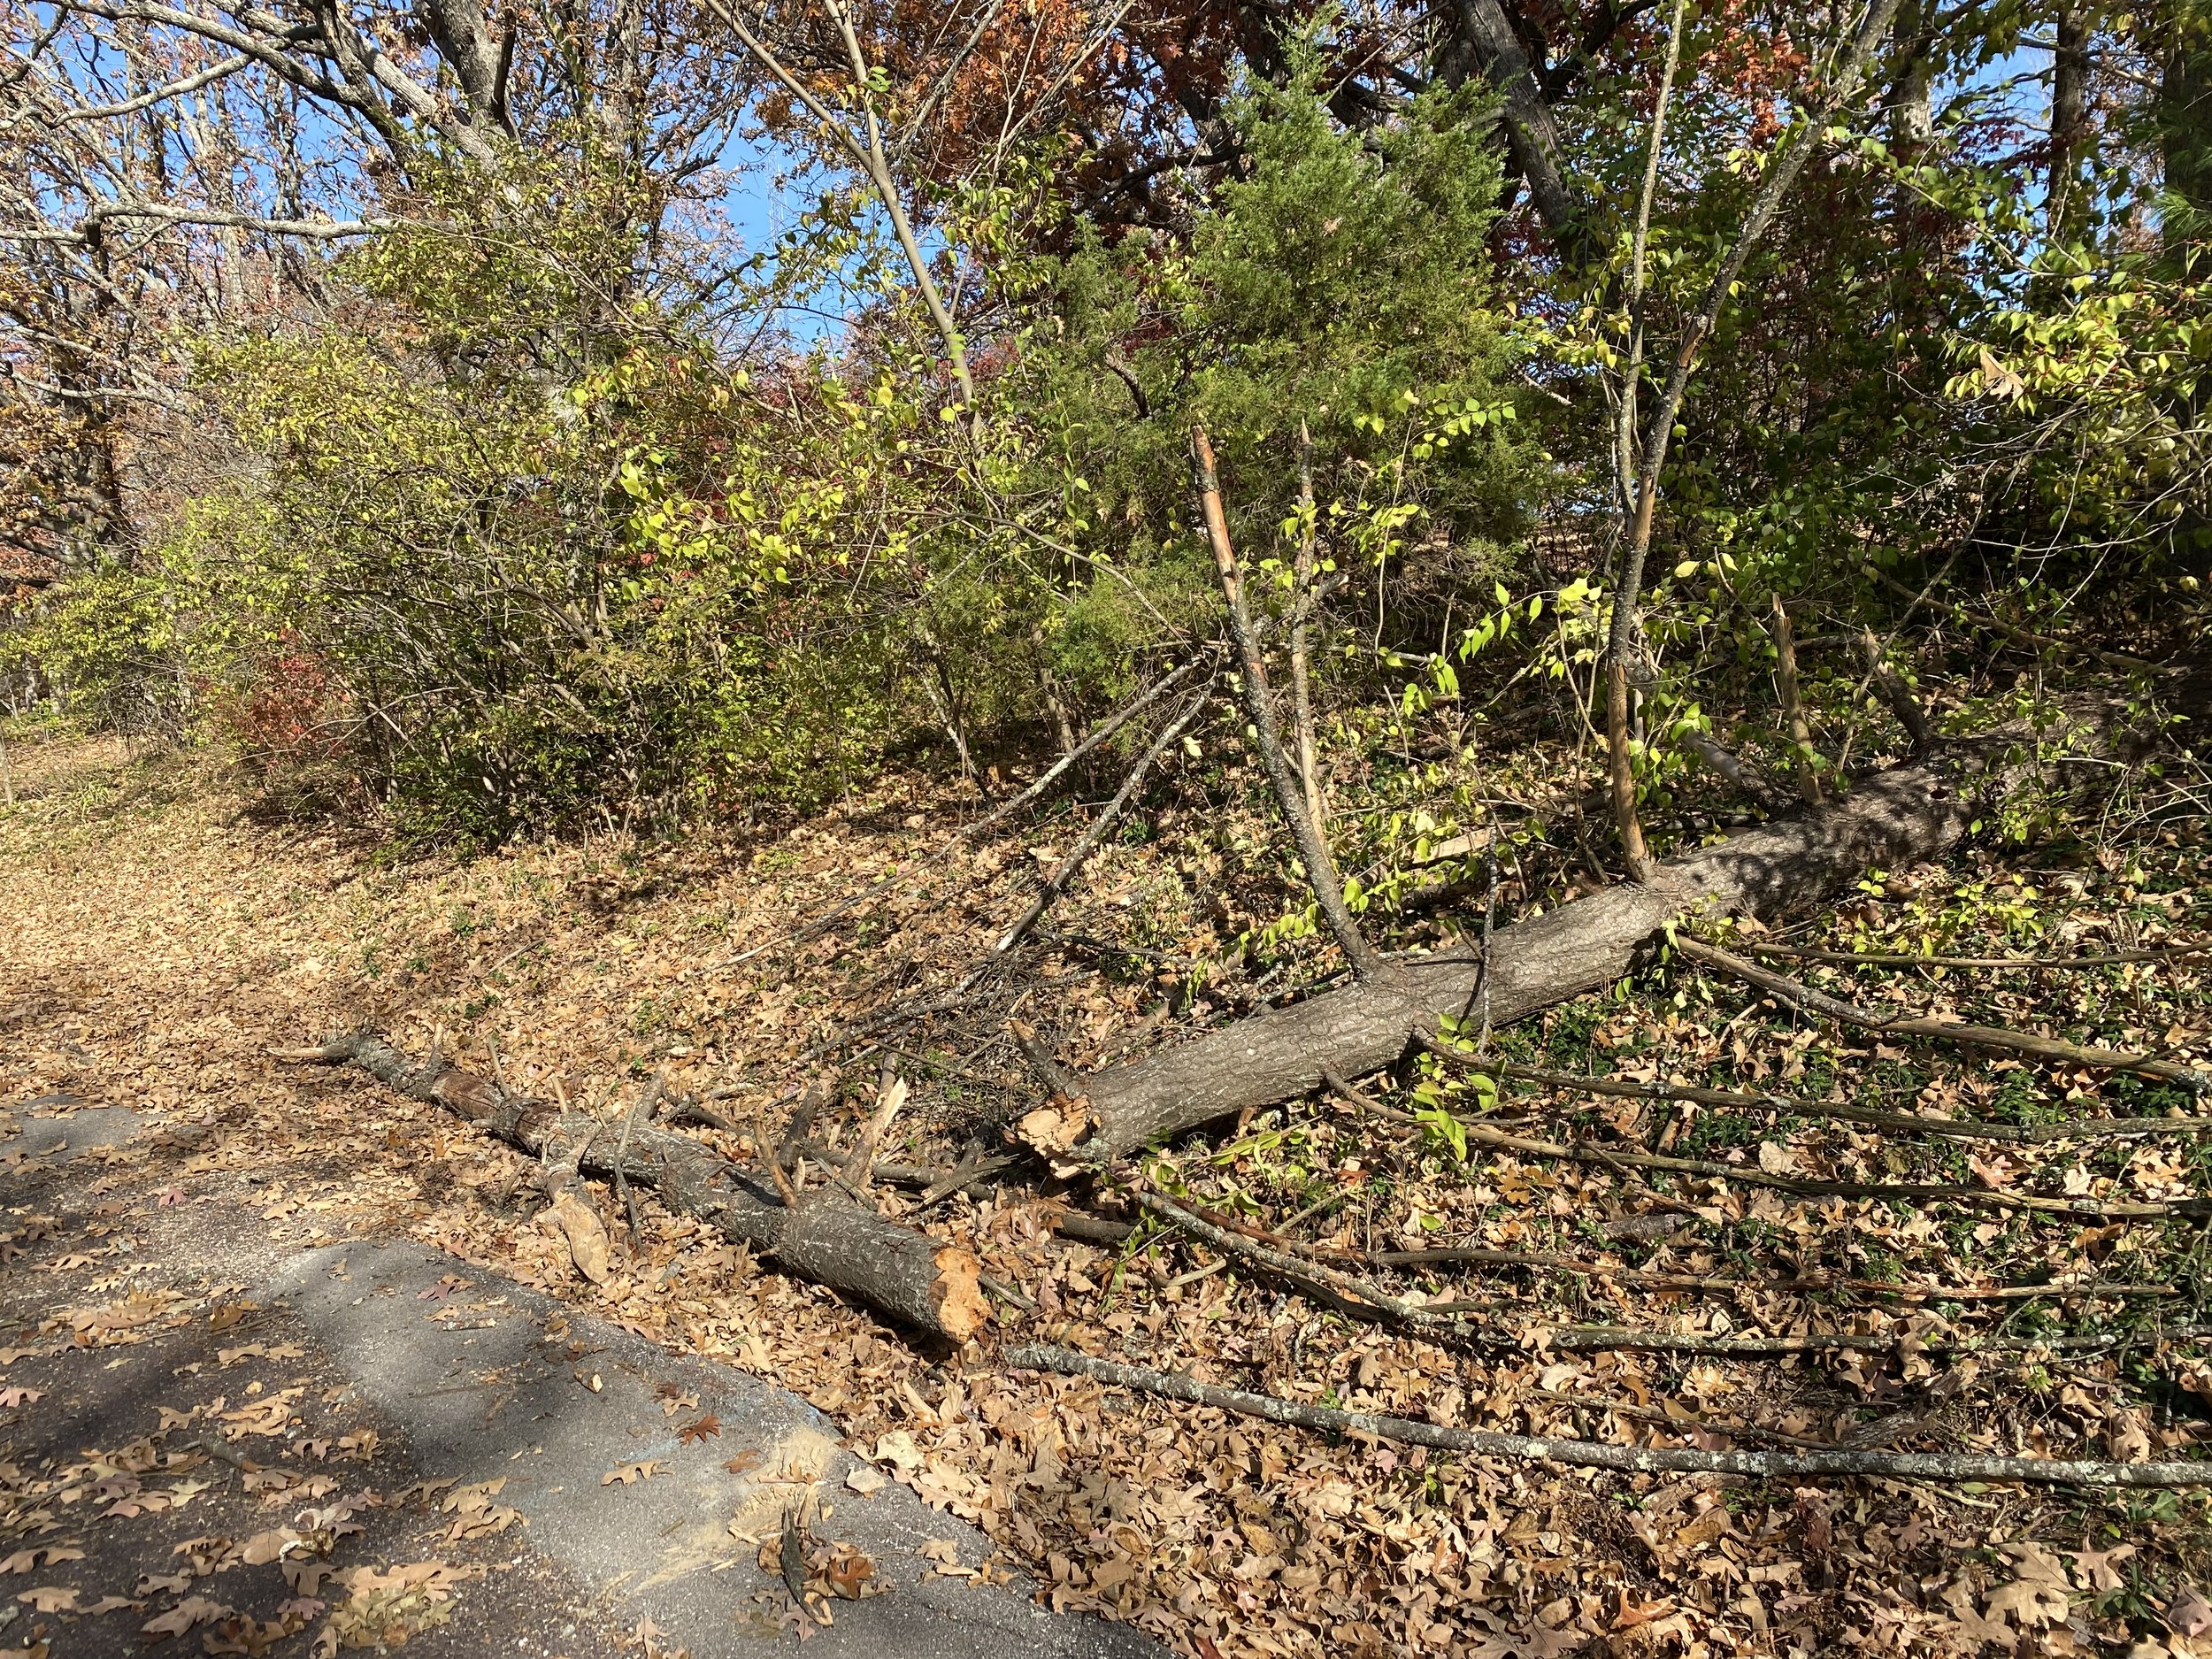
Now more than 40 years on this hillside, rain has become critical to my success:

  1. Dig holes after a rain. Soil will be more pliable and easy to work. I mark off possible locations before rain, then check the possible areas after rain. If there are too many rocks, I move the location.

  2. Remove dead trees. The rain will make dead tree removal easier, especially for trees with deep roots.

    3. Plant trees. You can more easily dig deep holes for root planting.

4. Plan to remove invasive species such as bush honesuckle. I can pull out young bush honeysuckle starts by hand after a good rain.

5. Follow the trenches rain makes and use those low spots for rain gardens.

6. Look for dry spots and adjust whatever is growing. You don’t want plants that need a lot of moisture growing in a dry area.

7. Check that birdbaths have been filled. If not, move the bird bath.

8. Note rain debris. Retrench the area to guide rain into areas with soil and flowers.

9. Ease plant stakes deeper into the ground. The rain-softened soil will have more give after a rain.

10. Walk through your garden and notice what’s starting to come up. Rain encourages new growth.

Rain certainly can help a garden with moisture but its also an excellent planting aid.

Charlotte

Repurpose Pruned Branches

Pruned pear branches forming a support for incoming peonies. (charlotte ekker wiggins photo)

Repurpose Pruned Branches

February and March are pruning months where I live in mid-Missouri, USDA Hardiness Zone 6 but I keep Hardiness Zone 5 as my guide. The hardiness zones are a 13-year average of past temperatures. It’s best to plant for colder temperatures just in case.

Back to pruning. I prune towards the end of winter when trees are still dormant. My dwarf fruit trees get a light cut to keep them shaped; the one semi-dwarf pear tree requires a little more work because I didn’t prune it for about 30 years. Forgot I even had the tree until 2010, when paper wasps gave me my first homegrown supply of Bartlett pears.

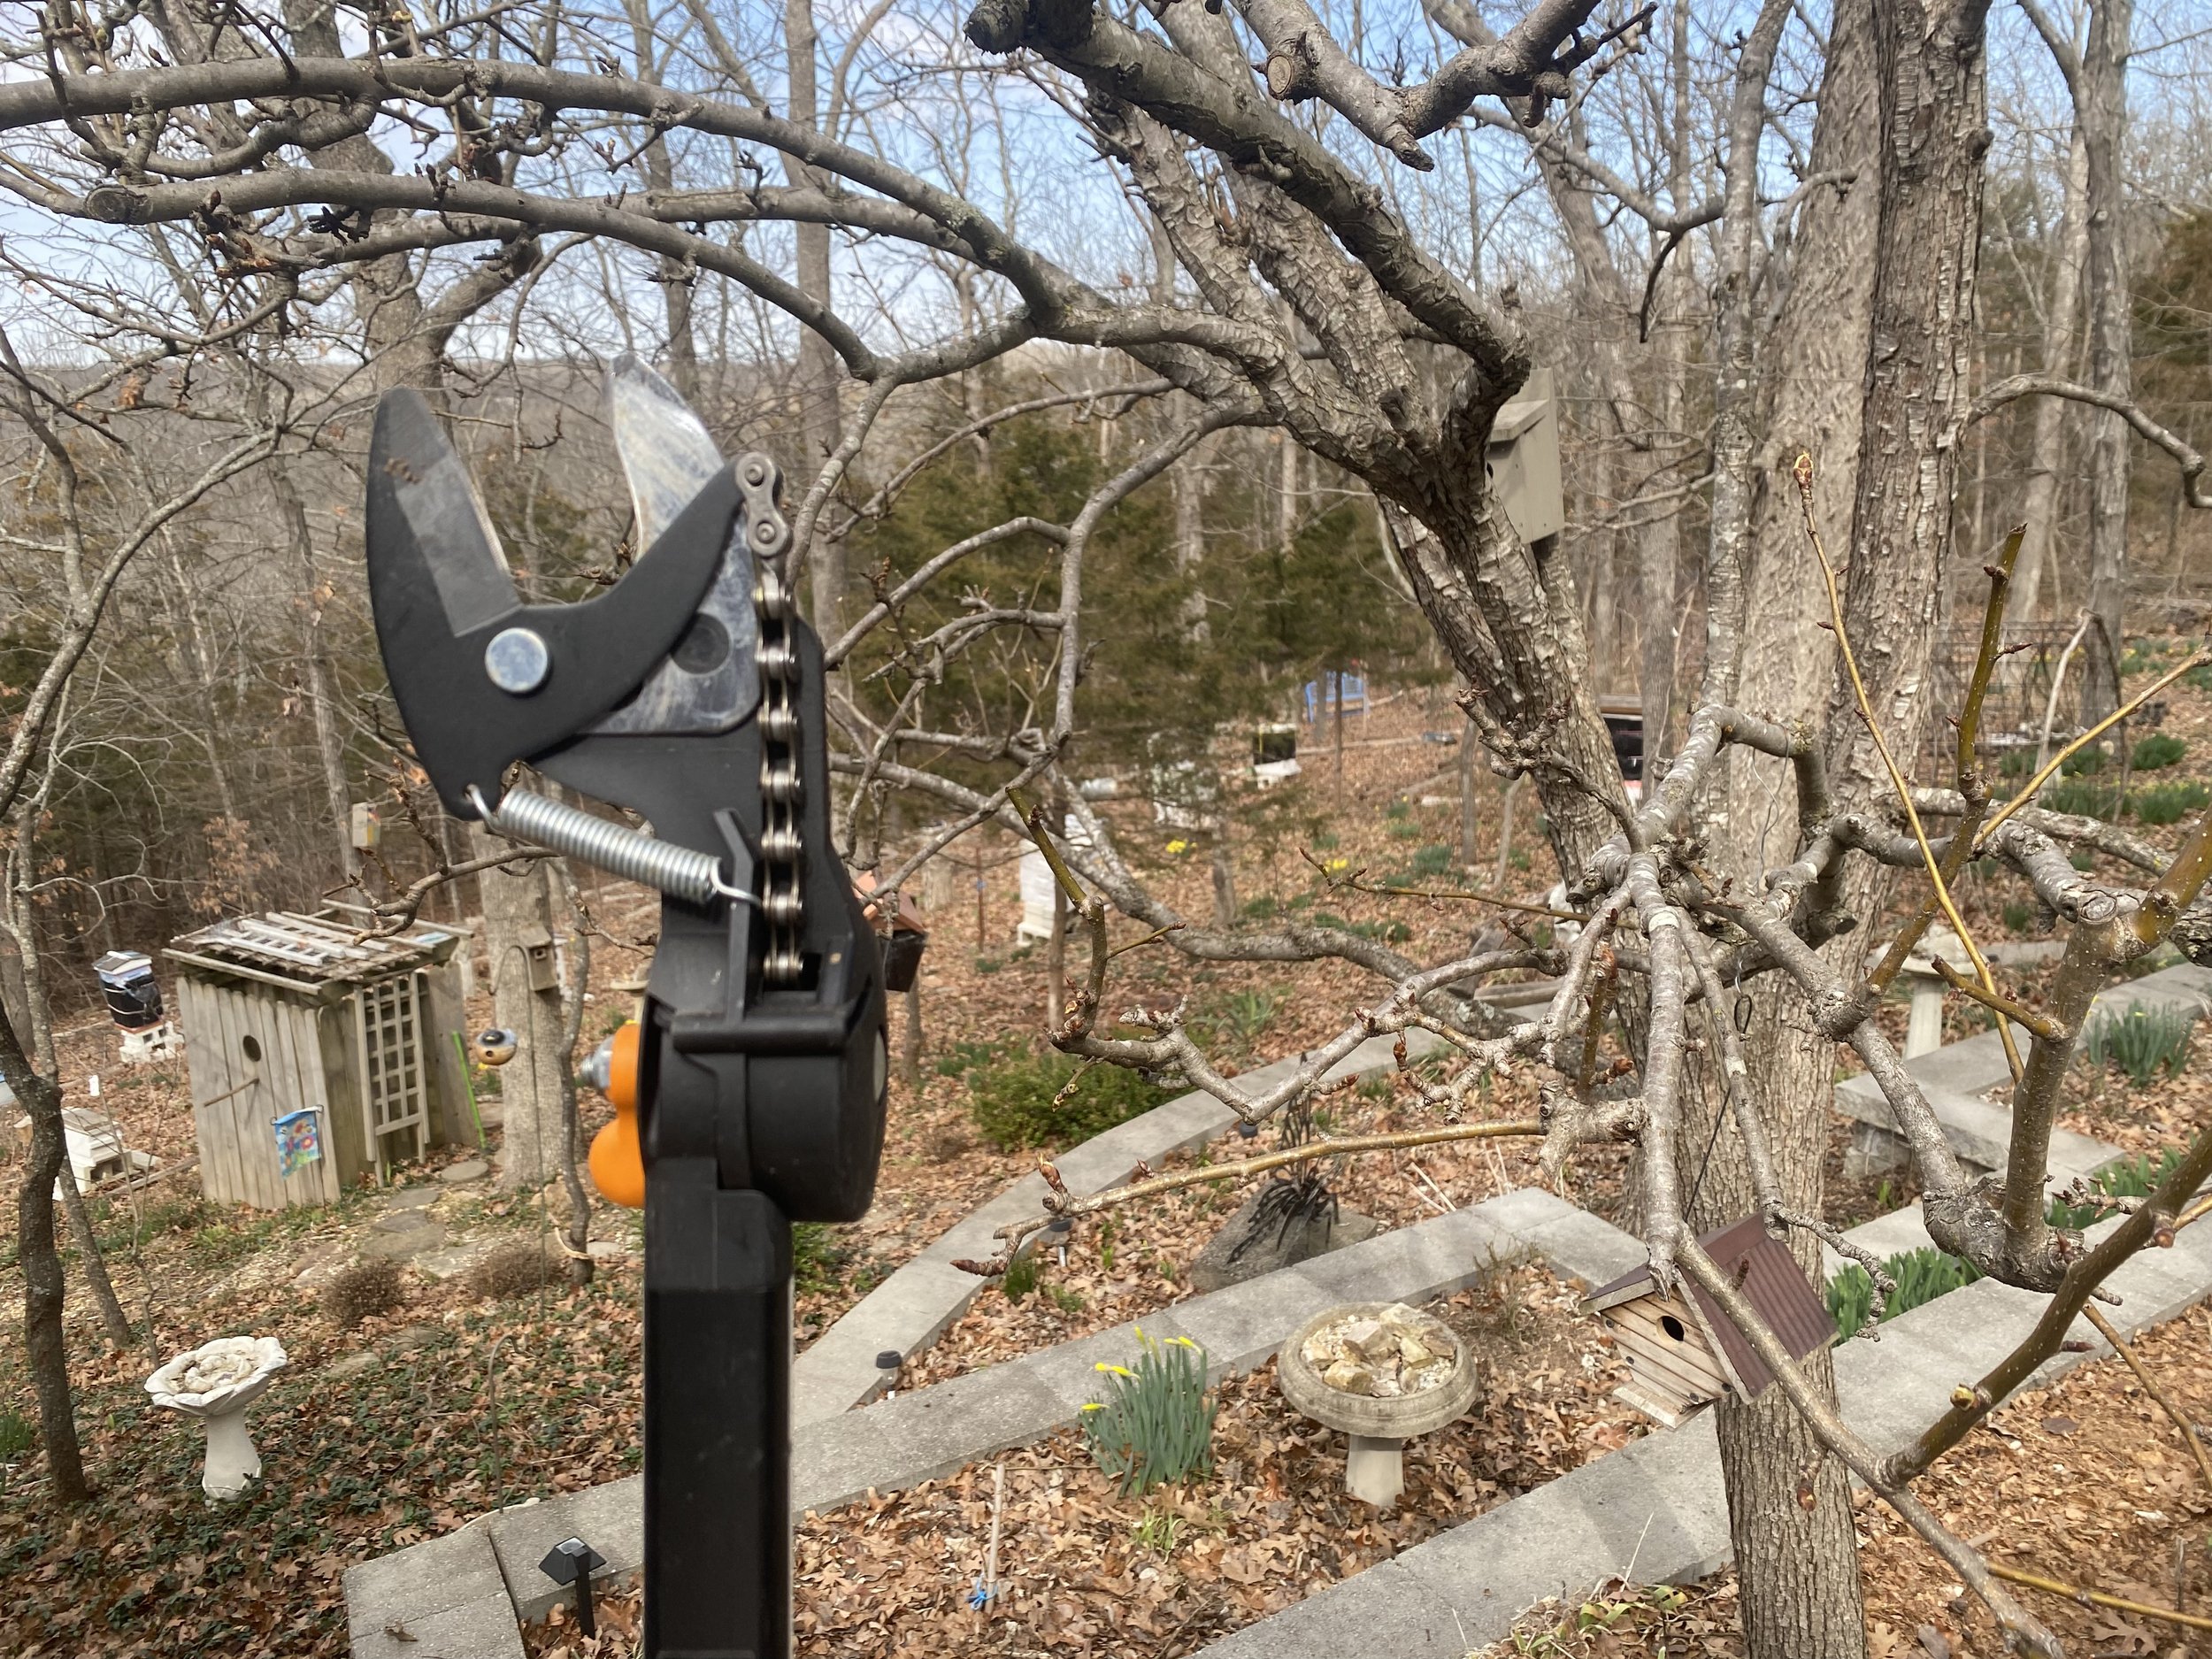
Pruning my semi-dwarf pear tree next to my deck with this handy long pole. (charlotte ekker wiggins photo)

Last year, the Bartlett pear tree developed very long vertical branches, which I knew I had to trim this winter.
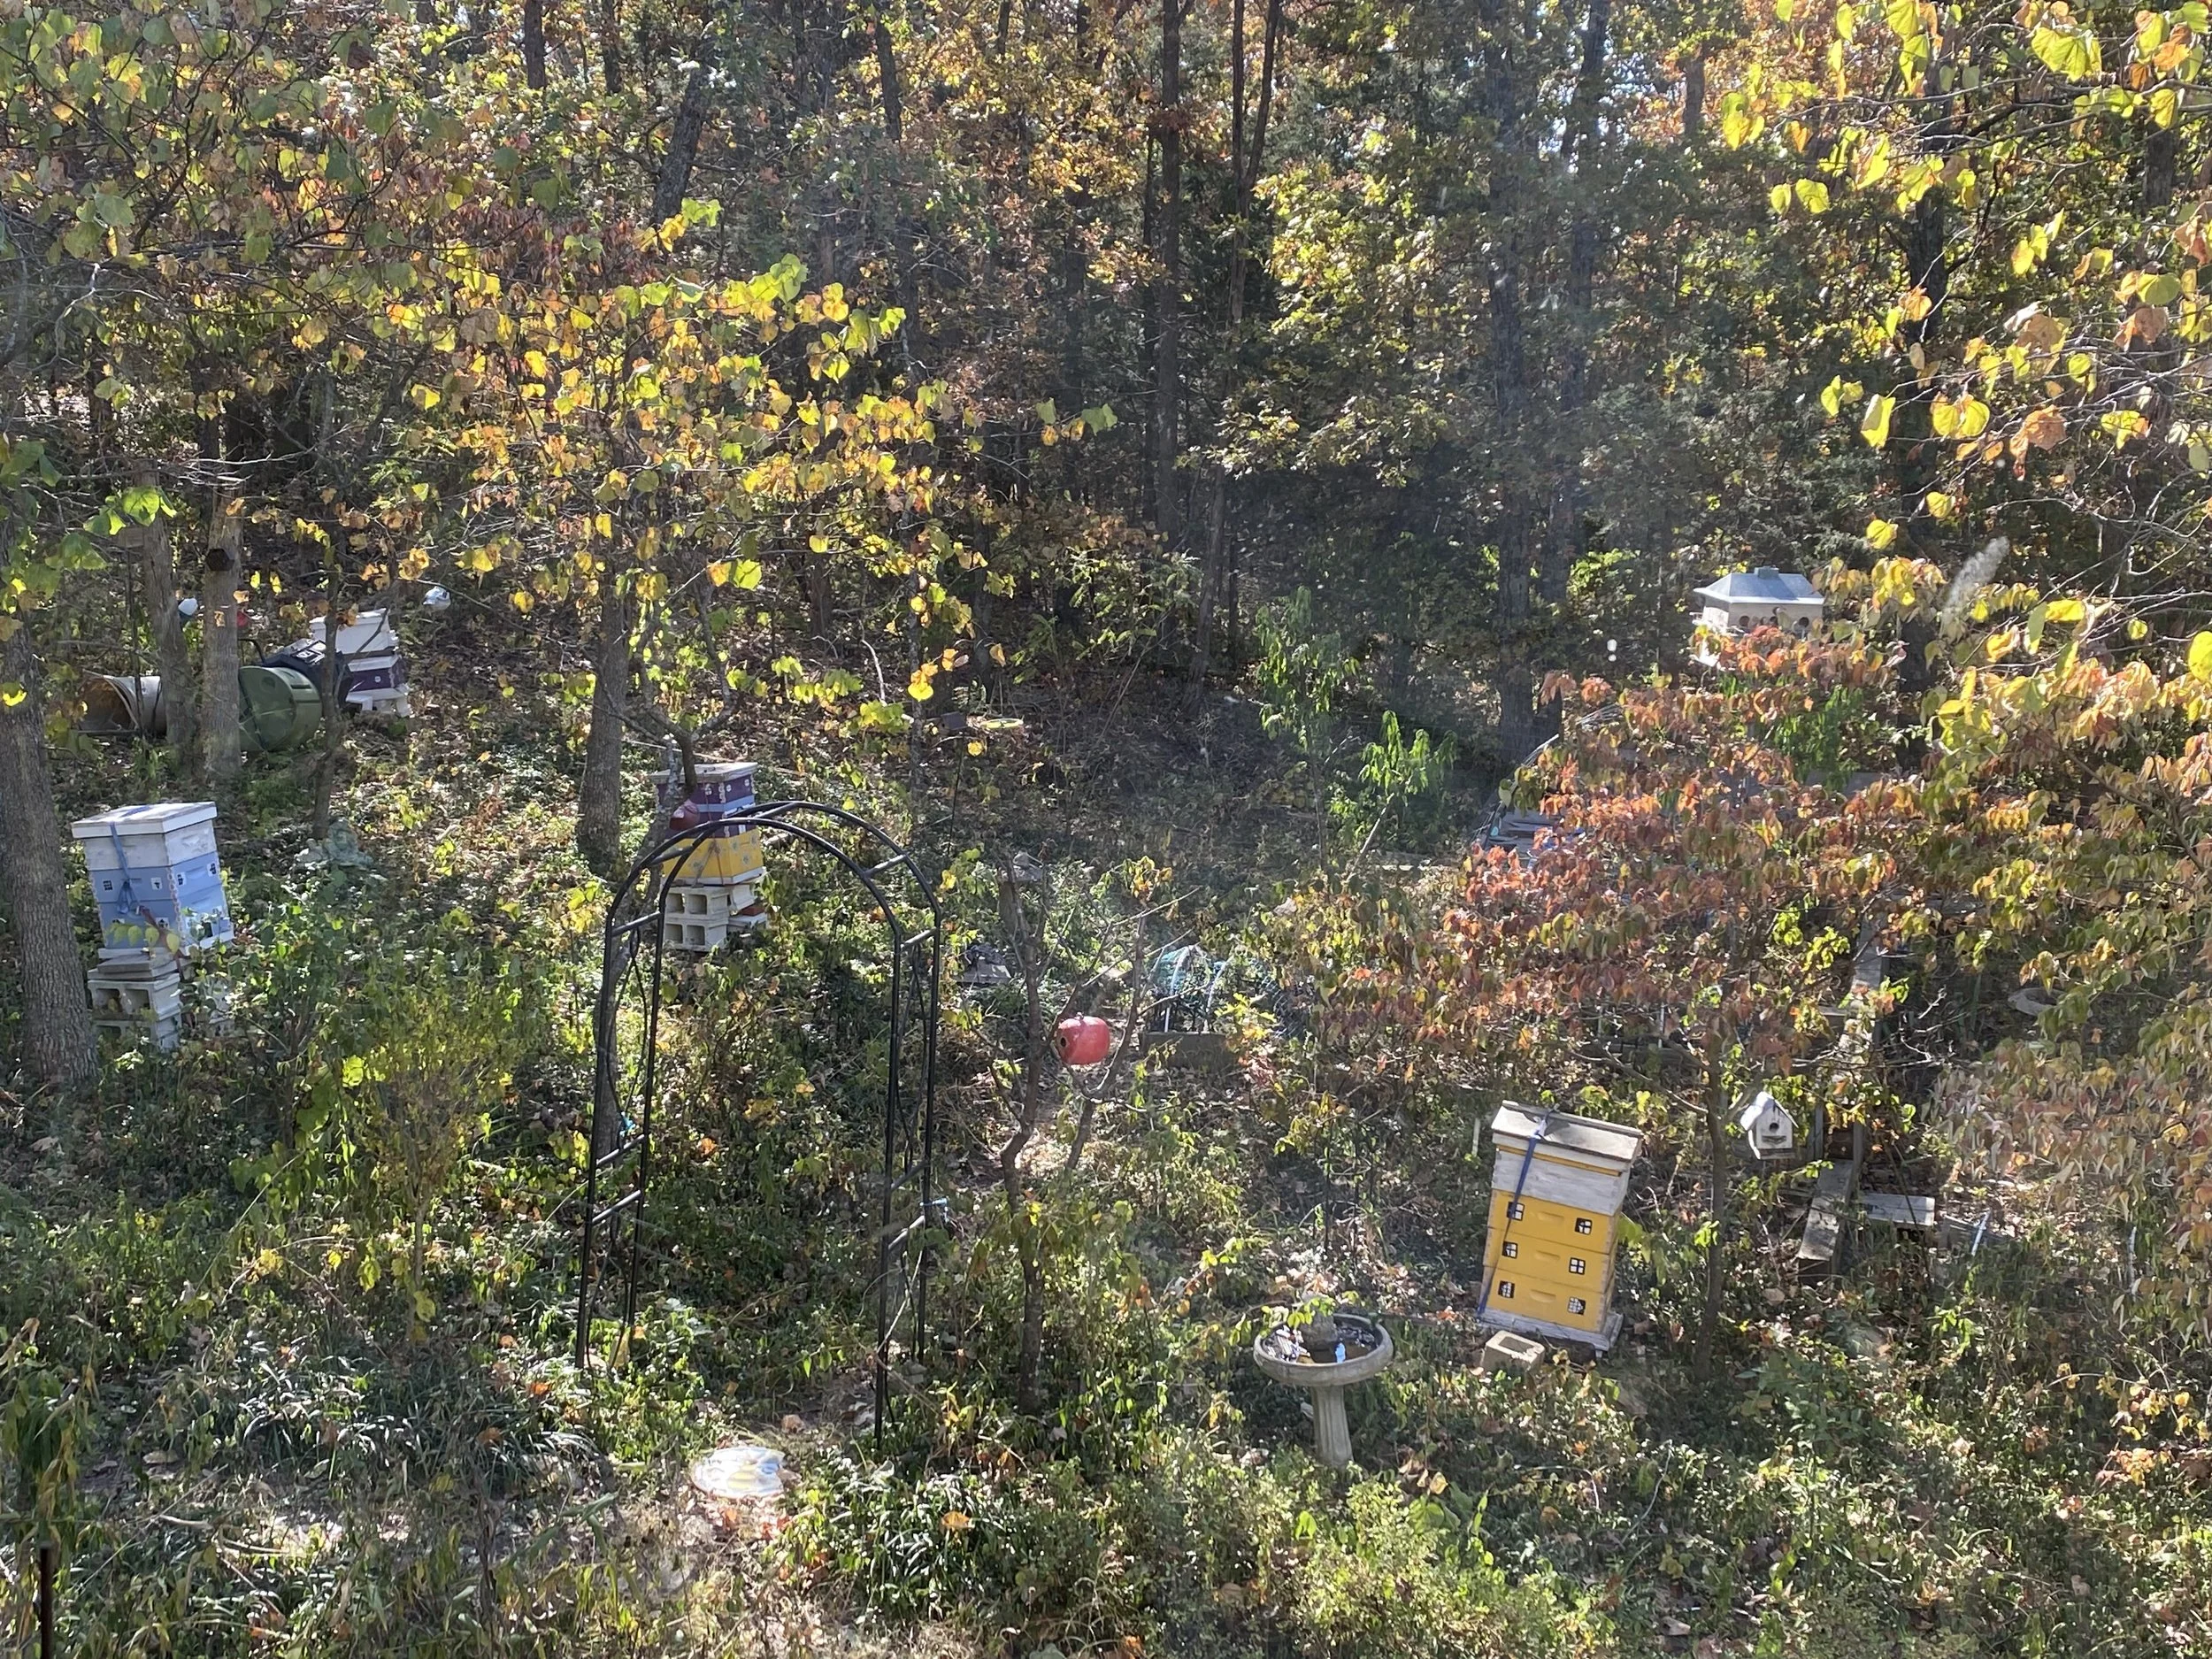
The branches are long and easy to bend so thought I would try to use them to make peony bush supports.
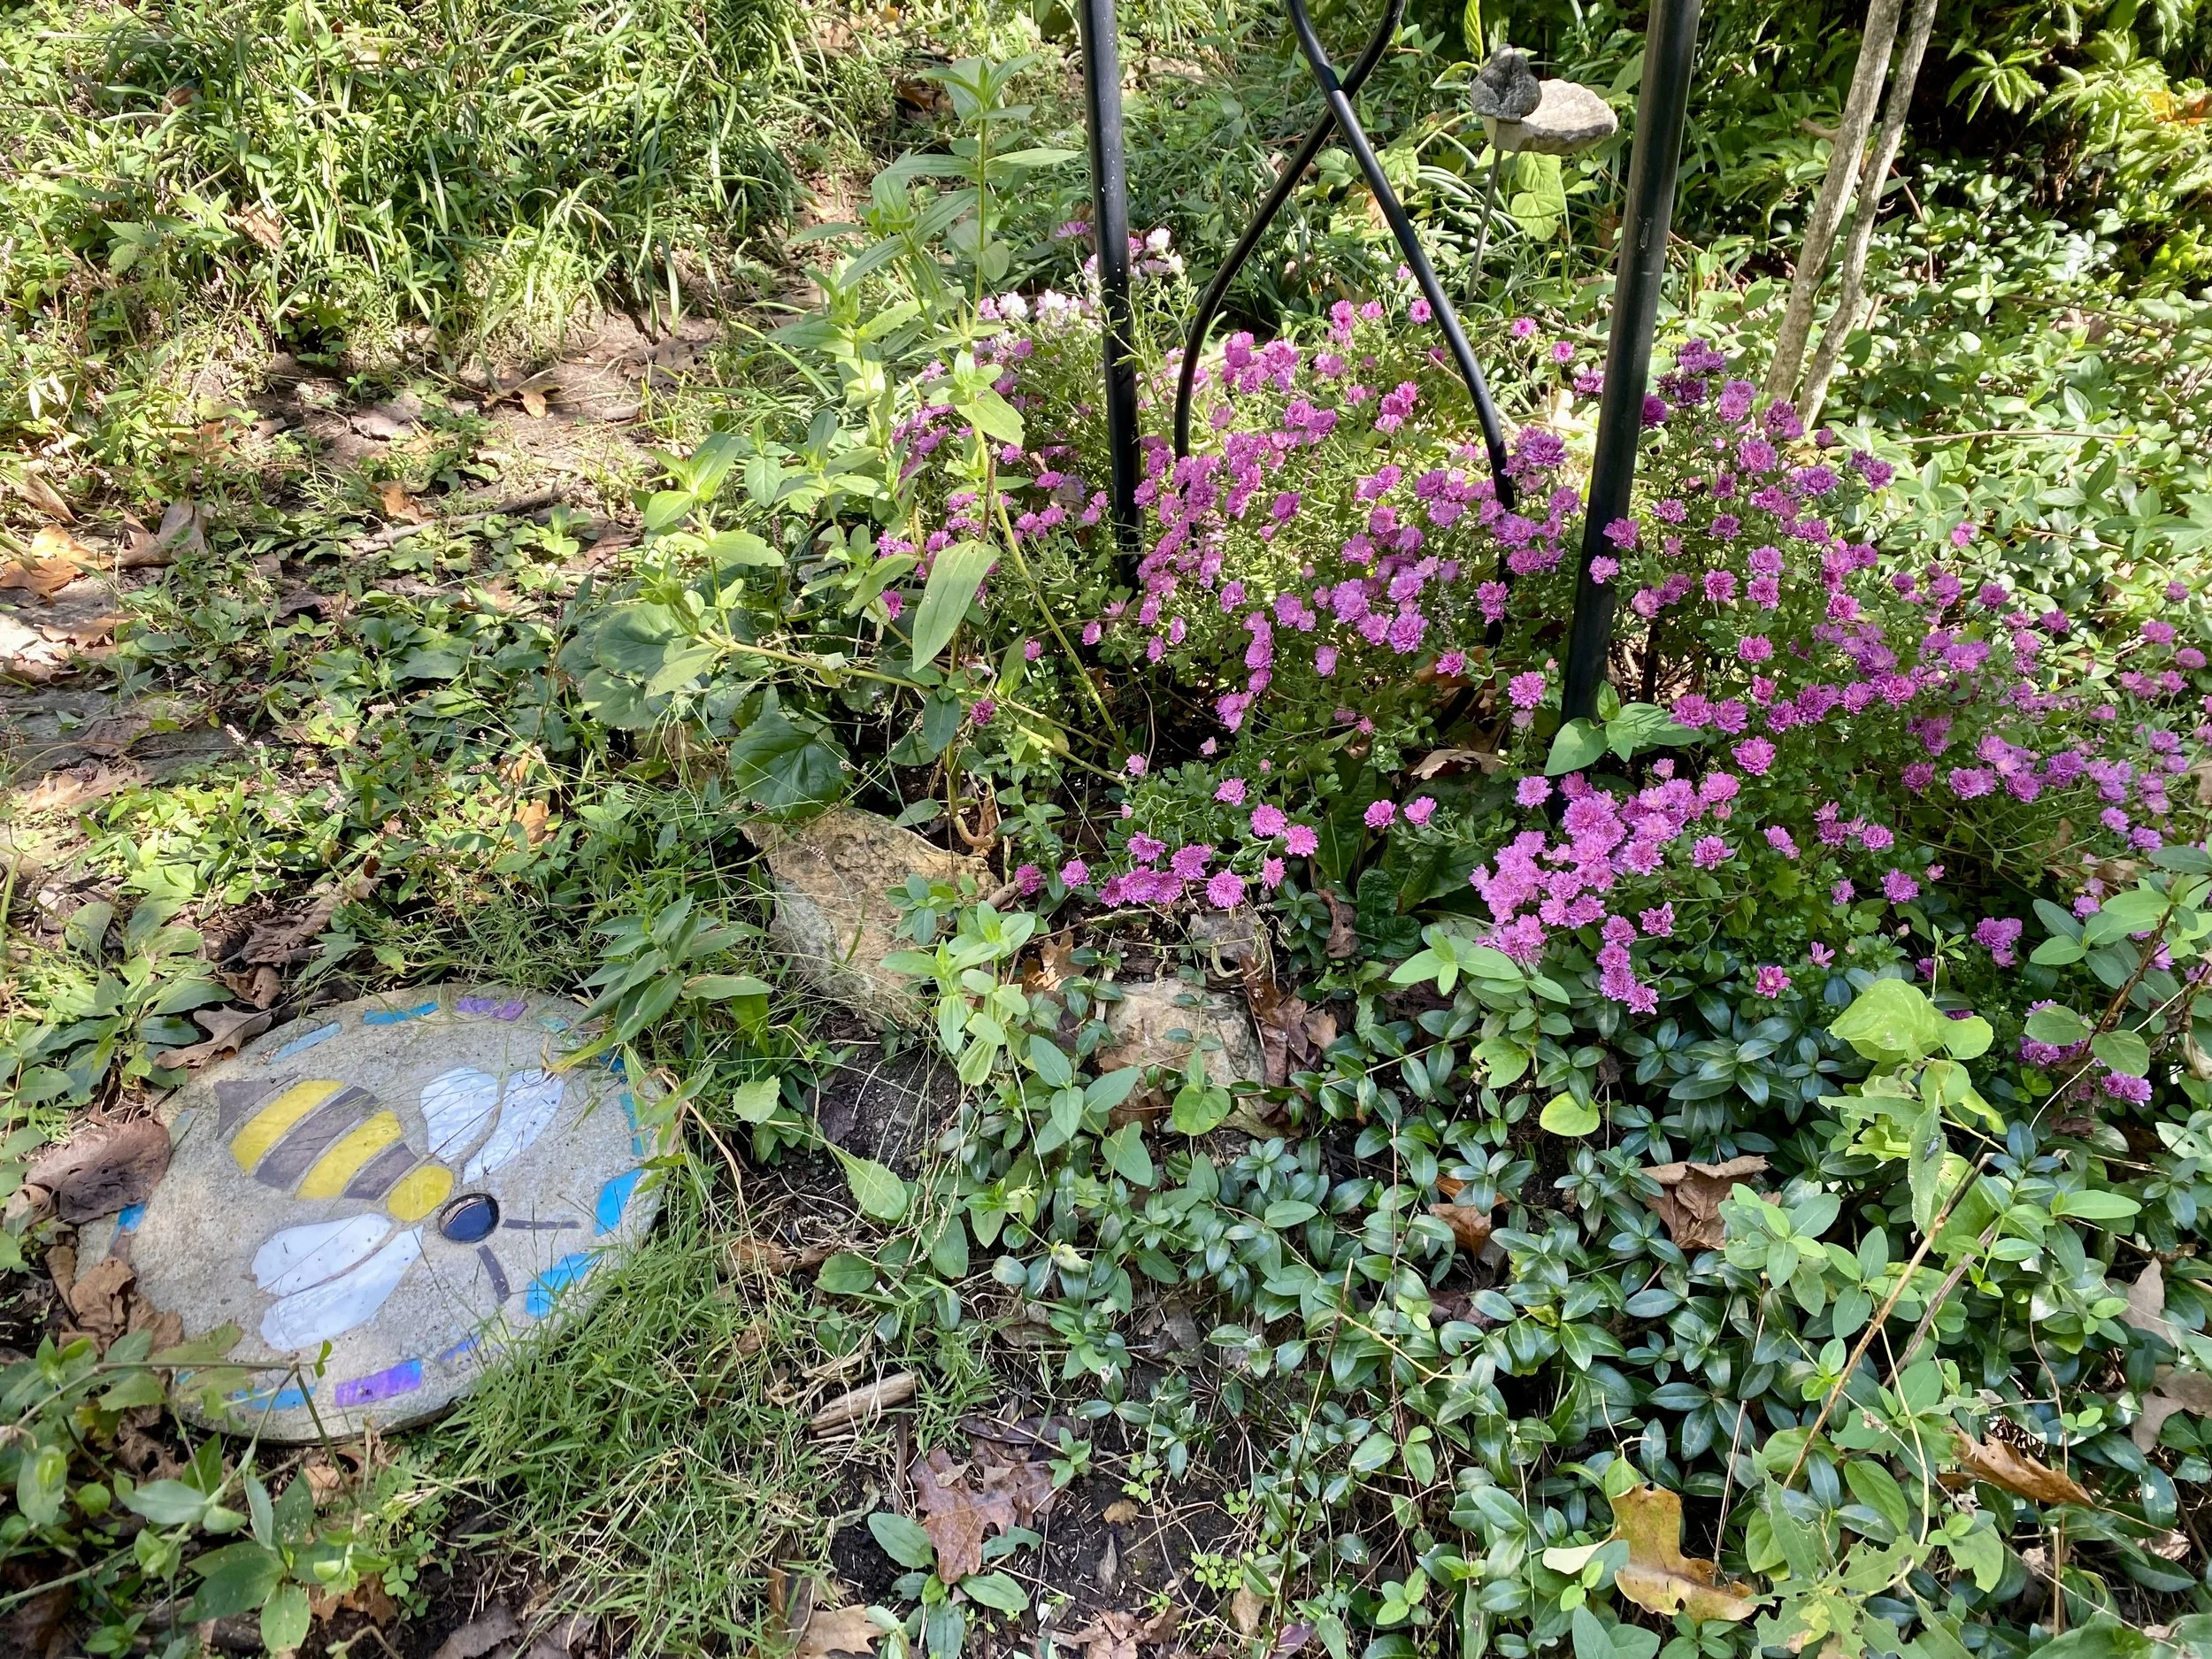
Any peony supports are easy to install when the plants are just getting started.

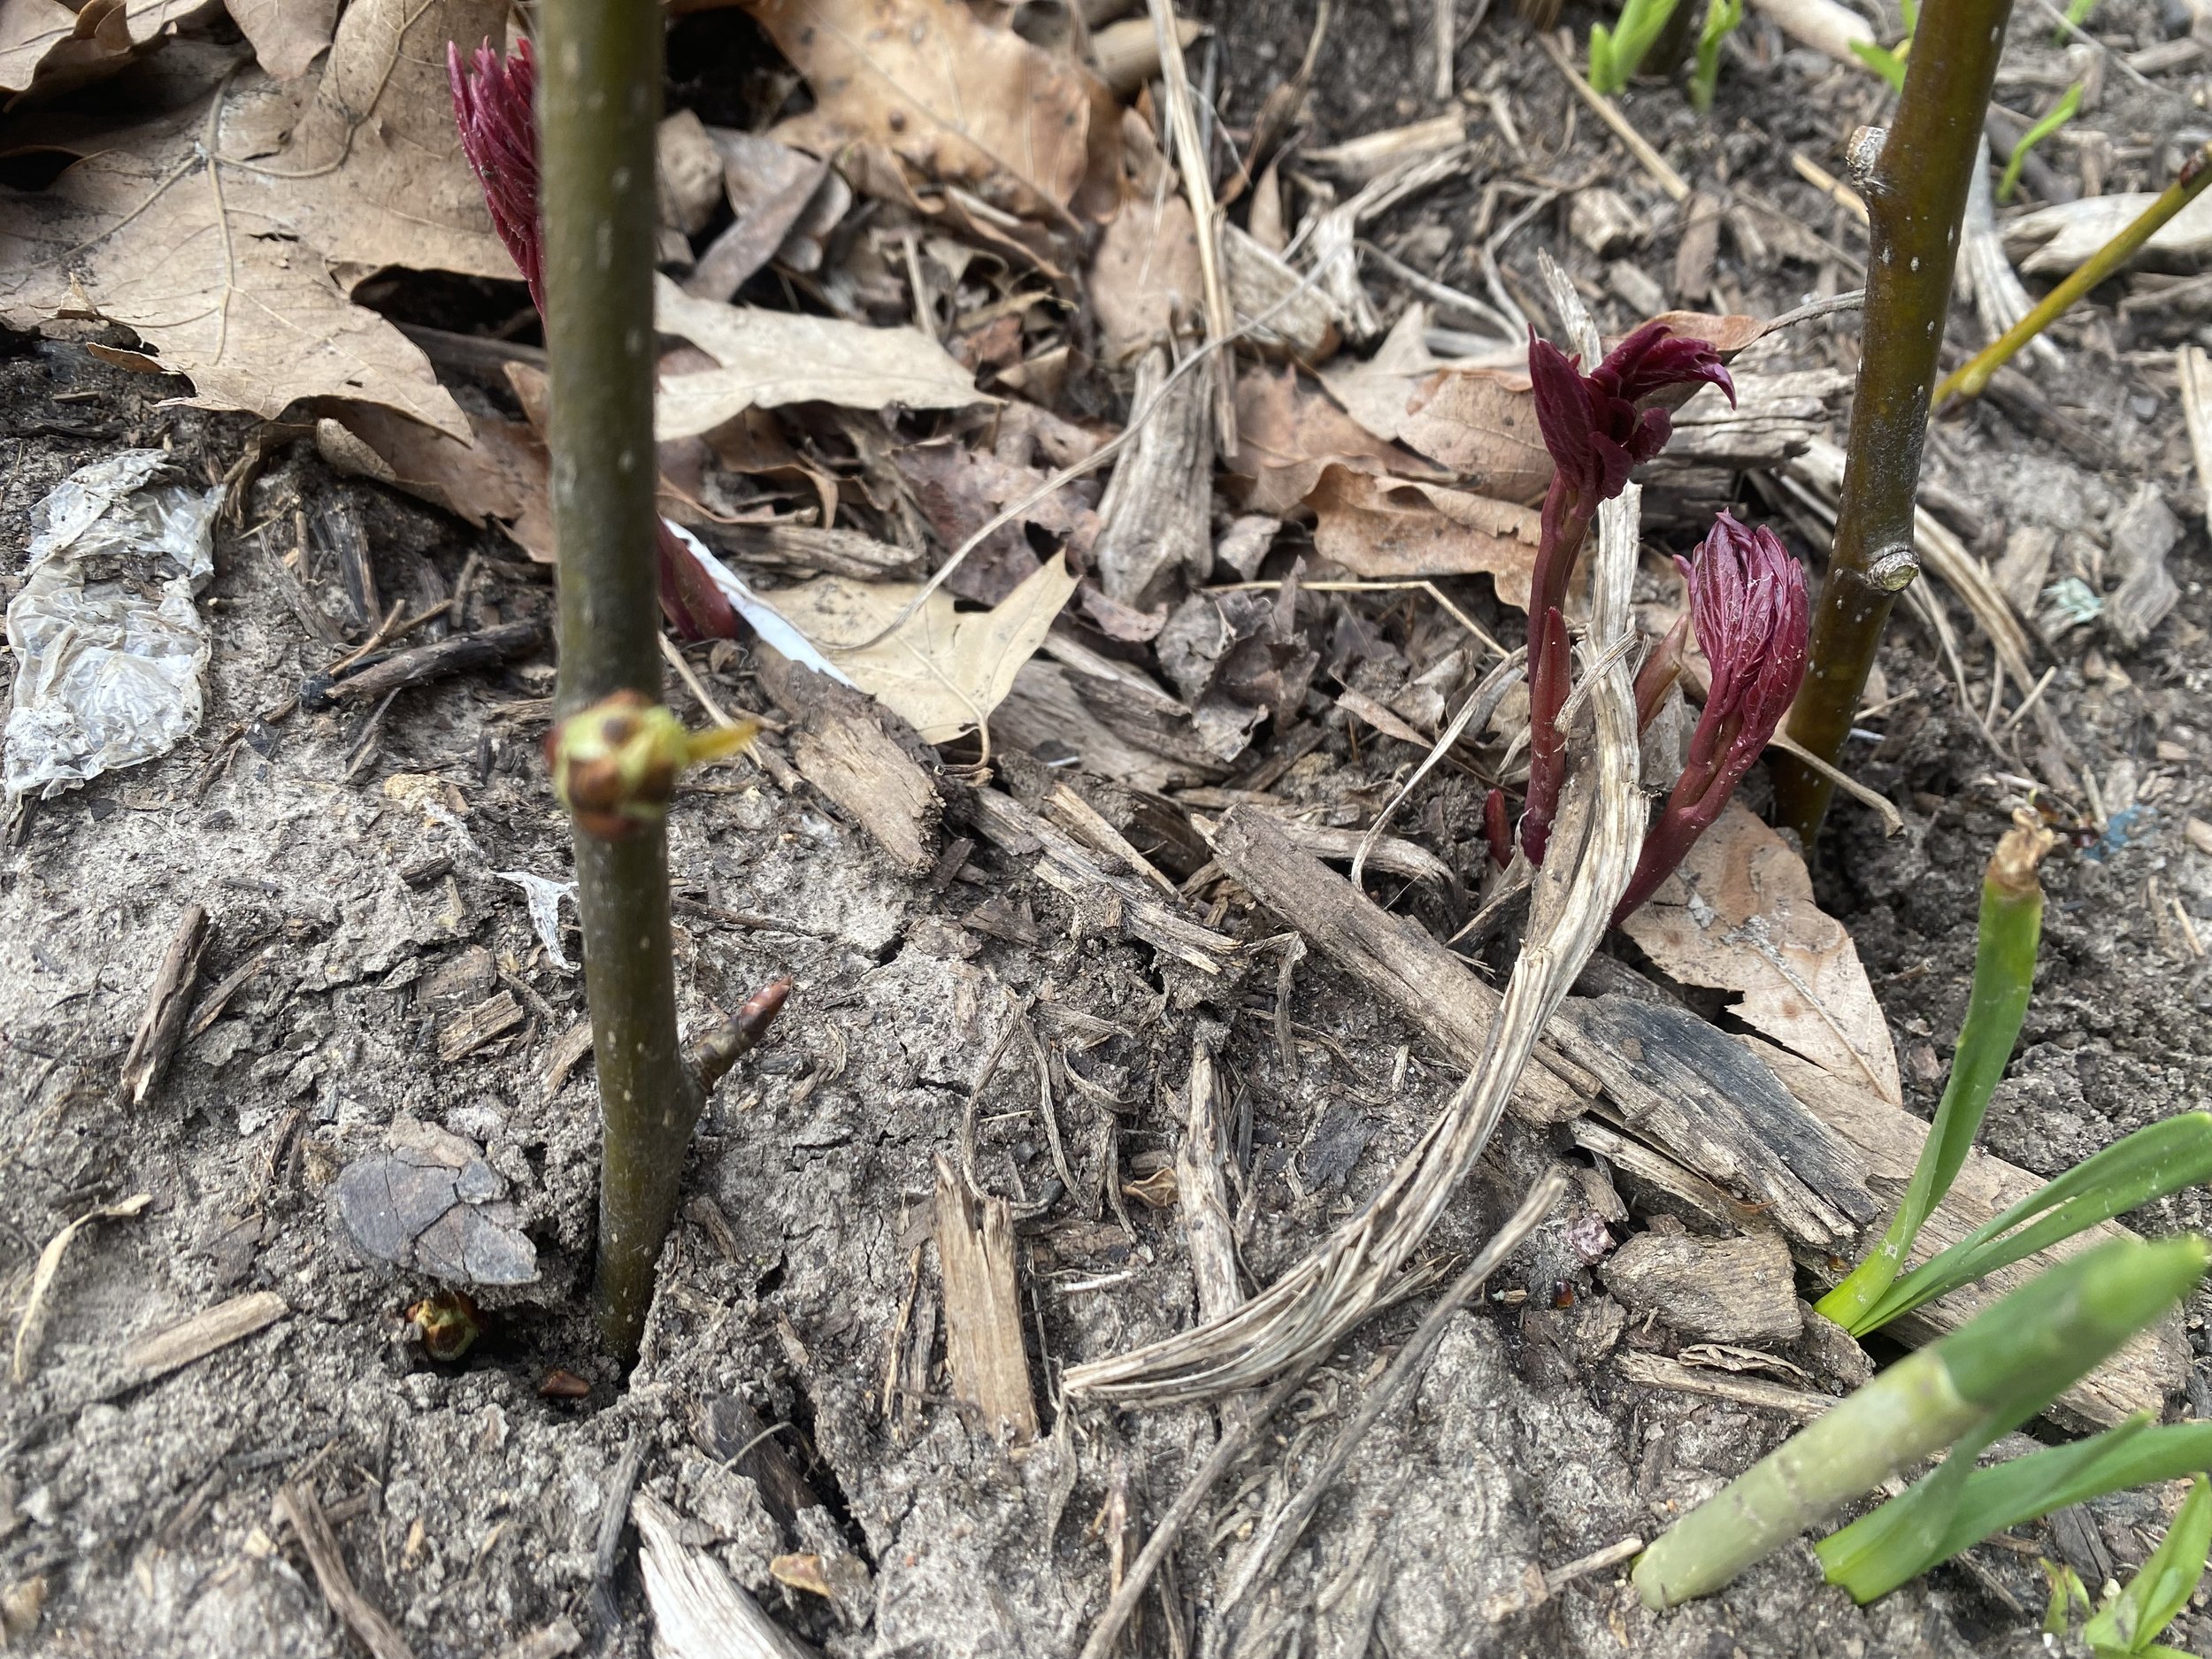
new peonies starting to show amongst daffodils. (charlotte ekker wiggins photo)

I had enough pear tree pruned branches to make six of these supports. The ground was hard so I may go back and push the branches in farther after a good rain.

The top of the pruned pear branches support may need to be tied. (charlotte ekker wiggins photo)

The pruned pear tree branches may also need to be tied at the top. I will wait until after a good rain and I can slip the branches deeper into the ground. Then I can secure them at the top at the final even level.

Now to see if they are strong enough to support the peonies.

Charlotte

How to Test Soil

The wonderful world of soils and all of the microorganisms that live in it. (Photo by Charlotte Ekker Wiggins)

The wonderful world of soils and all of the microorganisms that live in it. (Photo by Charlotte Ekker Wiggins)

Soil Testing

As spring fever hits, this is the perfect time to get soil tested. Of all of the things we can do to make our gardens better, getting soil tested is by far the most important step to take.

A test will help assess the current state of soil and make recommendations of how to improve it for what you want to plant.

I did my first soil test through the University of Missouri Extension a couple of decades ago and repeat it every 2-3 years. Working a Missouri limestone hillside into a garden, it’s helpful to monitor how the soil amendments I have added change the soil composition.

Soil is assessed on a scale of 1-14. A middle seven is neutral. The chart extremes are sweet, higher than 7+ and bitter, lower than 7.

To successfully grow most plants, you want a good solid seven. On either end, blueberries and hydrangeas prefer a little more acid growing conditions; butterfly bushes and lilacs prefer sweeter soil.

How to Collect Soil

Using a freezer bag, collect 1 1/2 cups of soil from 6-8 spots around the garden from about 6 inches deep - if you can dig that deep.

Seal it up and take it to your local University of Missouri Extension office with $15. You will need to tell them what kind of plants you want to raise to get the most out of your soil test results.

Within a couple of weeks, the soil test report will be emailed to you with the results and recommendations, as appropriate.

The following are a couple of soil test examples, starting with a home garden.

Example Home Garden Soil Test

This home garden soil test shows recommendations at bottom. (Photo by Charlotte Ekker Wiggins)

This home garden soil test shows recommendations at bottom. (Photo by Charlotte Ekker Wiggins)

The soil test results are a little different for a field soil test.

Example Field Soil Test

A field test soil example covers more elements. (Photo by Charlotte Ekker Wiggins)

A field test soil example covers more elements. (Photo by Charlotte Ekker Wiggins)


My One Acre Limestone Hillside Soil Test April 2019

Over the years, friends have asked how I grow what I grow on a limestone hillside garden, where my first neighbors said “nothing would grow.” For 35 years i have concentrated on adding organic matter to existing soil and being kind to the soil I do have.

My limestone hillside garden soil test from April 2019. (Photo by Charlotte Ekker Wiggins)

My limestone hillside garden soil test from April 2019. (Photo by Charlotte Ekker Wiggins)

How to Improve Soil

At first blush, my Missouri limestone hillside garden should be acidic because I let the oak leaves fall on garden beds and only rake those that get in my way. Leaves, by the way, are excellent mulch and provide winter cover for a number of beneficial insects.

To improve my soil - well, actually to create soil - I added wood chips from our local recycling center along with compost. In addition, shredded leaves with grass clippings were also incorporated. These were added after the wood chips and shredded leaves had sat for a few months.

And to naturally enrich the soil, I have wildlife branch piles that have encouraged rabbits, which add to enriching the soil. And they’re big. I snuck out into my apiary at 4 a.m. to close up a hive a couple of weeks ago and was astounded at the wildlife moving around, including one very large rabbit.

Maybe it was because I was standing down hill and the rabbit was uphill but that was one big “bun bun.”

Regardless of your soil test results, the best way to improve soil is to compost. Compost helps to feed the microorganisms in soil that keep plants healthy. You can start by composting kitchen scraps and gradually move to composters and composting bins. It really is the best thing you can do for your soil and plants!

Charlotte

March Gardening Jobs

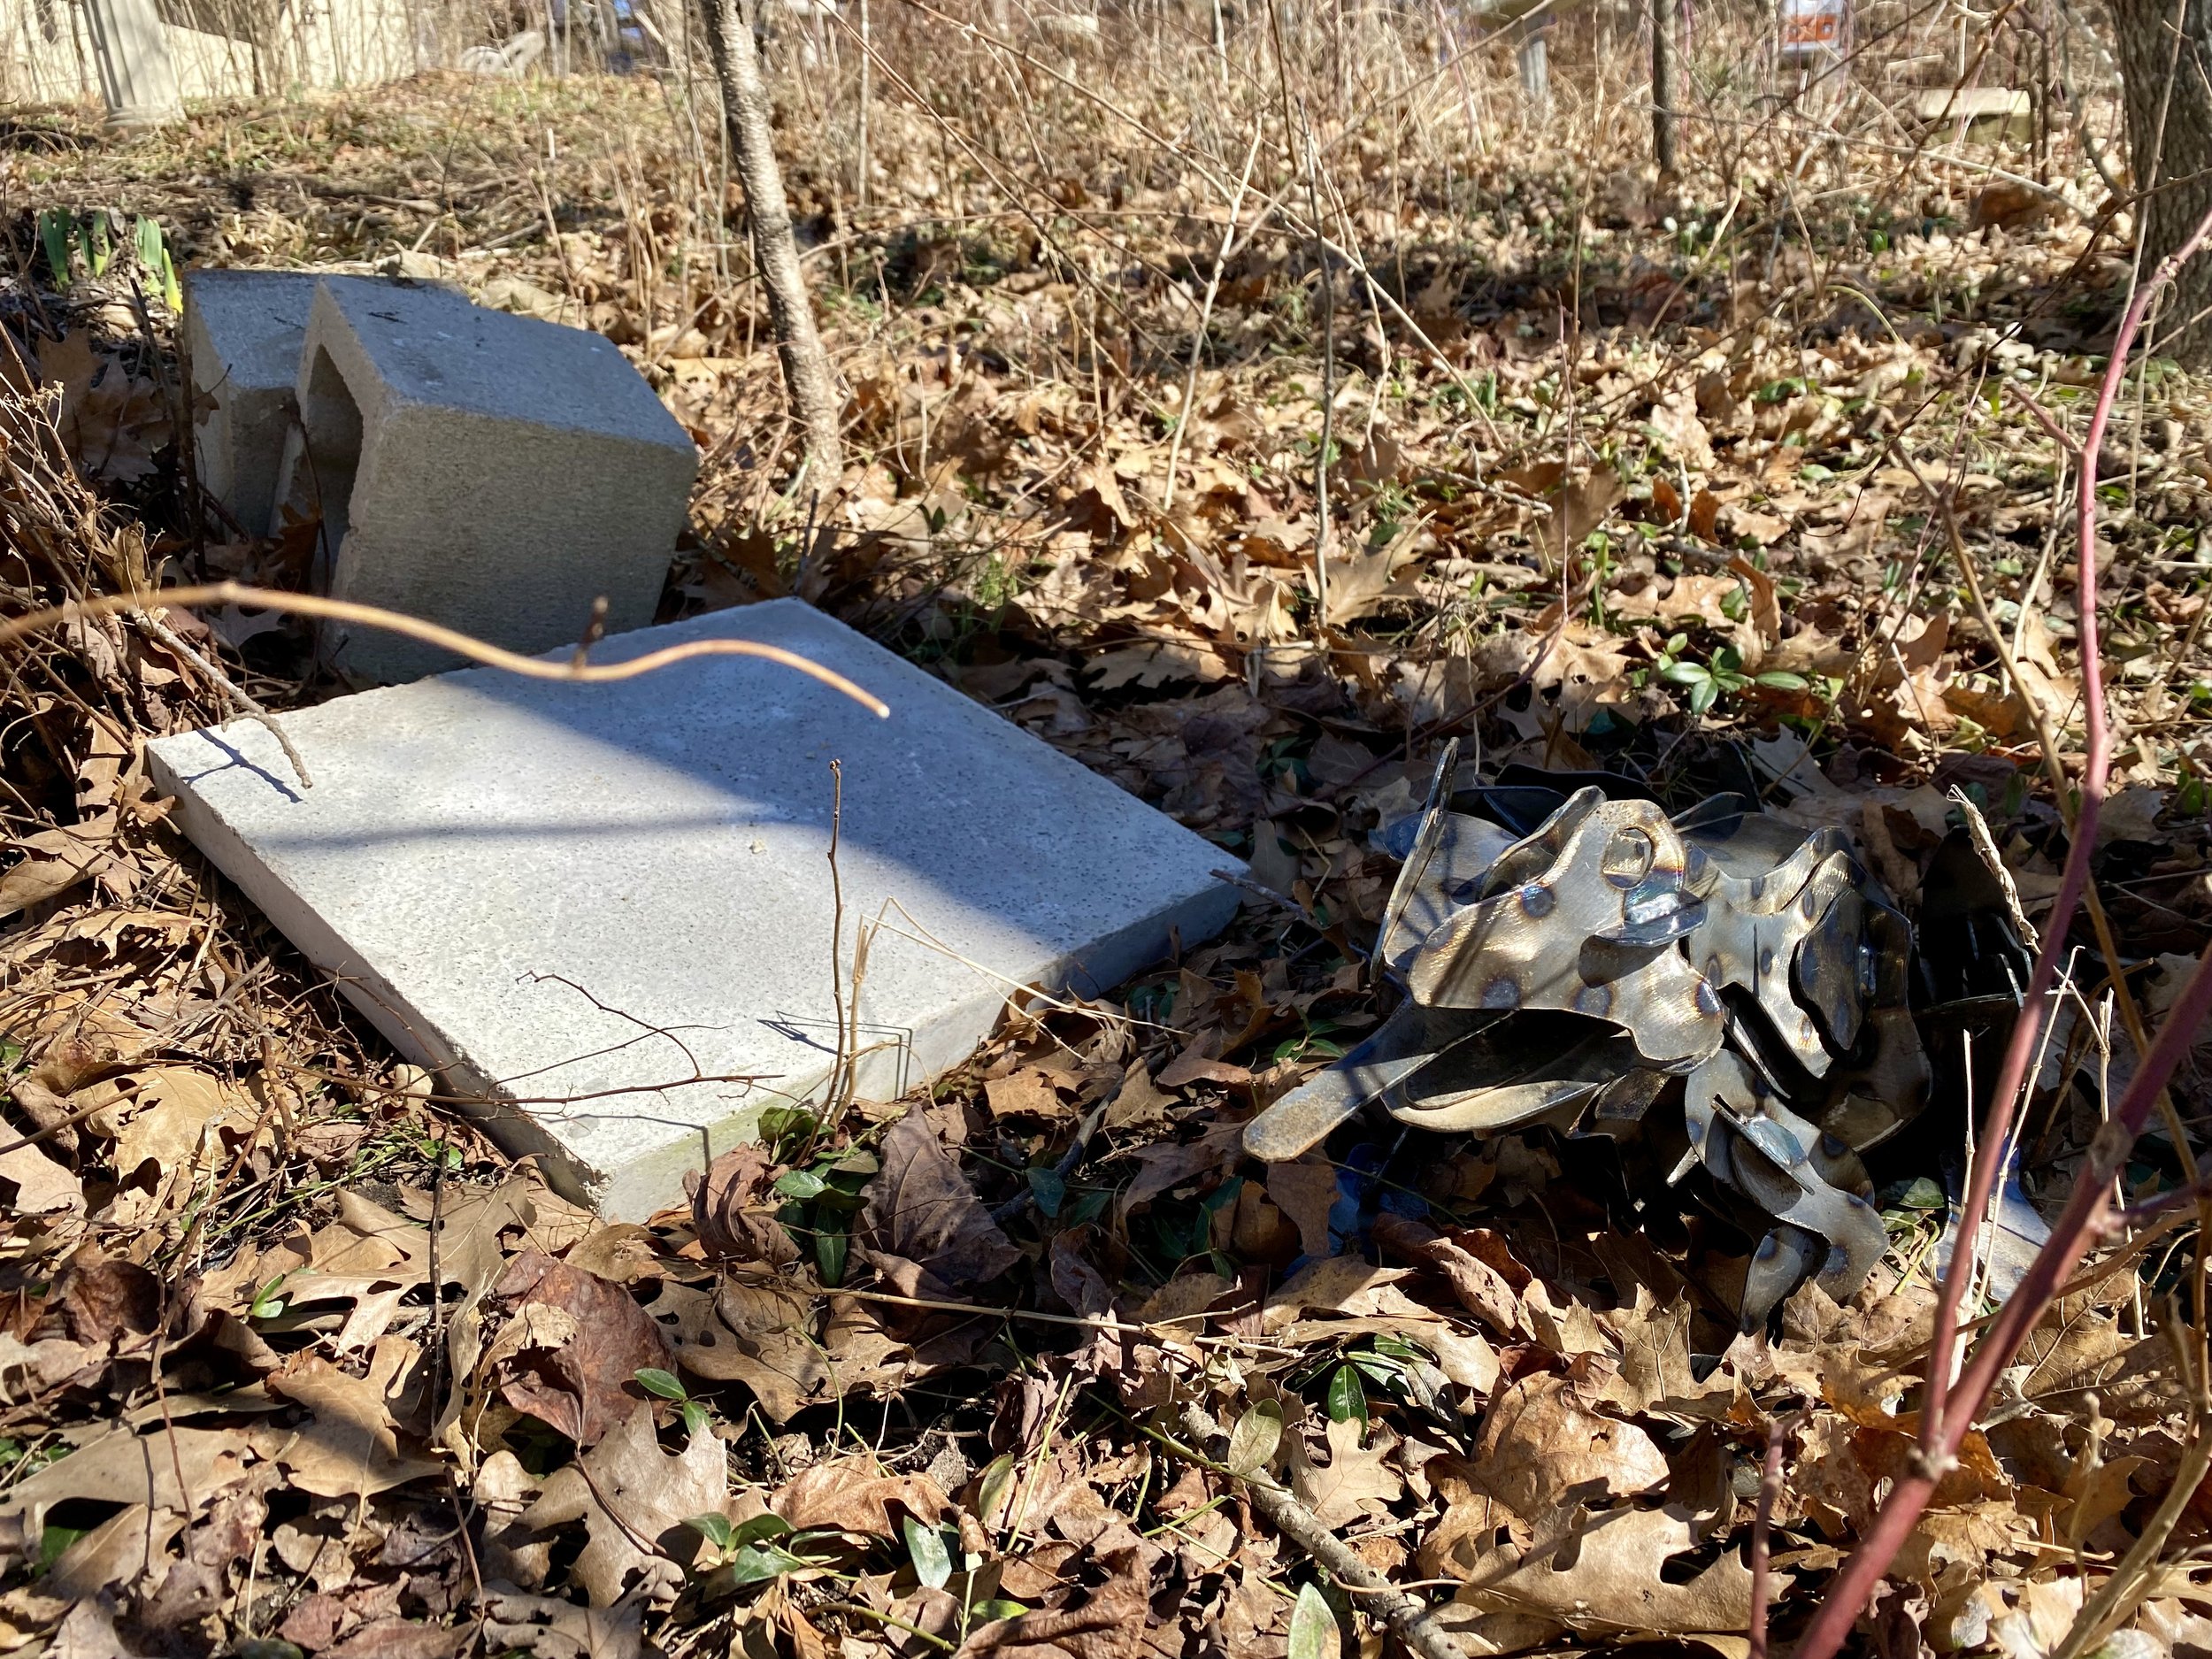
Time to level bird baths and garden decor that fell over during winter. (Charlotte Ekker Wiggins phot

March Gardening Jobs

One of my former neighbors used to refer to my garden as “Daffodilland.” I do have a nice contingent of rescued and gifted daffodils starting their blooming period about a month earlier this year than in the past. One of my favorite March chores is to cut daffodils still in bud to share with friends.

The weather can also be a little challenging in USDA Hardiness zone 5 so March can be a hit and miss month in terms of getting a lot done.

1. The forecast for March 2023 is a wet spring.

2. Time to get birdhouses repaired and hanging in my garden. Attracting birds is a great way to manage unwanted bugs without using insecticides and pesticides.

The birdhouses also serve as homes for paper wasps, a wonderful pollinator we often find on porches and other unwanted areas. By giving them an alternative home, they can still pollinate gardens without getting in the way.

3.     On the first warm day, I remove all dead rose branches so the new growth will have room. I also add coffee grounds, banana peels, Epsom salts and crushed egg shells mixed into the soil around the base of the plants. Gently, you don’t want to tear up the roots. Also a good time to mulch.

4.     Plant onion sets around roses to keep bugs at bay. Three for miniature roses, 5-6 for the larger roses.

5. Prune fruit trees. Nothing elaborate, I make sure the branches don’t cross and are open in the center. Also mulch. Make a tire around the base leaving the space up at the tree trunk open.

6.     My hellebores and ‘Autumn Joy’ Sedum get the old greenery cut off so any new growth gets to shine. The Sedum starts look like tiny green roses close to the ground.

time to remodel your birdhouses to keep your natural pest control happy. (Photo by Charlotte Ekker Wiggins)

7.     Mulch. My over-wintering mulch pile is ready to spread over new areas that need cover for the season and areas that lost cover over winter. Good time to load up the wheelbarrow and keep a supply at hand.

8.     If you didn’t get your lettuce and spinach out in February, get them planted this month.

9.     March and St. Patrick’s Day is also the time to plant potatoes, radishes and carrots.

10.     The last frost day for this zone is Mother’s Day in May so it’s a little too early to get much else planted and much too early to move tropical plants outside, even if you are ready to toss them out on their aggravating dropping leaves by now. Give them a little rainwater and that will help tide them over for another month or so.

11.  Also check inside plants for bugs. Look under leaves and if you see white bugs, clean off with a damp cloth wet with water and dishwashing liquid. Spray soil with a few drops of dishwashing liquid in water in a spray bottle to get rid of eggs. Start watering with ¼ strength fertilizer since days are getting longer.

12. Take time to enjoy the sunshine and look for spring-blooming plants!

 Charlotte

Where to Plant Daffodils

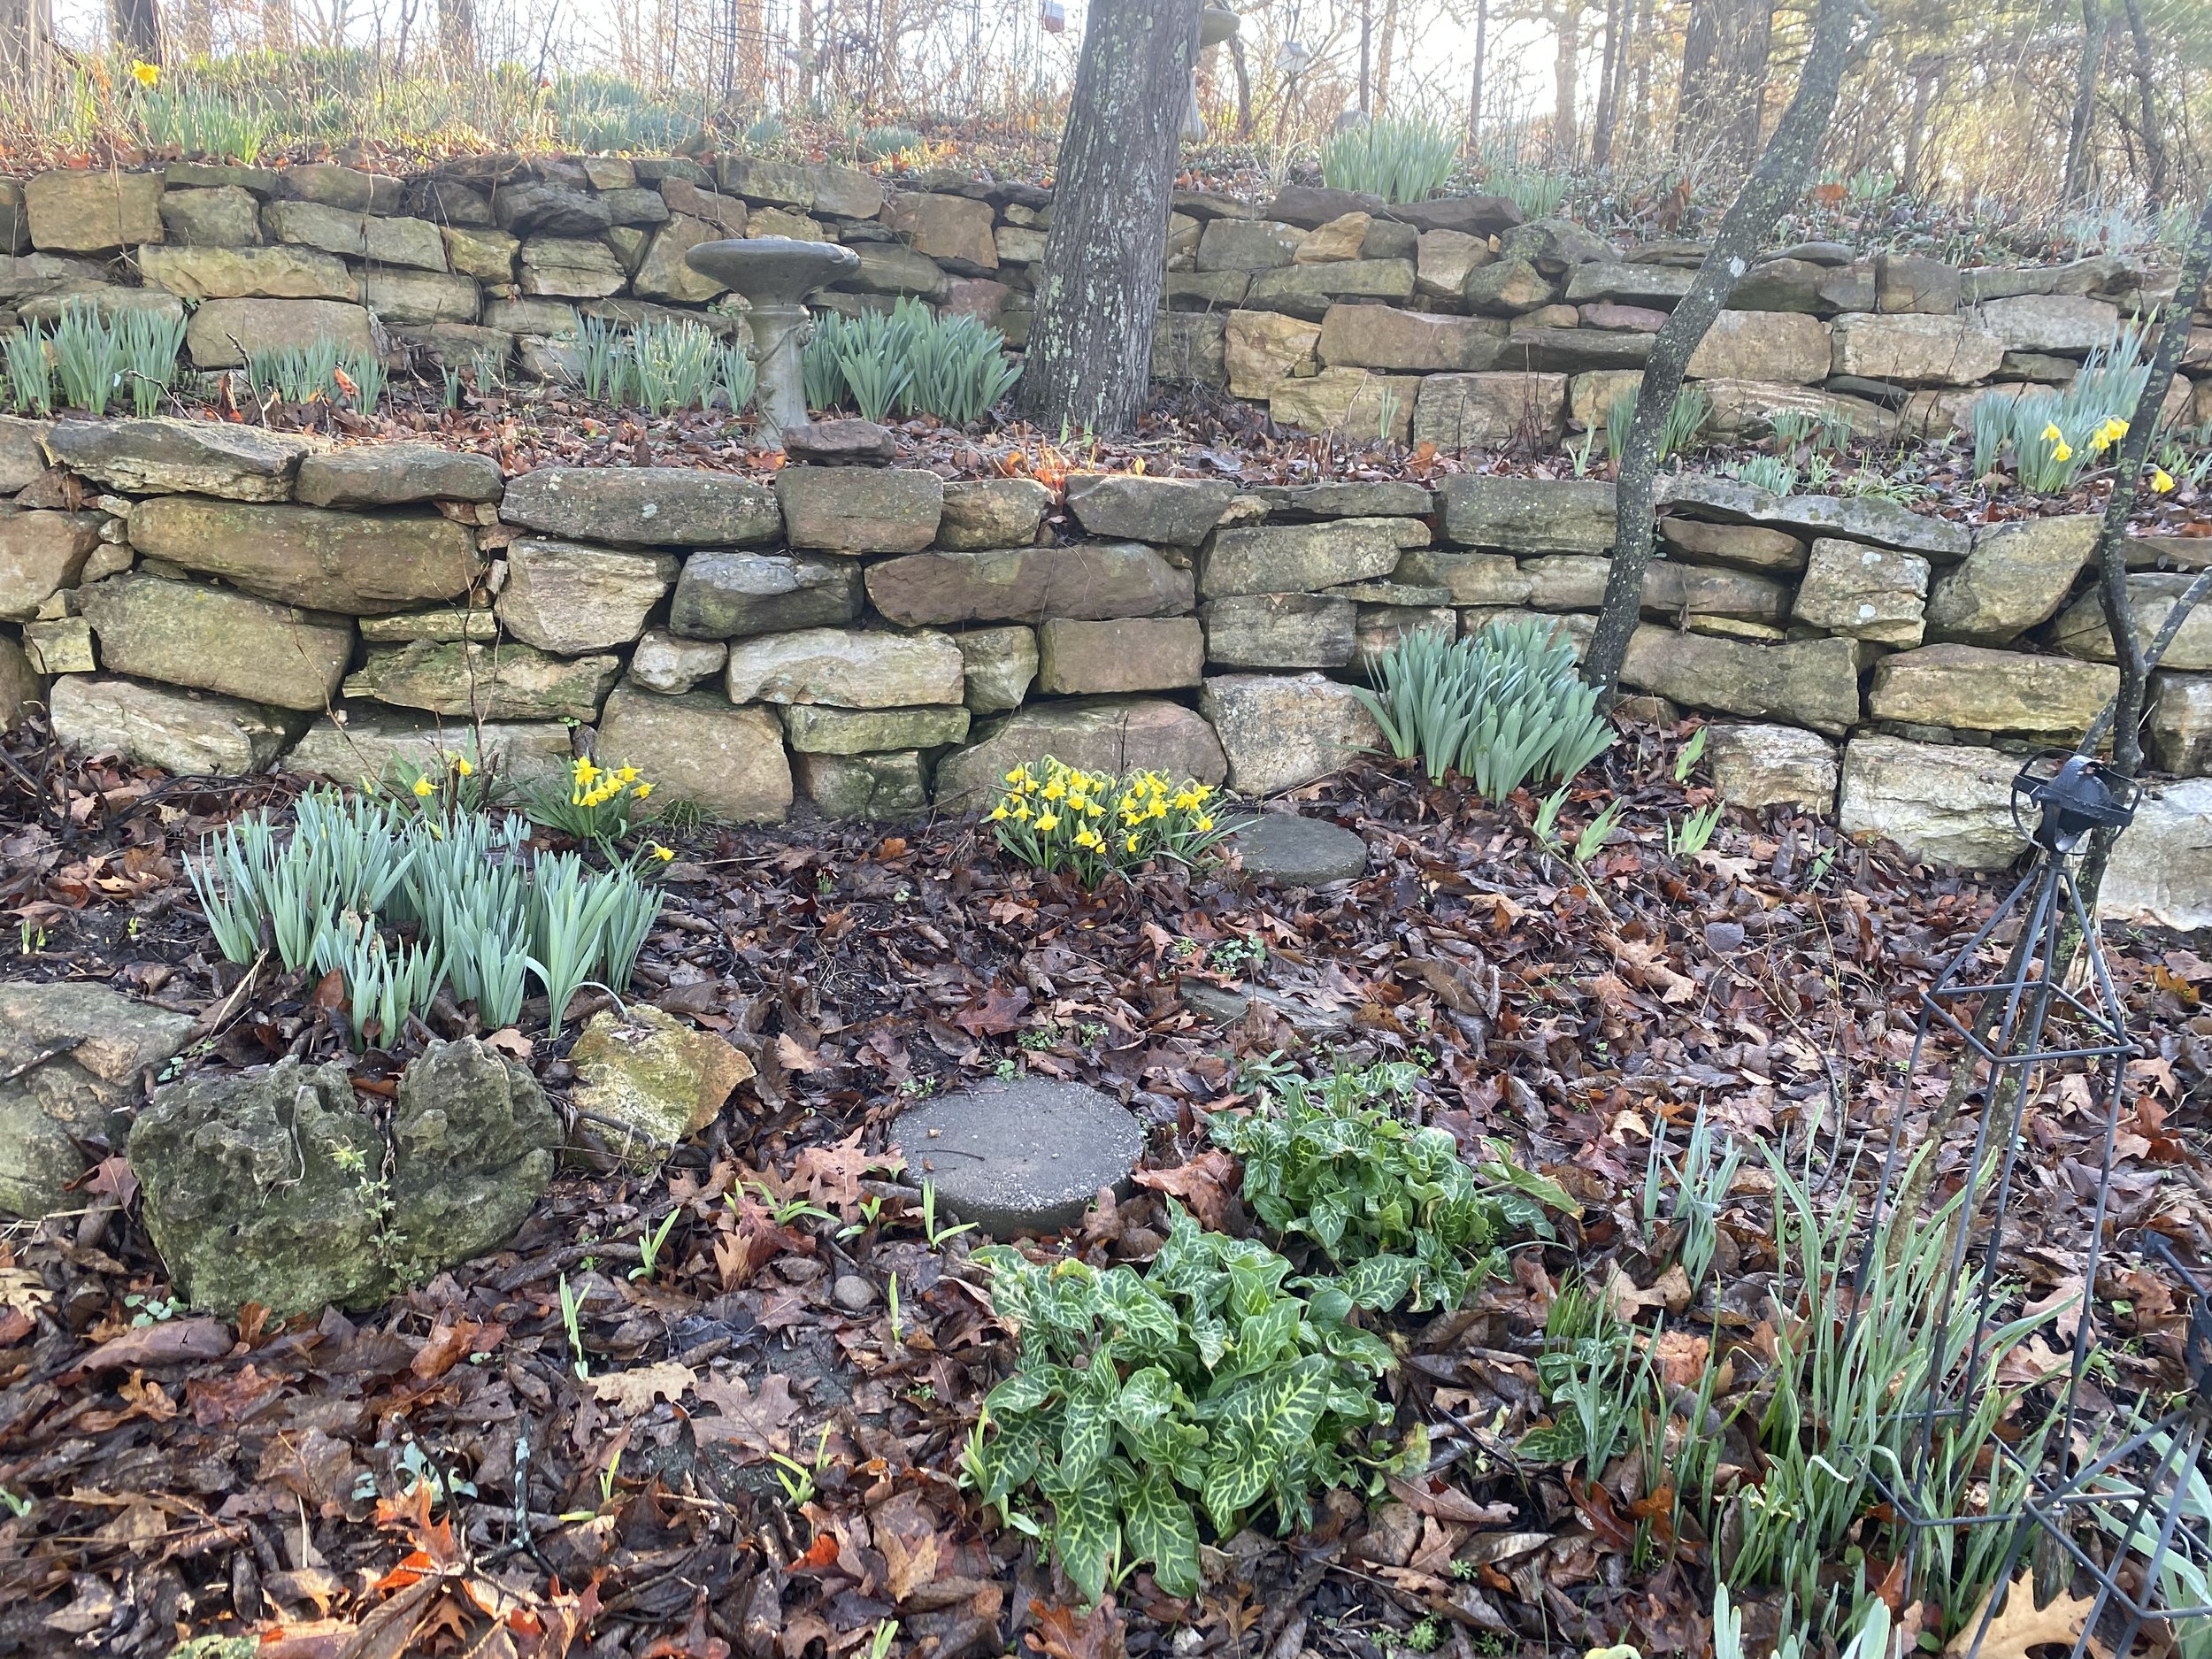
daffodils work well on the back of a flower border. (charlotte ekker wiggins photo)

Where to Plant Daffodils

As you enjoy spring daffodil blooms, this is also a good time to scope out where you want to add more this fall.

Daffodils grow from bulbs that collect sunshine through their leaves after they bloom. They are easy to grow and, in good growing conditions, will spread and return from year to year.

Front or Back

Small daffodils such as Tete A Tete (in photo) will easily incorporate themselves at the front of a flower bed.

Larger taller varieties such as King Alfred will do better towards the back of an area with other plants. The larger the bulb, the deeper they should be planted, usually 4-6 inches.

Once the daffodils stop blooming, their greenery should remain so they can collect sunlight for the next blooming season. Their stems will turn to yellow and can be composted but they don’t look the best. Having other plants around will help cover the dying greenery.

Sun or Shade

Daffodils do well in both sun or shade. Since my trees don’t leaf out until later I don’t worry about bulbs getting too much shade. They access a good amount of sun to replenish their bulbs for next year.

Pots or Ground

You can also plant daffodils in pots and later move them to your garden. I prefer to plant once so I tend to get them in the ground and call it good.

Surprise!

There are “rules” and then there are times to break the rules. I like to add whimsy to my garden so planting daffodils in unexpected places is an easy way to add fun.

Scope out an unexpected garden spot now and mark it so you can find it later this fall. Then shop for an interesting daffodil variety to add to that spot. You will thank me next spring!

Charlotte

February Gardening Jobs

Sunny but still bitterly cold, garden is at work getting ready for spring. (Charlotte Ekker Wiggins photo)

February Gardening Chores

The ground where I live in USDA Hardiness zone 5 till hasn’t frozen this winter so I may sneak some trees still in their pots into the ground on a warm day.

Some of our big box stores have seed offerings and seed starting kits for sale, something I try to stay away from so that I’m not tempted to bring every single one of them home.

Still time to sneak tulip bulbs into the ground for late spring blooming. (Charlotte Ekker Wiggins photo)

The following are my typical February gardening chores:

  • Locate downed tree trunks and use them to border flower beds. As the tree trunks decompose, they will improve soil. I tend to wait until the tree trunks dry out, much lighter and easier to move.

  • Pressure is on so if you haven’t made a dent in your reading pile, get a start, spring is only 47 days away.

  •  If you haven’t ordered your favorite gardening catalogs, get them ordered. Look for catalogs with detailed plant descriptions and good photographs so you can use them for reference.  Missouri Wildflowers Catalog has lovely pictures, even old catalogs are still good references. www.mowildflowers.net. For heirloom seeds, try Baker Creek Heirloom Seeds at www.rareseeds.com, both are Missouri nurseries.

  • Update garden diary entries. If you’ve missed a few entries, add them now. Underline items you wanted to get done this year. I make a list, then decide which projects I want to tackle. I also carry over the ones I didn’t get to last year, or drop them off the master list. This is a good time to plan, and to dream.

  • Focus on adding native plants. Once established, they will be low care and tend to require less water than other plants. They also have an established relationship with hey native pollinators. They are connected. Check out George O. White State Forest Nursery, they may still have some seedlings left. Order even if they say sold out, you may still get the seedlings if the previous person didn’t pay for their order.

  • On warm days, remember to water mums planted this past year. New mums need a gallon a month to keep their roots moist their first year. Once established, mums will become perennials and deter bugs from around where they are planted.

  • Pile mulch and leaves on garden beds if they’ve been blown off by winter winds.

  • Check inside plants for any hitchhiking bugs and remove. Make sure they are getting their sunlight needs met. If not, move them. Water with diluted fertilizer. Prune as necessary.

  • Drop your garden pruners and other garden tools off to get sharpened, this is a slow time of year and this will give you a head start on the season.

  • When feeding birds, add a little sand in the bird feeder mix. Birds need sand to help them digest seeds. Also ensure they have an available water source. Feed suet on cold days.

  • If you have fish in an outside pond, make sure it has a hole in the ice so fish will get oxygen.

Charlotte

January Gardening Jobs

Keep newly-planted mums, right, mulched and watered through winter. (Photo by Charlotte Ekker Wiggins

January Gardening Jobs

I know, on paper mid-Missouri is listed as the new US Department of Agriculture Hardiness Zone 6A. I’m not convinced so I garden to Hardiness Zone 5.

According to US Department of Agriculture, the Hardiness Zones are based on the average annual minimum winter temperature divided into 10-degree F zones, which give a range of temperatures for a certain plant or tree. The hardiness zones for the Midwest fluctuate more than other zones but average Zones 4, 5 and 6. The zones for Missouri can be found here.

These zones are averaged over 13 years and adjusted accordingly. There may be major adjustments in a couple of years due to our rapidly changing climate. Predictions for the Midwest have included longer springs and falls, shorter winters and summers; and higher summer temperatures. These changes are occurring very fast, challenging nature to adjust.

Those temperature swings mean we can still have winters that need hardier plants to survive.

The following are some of my January gardening jobs:

1.  Does dreaming count as a job? It does if you’re a gardener and beekeeper in January. It’s downtime to review last year’s diaries and plan for this year.

2. An order of spring bulbs came in last year; something I forgot I ordered so I’m slowly getting those bulbs into the ground since our soil has not frozen over again this year.

3. I also mulch roses, new seedlings, newly-planted mums and my nursery stash to protect them from changing temperatures.

4. Identify what plants you want to add this year and note what soil and sun requirements they will need. Focus on adding native plants. Once established, native plants will be low care and excel in local soil and weather conditions. Natives also have a relationship with local insects, pollinators and birds.

5. Plan on expanding flowerbeds to start removing grass from your property. Expanding flowerbeds will give you areas to plant vegetables as well as flowers and provide more food for pollinators. One way to start expanding flowerbeds is to place cardboard along the existing flowerbed edge and then move the flower bed border early spring. Mulch on the cardboard will keep the garden looking nice and help restore healthy soil conditions.

 6. Order catalogs you have used in the past and share catalogs you don’t need or use. One of my favorites is the Missouri Wildflowers Nursery Native Plants catalog, it has lovely pictures with a quick guide on what growing conditions native plants require and they offer great plant starts.

7. Order locally-adapted seed catalogs. Baker Creek Heirloom Seeds is a favorite seed catalog from Mansfield, Missouri.

8. Read. Whether it is gardening books, gardening catalogs and beekeeping magazines, catch up on what you couldn’t get to last year.

9. Remove broken limbs in pathways to keep walkways clear and safe.

10. On warm days, pile mulch and leaves on garden beds if they’ve been blown off by winter winds. Mulch will help keep the soil temperature even and reduce the thawing and heaving that causes plant damage.

11. Check inside plants for any hitchhiking bugs and remove. Make sure they are getting their sunlight needs met. If not, move them. Water with diluted fertilizer. Prune as necessary, I use metal sewing thread snips. The thread snips make it easy to trim plants and keep them bushy.

12. Drop your garden pruners and other garden tools to get sharpened. Home and garden centers with service departments can usually sharpen tools.

13.  Start scouting where you can install rain barrels and totes to collect rain water off your gutter system. Observe what happens to rain and photograph so you can refer to the rain pattern later.

14. Enjoy the lower winter activity; even gardeners need time to rejuvenate.

Charlotte

Spring Pots Garden

This was my 2020 pot garden with peas, lettuce and spinach. (Charlotte Ekker Wiggins photos)

Spring Pots Garden

Planting in pots is a very easy way to get a handy garden growing without having to set up raised beds and new garden spots. And you can easily move them to capture better sunny spots, rain or get them out of the way. I also like moving some of my pots with herbs inside over winter.

I have been using pots for a couple of decades now so some of my pots look well-loved. I added compost last fall so that melting snow and rain could help keep the soil hydrated and invigorated.

If you are just starting, start with a basic potting soil without added fertilizer if you can find it. That way you can supplement as needed and better control what you are providing your plants. You don’t need fertilizer for seedlings.

This year I once again planted a personal favorite, radishes, and used cut up blinds with Garden Markers to note what was in the pot.

Radish seedlings are getting a good start in my 2021 pot garden. (Charlotte Ekker Wiggins photo)

I also enjoy fresh grown greens so I have lettuce and spinach in other pots.

I collect good castors so that I can easily move the pots when I need to relocate them.

Punctured plastic bottles help keep my pot garden hydrated. (Charlotte Ekker Wiggins photo)

The other curiosity about my pots are the plastic bottles sitting in the middle. Those have holes around the sides and bottom to help keep the soil hydrated. When watering, I place the water in the plastic bottle and let it slowly trickle into the soil.

So far the radishes are starting to come up and I see some teeny tiny lettuce plants. Other people herald spring with interesting traditions. Getting my deck pots garden is mine!

Charlotte

March Gardening Jobs

Time to level bird baths and garden decor that fell over during winter. (Charlotte Ekker Wiggins phot

March Gardening Jobs

March is the beginning of spring and daffodil days in my garden; one of my former neighbors used to refer to my garden as “Daffodilland.” The weather can also be a little challenging in USDA Hardiness zone 5 so March can be a hit and miss month in terms of getting a lot done.

1. The forecast for March 2022 is a late winter.

2. Time to get birdhouses repaired and hanging in my garden. Attracting birds is a great way to manage unwanted bugs without using insecticides and pesticides.

The birdhouses also serve as homes for paper wasps, a wonderful pollinator we often find on porches and other unwanted areas. By giving them an alternative home, they can still pollinate gardens without getting in the way.

3.     Prune and fertilize roses. On the first warm day, I remove all dead branches so the new growth will have room. I also add coffee grounds, banana peels, Epsom salts and crushed egg shells mixed into the soil around the base of the plants. Gently, you don’t want to tear up the roots. Also a good time to mulch.

4.     Plant onion sets around roses to keep bugs at bay. Three for miniature roses, 5-6 for the larger roses.

5. Prune fruit trees. Nothing elaborate, I make sure the branches don’t cross and are open in the center. Also mulch. Make a tire around the base leaving the space up at the tree trunk open.

6.     My hellebores and ‘Autumn Joy’ Sedum get the old greenery cut off so any new growth gets to shine. The Sedum starts look like tiny green roses close to the ground.

This is a good time to remodel your birdhouses to keep your natural pest control happy. (Photo by Charlotte Ekker Wiggins)

7.     Mulch. My over-wintering mulch pile is ready to spread over new areas that need cover for the season and areas that lost cover over winter. Good time to load up the wheelbarrow and keep a supply at hand.

8.     If you didn’t get your lettuce and spinach out in February, get them planted this month.

9.     March and St. Patrick’s Day is also the time to plant potatoes, radishes and carrots.

10.     The last frost day for this zone is Mother’s Day in May so it’s a little too early to get much else planted and much too early to move tropical plants outside, even if you are ready to toss them out on their aggravating dropping leaves by now. Give them a little rainwater and that will help tide them over for another month or so.

11.  Also check inside plants for bugs. Look under leaves and if you see white bugs, clean off with a damp cloth wet with water and dishwashing liquid. Spray soil with a few drops of dishwashing liquid in water in a spray bottle to get rid of eggs. Start watering with ¼ strength fertilizer since days are getting longer.

12. Time to get lettuce seeds and onion starts in pots. They don’t mind the cold spring weather.

13. Take time to enjoy the sunshine and look for spring-blooming plants!

 Charlotte

Time to Test Soil

Getting soil samples is as easy as scooping up soil from around your garden. (Charlotte Ekker Wiggins photo)

Time to Test Soil

As spring fever hits, this is the perfect time to get your soil tested. Of all of the things we can do to make our gardens better, knowing what kind of soil we have, and what will grow best in it, is by far the most important step we can take. And it tends to cure black thumbs!

A sil test will help assess the current state of your soil and make recommendations of how to improve it for what you want to plant.

I did my first soil test through the University of Missouri Extension a couple of decades ago and repeat it every 2-3 years. Working a Missouri limestone hillside into a garden, it’s helpful to monitor how the soil amendments I have added change the soil composition.

Soil is assessed on a scale of 1-14. A middle seven is neutral. The chart extremes are sweet, higher than 7+ , and bitter, lower than 7. That’s what the Ph designation tells you. To successfully grow most plants, you want a good solid seven. On either end, blueberries and hydrangeas prefer a little more acid growing conditions; butterfly bushes and lilacs prefer sweeter soil.

How to Collect Soil for Sampling

Using a freezer bag, collect 1 1/2 cups of soil from 6-8 spots around the garden from about 6 inches deep - if you can dig that deep.

Seal it up and take it to your local University of Missouri Extension office with $15. You will need to tell them what kind of plants you want to raise to get the most out of your soil test results.

Within a couple of weeks, the soil test report will be emailed to you with the results and recommendations, as appropriate.

The following are a couple of soil test examples, starting with a home garden.

Example Home Garden Soil Test

This home garden soil test shows recommendations at bottom. (Charlotte Ekker Wiggins photo)

The soil test results are a little different for a field soil test.

Example Field Soil Test

A field test soil example covers more elements. (Charlotte Ekker Wiggins photo)


My One Acre Limestone Hillside Soil Test April 2019

Over the years, friends have asked how I grow what I grow on a limestone hillside garden, where my first neighbors said “nothing would grow.” For 35 years i have concentrated on adding organic matter to existing soil and being kind to the soil I do have.

My limestone hillside garden soil test from April 2019. (Charlotte Ekker Wiggins photo)

How to Improve Soil

At first blush, my Missouri limestone hillside garden should be acidic because I let the oak leaves fall on garden beds and only rake those that get in my way. Leaves, by the way, are excellent mulch and provide winter cover for a number of beneficial insects.

To improve my soil - well, actually to create soil - I added wood chips from our local recycling center along with compost. In addition, shredded leaves with grass clippings were also incorporated. These were added after the wood chips and shredded leaves sit for a few months as a mulch cover.

And to naturally enrich soil, I have wildlife branch piles that have encouraged rabbits, which add to enriching the soil. And they’re big. I snuck out into my apiary at 4 a.m. to close up a hive a couple of years ago and was astounded at the wildlife moving around, including one very large (and quite surprised as I was) rabbit. Maybe it was because I was standing down hill and the rabbit was uphill but that was one big “bun bun.”

Regardless of your soil test results, the best way to improve soil is to compost. Compost helps to feed the microorganisms in soil that keep plants healthy. You can start by composting kitchen scraps and gradually move to composters and composting bins. It really is the best thing you can do for your soil and plants and not hard to do once you establish the habit.

Did you know soil is not replaceable? Let’s take good cre of the soil we have!

Charlotte

Checking Dead Mum Tops

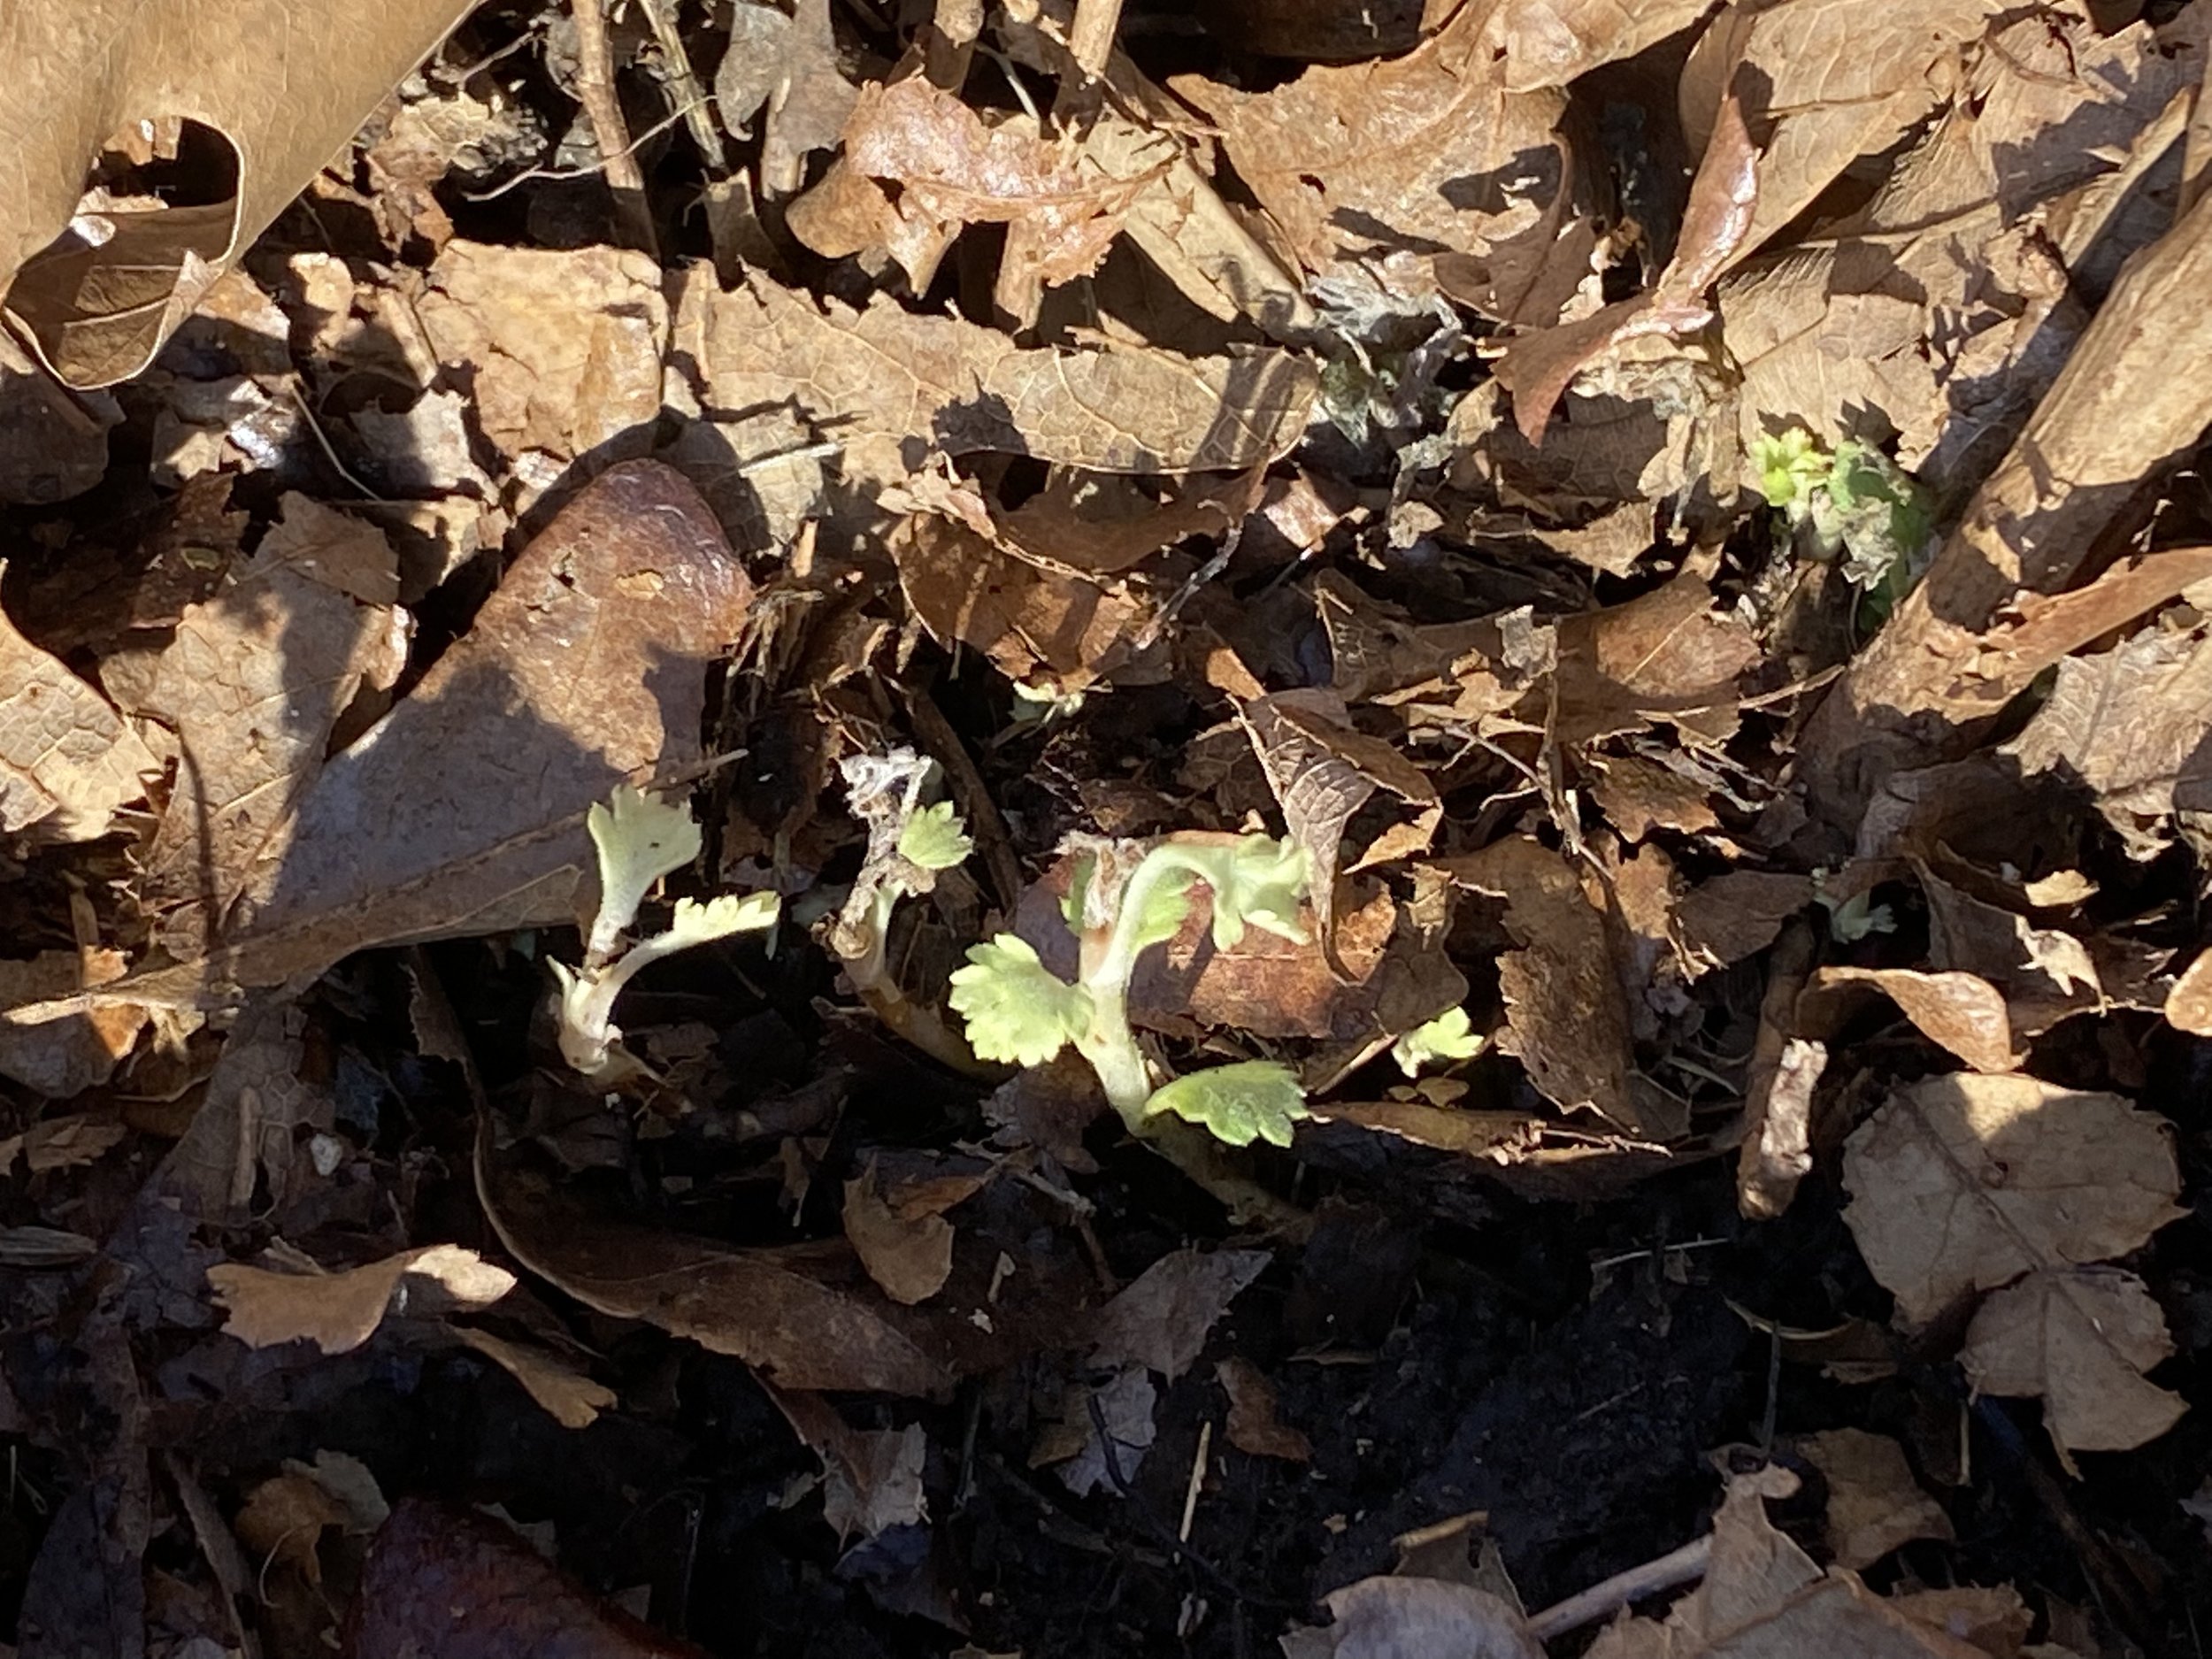
Fun to find signs of life in the leaf mulch. (Charlotte Ekker Wiggins photo)

Checking Dead Mum Tops

I confess, one of the things I enjoy doing mid winter is checking my chrysanthemums for new growth. It’s easy to do because I water these garden additions after planting them in the fall. They need their roots to be kept moist through winter so they can get themselves established. About 1-2 gallons a month, on the average, assuming you aren’t getting natural rain and melted snow.

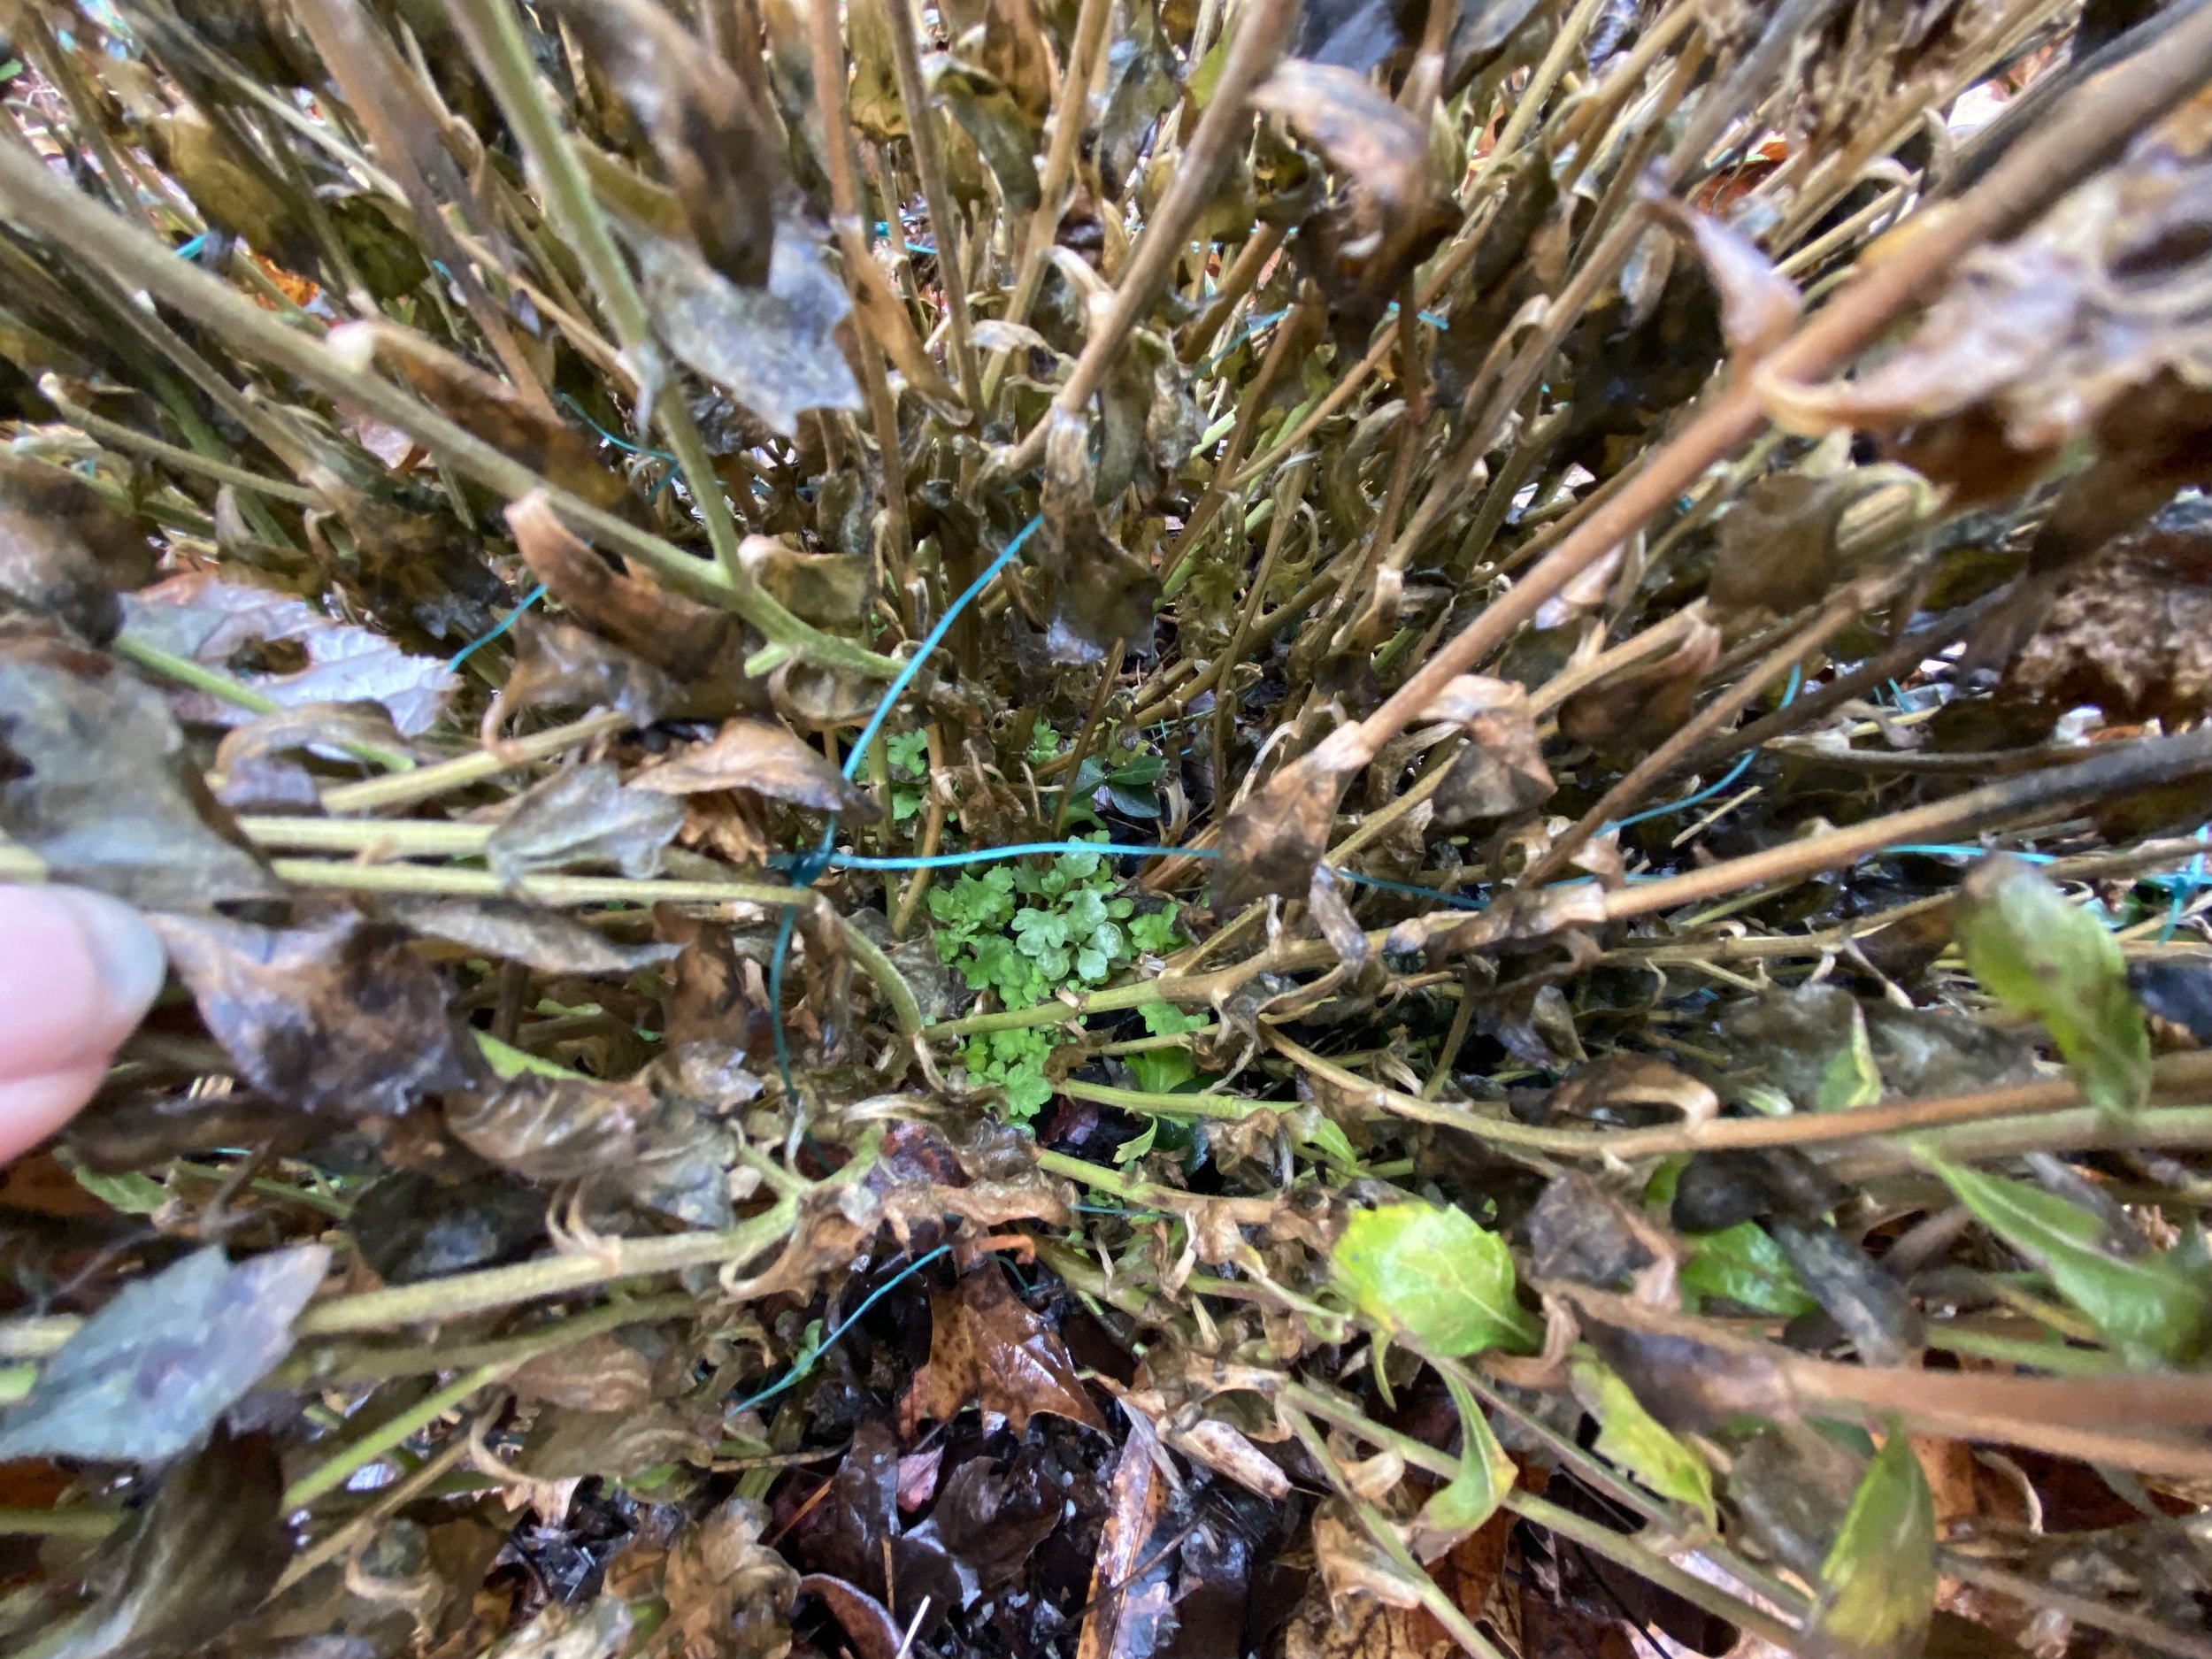
See the little green down the center? (Charlotte Ekker Wiggins photo)

Besides being hardy and long-lasting cut flowers, mums are also natural bug deterrents.

Now I know it’s tempting to cut off that ugly dry top but don’t, those dry branches are protecting the brand new growth underneath and usually in the protected center.

The new growth is protected in the plant center. (Charlotte Ekker Wiggins photo)

Without damaging the dry top of the plants, I move the dried branches gently aside to see if there is anything green in the bottom. Sometimes it seems impossible that anything is growing and then out of the corner of my eye I catch a little sprig of green.

Another sign of new growth, this time off to the side. (Charlotte Ekker Wiggins photo)

Once you become familiar with what beginning mum growth looks like you can’t miss it.

Sometimes the growth won’t be in the plant center but off to a side. That will work, that just means the plant roots developed there.

Once you’ve peeked, move everything back. If you can, protect the young green starts with mulch, leaves, branches, anything you have handy to keep the starts warm.

And yes, a new mum will grow from this tiny start. (Charlotte Ekker Wiggins photo)

And this is the biggest, or smallest, surprise of them all. A sliver of a green start, just a little dab, can turn into a healthy blooming plant by fall so don’t give up on those little green starts.

After this first year of winter watering, the plants should be able t take care of themselves. And I happen to think they are well worth the effort!

Charlotte

February Gardening Chores

Sunny but still bitterly cold, garden is at work getting ready for spring. (Charlotte Ekker Wiggins photo)

February Gardening Chores

The ground where I live in USDA Hardiness zone 5 till hasn’t frozen this winter so I may sneak some trees still in their pots into the ground on warm day.

Some of our big box stores have seed offerings and seed starting kits for sale, something I try to stay away from so that I’m not tempted to bring every single one of them home.

Still time to sneak tulip bulbs into the ground for late spring blooming. (Charlotte Ekker Wiggins photo)

The following are my typical February gardening chores in USDA Hardiness Zone 5:

  • Locate downed tree trunks and use them to border flower beds. As the tree trunks decompose, they will improve soil. I tend to wait until the tree trunks dry out, much lighter and easier to move.

  • Pressure is on so if you haven’t made a dent in your reading pile, get a start, spring is only 47 days away.

  •  If you haven’t ordered your favorite gardening catalogs, get them ordered. Look for catalogs with detailed plant descriptions and good photographs so you can use them for reference.  Missouri Wildflowers Catalog has lovely pictures, even old catalogs are still good references. www.mowildflowers.net. For heirloom seeds, try Baker Creek Heirloom Seeds at www.rareseeds.com, both are Missouri nurseries.

  • Update garden diary entries. If you’ve missed a few entries, add them now. Underline items you wanted to get done this year. I make a list, then decide which projects I want to tackle. I also carry over the ones I didn’t get to last year, or drop them off the master list. This is a good time to plan, and to dream.

  • Focus on adding native plants. Once established, they will be low care and tend to require less water than other plants. They also have an established relationship with hey native pollinators. They are connected. Check out George O. White State Forest Nursery, they may still have some seedlings left. Order even if they say sold out, you may still get the seedlings if the previous person didn’t pay for their order.

  • On warm days, remember to water mums planted this past year. New mums need a gallon a month to keep their roots moist their first year. Once established, mums will become perennials and deter bugs from around where they are planted.

  • Pile mulch and leaves on garden beds if they’ve been blown off by winter winds.

  • Check inside plants for any hitchhiking bugs and remove. Make sure they are getting their sunlight needs met. If not, move them. Water with diluted fertilizer. Prune as necessary.

  • Drop your garden pruners and other garden tools off to get sharpened, this is a slow time of year and this will give you a head start on the season.

  • When feeding birds, add a little sand in the bird feeder mix. Birds need sand to help them digest seeds. Also ensure they have an available water source. Feed suet on cold days.

  • If you have fish in an outside pond, make sure it has a hole in the ice so fish will get oxygen.

Charlotte

January Gardening Tips

Keep newly-planted mums, right, mulched and watered through winter. (Photo by Charlotte Ekker Wiggins

January Gardening Tips

January used to be the month when a gardener could sit back and do some of the most important work: planning. We’ve had record high temperatures in USDA Hardiness Zone 5, turning growing conditions into early spring rather than winter. I have roses and lilacs budding and bees looking for something to do.

According to US Department of Agriculture, the Hardiness Zones are based on the average annual minimum winter temperature divided into 10-degree F zones, which give a range of temperatures for a certain plant or tree. The hardiness zones for the Midwest fluctuate more than other zones but average Zones 4,5 and 6. The zones for Missouri can be found here.

These zones are averaged over 13 years and adjusted accordingly. There may be major adjustments in a couple of years due to our rapidly changing climate. Predictions for the Midwest have included longer springs and falls, shorter winters and summers; and higher summer temperatures. These changes are occurring very fast, challenging nature to adjust.

The following are some of my January gardening tips and chores:

1.  We have winter storms in our New Year’s forecast so I got the last of my bulbs in the still soft ground before winter makes its first appearance and freezes the ground.

2. I also mulch roses, new seedlings, newly-planted mums and my nursery stash to protect them from changing temperatures.

3. Review your garden diary from last year. Underline items you want to get done this year. I also carry over the ones I didn’t get to last year, or drop them off the master list. This is a good time to dream.

4. Identify what plants you want to add this year and note what soil and sun requirements they will need. Focus on adding native plants. Once established, native plants will be low care and excel in local soil and weather conditions. Natives also have a relationship with local insects, pollinators and birds.

5. Plan on expanding flowerbeds to start removing grass from your property. Expanding flowerbeds will give you areas to plant vegetables as well as flowers and provide more food for pollinators. One way to start expanding flowerbeds is to place cardboard along the existing flowerbed edge and then move the flower bed border early spring. Mulch on the cardboard will keep the garden looking nice and help restore healthy soil conditions.

 6. Order catalogs you have used in the past and share catalogs you don’t need or use. One of my favorites is the Missouri Wildflowers Nursery Native Plants catalog, it has lovely pictures with a quick guide on what growing conditions native plants require and they offer great plant starts.

7. Order locally-adapted seed catalogs. Baker Creek Heirloom Seeds is a favorite seed catalog from Mansfield, Missouri.

8. Read. Whether it is gardening books, gardening catalogs and beekeeping books, catch up on what you couldn’t get to last year.

9. Remove broken limbs in pathways to keep walkways clear and safe.

10. On warm days, pile mulch and leaves on garden beds if they’ve been blown off by winter winds. Mulch will help keep the soil temperature even and reduce the thawing and heaving that causes plant damage.

11. Check inside plants for any hitchhiking bugs and remove. Make sure they are getting their sunlight needs met. If not, move them. Water with diluted fertilizer. Prune as necessary, I use metal sewing thread snips. The thread snips make it easy to trim plants and keep them bushy.

12. Drop your garden pruners and other garden tools to get sharpened. Home and garden centers with service departments can usually sharpen tools.

13.  Start scouting where you can install rain barrels and totes to collect rain water off your gutter system. Observe what happens to rain and photograph so you can refer to the rain pattern later.

14. Enjoy the lower winter activity; even gardeners need time to rejuvenate.

Charlotte

Treating Tree Wounds

Deer have rubbed their velvet off on one of my fruit trees. (Photo by Charlotte Ekker Wiggins)

Treating Tree Wounds

Most days, I will walk around my one acre hillside garden to observe changes and developments. And this one was not a happy sight.

Deer had rubbed the velvet off their antlers on several of my fruit trees, a common practice this time of year.

Usually one can leave these gashes alone but our winter temperatures have been unseasonably warm, giving bugs a chance to do some damage as well.

I used tree sealer since the weather has been too warm. (Photo by Charlotte Ekker Wiggins)

It took me checking with 4 home and garden centers before I found this last an of tree pruning sealer. It protects the open areas until they heal so I applied this to all of the damaged trees I could find.

I usually let nature take its course but these gashes where too big to ignore. I hope this helps my trees recuperate or certainly survive.

Charlotte

Planting Coneflower Seeds

Milk jugs are perfect tiny greenhouses to start wildflower seeds. (Photo by Charlotte Ekker Wiggins)

Planting Coneflower Seeds

I’ve had this on my to do list for some time now but never seemed to have enough empty gallon milk jugs saved up to try it.

This year, I collected several and set off to get my purple coneflower seeds started for next year.

Yes, it’s December and in USDA Hardiness zone 5, the best time to plant many wildflower seeds. Some species need the exposure to winter temperatures to germinate, and purple coneflowers are one of those species.

Now I’ve sowed seeds directly into the garden as well. The challenge with that is my stakes get moved during winter so when spring arrives, I may or may not be able to find where those seeds were scattered.

Purple coneflower starts from the end of the season. (Photo by Charlotte Ekker Wiggins)

I had two purple coneflowers with starts so I settled those into one of these milk cartoons so they could winter over with some protection.

To get the milk cartons ready, cut them in the middle but below the handle, leaving 2-inches under the handle as a hinge.

Make several holes in the bottom so excess water won’t accumulate.

Fill with fresh potting soil. Mist soil so it’s hydrated but not wet.

Scatter seeds over the soil. Add a light soil topping.

Once seeds are covered, I taped up the milk jugs with duct tape. (Photo by Charlotte Ekker Wiggins)

Gently hinge the top over the cut bottom and wrap with duct tape. Frankly this was the hardest step to do, in the first round I had more duct tape around my hand than I did the milk jugs.

With a little practice, you will get the duct tape where it needs to go, sealing the milk jug back together.

Two months later there are signs of greenery. (Photo by Charlotte Ekker Wiggins)

Place the milk jugs where they will get rain water but some protection. I have mine tucked away near a trunk seat between my bay windows.

The milk jugs are tucked into the side of the house. (Photo by Charlotte Ekker Wiggins)

If you’re in a drought area you may want to add a little water. Otherwise, the regular rain and snow will take care of watering. Make sure to periodically peek to make sure there is moisture just in case.

Good seeds to start include native milkweed, purple coneflowers and asters.

Next spring, after the danger of frost is over, the new seedlings should be ready to plant into the ground, hardier and ready to grow. Can’t wait!

Charlotte

Spring Pot Garden

This was my 2020 pot garden with peas, lettuce and spinach. (Photo by Charlotte Ekker Wiggins)

This was my 2020 pot garden with peas, lettuce and spinach. (Photo by Charlotte Ekker Wiggins)

Spring Pot Garden

It’s not officially spring yet but I have a start on what I call my spring pot garden. Planting in pots is a very easy way to get a handy garden growing without having to set up raised beds and new garden spots. And you can easily move it to capture better sunny spots or get them out of the way.

I have been using pots for a couple of decades now so some of my pots look well-loved. I added compost last fall so that melting snow and rain could help keep the soil hydrated and invigorated.

If you are just starting, start with a basic potting soil without added fertilizer if you can find it. That way you can supplement as needed and better control what you are providing your plants. You don’t need fertilizer for seedlings.

This year I once again planted a personal favorite, radishes, and used cut up blinds with Garden Markers to note what was in the pot.

Radish seedlings are getting a good start in my 2021 pot garden. (Photo by Charlotte Ekker Wiggins)

Radish seedlings are getting a good start in my 2021 pot garden. (Photo by Charlotte Ekker Wiggins)

I also enjoy fresh grown greens so I have lettuce and spinach in other pots, currently sitting on the edge of my unfinished rebuilt deck.

I collect good castors so that I can easily move the pots when I need to relocate them.

Punctured plastic bottles help keep my pot garden hydrated. (Photo by Charlotte Ekker Wiggins)

Punctured plastic bottles help keep my pot garden hydrated. (Photo by Charlotte Ekker Wiggins)

The other curiosity about my pots are the plastic bottles sitting in the middle. Those have holes around the sides and bottom to help keep the soil hydrated. When watering, I place the water in the plastic bottle and let it slowly trickle into the soil.

So far the radishes are starting to come up and I see some teeny tiny lettuce plants. Other people herald spring with interesting traditions, this one is mine!

Charlotte