Crops Worth Growing
/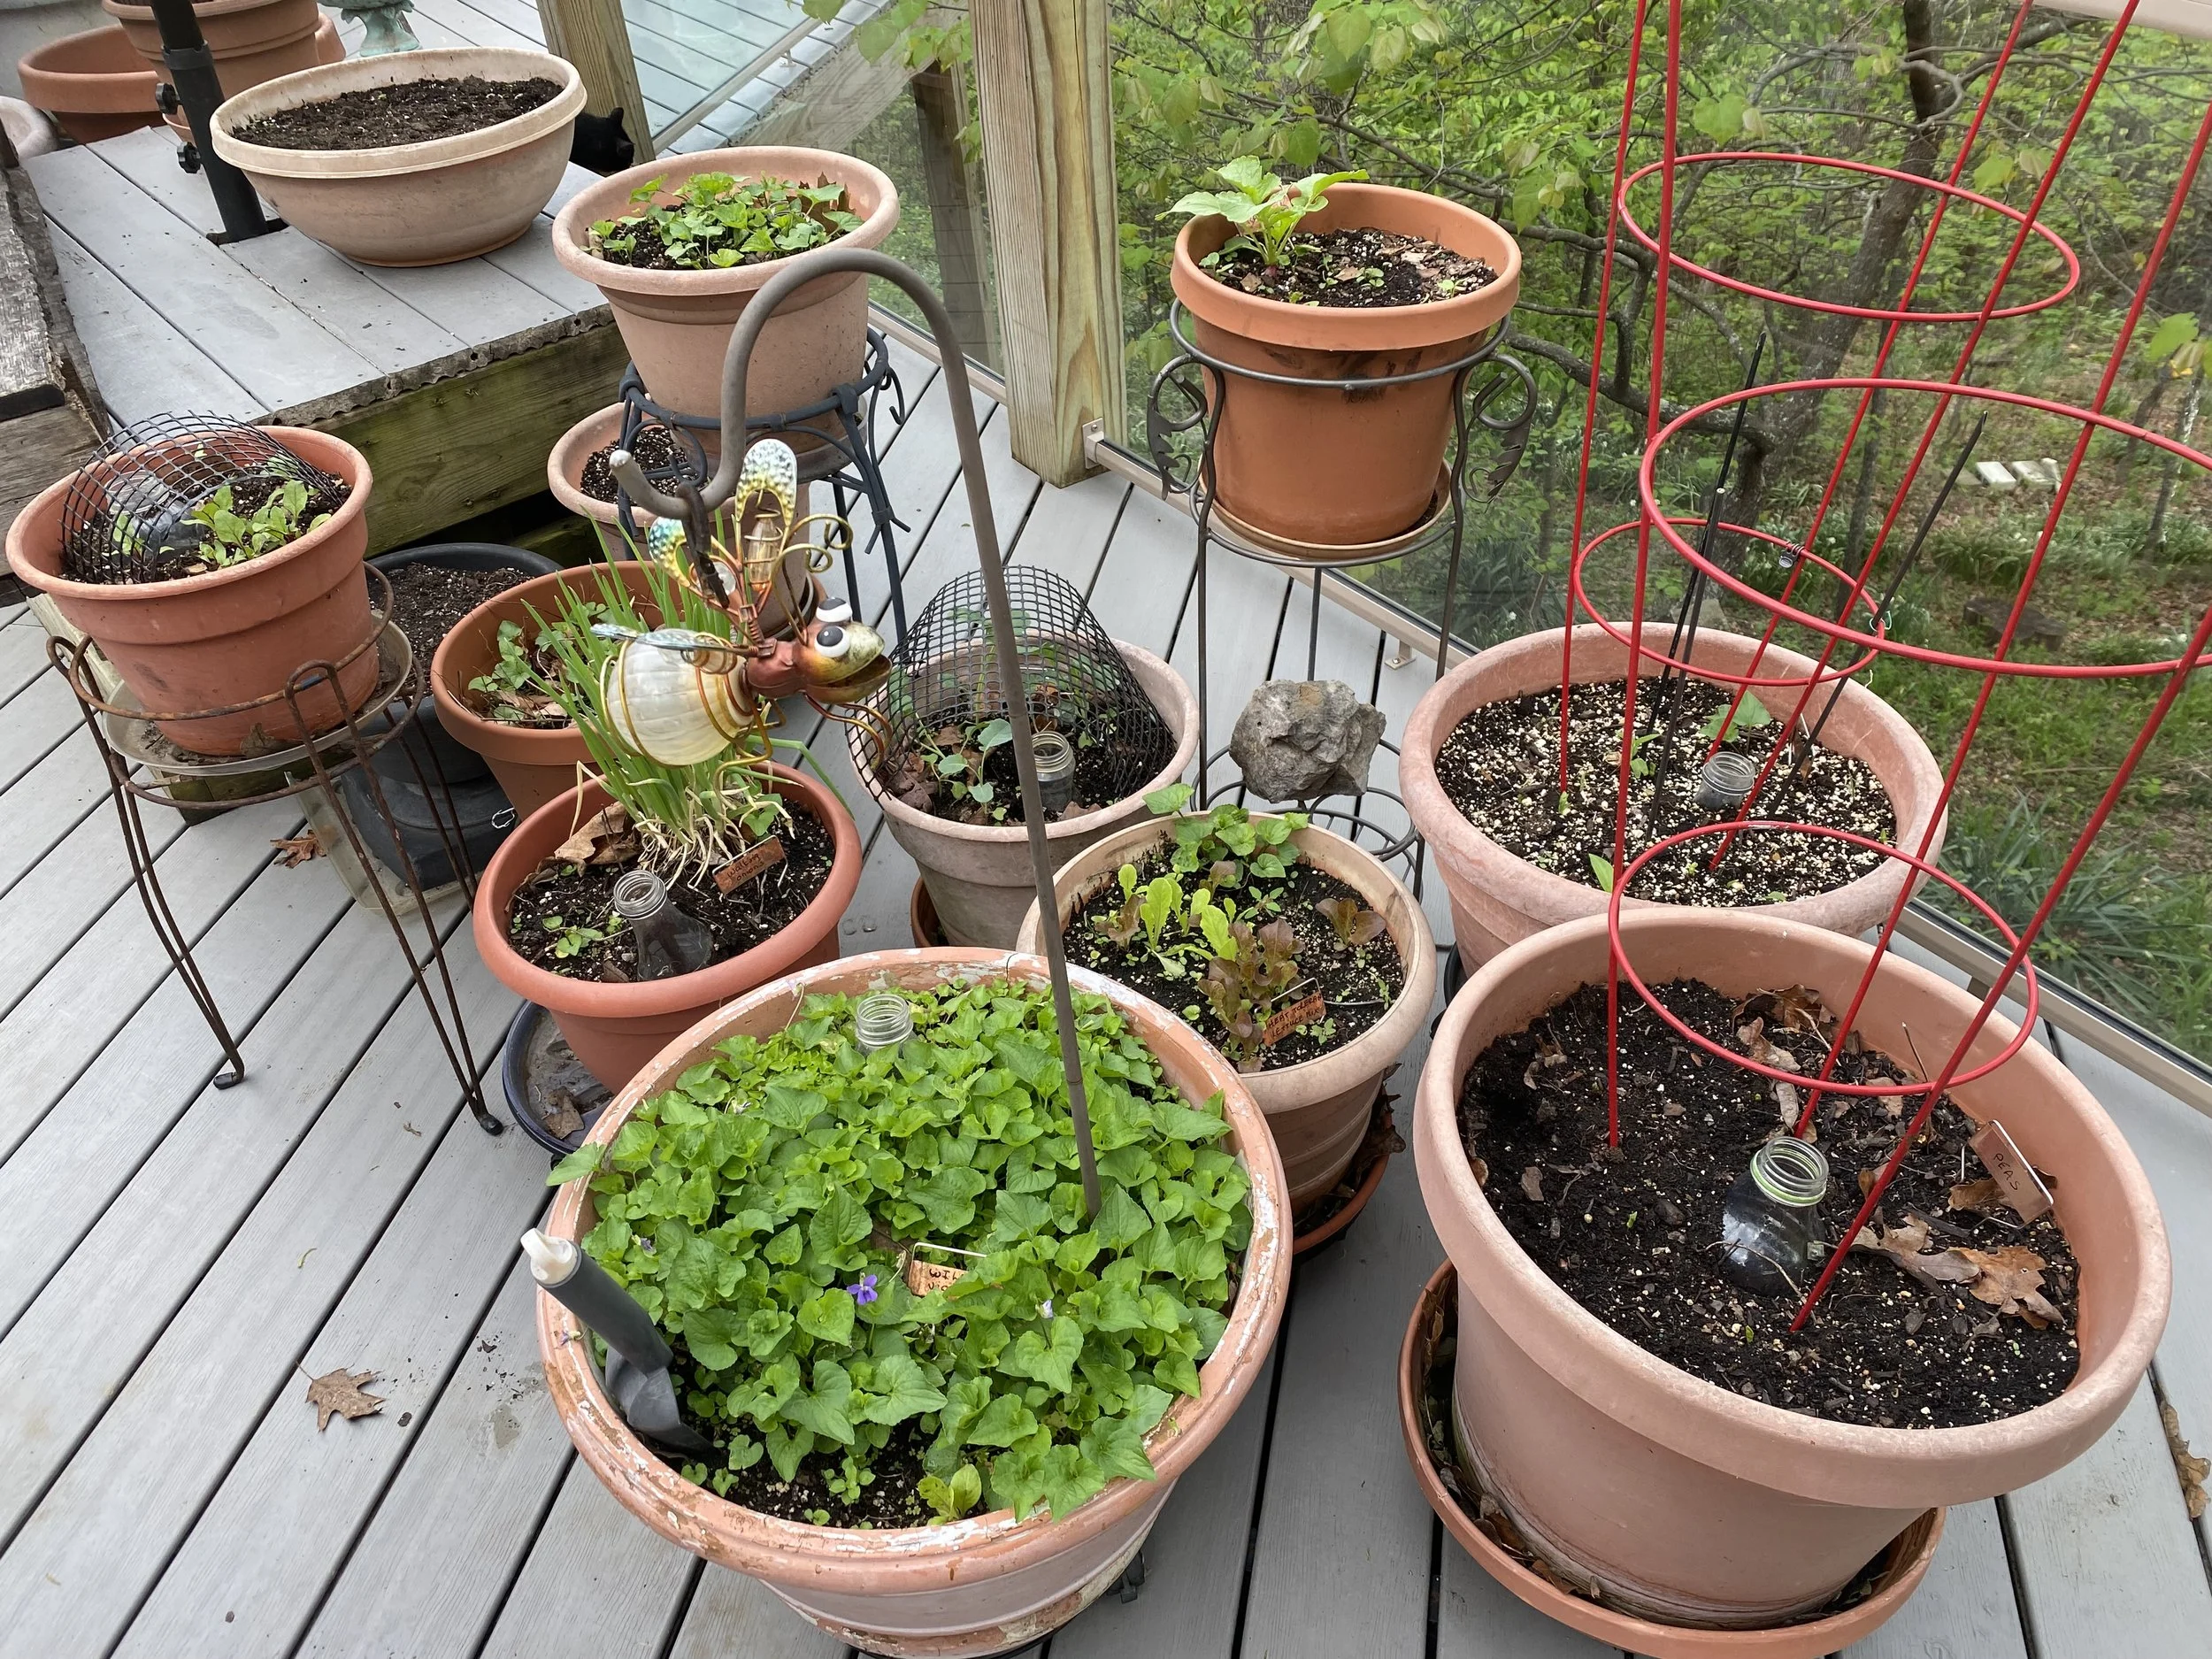
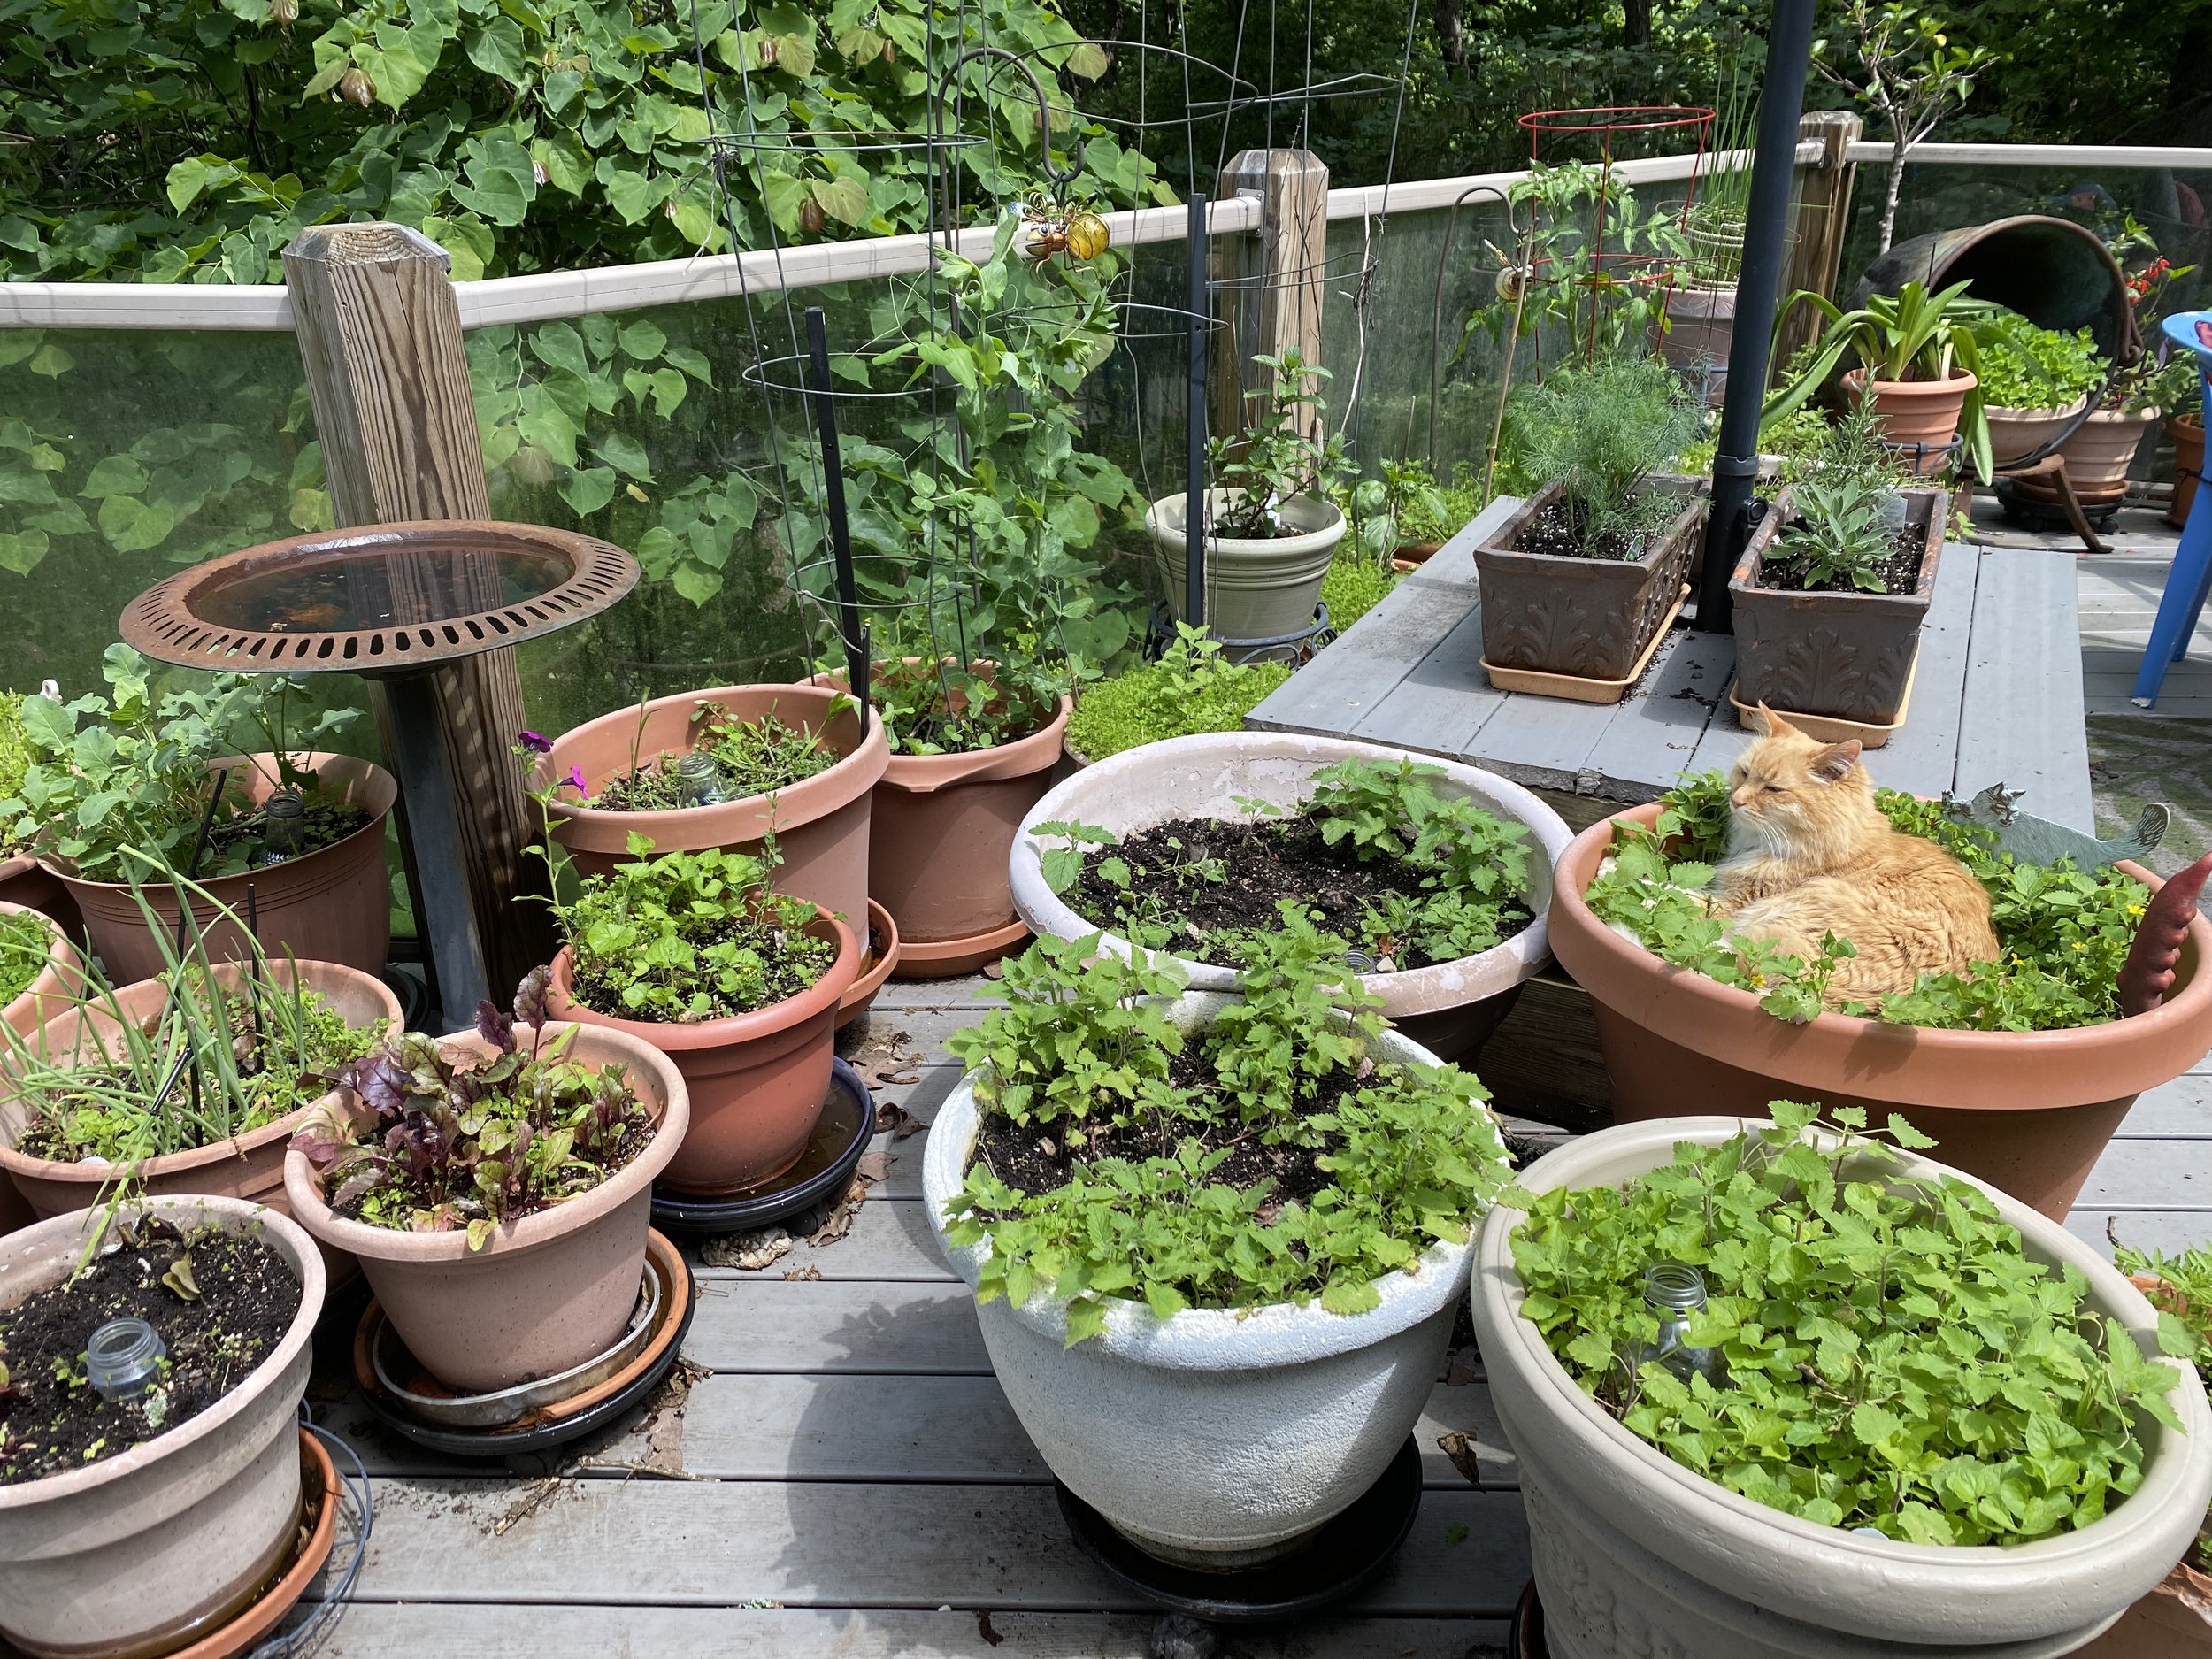
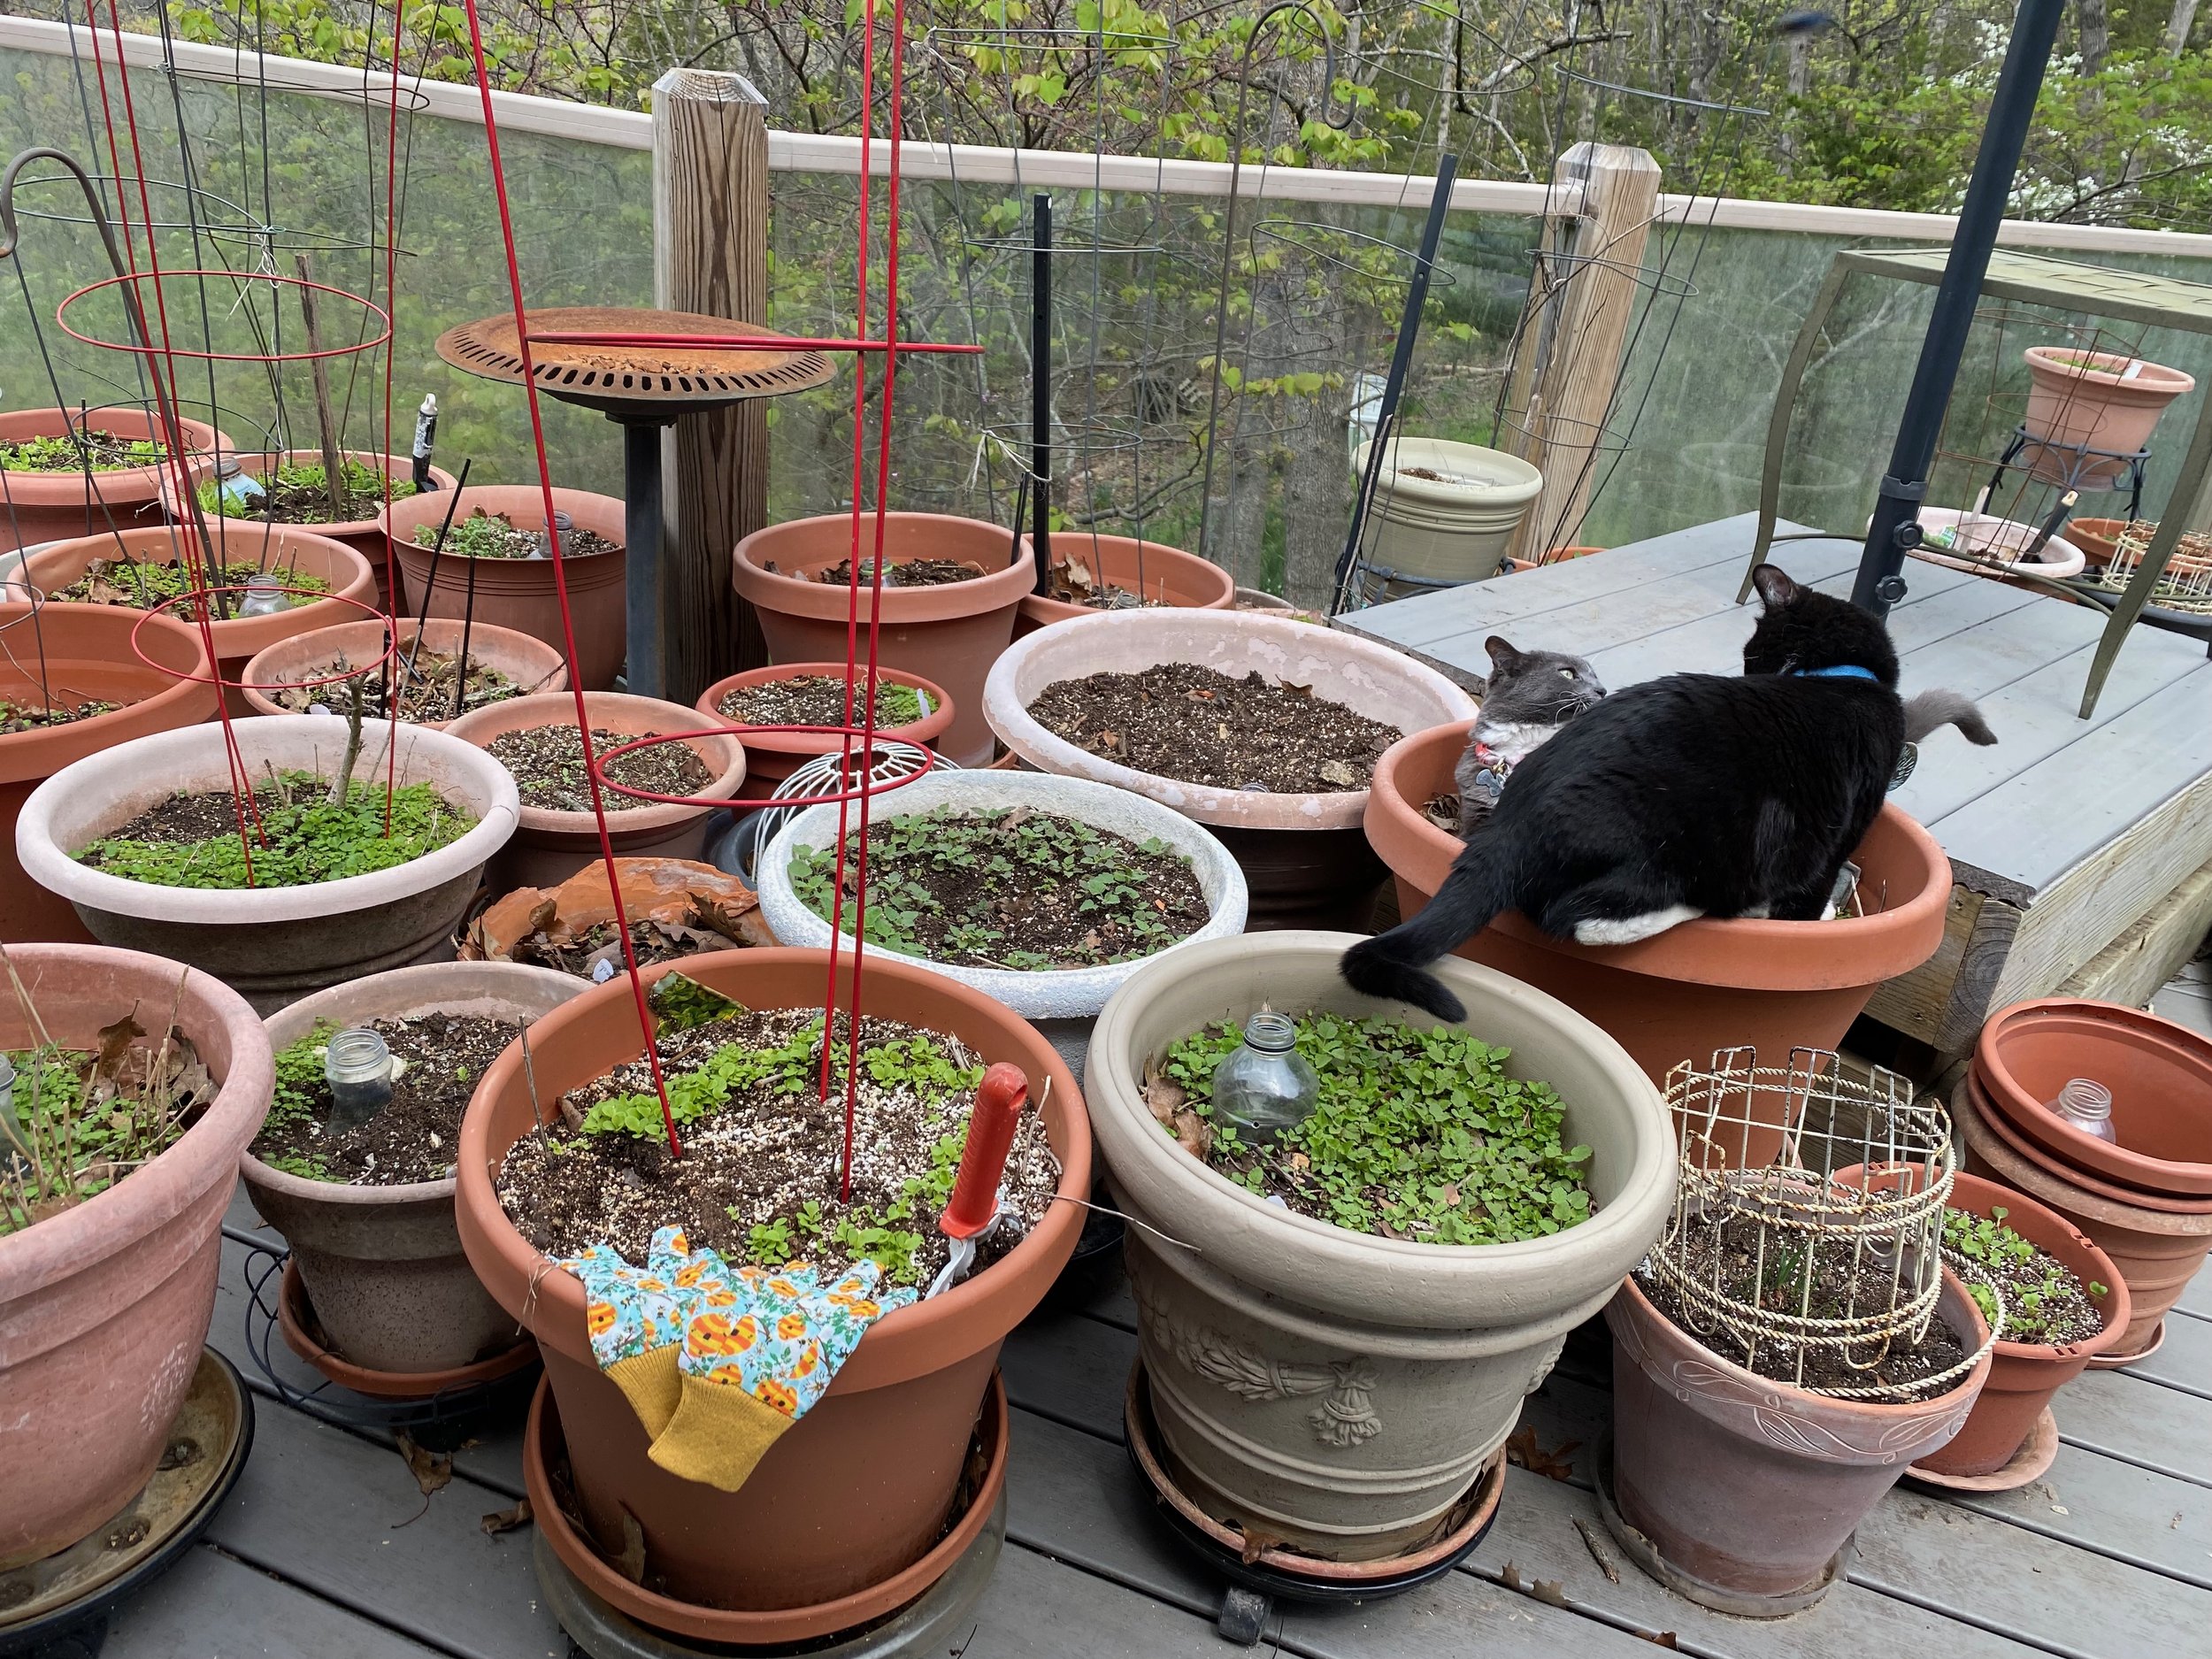
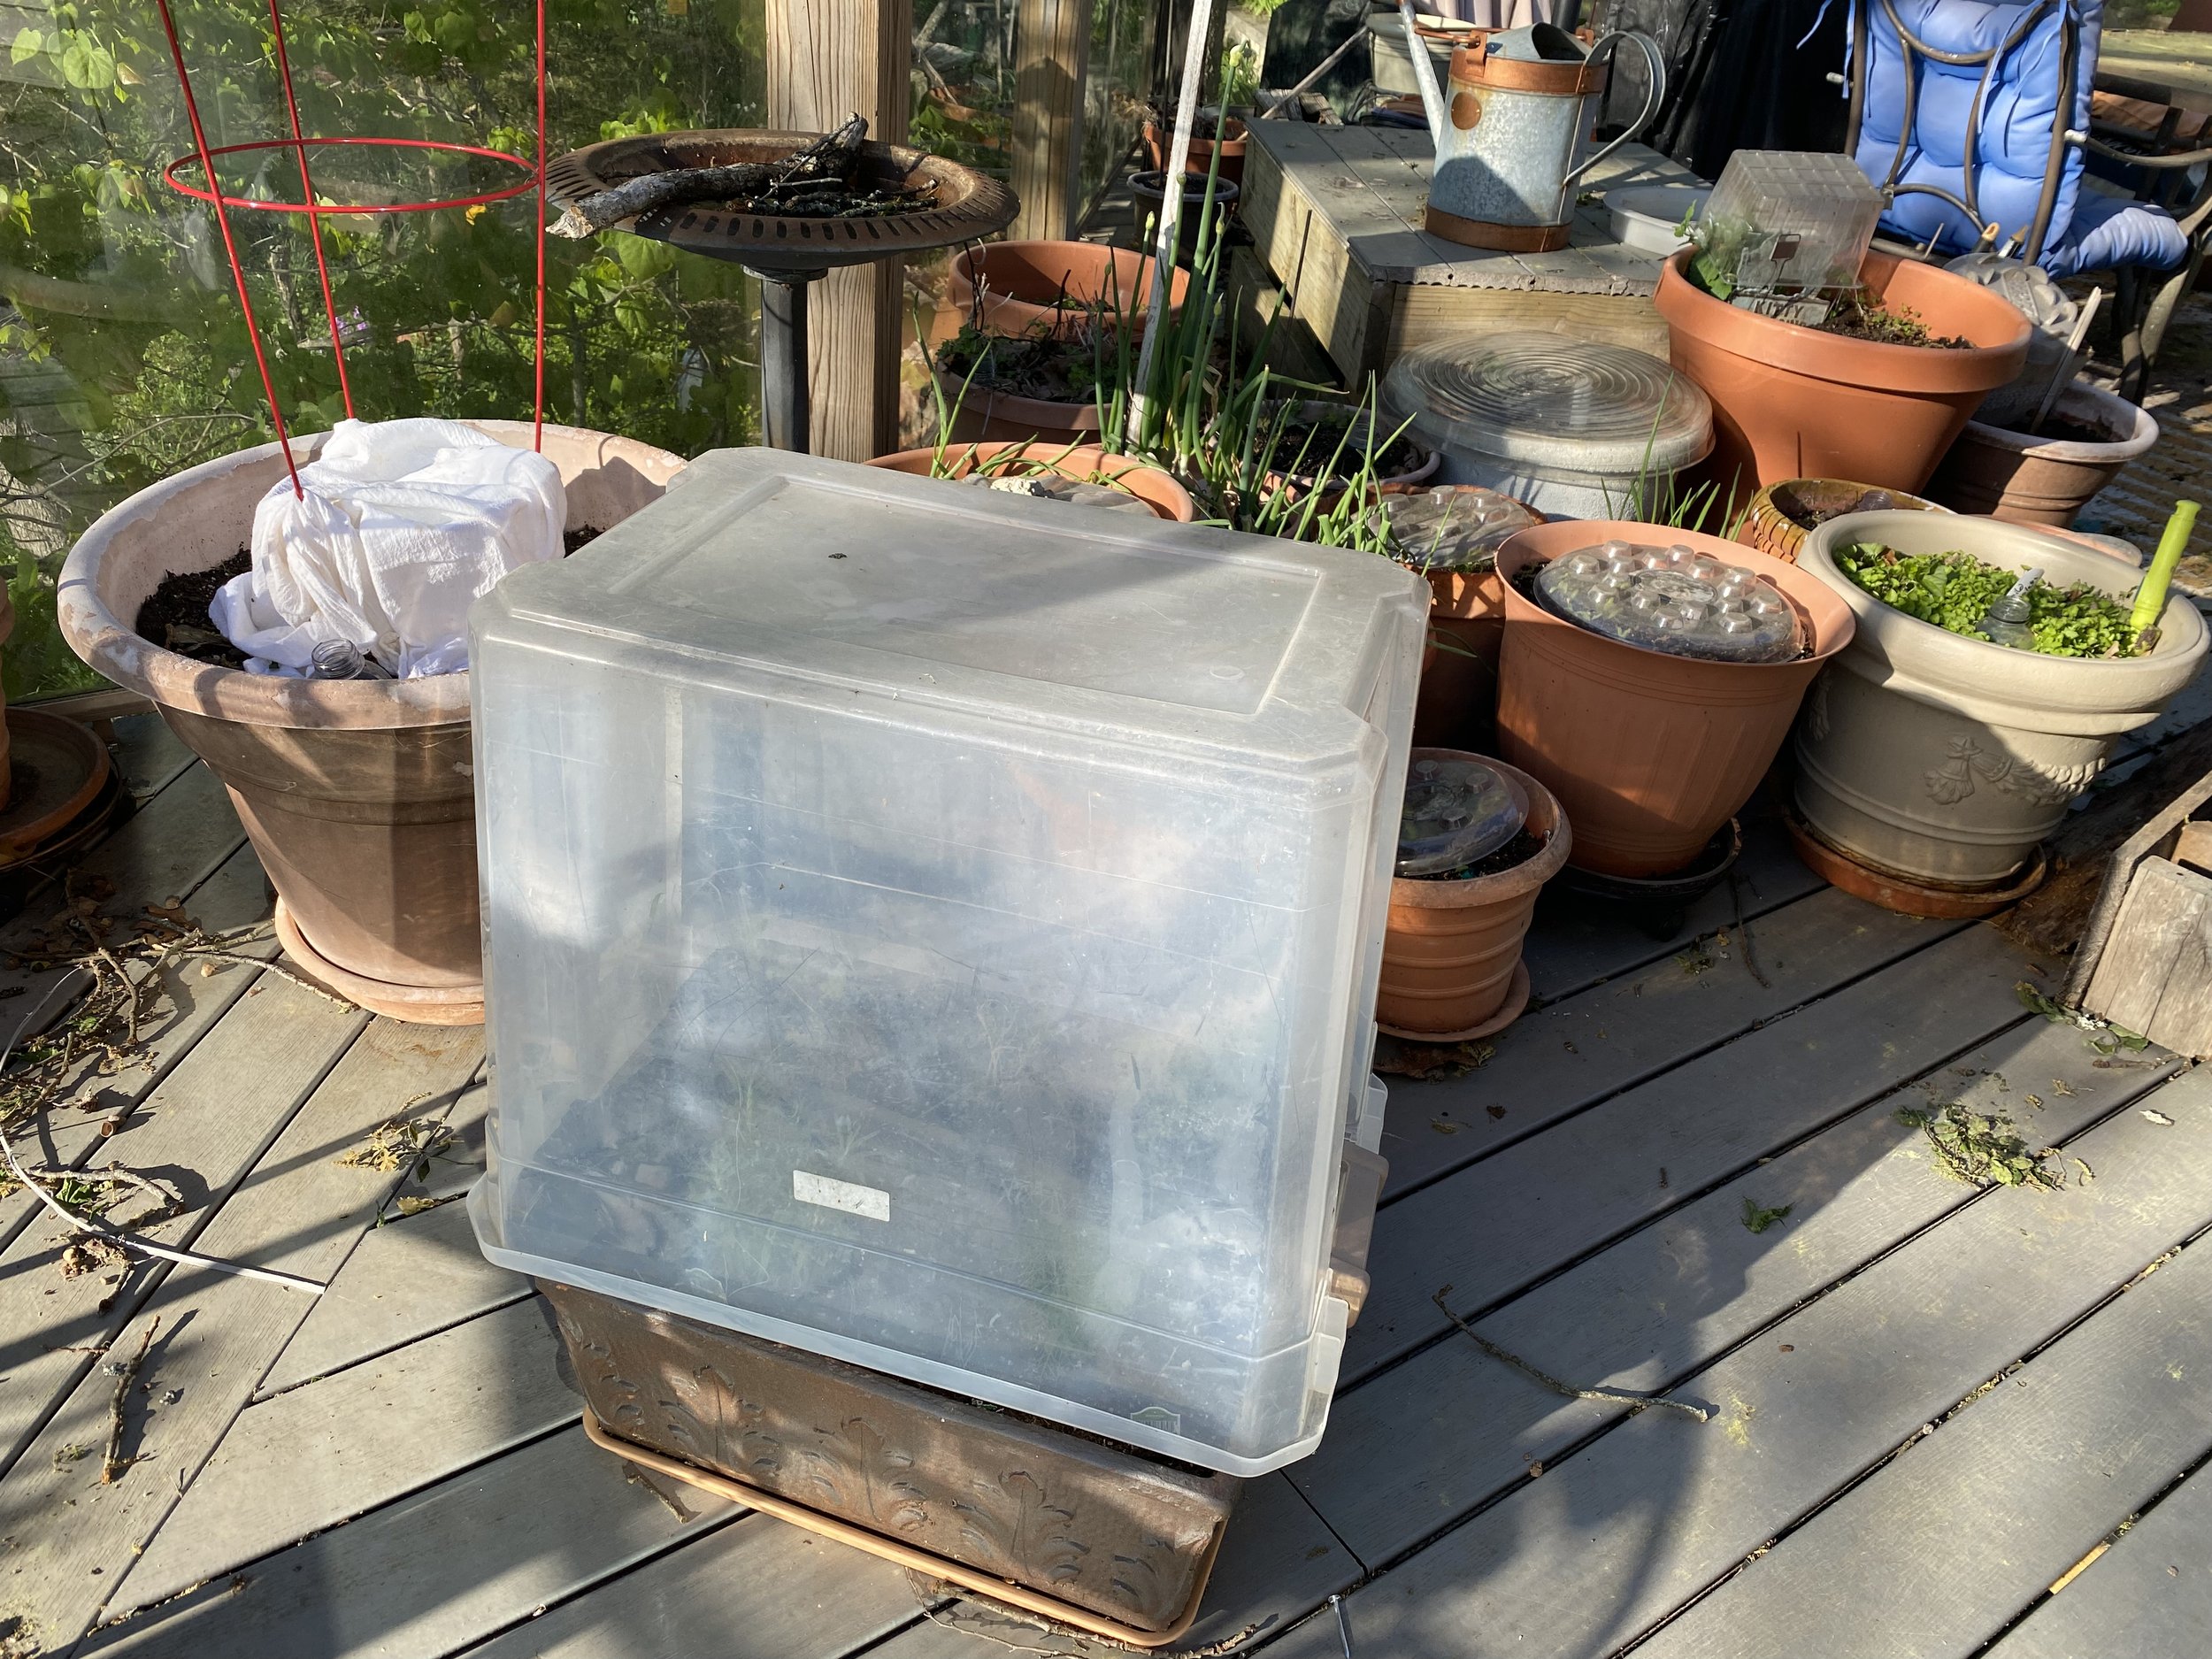
The start of this year’s deck container garden with cold weather crops. (charlotte ekker wiggins photo)
Crops Worth Growing and How to Grow Them Well
There’s something deeply satisfying about stepping outside and harvesting dinner. Whether it’s a sun-warmed tomato or a handful of fresh herbs, homegrown food just tastes better—and often grows easier than people expect.
If you’re deciding what to plant, or what’s worth the effort, these tried-and-true favorites earn their place in the garden year after year. Here’s how to grow them successfully, with a few practical tips that make all the difference.
🍅 Tomatoes: The Garden’s Crown Jewel
If you grow just one thing, make it tomatoes.
Why they’re worth it: Flavor. Store-bought tomatoes simply can’t compete with vine-ripened ones.
Tips for success:
Plant deep—bury 2/3 of the stem to encourage strong roots
Give full sun (8+ hours) and consistent watering
Mulch early to prevent soil splash and disease
Support them from the start (cages or stakes)
Avoid overhead watering to reduce fungal issues
Pro tip: Slightly stressing plants with less frequent watering, once established, can intensify flavor.
🌶️ Peppers: Small Plants, Big Rewards
Peppers are surprisingly low-maintenance once established.
Why they’re worth it: High yield in small spaces, and they freeze beautifully.
Tips for success:
Wait for warm soil—peppers hate cold feet
Plant in full sun with well-drained soil
Don’t overwater; they prefer slightly drier conditions than tomatoes
Pinch early flowers if plants are small to encourage stronger growth
Pro tip: A little afternoon heat stress can increase capsaicin—hotter peppers if you like the kick.
🧅 Onions: Set Them and Forget Them
Onions are one of the easiest crops with the longest payoff.
Why they’re worth it: They store for months and require very little attention.
Tips for success:
Choose the right type (short-day vs. long-day) for your region
Plant early—onions love cool starts
Keep weed-free; they don’t compete well
Stop watering as bulbs mature to prevent rot
Pro tip: Bend tops over late in the season to encourage bulbs to finish sizing up.
🥬 Lettuce: Fast, Fresh, and Forgiving
Lettuce is perfect for continuous harvest.
Why it’s worth it: Quick turnaround and cut-and-come-again harvests.
Tips for success:
Grow in cool weather—spring and fall are ideal
Provide partial shade as temps rise
Harvest outer leaves regularly to keep plants producing
Keep soil consistently moist for tender leaves
Pro tip: Succession plant every 2–3 weeks for a steady supply.
🌱 Radishes: Instant Gratification
If patience isn’t your thing, radishes are your crop.
Why they’re worth it: Ready in as little as 3–4 weeks.
Tips for success:
Sow directly in cool soil
Thin seedlings early for proper root development
Harvest promptly—waiting too long leads to woody roots
Keep evenly watered for crisp texture
Pro tip: Use radishes as row markers for slower crops like carrots.
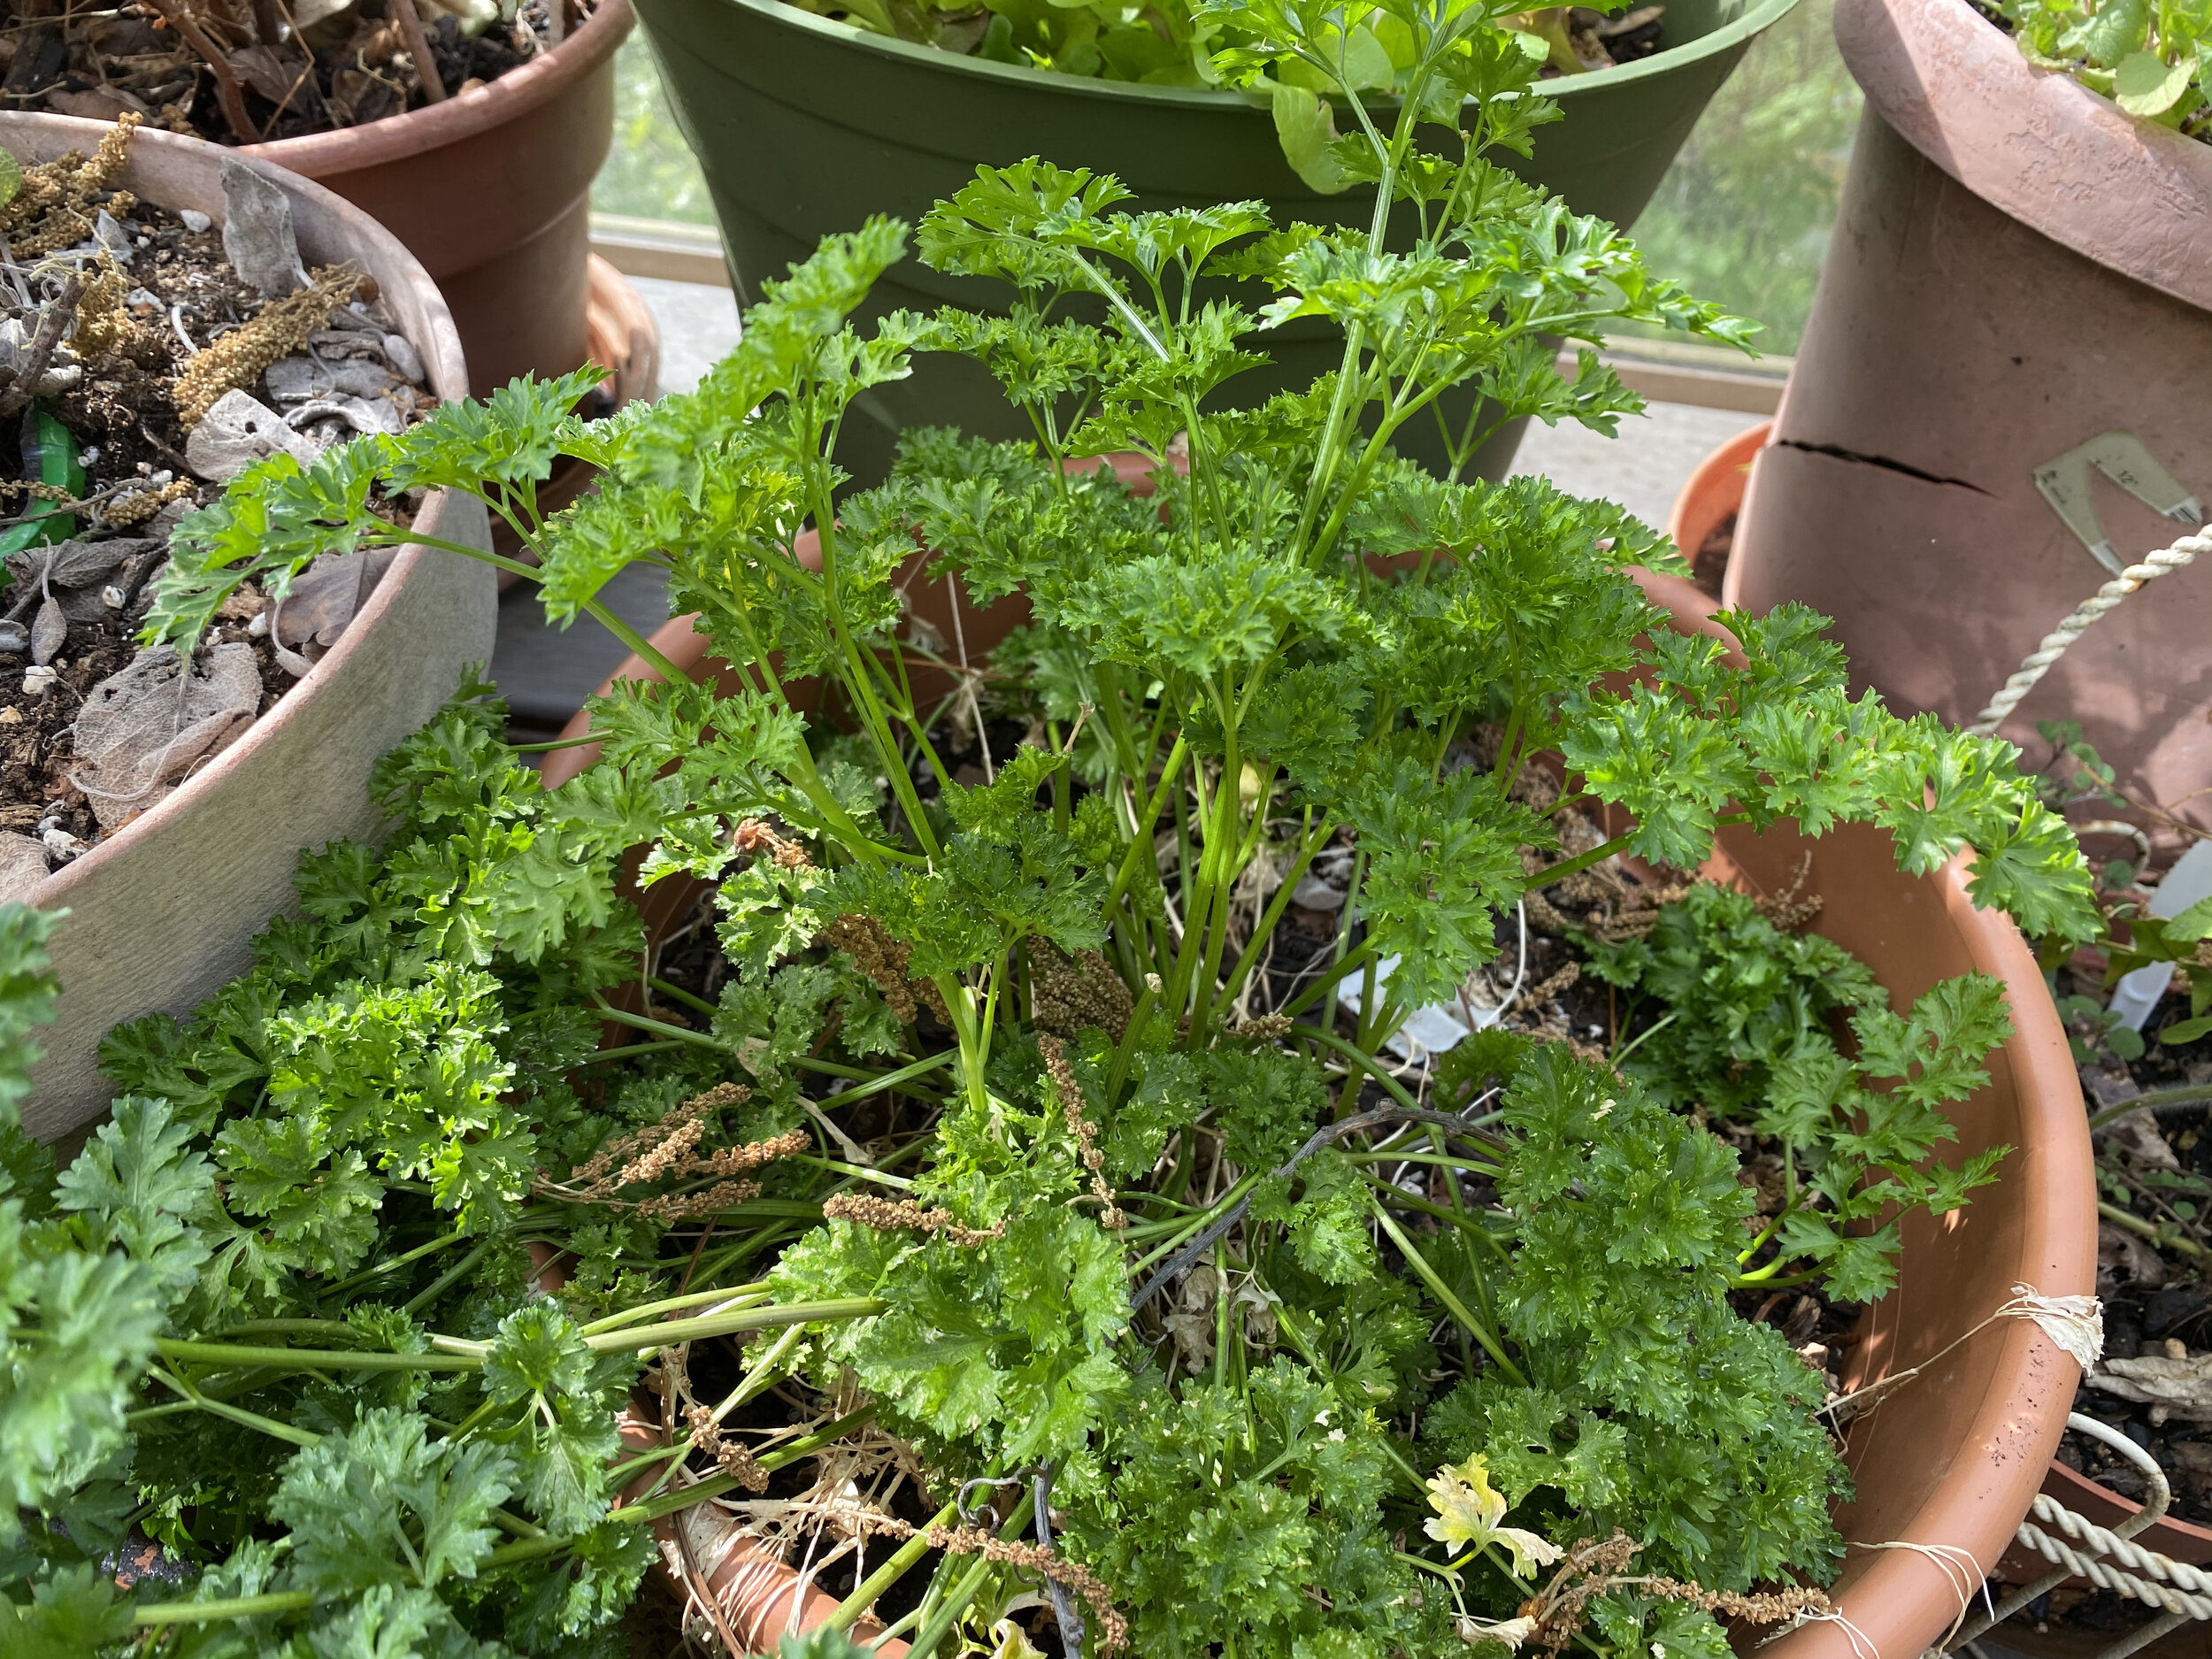
🌿 Herbs: Small Space, Big Flavor
Herbs are the easiest way to elevate both your garden and your cooking.
Why they’re worth it: High value, low effort, and great for pollinators.
Tips for success:
Most herbs prefer full sun and well-drained soil
Harvest frequently to encourage bushy growth
Don’t over-fertilize—too much nitrogen reduces flavor
Let some plants flower for bees (especially basil, oregano, thyme)
Pro tip: Perennial herbs (like thyme and oregano) become more flavorful each year.
A Final Thought
These crops aren’t just popular—they’re reliable, productive, and deeply rewarding. Whether you’re gardening on a hillside, in raised beds, or a few containers by the door, they’ll give back far more than they ask.
For more weekly gardening, beekeeping, cooking and easy home decor tips, subscribe to Garden Notes.