Shredded Leaf Mulch
/
Shredded Leaf Mulch
If you have a riding lawn mower you can have wonderful shredded leaf mulch. Shredded fall leaves, combined with grass clippings, will make rich soil conditioner that will retain water and return nitrogen into the soil that you can’t buy at any garden center.
This time of year, people are raking fall leaves and bagging shredded ones, then dumping them at our local composting station so let’s look at some options.
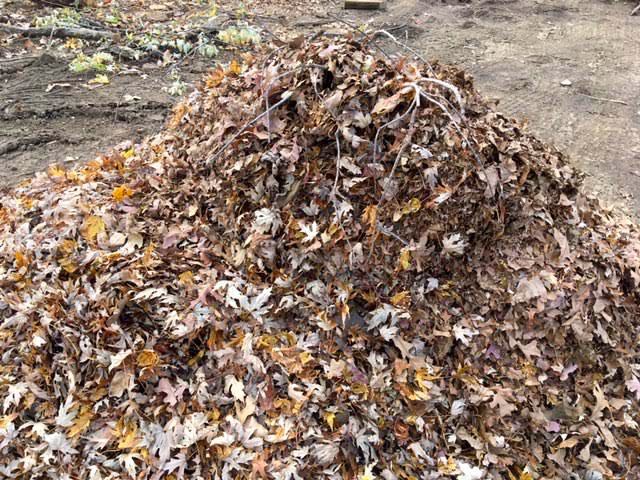
A standard pile of drying leaves that haven’t been shredded. (Photo by Charlotte Ekker Wiggins)
Dried leaves can be good garden mulch provided the leaves are fully dry and not still green, or yellow. The leaves that aren’t dry yet need to be dry before applying to a bed but both can be used if this pile is first run over by a riding lawn mower.

Bunched leaves holding moisture that haven’t bee shredded. (Photo by Charlotte Ekker Wiggins)
Here is another leaf pile, this from the inside of one of those paper bags. See the black spots on the leaves? I would be tempted to skip this leaf pile, those black spots are an indication of some kind of spores on the leaves I would rather not spread to my garden.

Shredded and unshredded leaves are a good combination. (Photo by Charlotte Ekker Wiggins)
Now we are getting somewhere, this is a leaf pile with both shredded and regular dry leaves. This combination provides good immediate garden cover with the shredded leaves and will continue to work as the new leaves decompose.

Dry shredded and unshredded leaves combined with grass clippings. (Photo by Charlotte Ekker Wiggins)
A combination of dried leaves with grass clippings will also work as long as there are more dry leaves than clippings. Grass clippings will quickly remove nitrogen from the soil and generate heat so try to keep the mix at least even.

My favorite pile, shredded leaves and clippings. (Photo by Charlotte Ekker Wiggins)
This pile would also make an excellent composter addition, a mixture of both “brown” and “green.”This is the shredded leaf pile I have been bagging and hauling home to add to new garden beds. A combination of shredded dried leaves with maybe a quarter grass clippings. I wear gloves as I pack the bags in case the mulch included poison ivy spores. Even so I still managed to get a long scratch on my right index finger.
I have also been raking my dried leaves in my garden and moving them to cover garden beds but this shredded mix is a real treat for my flowers and one that will keep on giving next year.
Charlotte