When to Prune Hydrangeas
/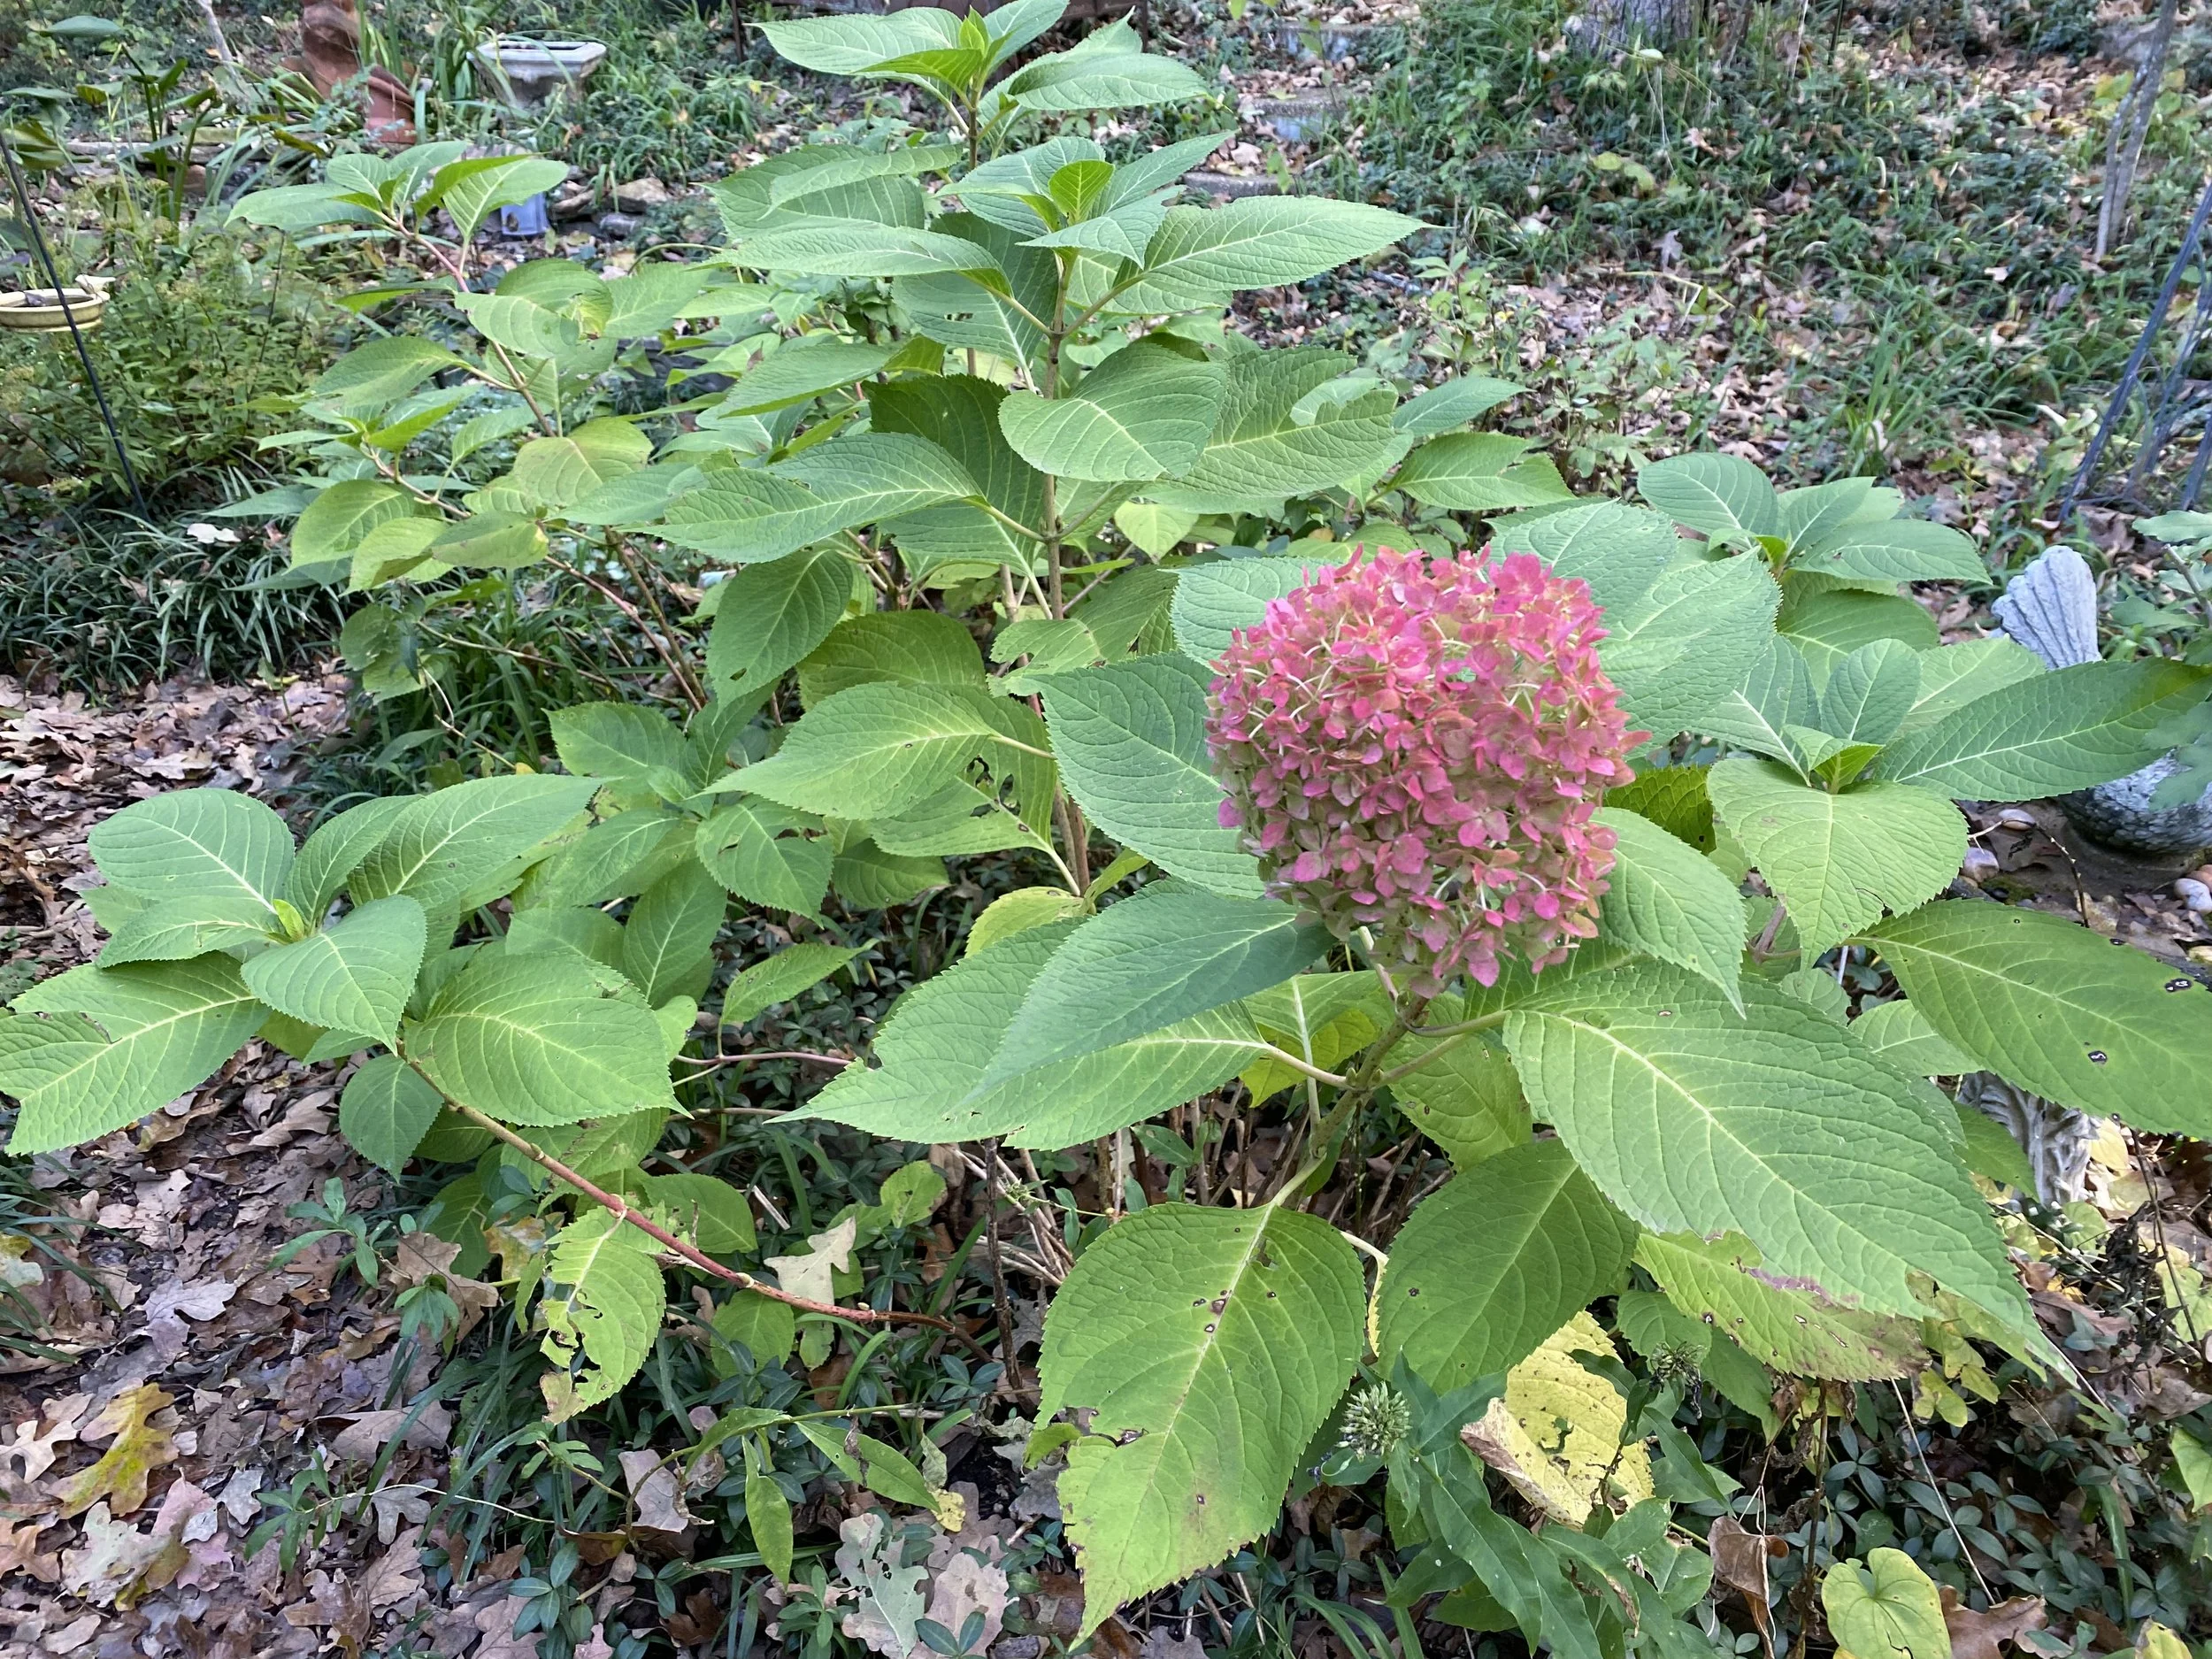
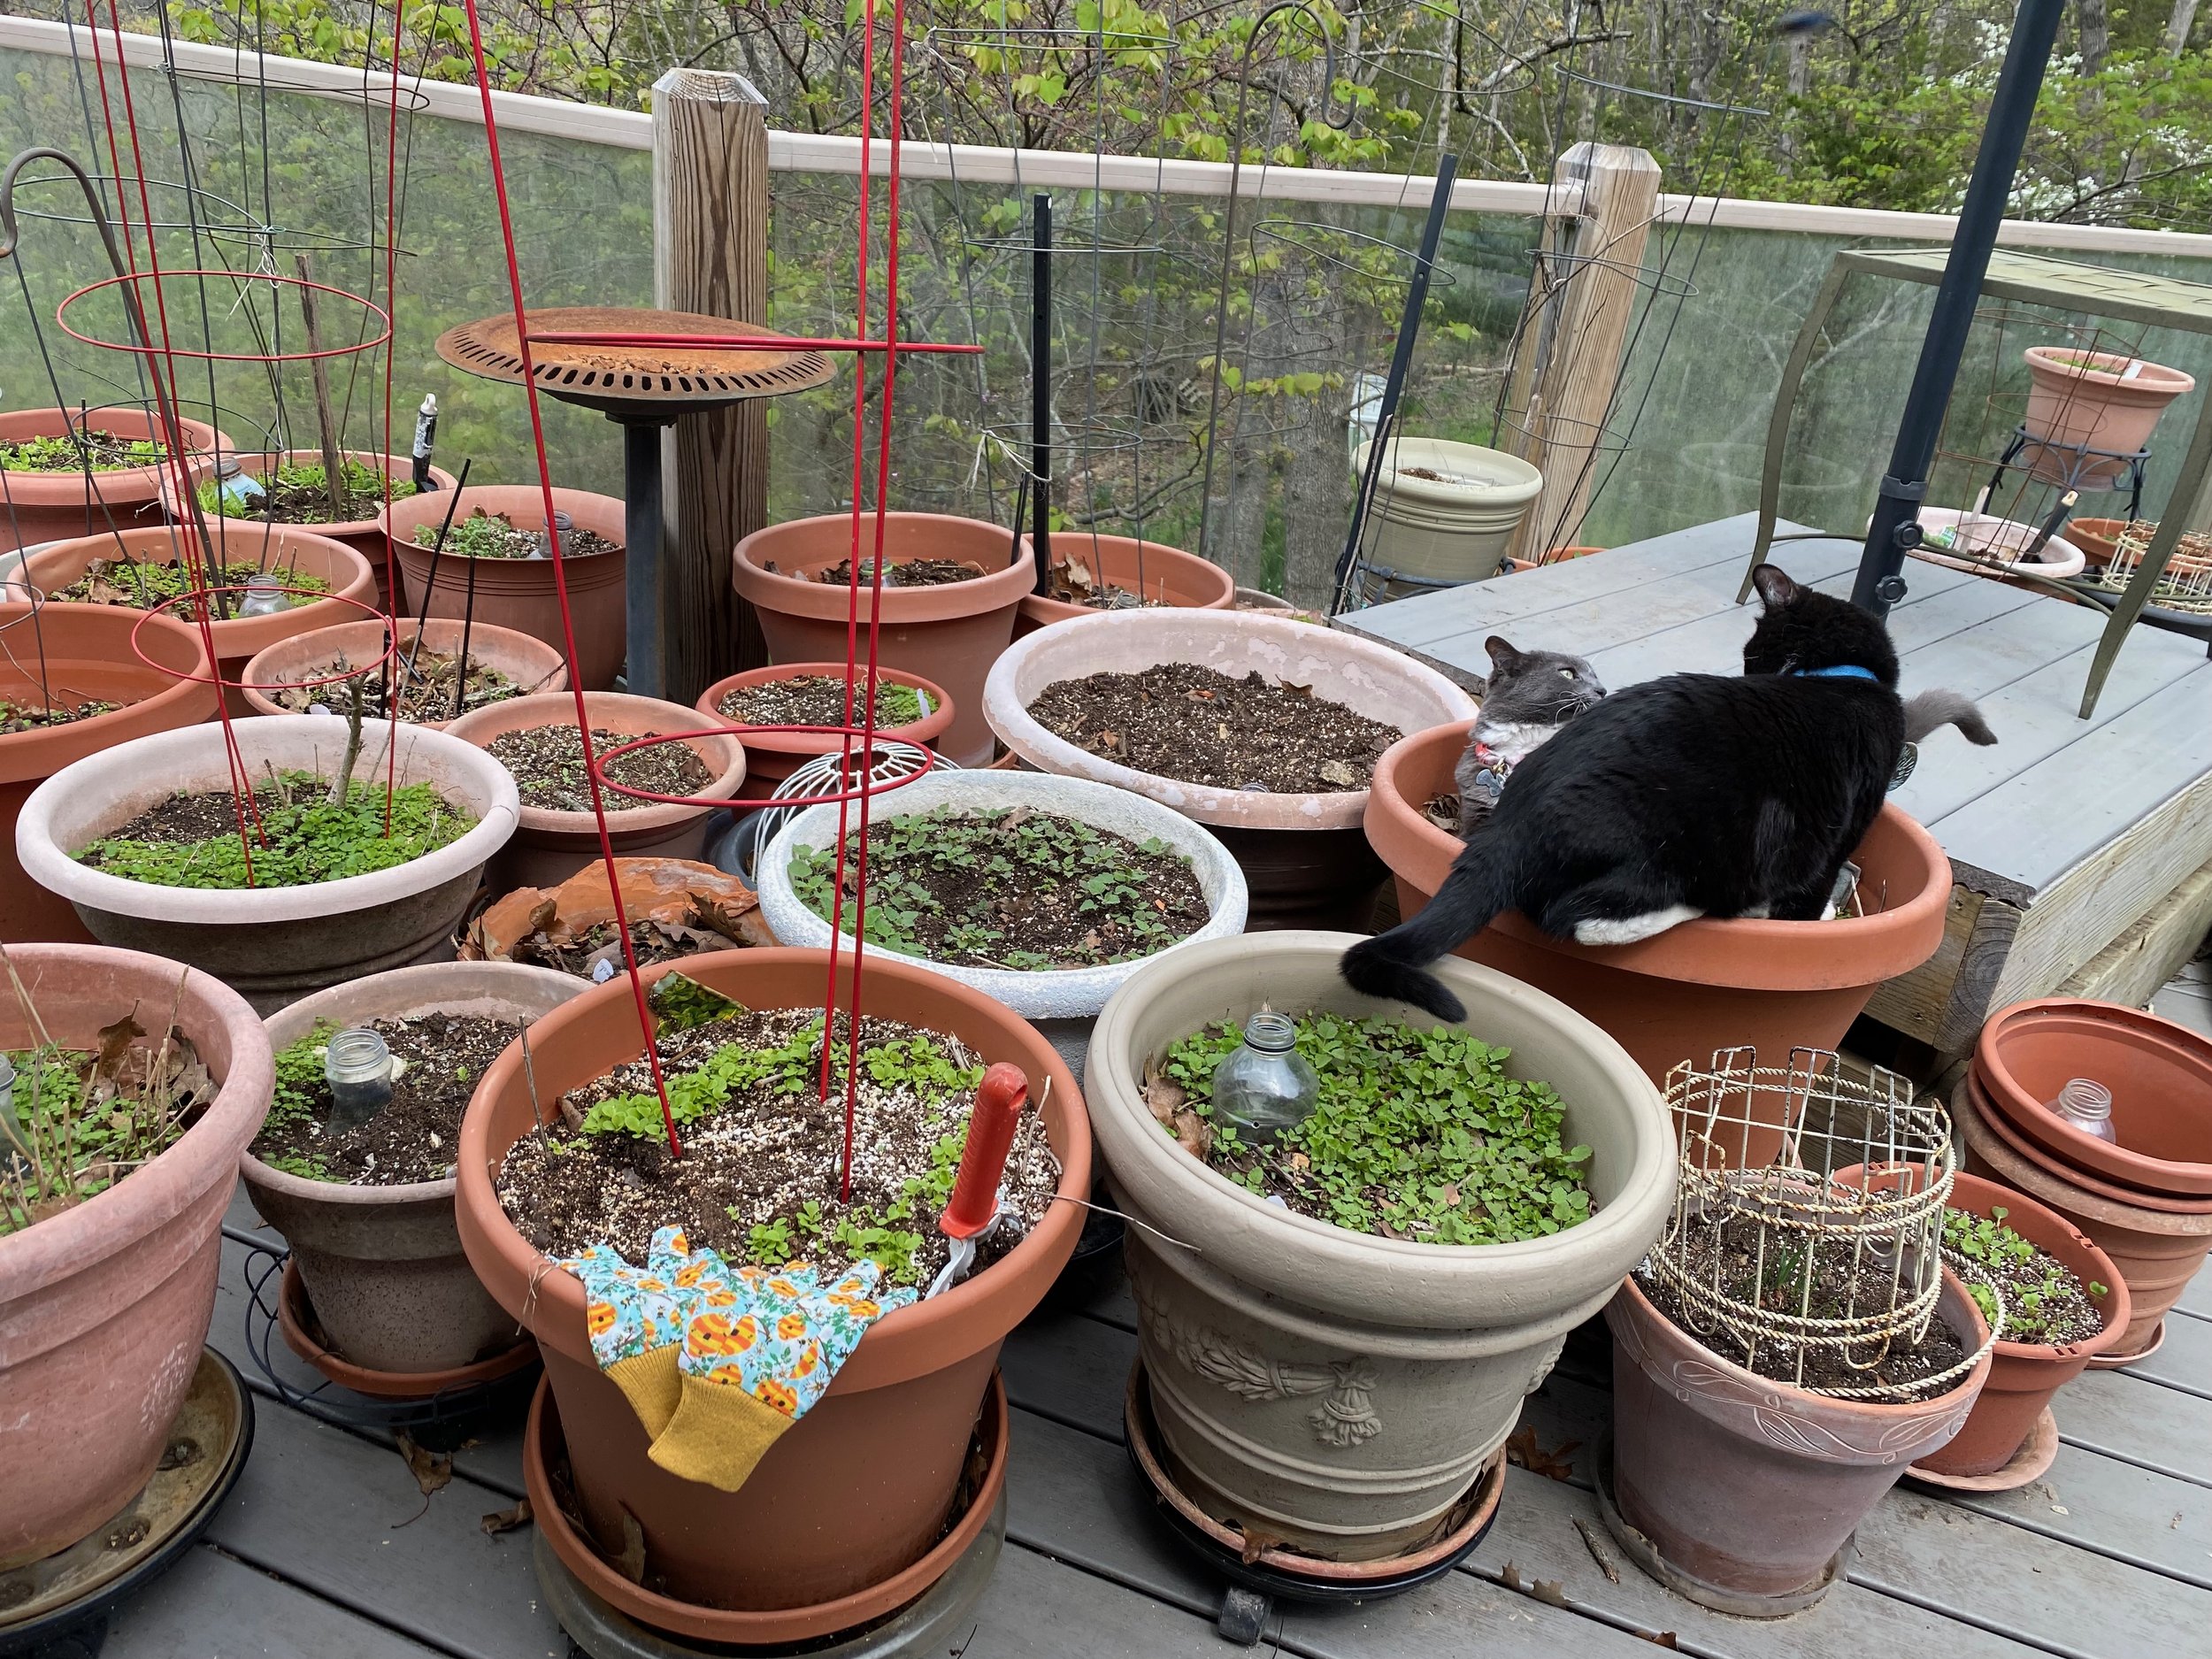
smooth hydrangea finally blooming after many years. (charlotte ekker wiggins photo)
When to Prune Hydrangeas
If there’s one pruning question gardeners ask most often, it’s “When should I prune my hydrangeas?” The answer depends entirely on which kind of hydrangea you grow — because some bloom on old wood and others on new wood. Get the timing right, and you’ll be rewarded with full, colorful flower heads all summer long. Get it wrong, and you might be looking at a season of leaves only!
Hydrangeas That Bloom on Old Wood
These varieties form their flower buds in late summer or early fall for the next year’s blooms. Pruning in winter or spring can remove those buds before they have a chance to flower.
Old wood bloomers include:
Bigleaf hydrangea (Hydrangea macrophylla) – mophead and lacecap types
Oakleaf hydrangea (H. quercifolia)
Climbing hydrangea (H. petiolaris)
When to prune:
Right after they finish flowering, usually by mid-July. Remove only spent blooms and dead or weak stems. Leave healthy branches that will carry next year’s flower buds.
Each year, remove about one-third of the oldest stems at the base. This gentle renewal keeps your hydrangeas healthy, shapely, and blooming strong.
Hydrangeas That Bloom on New Wood
These types set their buds on the current season’s growth. That means you can prune them hard in late winter or early spring without affecting flowering.
New wood bloomers include:
Smooth hydrangea (Hydrangea arborescens) – like ‘Annabelle’
Panicle hydrangea (H. paniculata) – including ‘Limelight’ and ‘Pee Gee’ types
When to prune:
Prune late winter to early spring, before new growth begins. Cut them back by one-third (or down to 12–18 inches for smooth hydrangeas) to encourage strong new stems and large blooms.
After pruning, feed lightly and apply a layer of mulch to hold moisture and protect roots. Healthy roots mean more abundant blossoms.
General Hydrangea Care
Water deeply during dry spells — hydrangeas have shallow roots.
Feed sparingly; too much nitrogen means more leaves than blooms.
Adjust pH if you want to shift bloom color — acidic soil gives blue blooms, alkaline soil brings out pink.
Protect old wood bloomers in cold zones with a burlap wrap or thick leaf mulch in winter.
In Closing
Hydrangeas reward careful timing. If you’re unsure which type you have, hold off on pruning until after it blooms — then observe when and how it sets buds for next year. You’ll only need to make that mistake once to become a pruning pro. Ask me how I know!
For more tips on gardening, beekeeping, cooking and easy home decor, subscribe to my weekly Garden Notes.
Charlotte