How to Repair Birdhouses

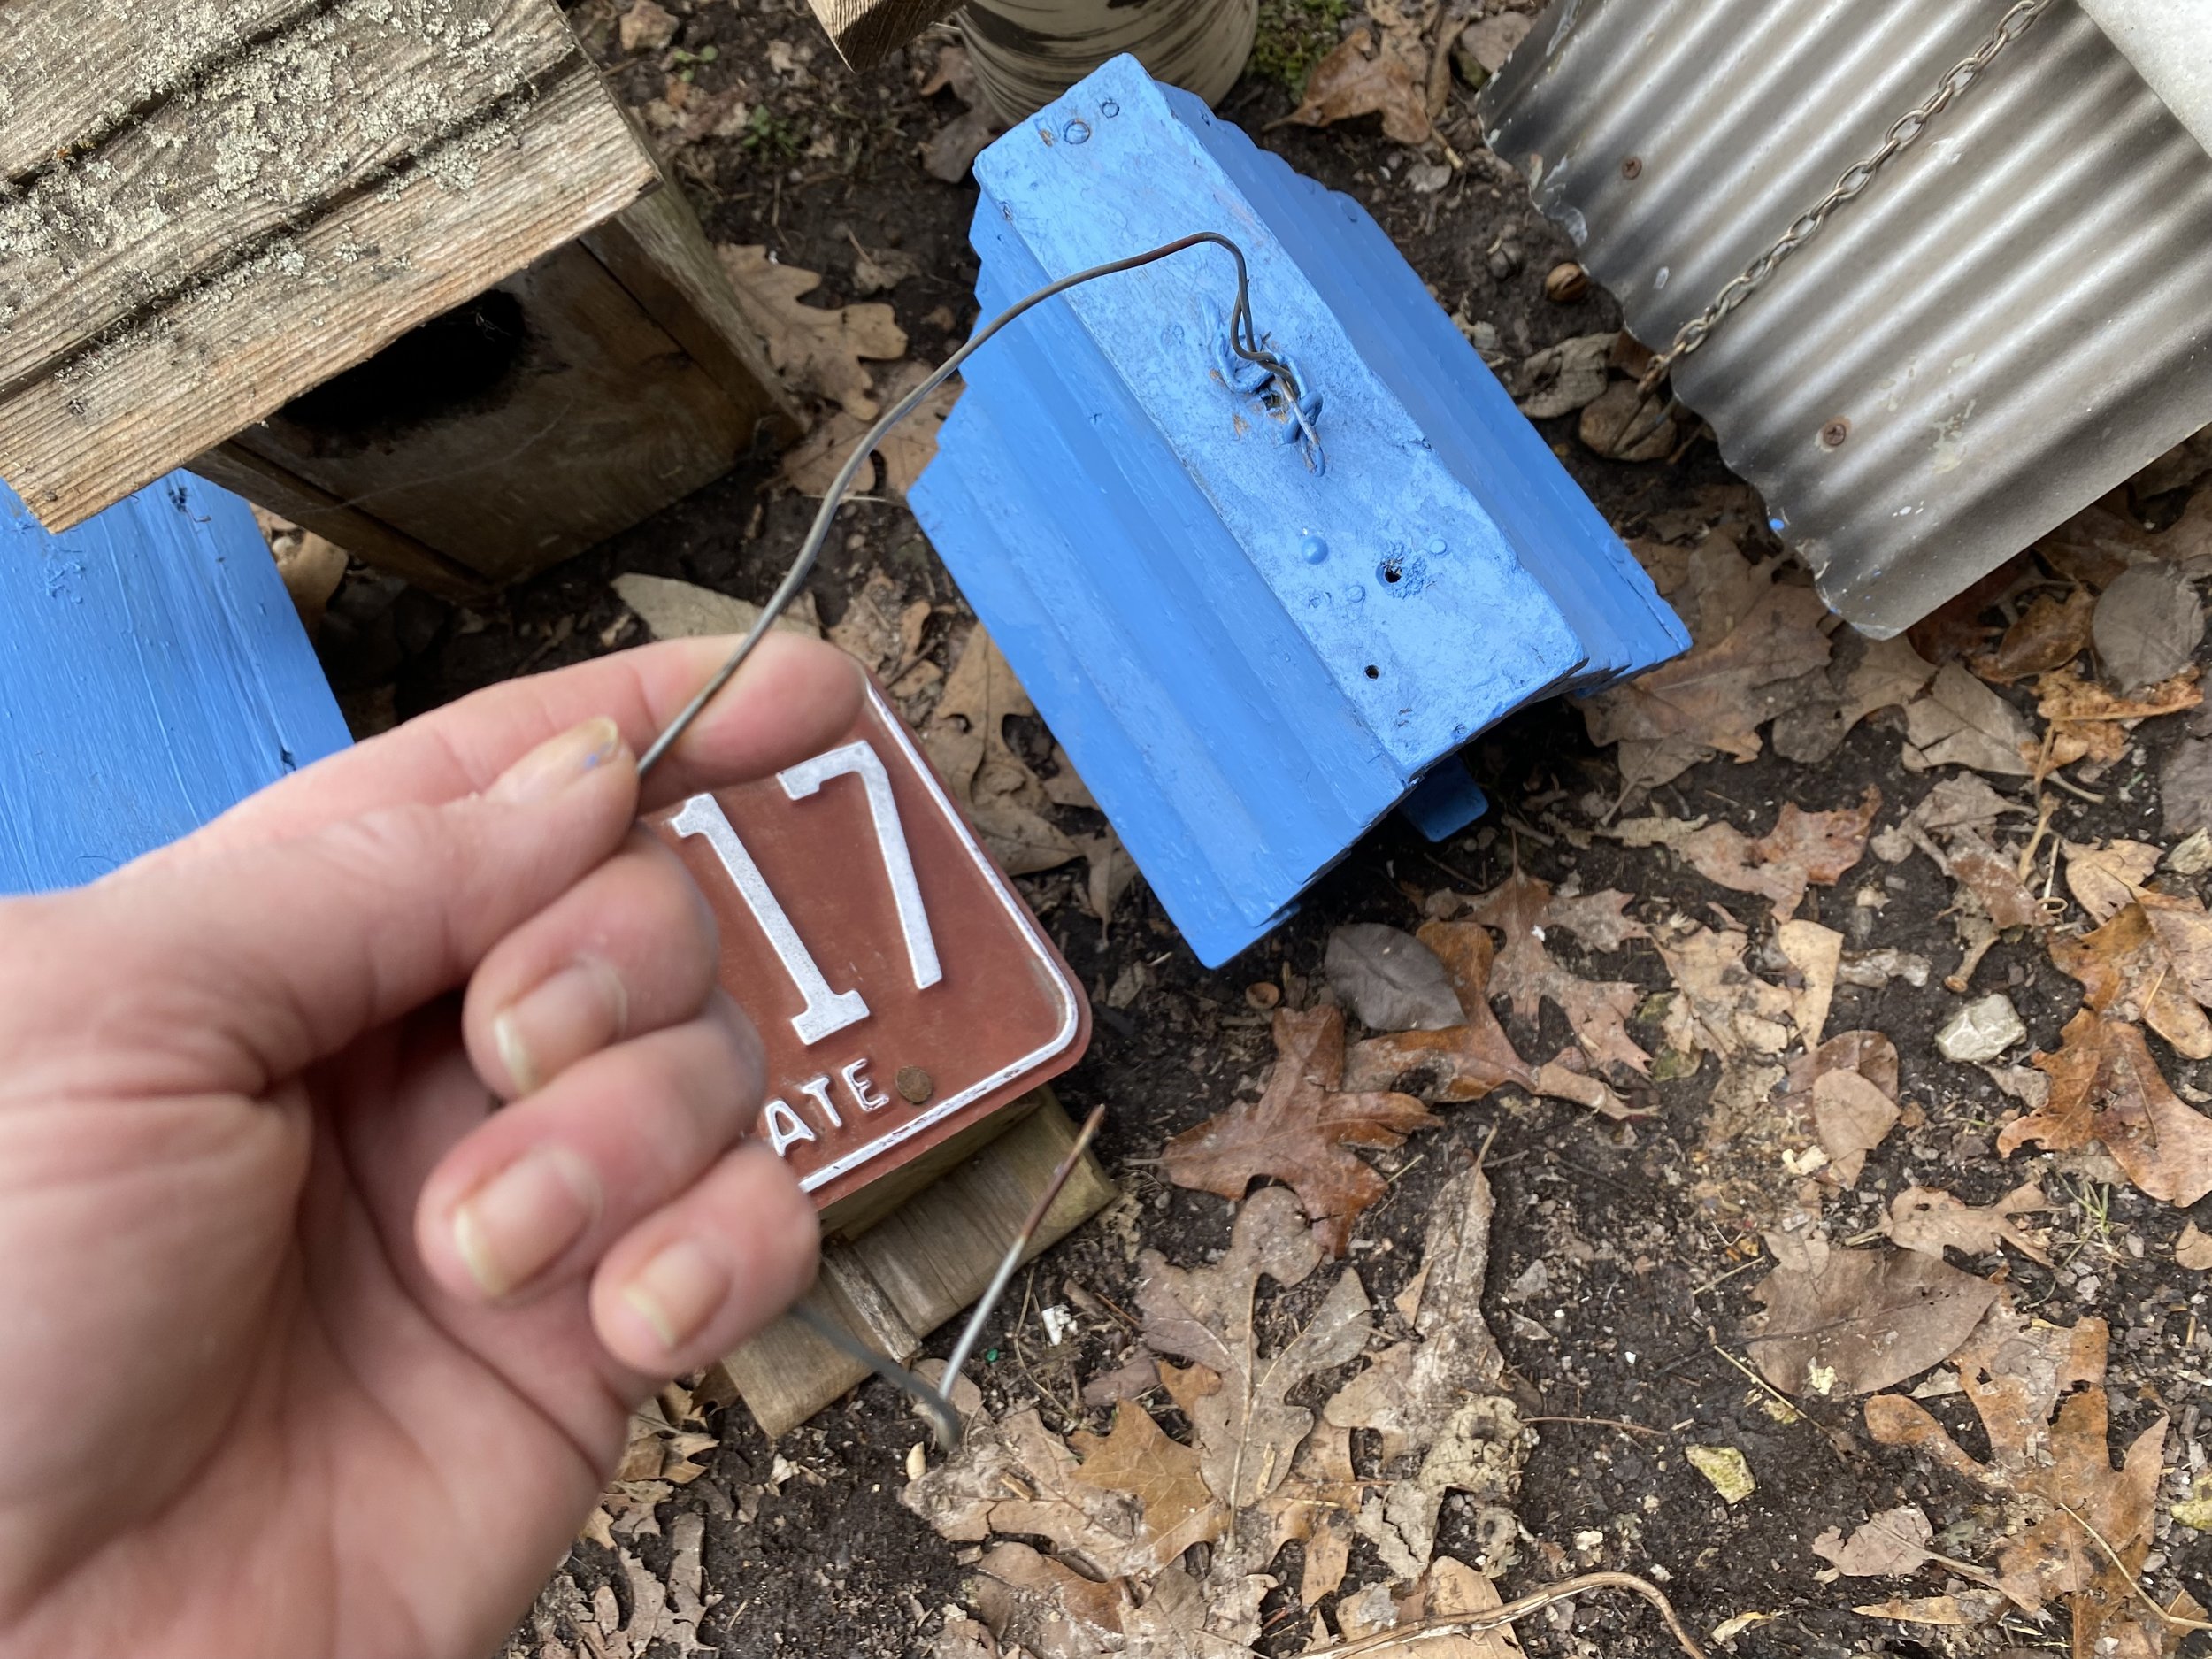
my last step in repairing birdhouses is adding a strong metal to securely hand them. (charlotte ekker wiggins photo)

“Charlotte I saw your post on using birds as natural garden pest control. I have several used birdhouses that need help. Where do I start?” — Peggy

How to Repair Birdhouses

Hi Peggy, I have a routine I follow when making repairs:

  1. Collecting: I start by inspecting and collecting birdhouses that need work. I keep them in an old tote so I can easily find them.

  2. Cleaning: Remove old nesting materials, debris, and any accumulated dirt or droppings. A clean birdhouse helps prevent disease spread.

  3. Inspect for Damage: Check for any signs of damage, such as cracks, holes, or broken parts.

  4. Reinforce Joints: Strengthen weak or loose joints by re-gluing or adding screws. This can take a couple of days to dry before you can move on to the next step.

  5. Replace Perches: If the birdhouses have perches, check their condition. Replace any broken or damaged perches to provide a secure landing spot for birds.

  6. Check Entry Holes: Ensure that the entry hole is the appropriate size for the bird species you want to attract. Repair any irregularities or damage around the entry hole.

  7. Roof Repair: Inspect the roof for damage or leaks. Repair any holes or cracks to keep the interior of the birdhouse dry.

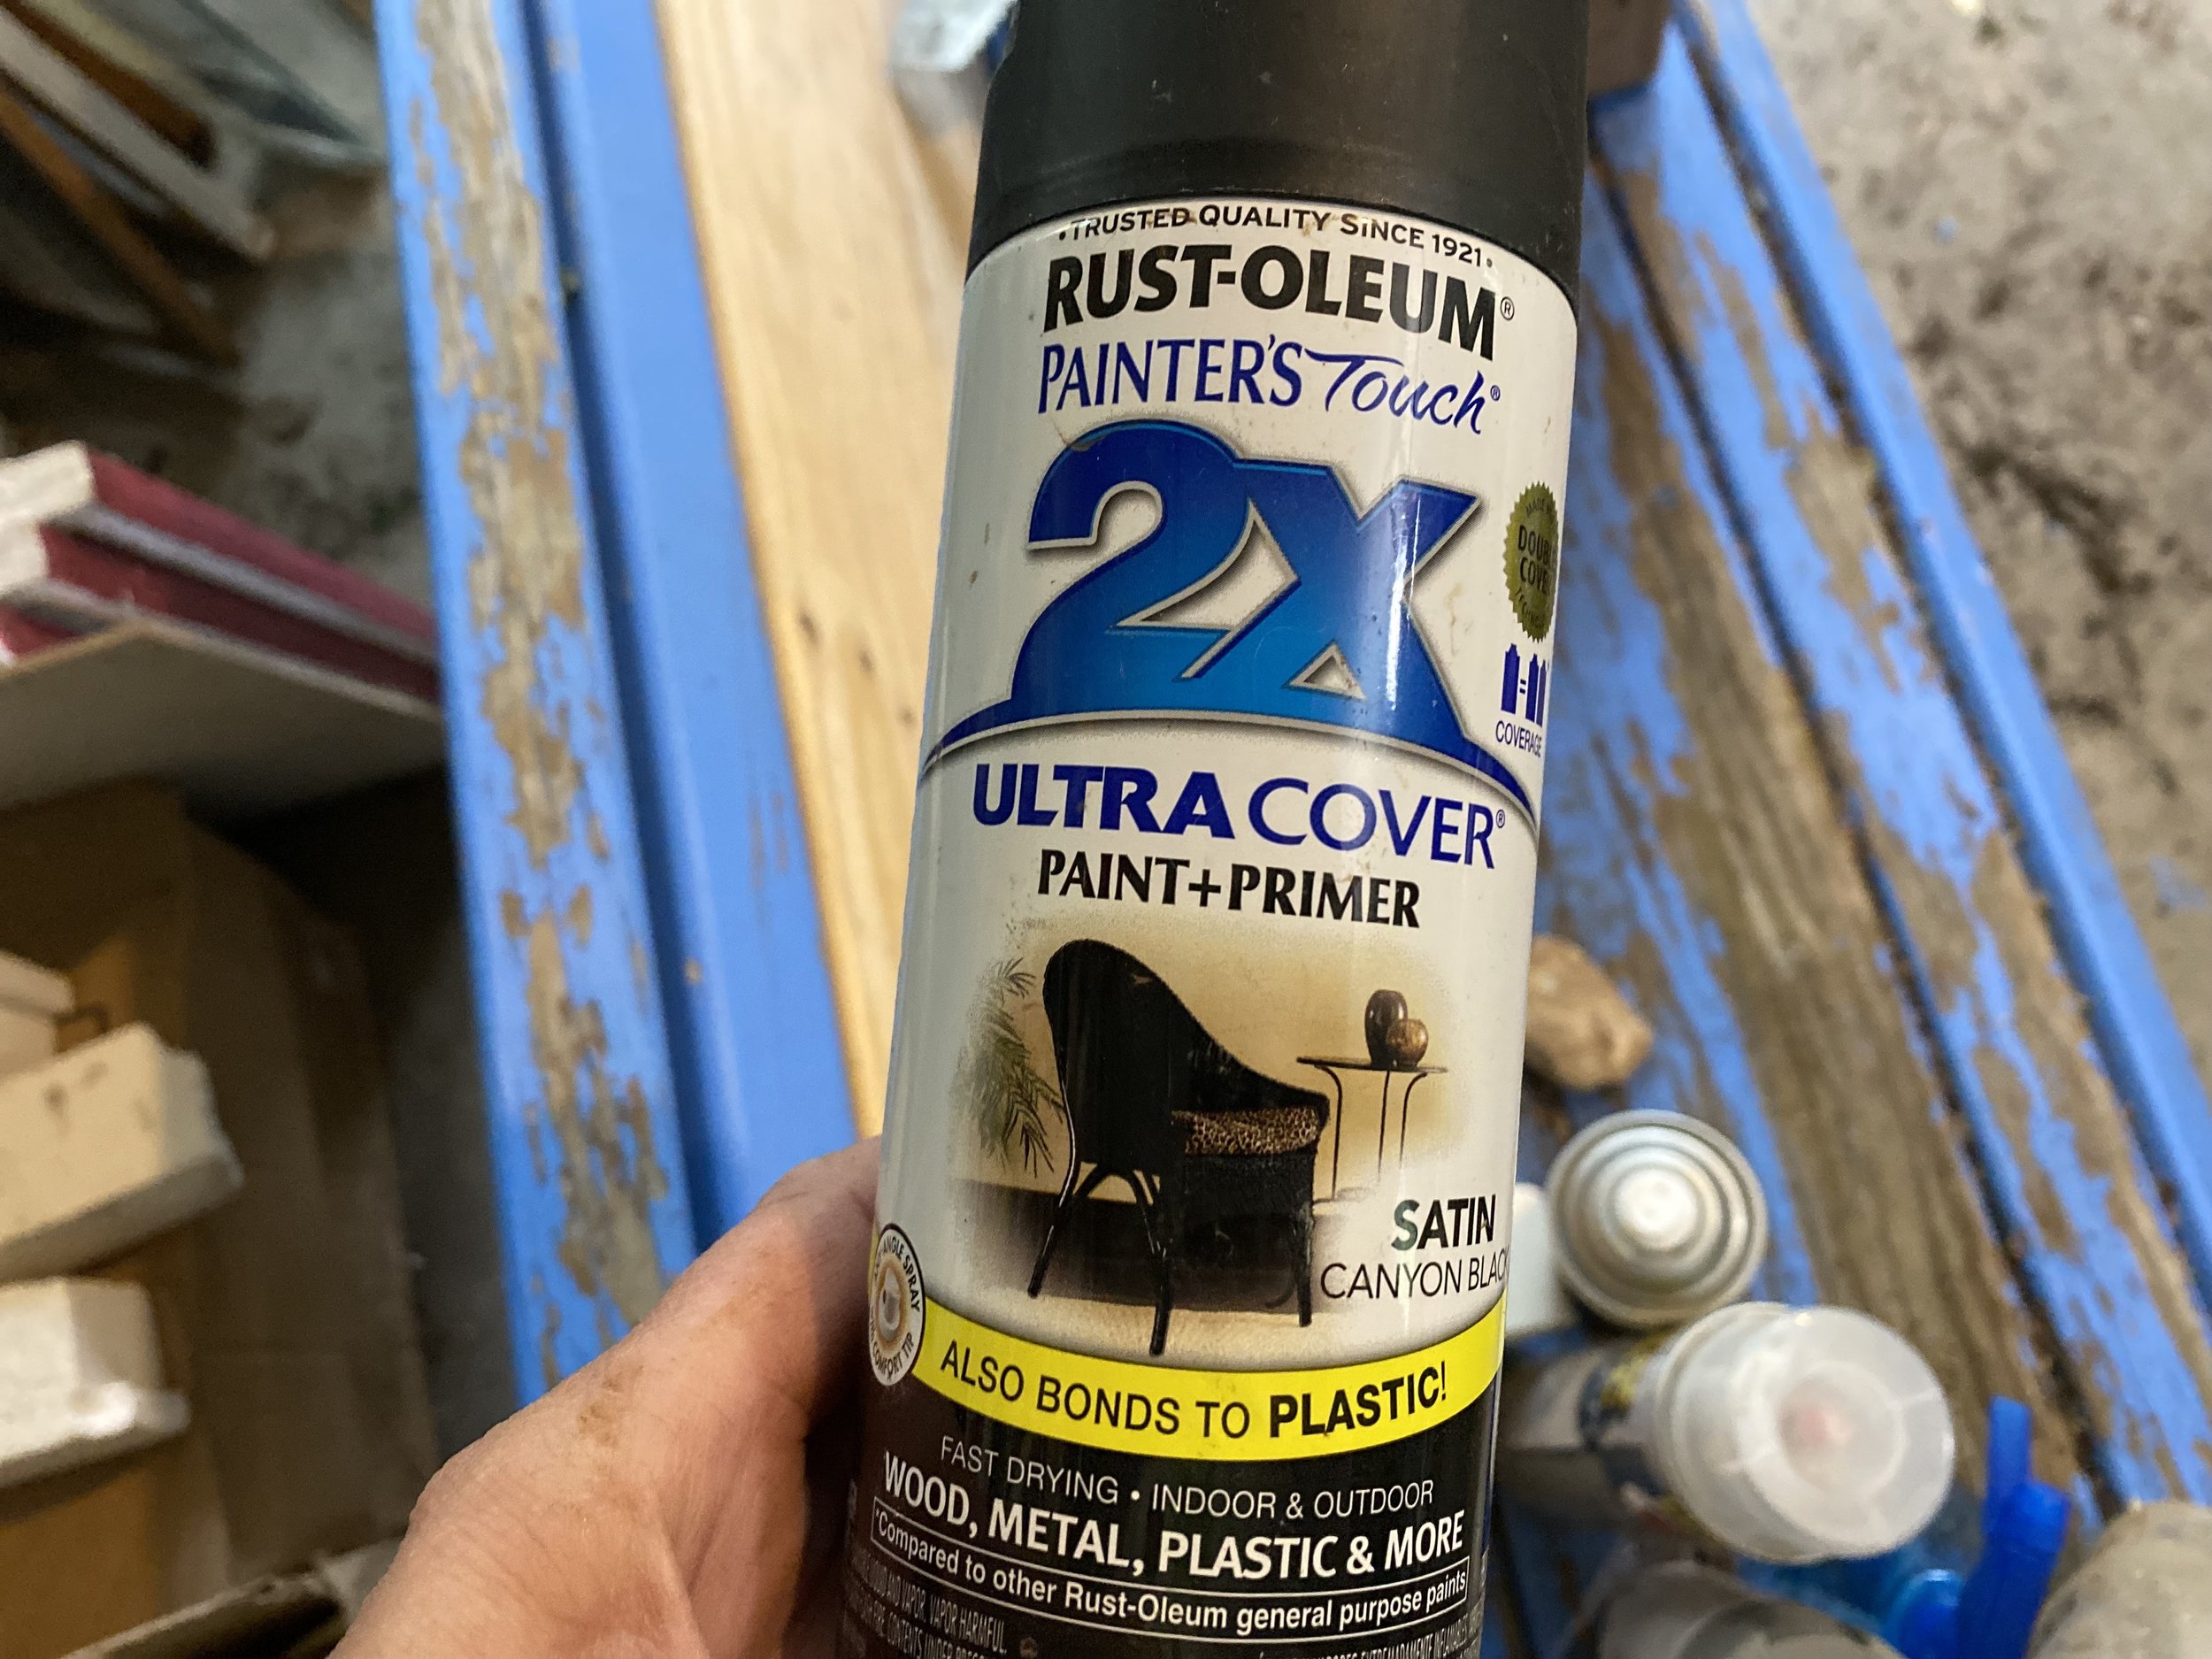
  8. Apply a Fresh Coat of Paint: If the birdhouse is painted, consider giving it a fresh coat of non-toxic paint to improve its appearance and protect the wood from weathering.

  9. Replace Hardware: Check hinges, latches, and any other hardware for rust or damage. Replace or lubricate as necessary.

  10. Ventilation: Ensure proper ventilation by checking for blocked vents or adding ventilation holes. Good airflow helps regulate temperature and humidity inside the birdhouse.

  11. Mounting/Positioning: Assess the birdhouse's mounting or hanging mechanism. Make sure it's secure and positioned at an appropriate height to discourage predators. Adjust or replace as needed.

  12. Strong Hangar: Attach a strong hangar to birdhouses so it doesn’t fall when wind hits them.

    When you get them all fixed up you will get quite a feeling of accomplishment. I know I do!

    For more gardening, beekeeping, cooking and easy home decor tips, subscribe to Garden Notes.

    Charlotte

When to Clean Up Garden

dry leaves and flower stems get naturally incorporated in my apiary. (charlotte ekker wiggins photo)

“Charlotte when is it safe to rake leaves and cut down dried flower stalks? I know native bees may be hibernating in them…” — Ralph

When to Clean Up Garden

Good question, Ralph. I too can get the spring garden cleaning bug but successfully fight it off distracting myself reading a book or three. Frankly one year I was late getting to this task and the next thing I observed my garden had absorbed those dry elements all by themselves. Here’s a quick tour of one of my flower beds.

Here are 10 benefits of not cleaning up fallen leaves, small limbs and dead flower stalks:

  1. Overwintering Sites: Leaves and debris provide essential overwintering sites for native bees and other pollinators. These insects may burrow into leaf litter or seek shelter under fallen branches to survive the winter months.

  2. Nesting Materials: Dead flowers, twigs, and leaves can serve as nesting materials for native bees. Some solitary bee species construct their nests using plant materials found on the ground, such as leaf fragments and small twigs. Birds also depend on some of these materials to make their spring nests.

  3. Protection from Predators: Leaf litter and debris can offer protection from predators and harsh weather conditions. Many native bees prefer to nest in secluded areas where they are less likely to be disturbed by predators or adverse weather.

  4. Nutrient Recycling: Decomposing leaves and plant material enrich the soil with essential nutrients, promoting healthy plant growth. This nutrient-rich environment supports a diverse range of plant species that provide food and habitat for native bees and pollinators.

  5. Pollinator Food Source: Dead flowers may still contain valuable pollen and nectar that can provide sustenance for pollinators, especially early in the season when floral resources may be scarce.

  6. Habitat Diversity: A diverse range of habitats, including areas with leaf litter and fallen branches, supports a greater diversity of native bee species. By maintaining these habitats, you can encourage a healthy population of pollinators in your garden.

  7. Reduced Maintenance: Allowing natural debris to remain in your garden reduces the need for excessive cleanup and maintenance. This approach promotes a more sustainable and low-maintenance gardening practice.

  8. Environmental Benefits: Leaving leaves and debris undisturbed reduces the amount of organic matter sent to landfills, contributing to a more sustainable waste management system.

  9. Supporting Biodiversity: By embracing a more natural approach to garden maintenance, you create a welcoming environment for a wide range of native bees, butterflies, and other pollinators. This, in turn, contributes to the overall biodiversity and ecological health of your garden.

10. More Time: Allowing your garden to absorb these materials gives you more time for other activities such as reading!

For more gardening, beekeeping, cooking and easy home decor tips, subscribe to Garden Notes.

Charlotte

How to Get Plant to Flower

“How is my plant doing how can I get it to rebloom with flowers? cactus christmas”Michelle

How to Get Plant to Flower

Hi Michelle, first let’s get the plant correctly identified. The plant in the photo you sent is not a Christmas cactus, it’s a night-blooming cereus, a cactus that blooms once a year usually in June.

The flowers are normally white or light pink. The fragrant flowers open after dark and last one day.

Night-blooming cereus have a gangly growth pattern, like the one in the photo so from what I see it’s doing fine.

this cereus has been growing for a good 20 years in this pot. (charlotte ekker wiggins photo)

Secondly, the plants commonly-referred to as “Christmas cactus” are actually Thanksgiving cactus. I placed one of mine in this photo with my cereus so you can see the difference.

Night blooming cereus, back, and Thanksgiving cactus in basket, front. (charlotte ekker wiggins photo)

My cereus has bloomed in this shaded spot in the past so I know this is a good place for it.

Yours may need a little more growth before it blooms.

Charlotte

Why Amaryllis Not Blooming

These minerva amaryllis re-bloom for me every winter. (charlotte ekker wiggins photo)

“Amaryllis are so pretty. What's wrong when my Amaryllis just sends up one leaf. The leaf gets tall but no flower.” — Bruce

Why Amaryllis Not Blooming

Hi Bruce, your Amaryllis bulbs haven’t saved enough energy from the sun to bloom so all they can do is grow leaves as solar collectors.

The good news is that if you let the leaves grow and gradually die off, your bulbs should be able to bloom in their next growing cycle.

bulbs with blooms have buds growing from bulb top. (charlotte ekker wiggins photo)

After letting your bulbs rest for a couple of months without watering, replant them in new soil and watch the bulb tops. If they have enough stored energy a bud will start growing. If not, you will have more leaves to help collect sun.

Be patient, they are well worth the wait!

Charlotte

When to Plant Tulips

gift tulips planted at bluebird gardens in fall, then blooming next spring, (charlotte ekker wiggins photo)

“Good afternoon my friend. I have a question. My friend brought a box of tulips for me from Holland. I have never planted tulips, I know they should be planted now, but my raised gardens which will become native flowers with tulip borders, are still planted with tomatoes and peppers. 

First, are they okay planted where there were tom and peppers, and secondly, are they okay until I pull these plants, like late September?

I have grow bags i can put the tulips in, but afraid if we have a wicked winter, they will die in grow bags instead of in the ground.

Also, will raised beds be okay.

Guess that was more than one question, huh? I appreciate your wisdom and guidance.” — Jane D.

When to Plant Tulips

Hi Jane, plant tulips in the fall for spring blooms. In our area you can plant them all fall even into early winter. They need 8-12 weeks of cold exposure so I wouldn’t wait to plant them after December.

They should be fine in raised beds. Add bone meal at the bottom of the hole to give bulb a boost for blooming. Also plant them a good 6-8 inches so they don’t topple over when in bloom.

Also remember tulips are favorite deer and rodent food. If you want to protect your tulips, plant them in chicken wire baskets buried underground.

And speaking of eating, did you know tulips are edible?

Lucky you to have bulbs from Holland. Enjoy!

Charlotte

For more tips on gardening, beekeeping, cooking and easy home decor, subscribe to my weekly Garden Notes.

Picking Amaryllis Bulbs

An amaryllis bud produces the lovely dramatic flowers. (charlotte ekker wiggins photo)

“Charlotte I’ve had the worst luck picking Amaryllis bulbs that bloom. What’s the secret?”Valerie

Picking Amaryllis Bulbs

Hi Valerie, the secret is picking bulbs large enough that they have enough energy stored to grow a bud for blooms.

Whenever I buy Amaryllis bulbs, I look for bulbs I can see. You don’t need included containers, you can pot your own at home in a container an inch wider than the bulb with potting soil. Amaryllis are relatively easy to care for if you know what growing conditions they need.

I also open those Amaryllis bulb gift boxes to make sure the bulb is showing a particular kind of growth.

You want to see the tip of a bud showing at the top of the bulb. In this bulb, the tip is on the left and leaves are starting to grow on the right. The key is to see the flower bud. You don’t need to have leaves at the blooming stage; those will appear after the bud grows.

Don’t worry about the white color of the tip. They will quickly turn green once exposed to light.

This Amaryllis bulb is 2 inches wide so it will bloom once.

This Amaryllis bulb will not bloom because leaves have popped up first. The leaves will collect sun for the next blooming cycle. The bulb will grow bigger from the energy stored and has a good chance of blooming then.

Once the first bud blooms, leaves will appear as solar collectors. If the bulb is big enough, a second bud may appear. The bulb has to be at least 3 inches wide to have enough energy stored for a second consecutive blooming.

So look for the buds and you should be getting an Amaryllis bulb that will bloom.

Charlotte

For more tips on gardening, beekeeping, cooking and easy home decor, subscribe to my weekly Garden Notes.

When Are Pears Ripe

bartlett pears are ripening on my semi dwarft fruit tree. (charlotte ekker wiggins photo)

“Charlotte you shared some Bartlett pears at the bee club, thank you. My parents have an old Bartlett pear tree on their property. How do I know when to pick the pears?” — Suzie

When Are Barlett Pears Ripe

Hi Suzie, lucky you, pears are my favorite fruit. Well, besides strawberries. And plums. And nectarines….ok pears are one of my favorite fruits. Bartlett pears are a summer pear variety, which means they ripen in the summer months. They are typically ready to pick in August and September.

Here are some signs that a Bartlett pear is ready to pick:

  • The pear is fully sized and has reached its mature shape.

  • The pear has a light yellow color, but is still firm to the touch.

  • The pear comes away easily from the branch when pear is gently lifted at the stem.

If you pick a Bartlett pear too early, it will be hard and sour. If you pick it too late, it will be soft and mushy. The best time to pick a Bartlett pear is when it is slightly underripe so that it has time to ripen to its full flavor at room temperature.

One way to know when your pear is ripe is to check the top of the pear. If it’s soft to the touch the pear should be ripe.

Once you have picked your Bartlett pears, you can store them at room temperature for a few days, or in the refrigerator for up to two weeks.

Here are some tips for ripening Bartlett pears:

  • Place the pears in a paper bag with an apple or banana. The ethylene gas released by these fruits will help the pears ripen faster.

  • If you want the pears to ripen even faster, you can place them in a warm room (70-75 degrees Fahrenheit).

    As you know, you don’t have to wait for Bartlett pears to be ripe to use them. Have you tried the honey spiced pear recipe I included with the pears?

However you decide to eat these, enjoy your homegrown Bartlett pears!

Charlotte

Round Mums

one of my non-trimmed mums is getting ready to bloom. (charlotte ekker wiggins photo)

“Charlotte I saw your posts on wintering mums. Mine are all sprawling with long stems. Is there a species that grows round and compact? Thanks for your help.” — Allison

Round Mums

Hi Allison, wouldn’t that be nice if there were a mum species that grew trim and round.

The round mums you’re seeing this time of year have been trimmed through spring and summer. I don’t trim mine because I want the long stems for cut flowers but they certainly look like they could use a trim or two.

Here's a step-by-step guide on how to trim mums for round fall shapes:

Spring Trimming (Late Spring/Early Summer):

  1. Wait for New Growth: In late spring or early summer, wait until you see new green growth emerging from the base of the plant. This indicates that the plant has started its active growing period.

  2. Pinch the Tips: Start pinching after 5 inches of new growth. Using your fingers or pruning shears, pinch off the top 1-2 inches of each stem. Pinching involves removing the soft, new growth at the tips of the stems. This encourages branching and results in a bushier plant.

  3. Regular Pinching: Continue to pinch back the tips of the stems every few weeks during the spring and early summer. This encourages the development of more branches and ultimately more flower buds.

Summer Trimming (Mid to Late Summer):

  1. Stop Pinching: Around mid-summer, typically in early July, stop pinching the tips of the stems. This allows the plant to allocate its energy toward developing flower buds for the fall bloom.

  2. Deadhead Spent Blooms: Throughout summer remove faded or spent flowers. This process, called deadheading, redirects the plant's energy from seed production back into the growth of the plant.

Additional Tips:

  1. Fertilize: Provide your mums with a balanced, water-soluble fertilizer every 2-4 weeks during the growing season. This helps promote healthy growth and abundant blooms.

  2. Watering: Ensure your mums receive consistent watering. They prefer soil that is evenly moist but not waterlogged. Water deeply when the top inch of soil feels dry.

  3. Sunlight: Mums need at least 6 hours of direct sunlight daily for best growth and blooming.

  4. Support: If your mums become tall and leggy, consider staking them to provide support. This helps prevent bending or breaking of the stems, especially when the plant is heavy with blooms.

another non-trimmed mum has long, twisting stems. (charlotte Ekker wiggins photo)

Here’s another one of my mums that didn’t get trimmed. This rusty red mum is growing with curved long stems, which will add interest in a flower vase but isn’t very pretty for a landscaped garden.

One more thing. If you’re going to plant mums this fall, don’t toss them when they are finished blooming, you can keep them going through winter. Frankly the best time to plant mums is in spring but they are usually not available then.

Charlotte

When to Prune Herbs

this curled parsley is growing new stems after being “pruned” by caterpillars. (charlotte ekker wiggins photo)

“…my Mom gave me a large potted herb garden. When do I prune them? The basil is getting tall and starting to fall over…” — Melissa

When to Prune Herbs

Hi Melissa,

How wonderful that your Mom gave you a potted herb garden. There’s nothing quite like adding fresh herbs to your cooking.

Actually you will be “pruning” your herbs as you use them. Pinch the leaves you want to use above the next set of leaves and the plant will grow new, and bushier growth.

Since some herbs are butterfly food, you may also find some leaves disappearing as butterfly caterpillar food. No need to panic, the plant will recover.

harvesting basil keeps the plants bushy and growing new leaves. (charlotte ekker wiggins photo)

Besides when you are immediately using the herbs, you will next prune herbs when you are collecting them to dry and freeze them. It’s best to do that before herbs bloom to preserve the best herb flavor.

My herbs in USDA Hardiness zone 5 don’t bloom until mid-summer. I let some bloom to feed my bees and harvest the rest prior to blooming for my winter use.

One note about rosemary. Harvest the soft stems; don’t cut into the base or the woody growth.

And one other thought. Why not ask your Mom? I bet she may appreciate having fresh herbs and may even share recipes for all those herbs you now have growing!

Charlotte

Is My Dogwood Dead?

this redbud tree died a couple of years ago. I left it in place and sure enough, new growth is starting. (charlotte ekker wiggins photo)

“Charlotte, you seem like a sympathetic and knowledgeable master gardener. I don’t dare share this with my ***master gardener group…..I’ve planted flowering dogwoods for three years straight and none of them took. I love those trees. Any tips on how to help them survive?”

(Name withheld at request of submitter)

Is My Dogwood Dead?

We see a lot of growth taking place and assume that whatever looks dead on top is dead all of the way through. We also tend to jump on immediately removing what appears dead.

Here’s the good news.

Depending on your growing conditions, your flowering dogwoods may just be taking their time to get their roots established. Plants will focus first on root development above all else and for good reason. They need a good foundation before they grow.

Keep the roots watered and mulched without touching the tree trunk and wait.

I have a dogwood I named Theodore who remained 3-feet tall for 20+ years. Then I noticed he was 4 feet tall, then six feet, and now he’s a standard-looking understory tree but he sure took his time!

Look at The Base

It’s easy to focus on the visible top of the trees but step back and look at the base. Plants in general take the first years to root, then focus on “the shoot” or the stem growth; then they “fruit” or provide flowers, fruits and seeds.

I have several tree tops that are dead. I didn’t remove them and kept them watered, watching around the tree base. If I start to see new growth, I will let the new greenery grow, tie it to the old dead trunk and prune that new growth to encourage the shooting in the direction I want.

It makes more sense to me to leave the established root structure than to pull all of that out and try to plant something new.

If you still have the dogwood trees in the ground, mark their location with a pole and monitor for any growth. If there is one thing my garden repeatedly teaches me, it is patience!

Charlotte

How to Plant Hardy Mum

Plant mums in growing areas to repel bugs. (Charlotte Ekker Wiggins photo)

“Charlotte I bought 3 hardy mums and now what do I do, how do I plant them? — Lydia in USDA Zone 5

How to Plant Hardy Mums

Hi Lydia, you are in my USDA growing zone. You have a couple of options to get your mums through winter.

Winter Over in Garage

  1. You can winter your mums over in your garage.

    Place them off the cold ground. Water them every two weeks or so to keep their roots moist. The tops will dry.

    Leave them until spring.

    Plant after danger of frost is over, which in our area is around Mother’s Day. That gives the plants a whole growing season to get established.

    Plant Mums in Garden

  2. Plant mums in a sunny garden spot before the ground freezes, which is usually early January.

    Dig holes as deep as the plants are in the pots; water plants well; then place plants in holes and water again.

    Add mulch around the base of the plant.

    Give each plant a gallon of water a month through winter to keep roots moist.

    Don’t cut off the top; the dead branches will protect any new growth in the plant center.

    When you start seeing new growth, wait until danger of frost is over before you cut out dead tops.

    Keep watered through the growing season.

Last year’s mums survived and bloomed this year. (Charlotte Ekker Wiggins photo)

Pinching Mums

Regardless of when you plant mums, when they start growing back, decide how tall you want them to grow.

If you want the traditional mounded mum, you will need to start pinching growth when the plants reach about 4 inches. Pinch the stems every week or so until July 4 to keep the growth bushy.

If not, keep the plants mulched and watered and they will grow tall, making them excellent cut flowers. If you notice florist arrangements, they use mums are filler plants because they have a long vase life.

I add finished compost into the soil around mums early spring to help feed them through the growing season.

Charlotte

Source for Answers

This is Goldenrod, not Ragweed. Ragweed causes fall allergies. Goldenrod, a fall source of pollinator food. (Charlotte Ekker Wiggins photo)

Source for Answers

Hi, thanks for your interest in this blog, I’ve enjoyed hearing from you and helping you.

However, before you email someone not in your area locate your local master gardener group. At last count there were thousands of master gardeners around the country who provide helpful services from identifying plants to problem solving.

I know, you have an application for plant identification. Well, frankly, if it isn’t a local app you may not be getting the correct identification. For example, there are 22 Goldenrod species just in Missouri. They look alike but tend to bloom at different periods of the growing season. If you want to identify Missouri plants, try Missouri Botanical Garden’s plant finder. The identification will be more accurate since it’s more “local” and you will have a better chance of finding it if you’re looking to identify something that is native.

Now where to find master gardeners? Most universities have master gardener programs and related groups so check with your local University Extension for a point of contact.

As we head into fall and hopefully slower winter months, this is a good time to assess what you accomplished this year, decide what you want to do next year and research those plants you couldn’t identify.

And keep planting more flowers!

Charlotte

Peonies Not Blooming

Herbaceous pink peonies and a hybrid Itoh yellow peony from my garden. (Charlotte Ekker Wiggins photo)

“Charlotte you have the most beautiful peonies, how do you get them to bloom? I have several plants that have never bloomed. What am I doing wrong? “ — Sarah

Peonies Not Blooming

Hi Sarah, how deep do you have the roots planted? Peony roots need to be only about 2 inches below soil level. If they are planted any deeper they don’t bloom.

Peonies also prefer sun to shade so make sure they are getting 6-8 hours of sun a day.

Peonies also appreciate more acidic soil and some compost every year. I tend to add it after they bloom so they have all season to absorb the nutrients.

Even established peonies need regular moisture. If the soil is getting too dry, make sure they are regularly watered. I add mulch to help them stay hydrated.

Hope these tips help you get peony blooms next year!

Charlotte

Painted Cattle Panels

“Charlotte, I am hoping you can tell me how your black painted cattle panels held up and which brand of black paint you used? Are you in an area of snow and rain? “— Andrea

Painted Cattle Panels

Hi Andrea,

My handyman said I didn't need to spray the cattle panels but they may develop rust like mine did.

I have painted them both gray and black. Both paints I used on the cattle panels held up quite nicely (photo attached)

They were both satin paints, the standard Rustoleum spray paint and primer.

The last photo is of the '“grey” arbor. Either grey or black will work especially if you will have it covered with climbing plants most of the season.

I live in USDA Hardiness zone 5b with snow and ice off and on during winter and lots of rain spring, sometimes fall.

Charlotte

Are Mums Still Alive?

This is a wintered-over mum getting new spring growth. (Charlotte Ekker Wiggins photo)


”Charlotte, I took your advice and planted some mums from my neighbors. They look dead now. How can I tell if they are still alive?” — Noreen

Are Mums Still Alive?

Hi Noreen. Once the mums are planted, make sure to add a little leaf mulch around the base to keep new growth protected.

You won’t see much through winter but keep them moist, at least one gallon per plant per month.

I tend to peek into the centers late winter hoping to see some early sign of green growth. Even a tiny start will flush out into a new plant with the growing season.

This sliver of a mum will grow into a new mum plant. (Charlotte Ekker Wiggins)

Also don’t cut off the dead flowers and stems, those will protect the new growth through winter and early spring. I depend on those old tops to guide me to where a new mum should be growing.

Use dead mum stems to guide you to find new growth. (Charlotte Ekker Wiggins photo)

Once you see new growth, keep them watered until they’re about 4-5 inches high. Then pinch off the top growth every week or so until July 4 to keep the plant bushy.

I take those cuttings and gently plant them in nearby soil to start new plants.
Charlotte

Are All Fall Bulbs Good

“Charlotte I see spring-flowering bulbs on sale this time of year, are all fall bulbs good to plant?” - Samantha

Are All Fall Bulbs Good?

Green growth is a sure sign this surprise lily bulb is still alive. (Photo by Charlotte Ekker Wiggins)

Hi Samantha, not necessarily. Some bulbs may look dead when they are just dormant; others may have dried up and will never bloom again.

First check that the bulb feels firm. Mushy, empty bulbs are dead and won’t grow again. You can gently feel most bulbs through the packaging.

Secondly, check the tips. Bulbs that are still healthy and ready to grow may have a little green tip showing at the bulb top. You may also see tiny roots springing from the bottom of the bulb.

Finally check the season they are supposed to grow. Some bulbs are annuals and only grown one season.

If you see any of these signs of life, definitely pick them up and get them in the ground as soon as you can. many spring-blooming bulbs need exposure to cold for at least 8 weeks before they will bloom such as tulips and daffodils.

If you can’t plant them, consider potting them and storing in a refrigerator for the 8 or 12 weeks they need. Then you can pull the pots out and let the bulbs grow in the pots. Once they are done, you can move the bulbs back into your garden.

Charlotte

How To Get Mums Blooming

This recently-planted mum is still showing signs of flowers. (Photo by Charlotte Ekker Wiggins)

“Charlotte, Even planted mums never seem to bloom again for me. Do yours really do so? What’s your secret?!” - Lucy

How to Get Mums Blooming

Hi Lucy,

Left unmanaged, chrysanthemums will grow long and leggy with few blooms. To get them to have more flowers, start pinching them back 1-2 inches every week or so during the growing season until July. The pinching will encourage the plant to grow bushy and encourage blooms throughout the cut back plant.

Don’t throw out those trimmings, either. I just gently stick them in the nearby ground and make sure they are watered. They will usually grow a new plant although it may not bloom until the second year.

Charlotte

Serving Wildlife Pumpkins

Squirrels have nicely, and thoroughly, cleaned out pumpkin seeds. (Photo by Charlotte Ekker Wiggins)

“Hey Charlotte, you’ve inspired me not to trash my pumpkins and to feed them to the resident wildlife. Do I need to cut the tops off, remove seeds, bake it? Just kidding, I have pumpkins left over from Halloween. Now what? — Esther

Serving Wildlife Pumpkins

Hi Esther,

Glad you are not tossing out your pumpkins and instead are making good use of them. Your wildlife will appreciate having the food going into winter.

First, you don’t have to do anything to the pumpkins themselves. Squirrels will find them and make quick work of cutting into, removing, and storing the pumpkin seeds.

Your job is to find a spot behind your property where wildlife can easily and safely access the pumpkins without being a bother to your neighbors.

I don’t have neighbors on three sides so I pile my pumpkins at the back of my property near a winter feeding station. I keep a salt block there as well as a bird feeder I fill with cracked corn for deer and wild turkey. Squirrels can help themselves, too; this is basically a cracked corn dispenser. Water is nearby in a pond.

I pile my pumpkins near the winter feeding station, a bird feeder I fill with cracked corn for deer and wild turkeys. The window frame in the back will be a cold frame for winter planting. (Photo by Charlotte Ekker Wiggins)

Although I see a variety of wildlife in my garden through the year, I try not to feed them until winter, when food is scarce. I also try to keep the food away from other possible edible candidates. This sweet Woodland Friends Throw captures Santa feeding wildlife. I used one of these throws for an office Christmas scene when I used to work for the Forest Service.

Finally consider how safe a wild animal would be where you plan to place the food. You want to give them some protective cover without enticing them into an area where they may get caught.

And oh, make sure you don’t mind having pumpkins growing there next year. It hasn’t happened in my spot yet but I’m planning to plant pumpkin seeds there next year.

Now pull out those binoculars and have fun keeping an eye on your feeding area, you may be surprised at what you will see!

Charlotte

Where to Store Amaryllis

This Amaryllis is going dormant as its leaves turn yellow. (Photo by Charlotte Ekker Wiggins)

“I live in an apartment. Where can I put an amaryllis plant to go dormant. If I put it in my crisper do I have to put the bulb in a bag.” — Donna

Where to Store Amaryllis

Hi Donna, do NOT put your Amaryllis bulb in your refrigerator crisper, this is a tropical plant and the cold will kill it.

Keep the Amaryllis bulb watered in a pot in a window until all of the green leaves turn yellow and die off. If you don’t have a window, keep it as close to sunlight as you can so the leaves can collect sun and store it in the bulb. Let it go dormant on its own time.

These Amaryllis bulbs are ready for a nap for a few weeks. (Photo by Charlotte Ekker Wiggins)

You can place the Amaryllis bulb in a brown bag after all of the greenery has died back.

Leave it in a closet or in a cabinet at room temperature.

Let it rest for 6-8 weeks, then repot it. I sometimes just leave it in the original pot and start watering it when I want it to regrow.

This Amaryllis is starting to regrow, see the bud on the left? (Photo by Charlotte Ekker Wiggi

If the Amaryllis bulb has collected enough sunlight through its leaves, you will enjoy another blooming cycle.

Here’s one of my re-blooming Amaryllis, love to watch them re-grow! (Photo by Charlotte Ekker Wiggins

Amaryllis bulbs are easy to care for so you can get them to re-bloom and well worth the effort, I have some Amaryllis bulbs that are more than 10 years old.

Charlotte

How to Save Zinnia Seeds

Zinnia seeds are found at the end of flower petals protected in the plant seed head. (Photo by Charlotte Ekker Wiggins)

Zinnia seeds are found at the end of flower petals protected in the plant seed head. (Photo by Charlotte Ekker Wiggins)

“I've had a good crop of zinnias this year and trying to save and collect the seed. Problem is it's hard to see the seed! So basically I've just broken them up removed the stem/waste parts and figure whatever is seed will find it's why in the ground. I have been collecting Rudbeckia seed heads and it's really hard to find the seed there......any secrets to saving seed? Also is it best to plant in fall or spring? Thanks!” — Diana

How to Save Zinnia Seeds

Hi Diana, every plant saves its seeds a little differently. Zinnias have their seeds at the end of their petals saved individually in the flower head.

I am saving zinnias myself and took this one apart to show you what the seeds look like. When the seed head is all dry, the plant drops its seeds so when planting, you need those grayish black-looking flower pieces, those are the seeds.

I will spend an evening over winter separating the dried seeds from the flower heads to make sure I am planting seeds.

For both plants you plant the seeds in spring after the last hard frost which in USDA Hardiness zone 5 is Mother's Day.

Do a search for the plants you are saving and you will find photos of what the seeds look like.

Now some plants need exposure to cold weather such as purple coneflowers so again, check on the specific needs of the plants you are planting, they are not all the same.

Charlotte