Fall Mum Planting
/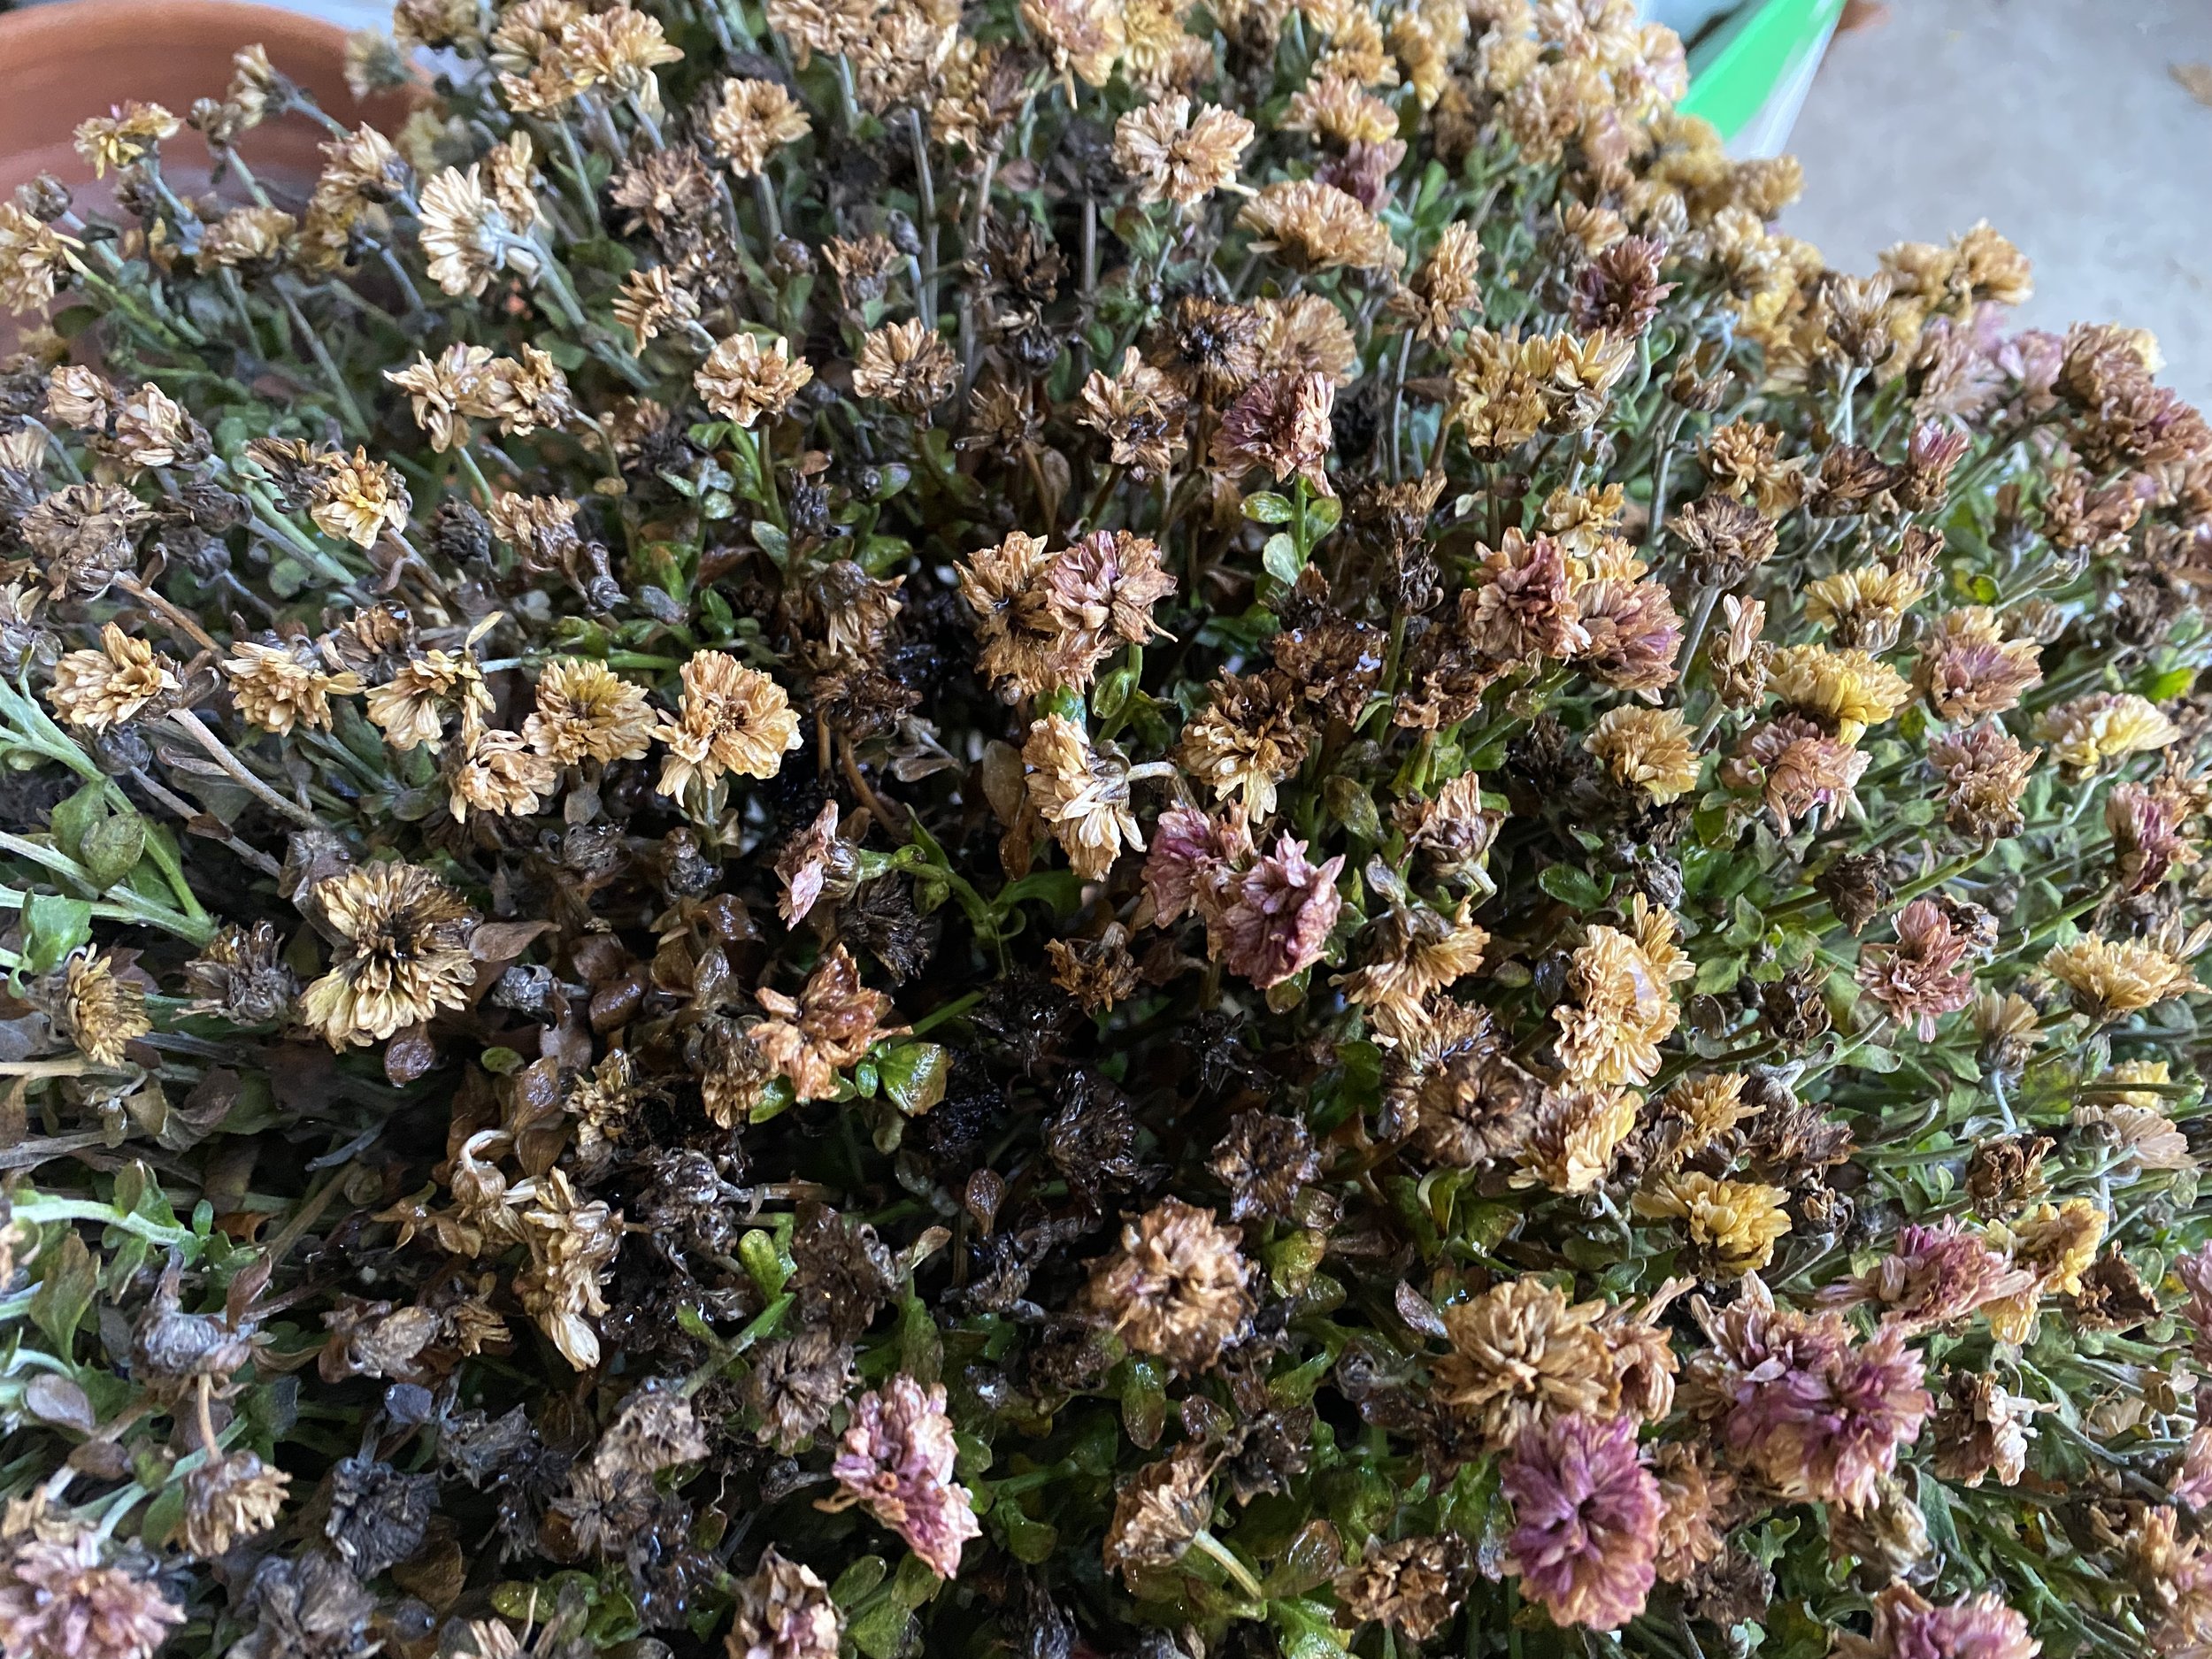
The flowers are dying but the mum can still be planted in the garden. (Photo by Charlotte Ekker Wiggins)
Fall Mum Planting
Those lovely chrysanthemum flowers have died off and you’re ready to toss the plants but wait. You are looking at the wrong part of the plant.
First, why would you want to save a mum?
Chrysanthemums are natural bug deterring plants. Most of the “organic” bug sprays on the market are made basically out of essence of mums.
Secondly, mums can grow back next year with a little first winter care.
So what are you looking for?
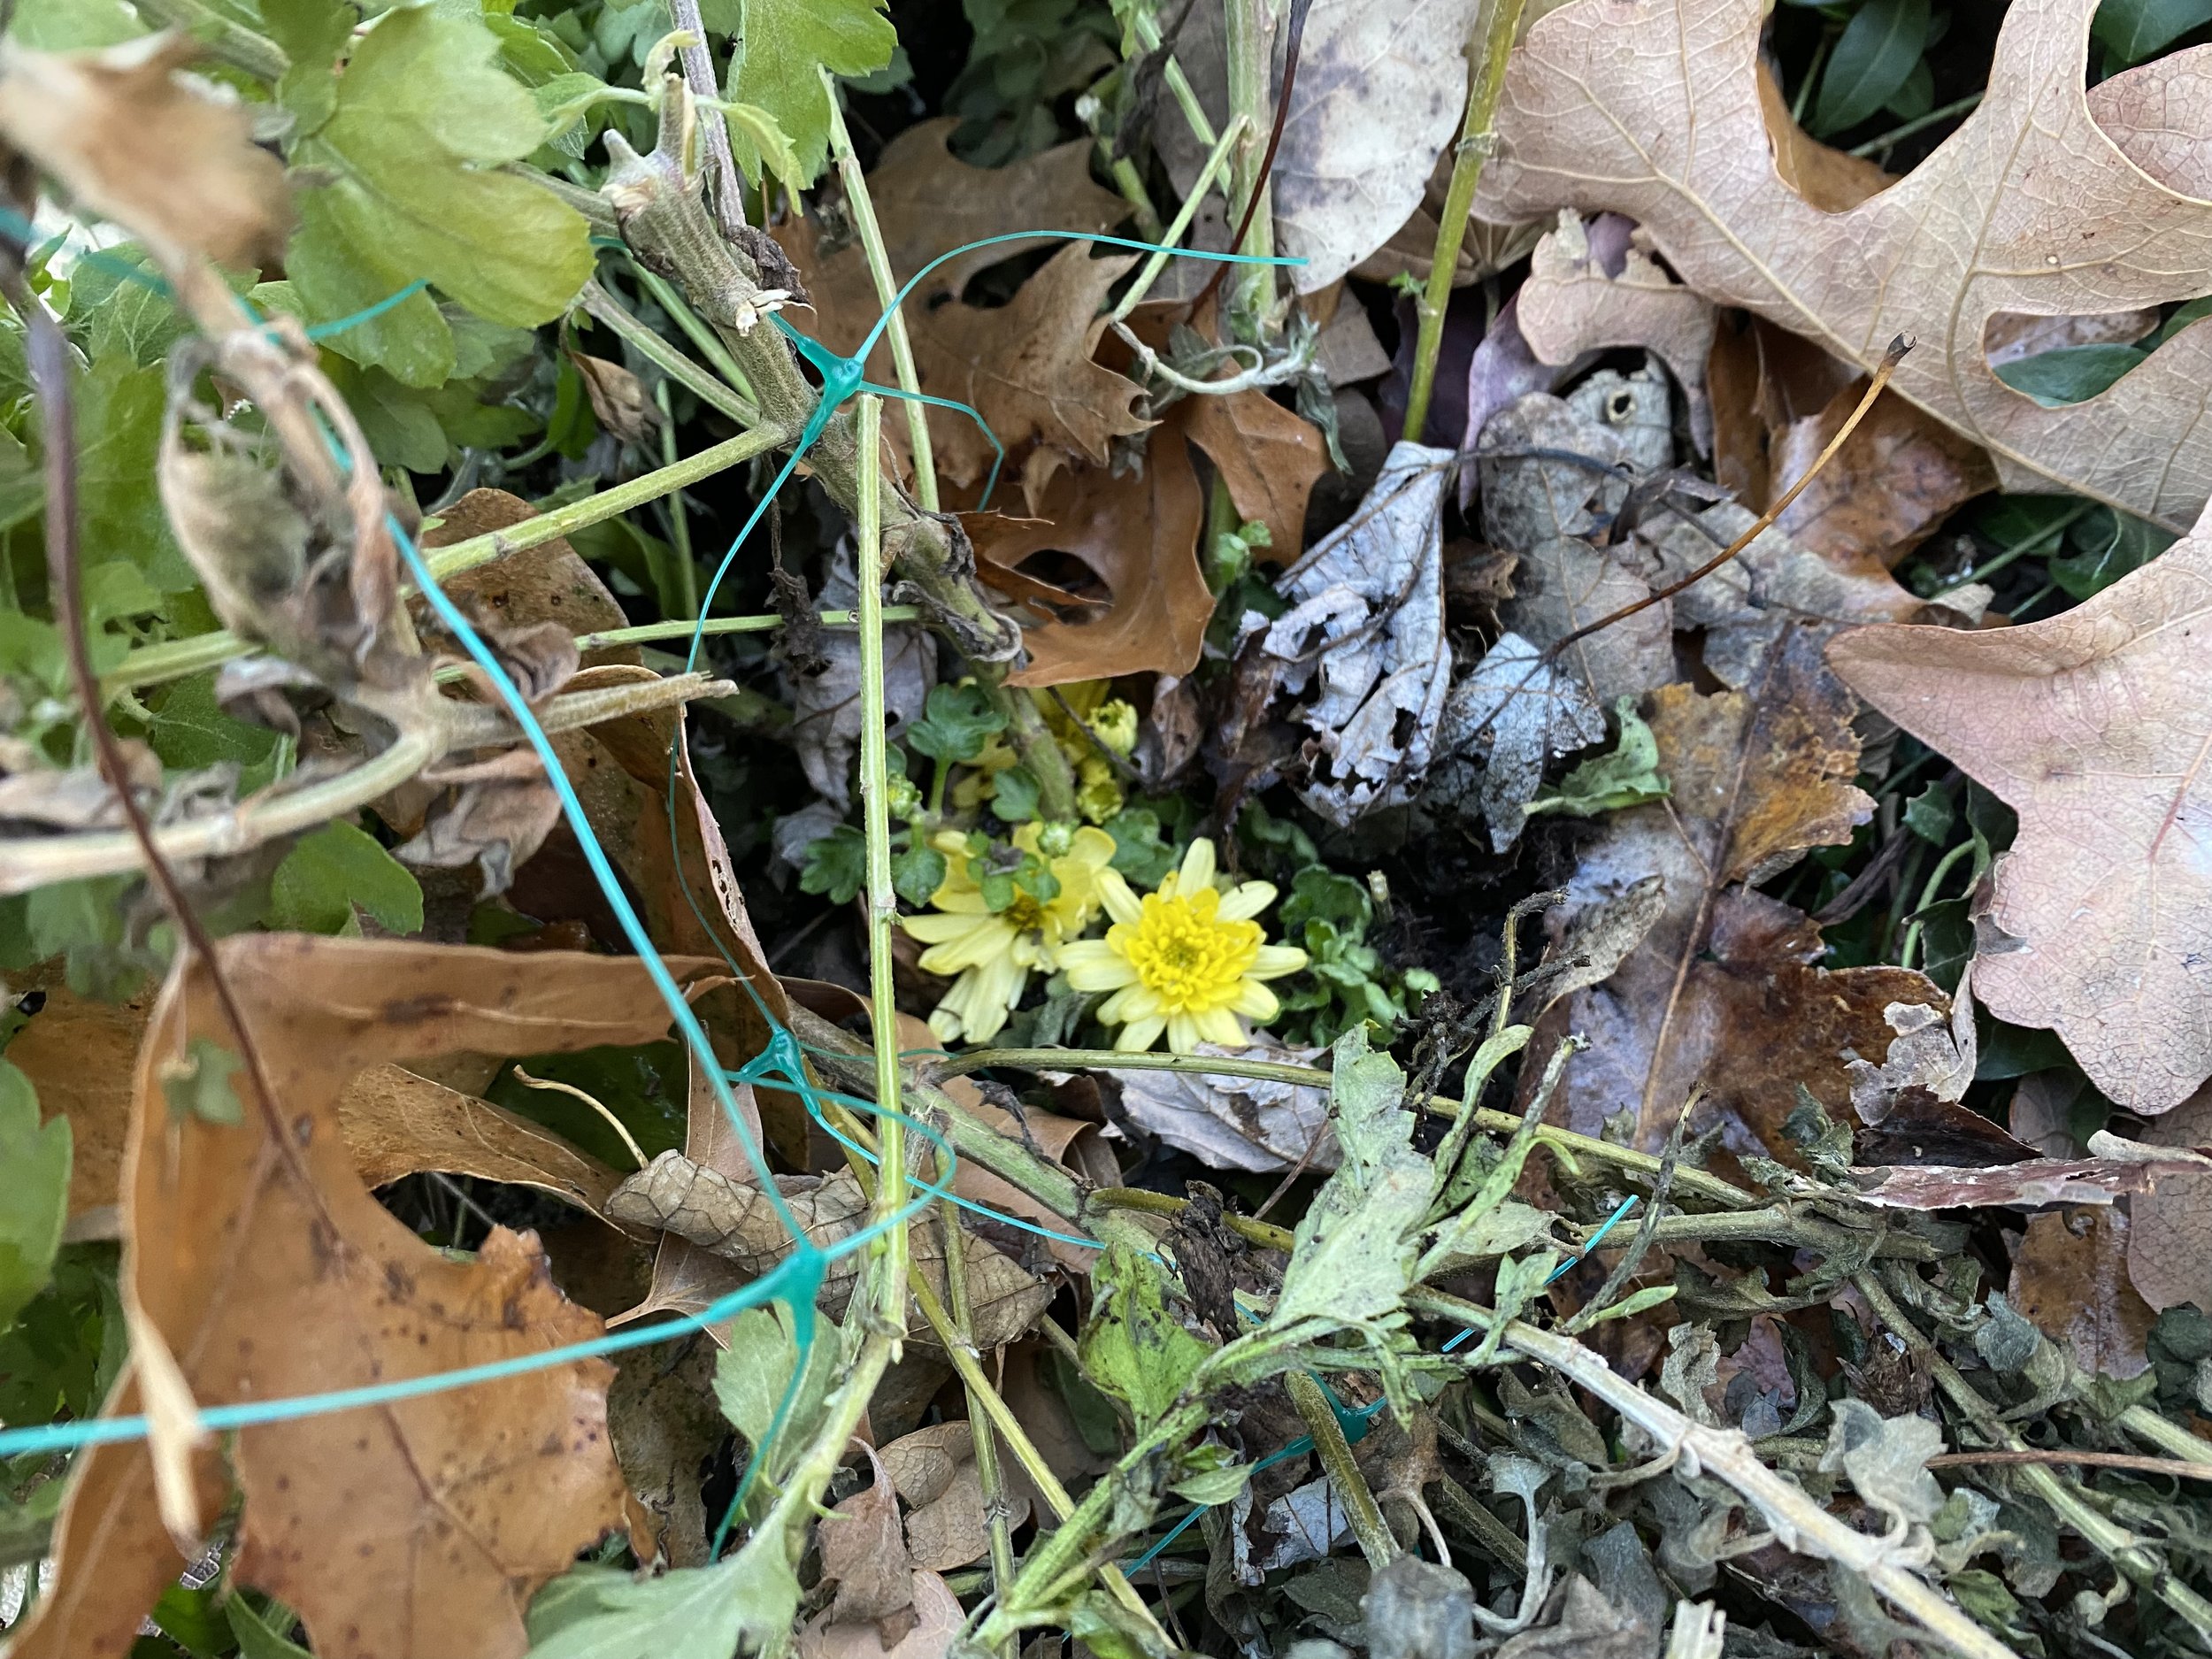
I know it’s tempting to say the plant is done but forget the dead flowers. Carefully part the stems and look at the center. You should see new growth in the center of the plant.

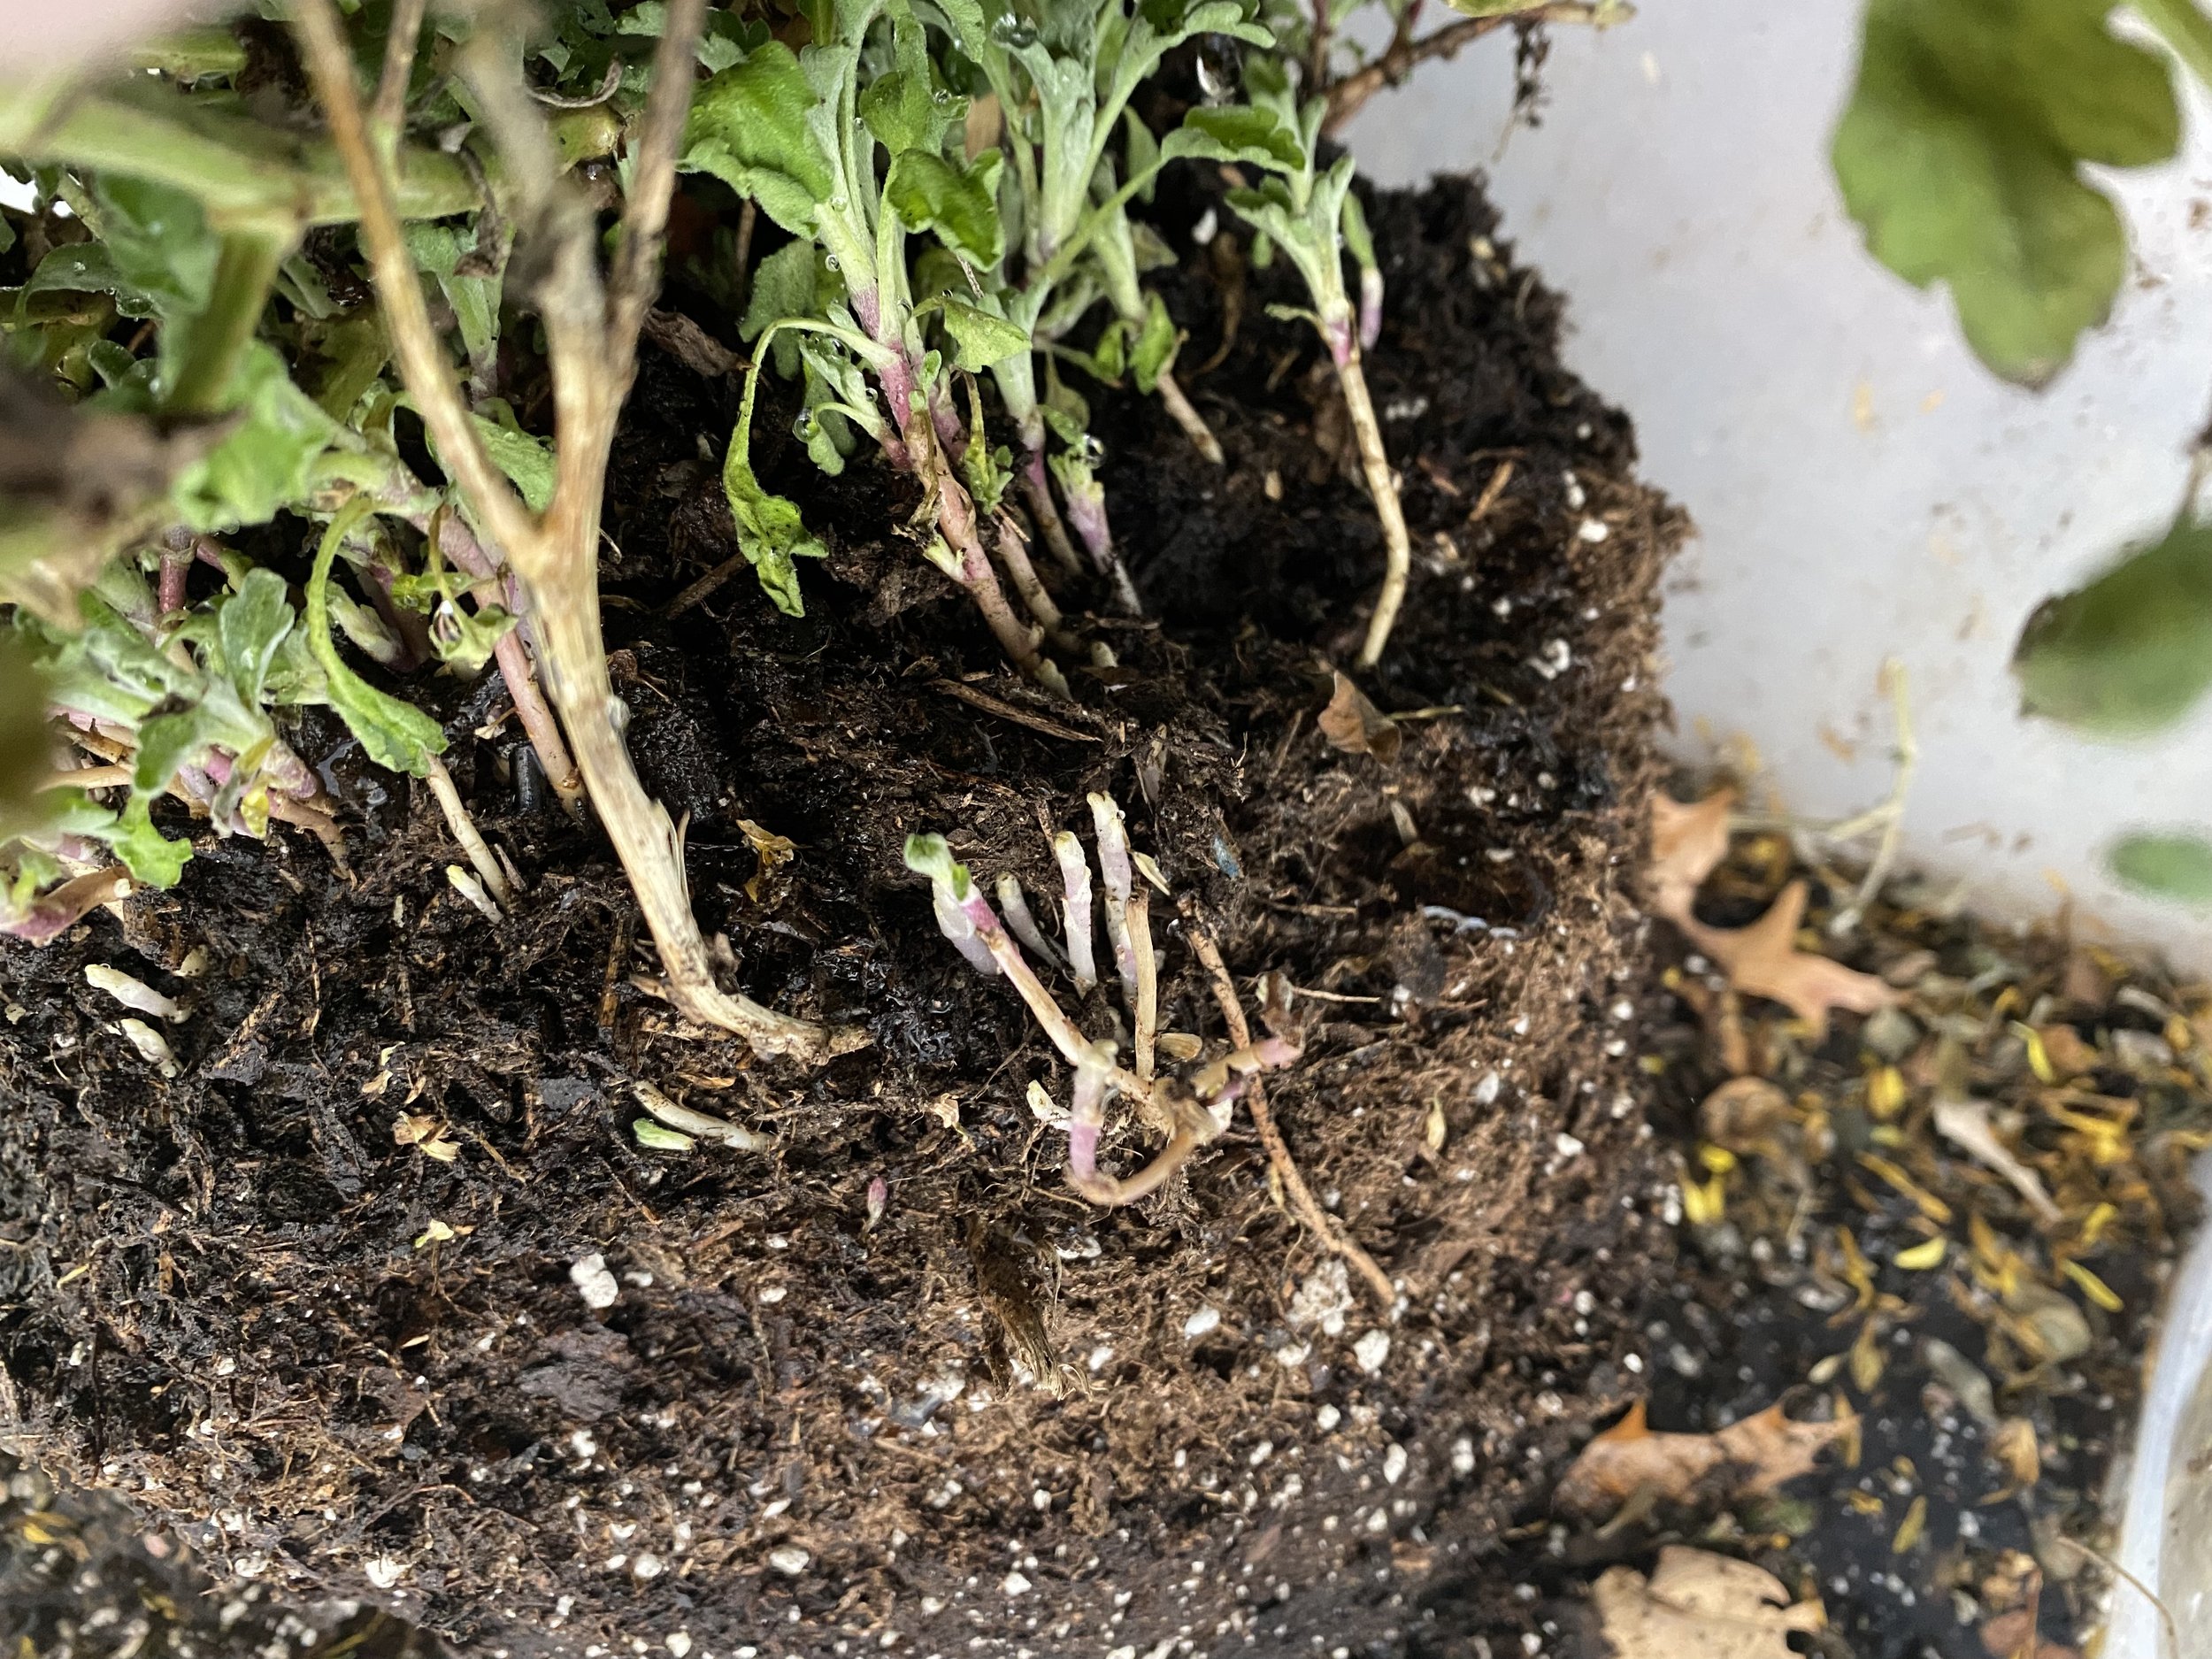
Look at the inside bottom of the plant, if it’s doing well you will see new growth. (Photo by Charlotte Ekker Wiggins)
Sometimes you will also see growth down the side of the root ball, that’s a good sign, too.
f the stems are still green, chances are there is also new growth in the plant center.
If you don’t see anything at first, look at where the stems split from the center stalks, there may be new growth just starting along the plant stems.
Also check the root ball. If it’s dry, put the whole root ball in a bucket of water and let it rehydrate.
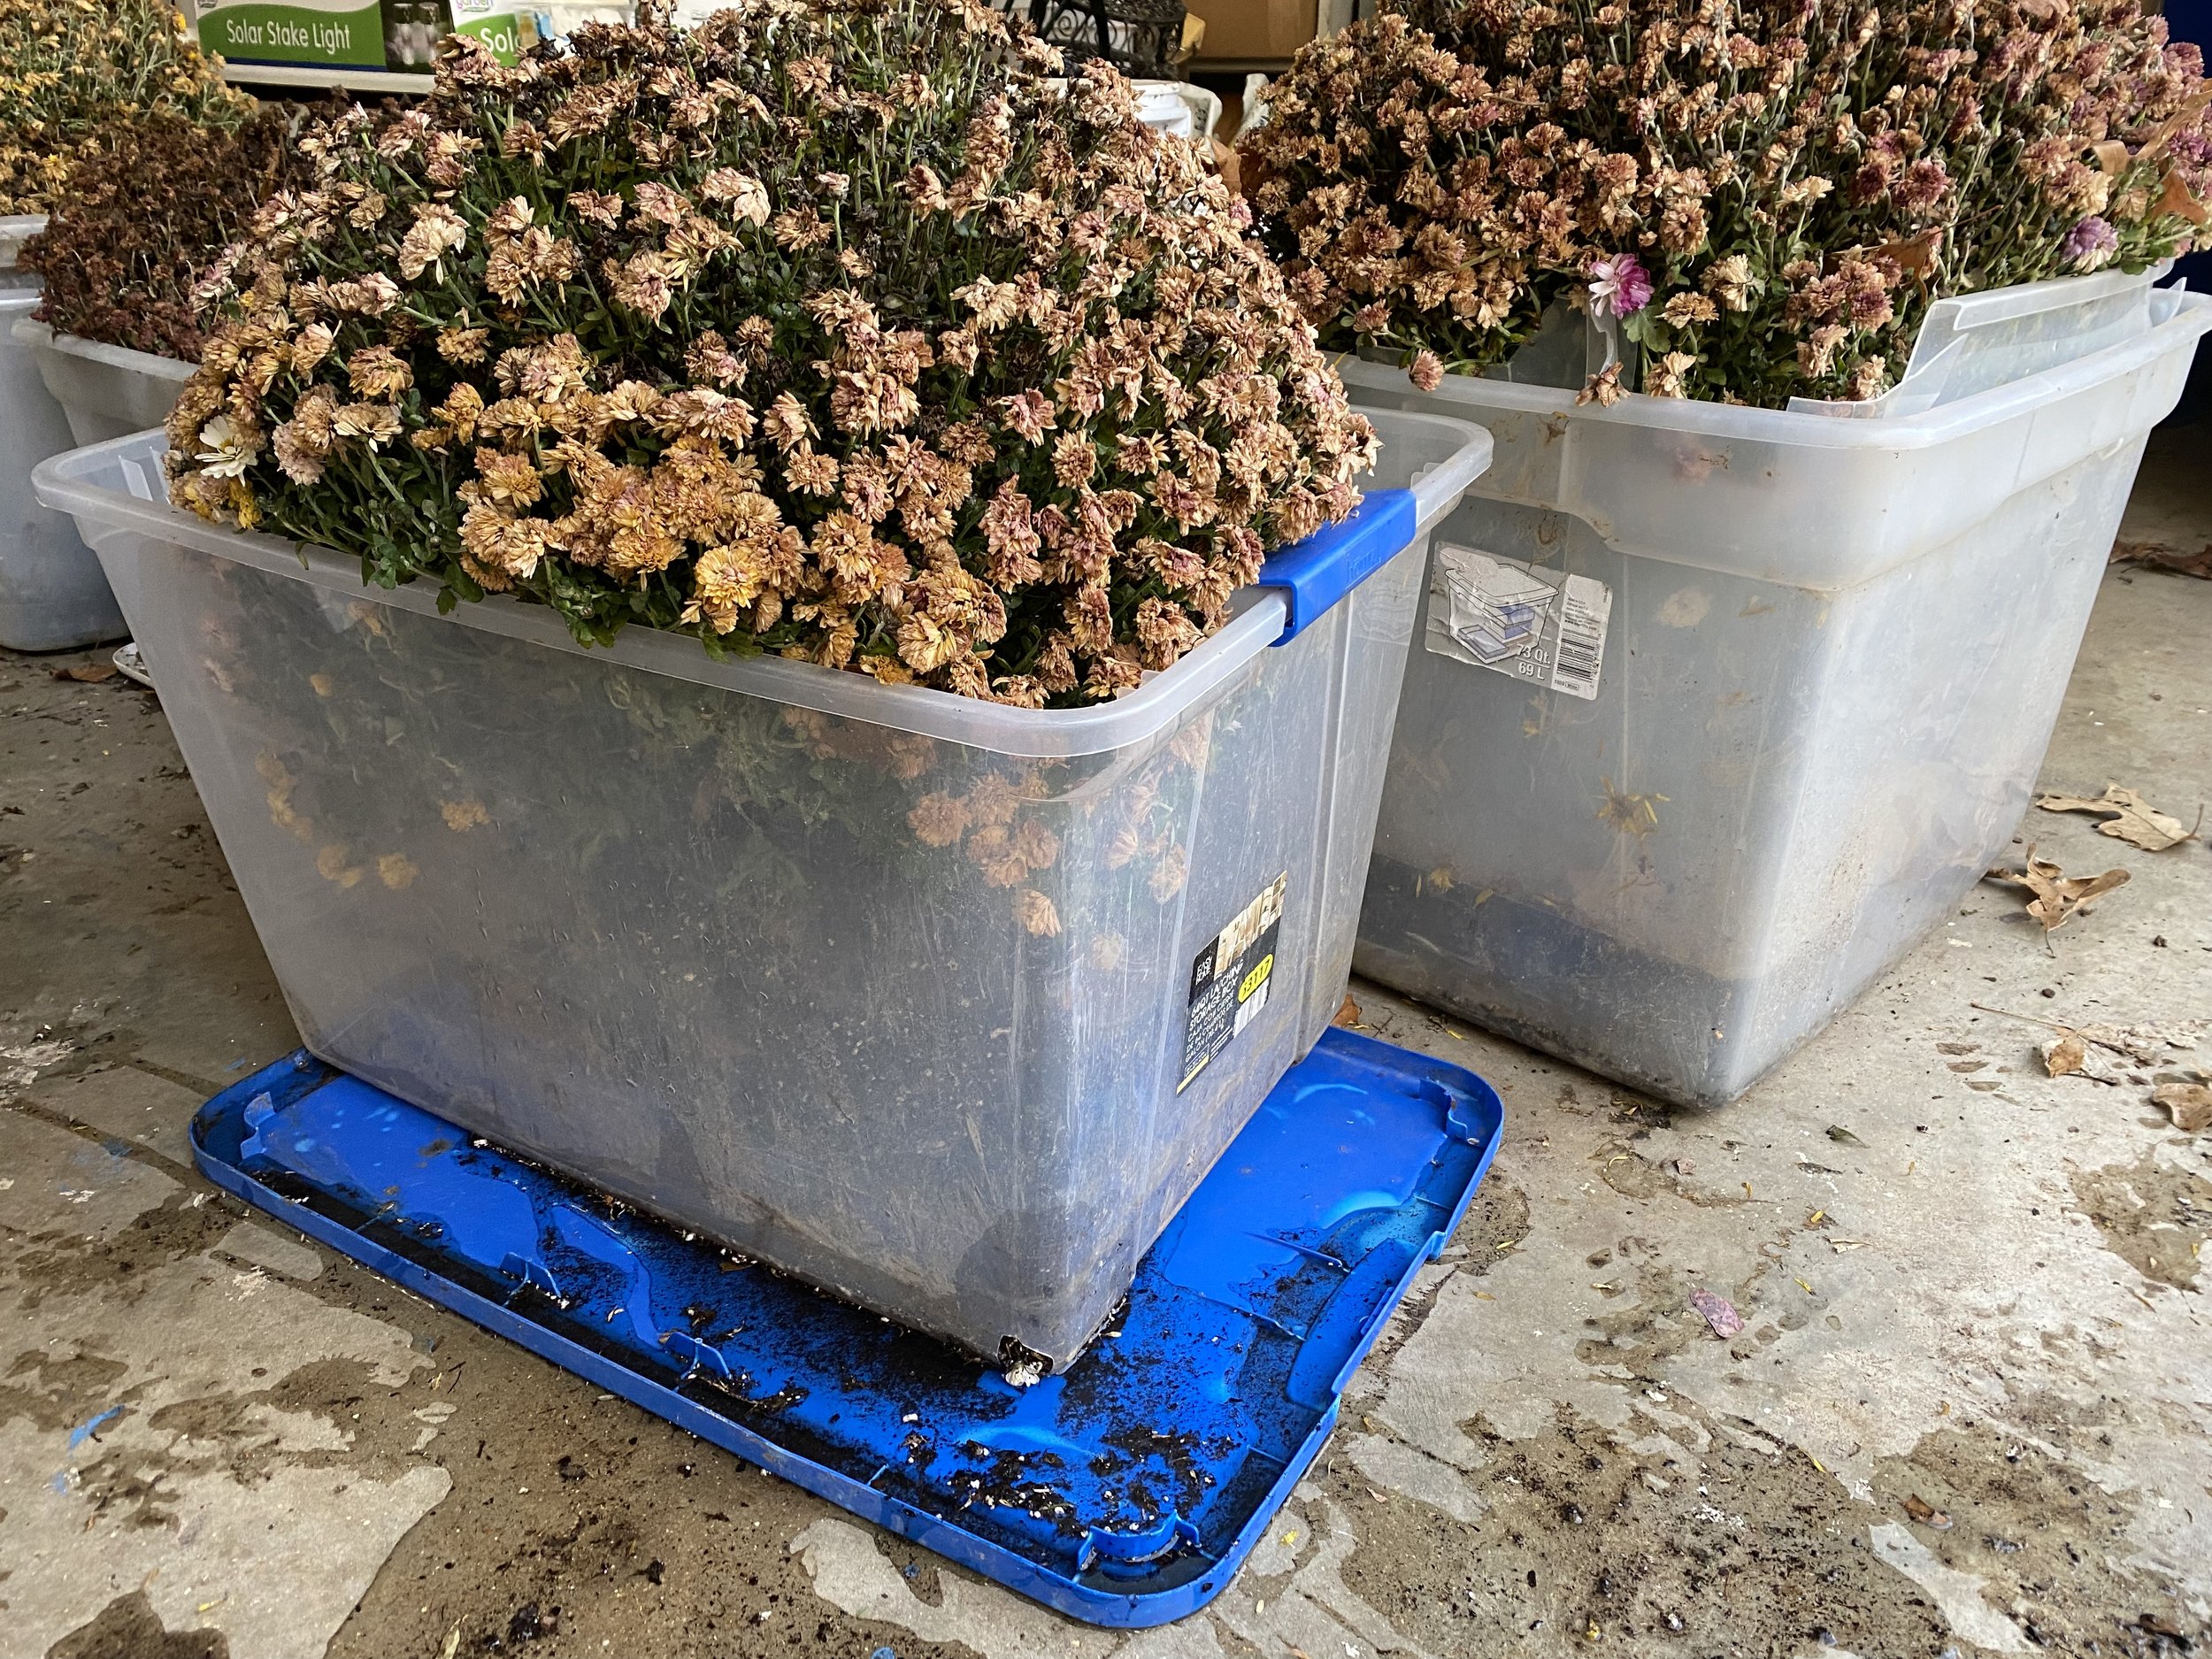
Old totes are good ways to rehydrate dry mums assuming they don’t have holes. (Photo by Charlotte Ekker Wiggins)
Mums have shallow roots so make sure to get the top watered. I use old beekeeping storage totes although one of them had a hole in the bottom. You want a container that will hold water long enough for the plant to absorb it into its entire root ball.
Once the root ball is saturated and you see new growth, it’s time to get the mums permanently in the garden.
Dig a hole twice the size of the root ball. Water it before you put in the mum to make sure the surrounding soil is saturated. I wait for a good rain before I plant; that way the ground is hydrated and I can more easily dig my limestone hillside.
Break off the bottom 2-3 inches of the root ball in case the roots are bound. I pack that soil back in around the planted root ball.
Place the mum in the dug hole, then tap soil all around it. Water again.
Leave the dead branches; those will help protect the new growth over winter.

Mulch planted mums with leaves around the perimeter to protect new growth. (Photo by Charlotte Ekker Wiggins0
Again don’t worry about those faded and drooping flowers, keep your eye on the green stems and whatever growth you found in the plant center.
Mulch the plant all around. I use chopped up leaves.
Once we have a hard frost, I will add mulch over the top. Mulch helps to protect the plant from freezing and thawing.
Through winter, check the plant to make sure it’s not dry. Water regularly; a gallon a month per plant.
Now there is no guarantee that these plants will make it through winter but a high percentage of the ones I have planted this way have survived. They may be different shaped and smaller size than the original plant but one growing season will help them get big again.
To keep their round shape next year, pinch them back every few weeks. I use my plant snips to quickly cut the plants back. They also work well to snip off dead flower heads and encourage new flowers.
Here is a mum I planted a couple of months ago now showing new flowers in the center where there is new growth.
Surprise, one of the mums I planted earlier is showing new flowers. (Photo by Charlotte Ekker Wiggins)
Did I mention that mums also make very long lasting cut flowers?
Charlotte