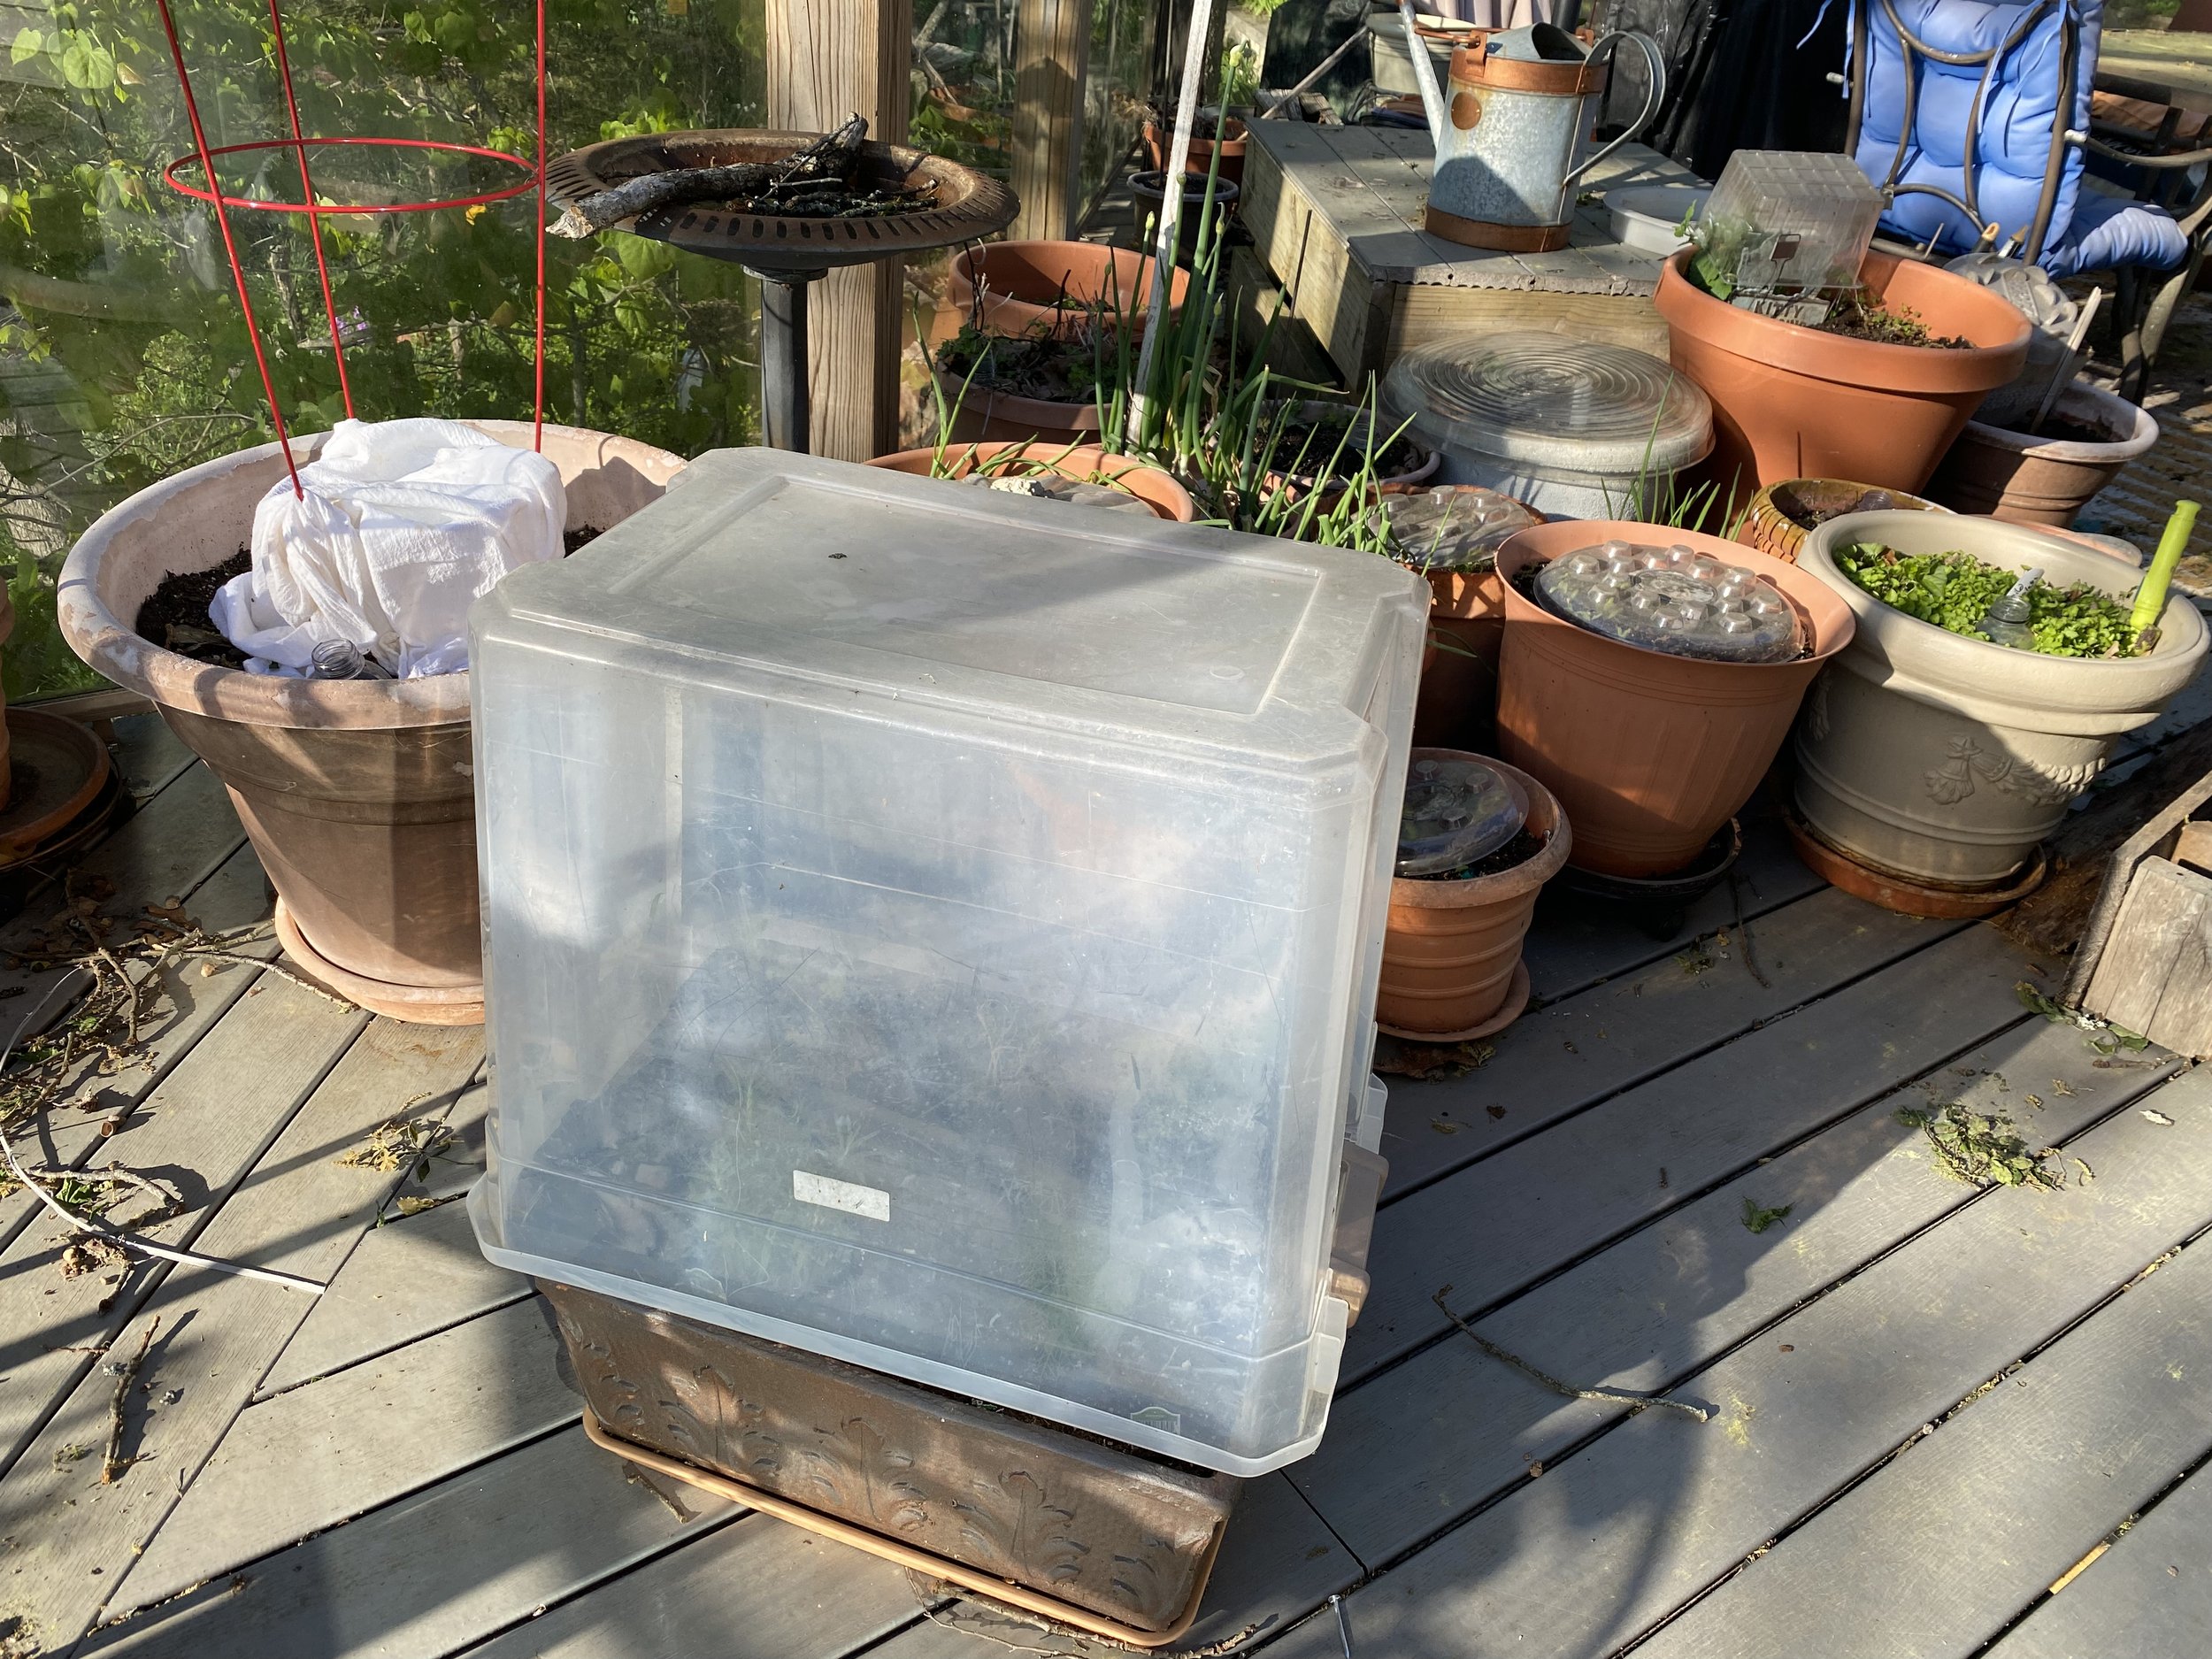
Winter Sowing

Forecasters are calling for more snow and below 0 Fahrenheit temperatures so good time to get those native seeds winter sown. (Charlotte Ekker Wiggins photo)

Winter Sowing

Winter sowing is a way to start seeds outdoors during winter months, allowing them to naturally germinate when conditions are right in the spring. It’s also an excellent way to give seeds that need cold exposure that cold treatment they need to germinate, such as purple coneflowers and black-eyed susans, both excellent pollinator plants.

Here's a guide on how to winter sow in repurposed milk jugs using Black-Eyed Susan seeds:

What you will need

  1. Empty, clean plastic milk jugs or bottles

  2. Utility knife or scissors

  3. Potting soil

  4. Black-eyed susan seeds (or purple coneflower seeds)

  5. Spray bottle with water

  6. Tape (as in duck tape)

  7. Marker

    How to get milk jugs ready


    As you collect milk jugs, wash them thoroughly, allow to dry and store. I kept mine in plastic garbage bags so they didn’t take up a lot of storage room.

    Pierce or cut several drainage holes in the bottom of the bottle first. Use a nail, heated skewer, or the tip of your scissors or knife. Be careful not to puncture your hand.

    Then use a utility knife or scissors to cut the bottles horizontally around the middle, leaving the handle intact on one side. It’s hard to punch holes in the bottom once the milk jug is cut in half. The bottom half will serve as a mini greenhouse.

    Add a layer of potting soil into the bottom section of the bottle, filling it about one-third of the way.

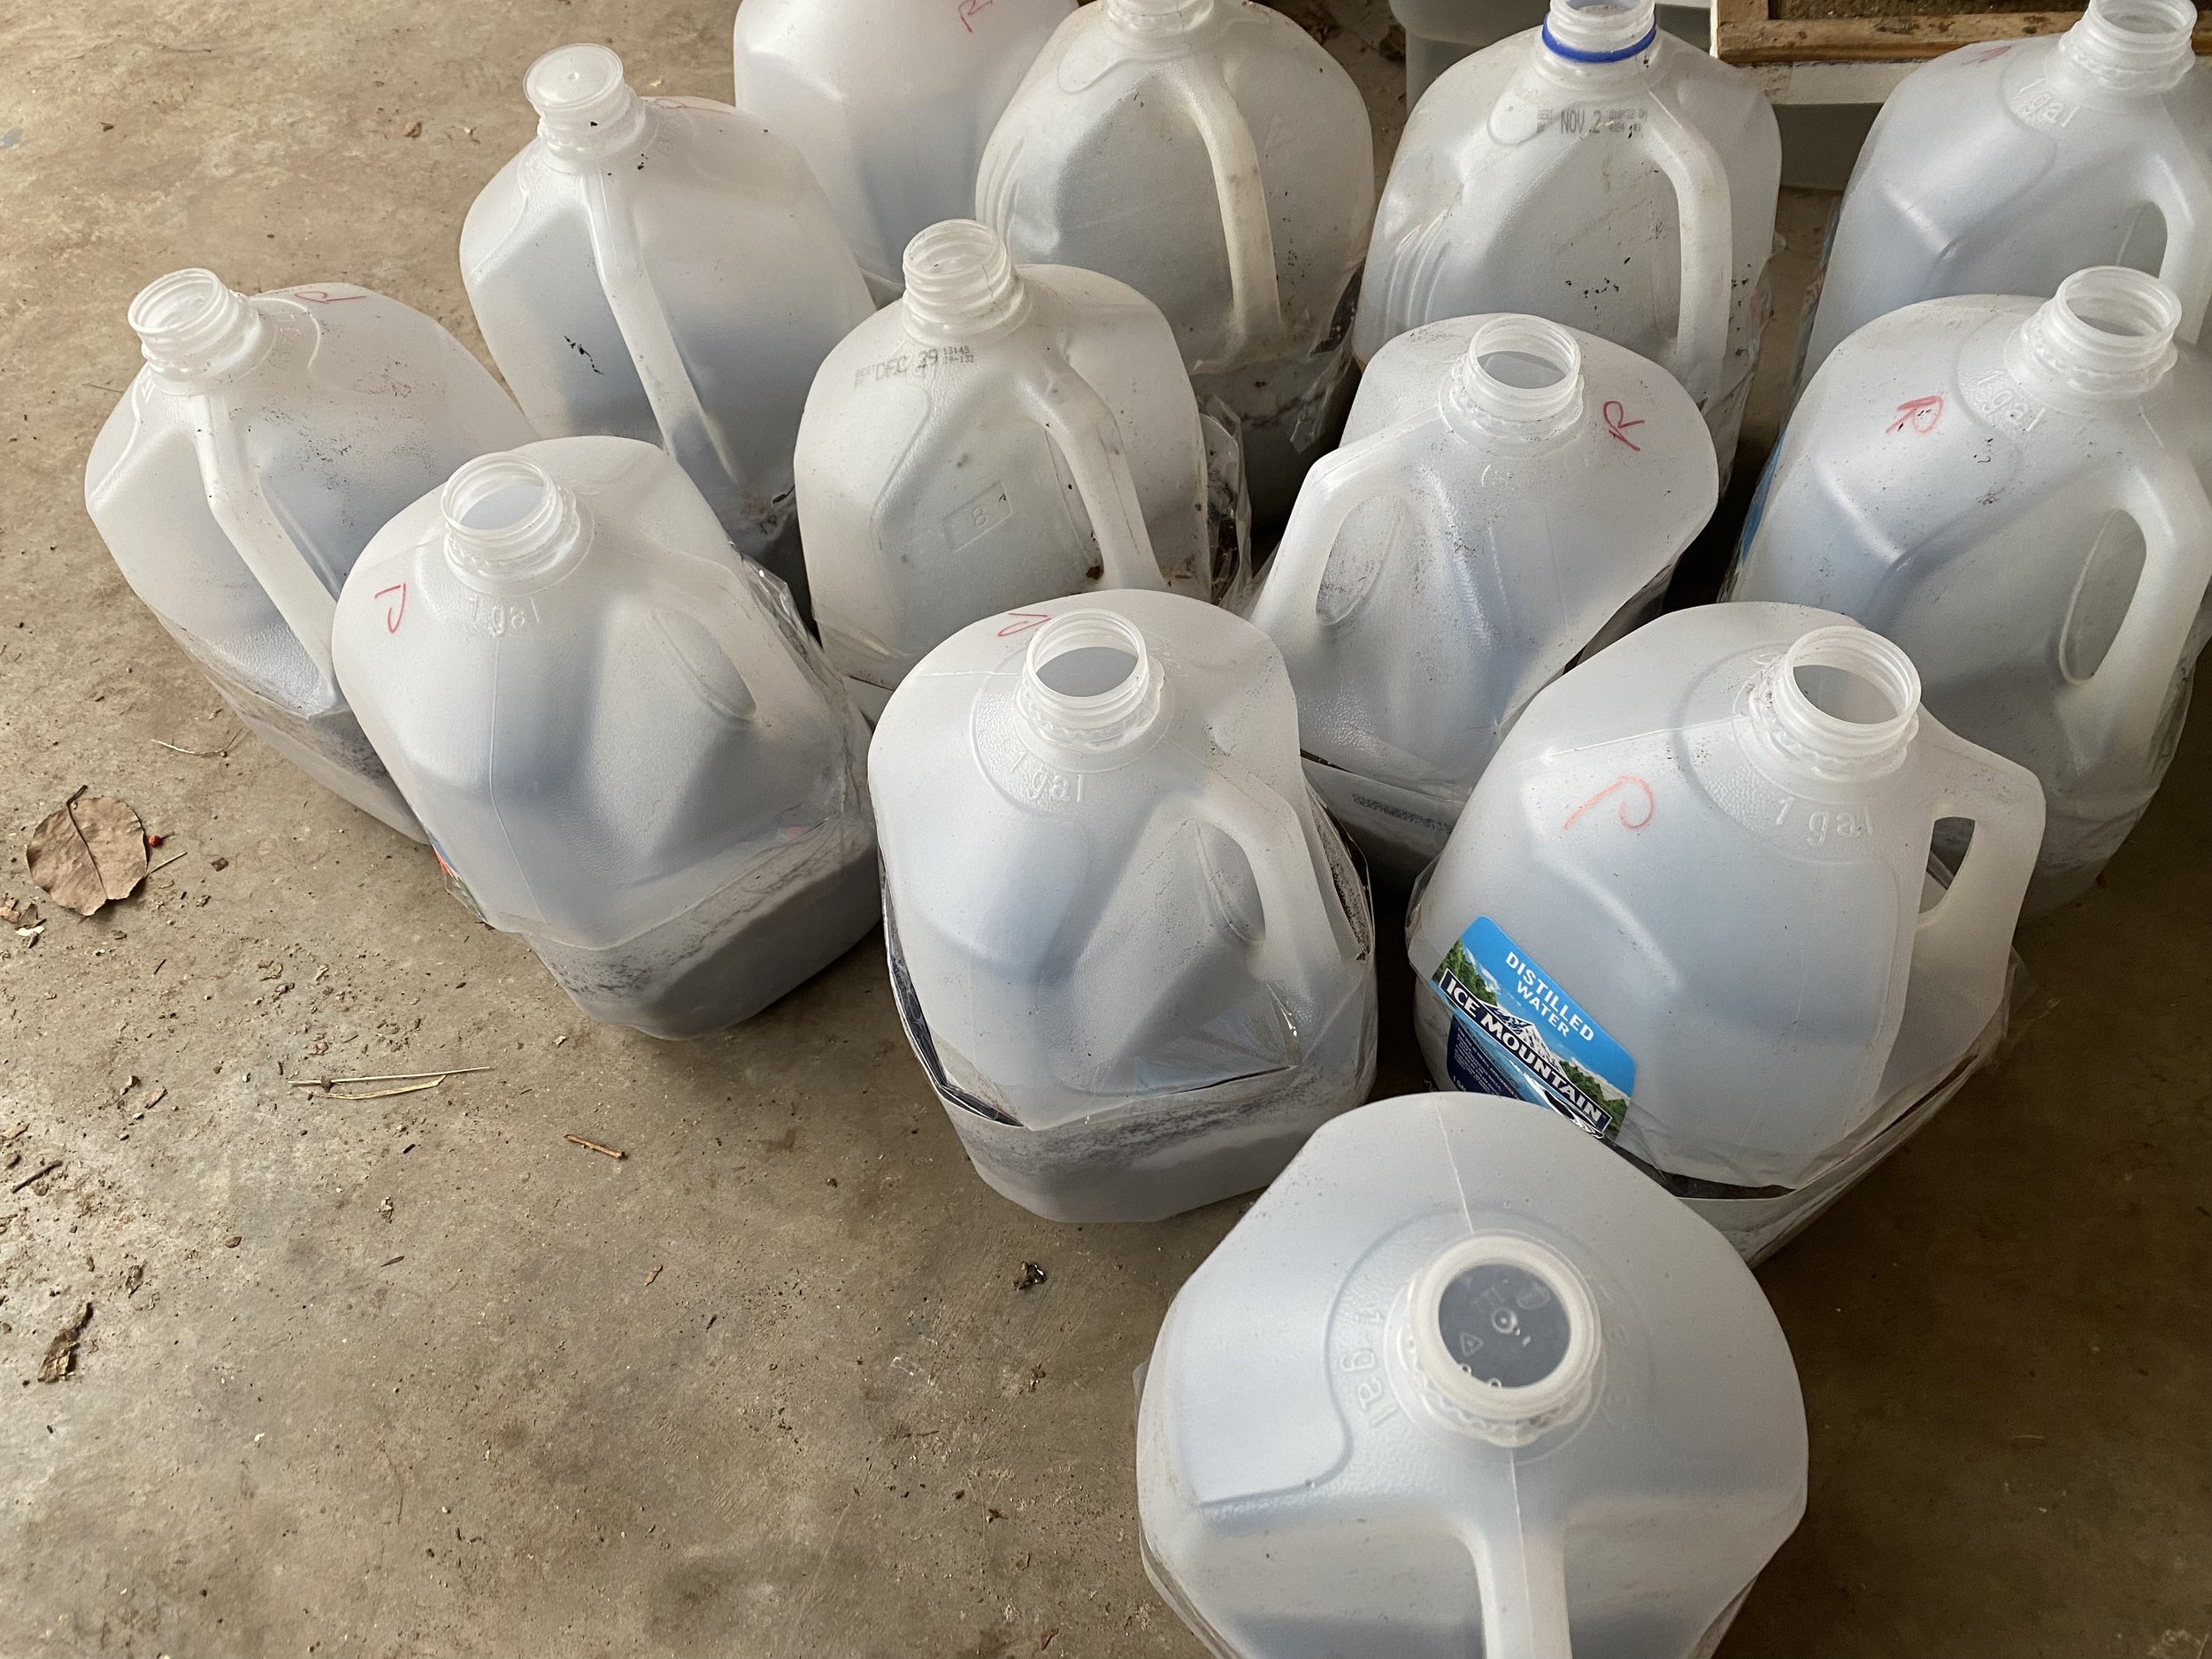
remove lids if you haven’t already, you won’t need them. (charlotte ekker wiggins photo)

Plant black-eyed Susan seeds

I confess, I saved a lot of seeds earlier in the season so I was ready to plant. If you don’t have seeds, check your local home and garden center, most have a supply all year.

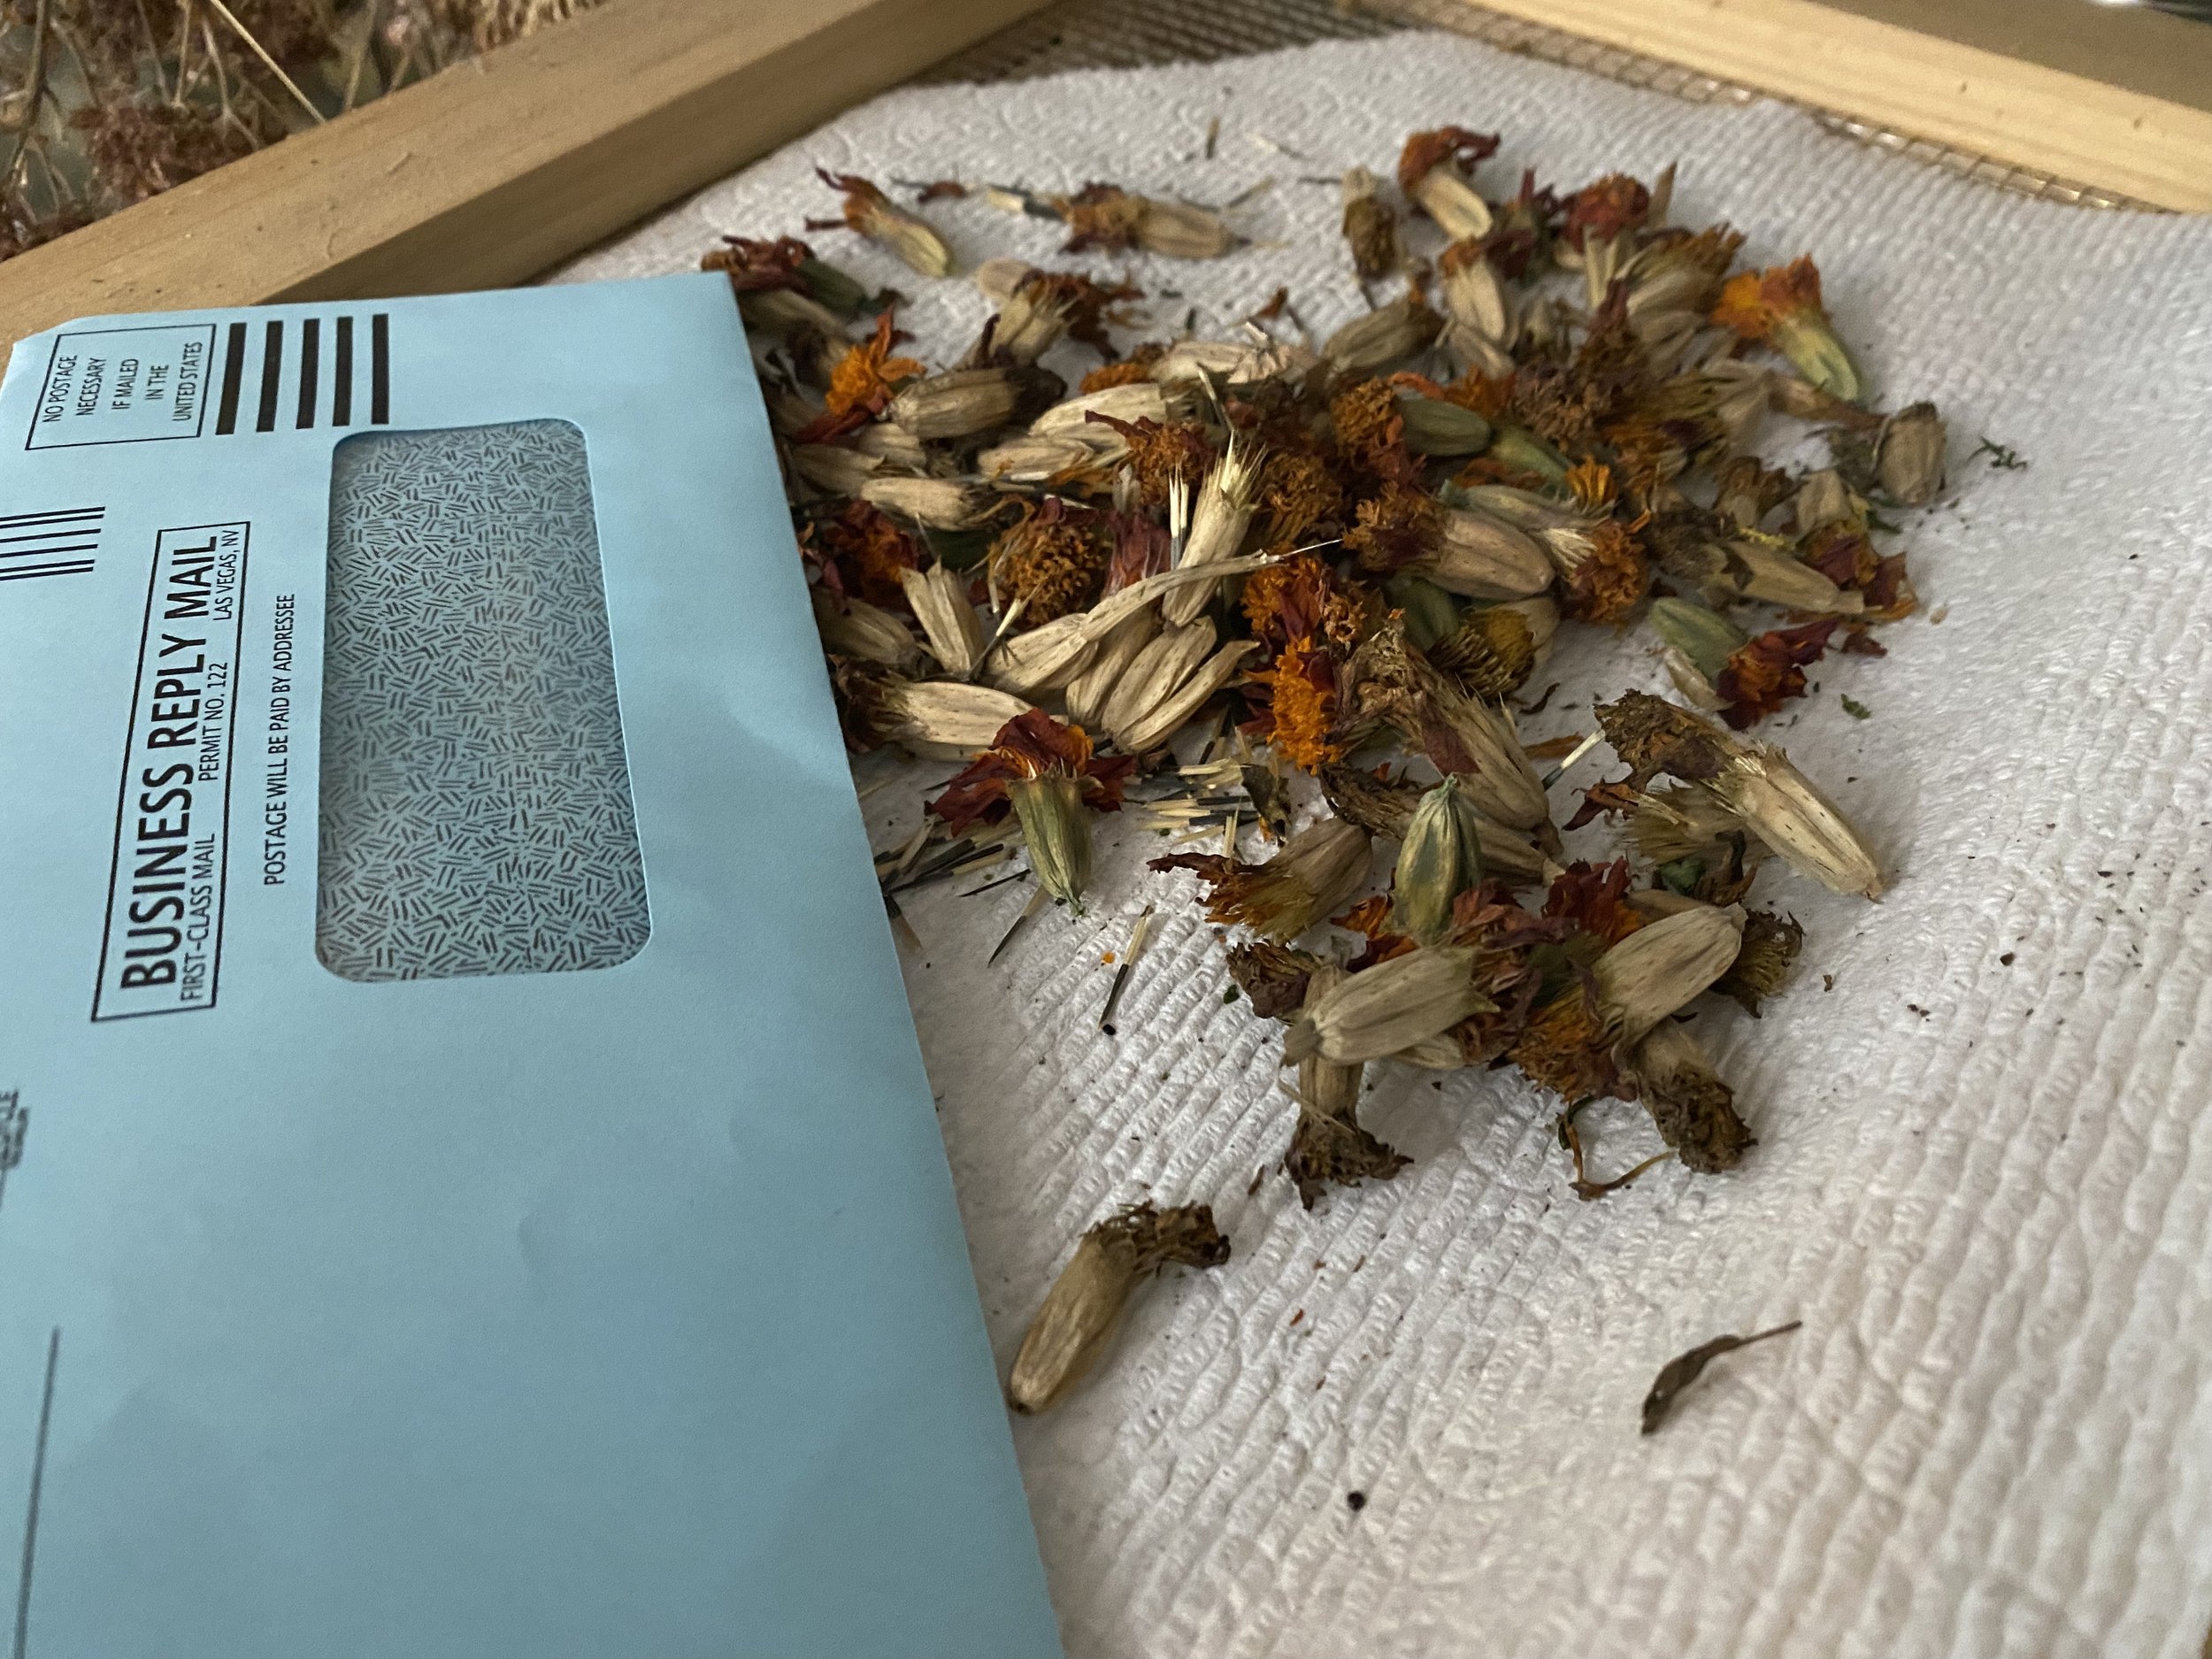
Break up black-eyed susan seed heads and sprinkle over the soil surface. I’m always surprised at how many seeds come out of one little flower head. You can lightly press them into the soil but don’t bury them too deeply. These seeds require light to germinate.

Dust the seeds with soil.

Close the top part of the bottle over the bottom, securing it with tape. This creates a miniature greenhouse effect. Remove milk jugs lids; you won’t need them.

Label the container with the plant name and the date of sowing using a marker. I just add an initial so that I know which seeds I planted.

Place milk jugs outdoors

Find a suitable outdoor location that receives partial sun to full sun. An area protected from harsh winds is ideal.

Set the prepared milk jugs on the ground. You can also bury them halfway in the soil to stabilize them.

Check the containers occasionally to ensure the soil remains slightly moist but not waterlogged. If the soil appears dry, spray water over it just to keep it moist.

As the temperatures increase in the spring, the seeds will naturally germinate when conditions are favorable.

Transplanting Seedlings

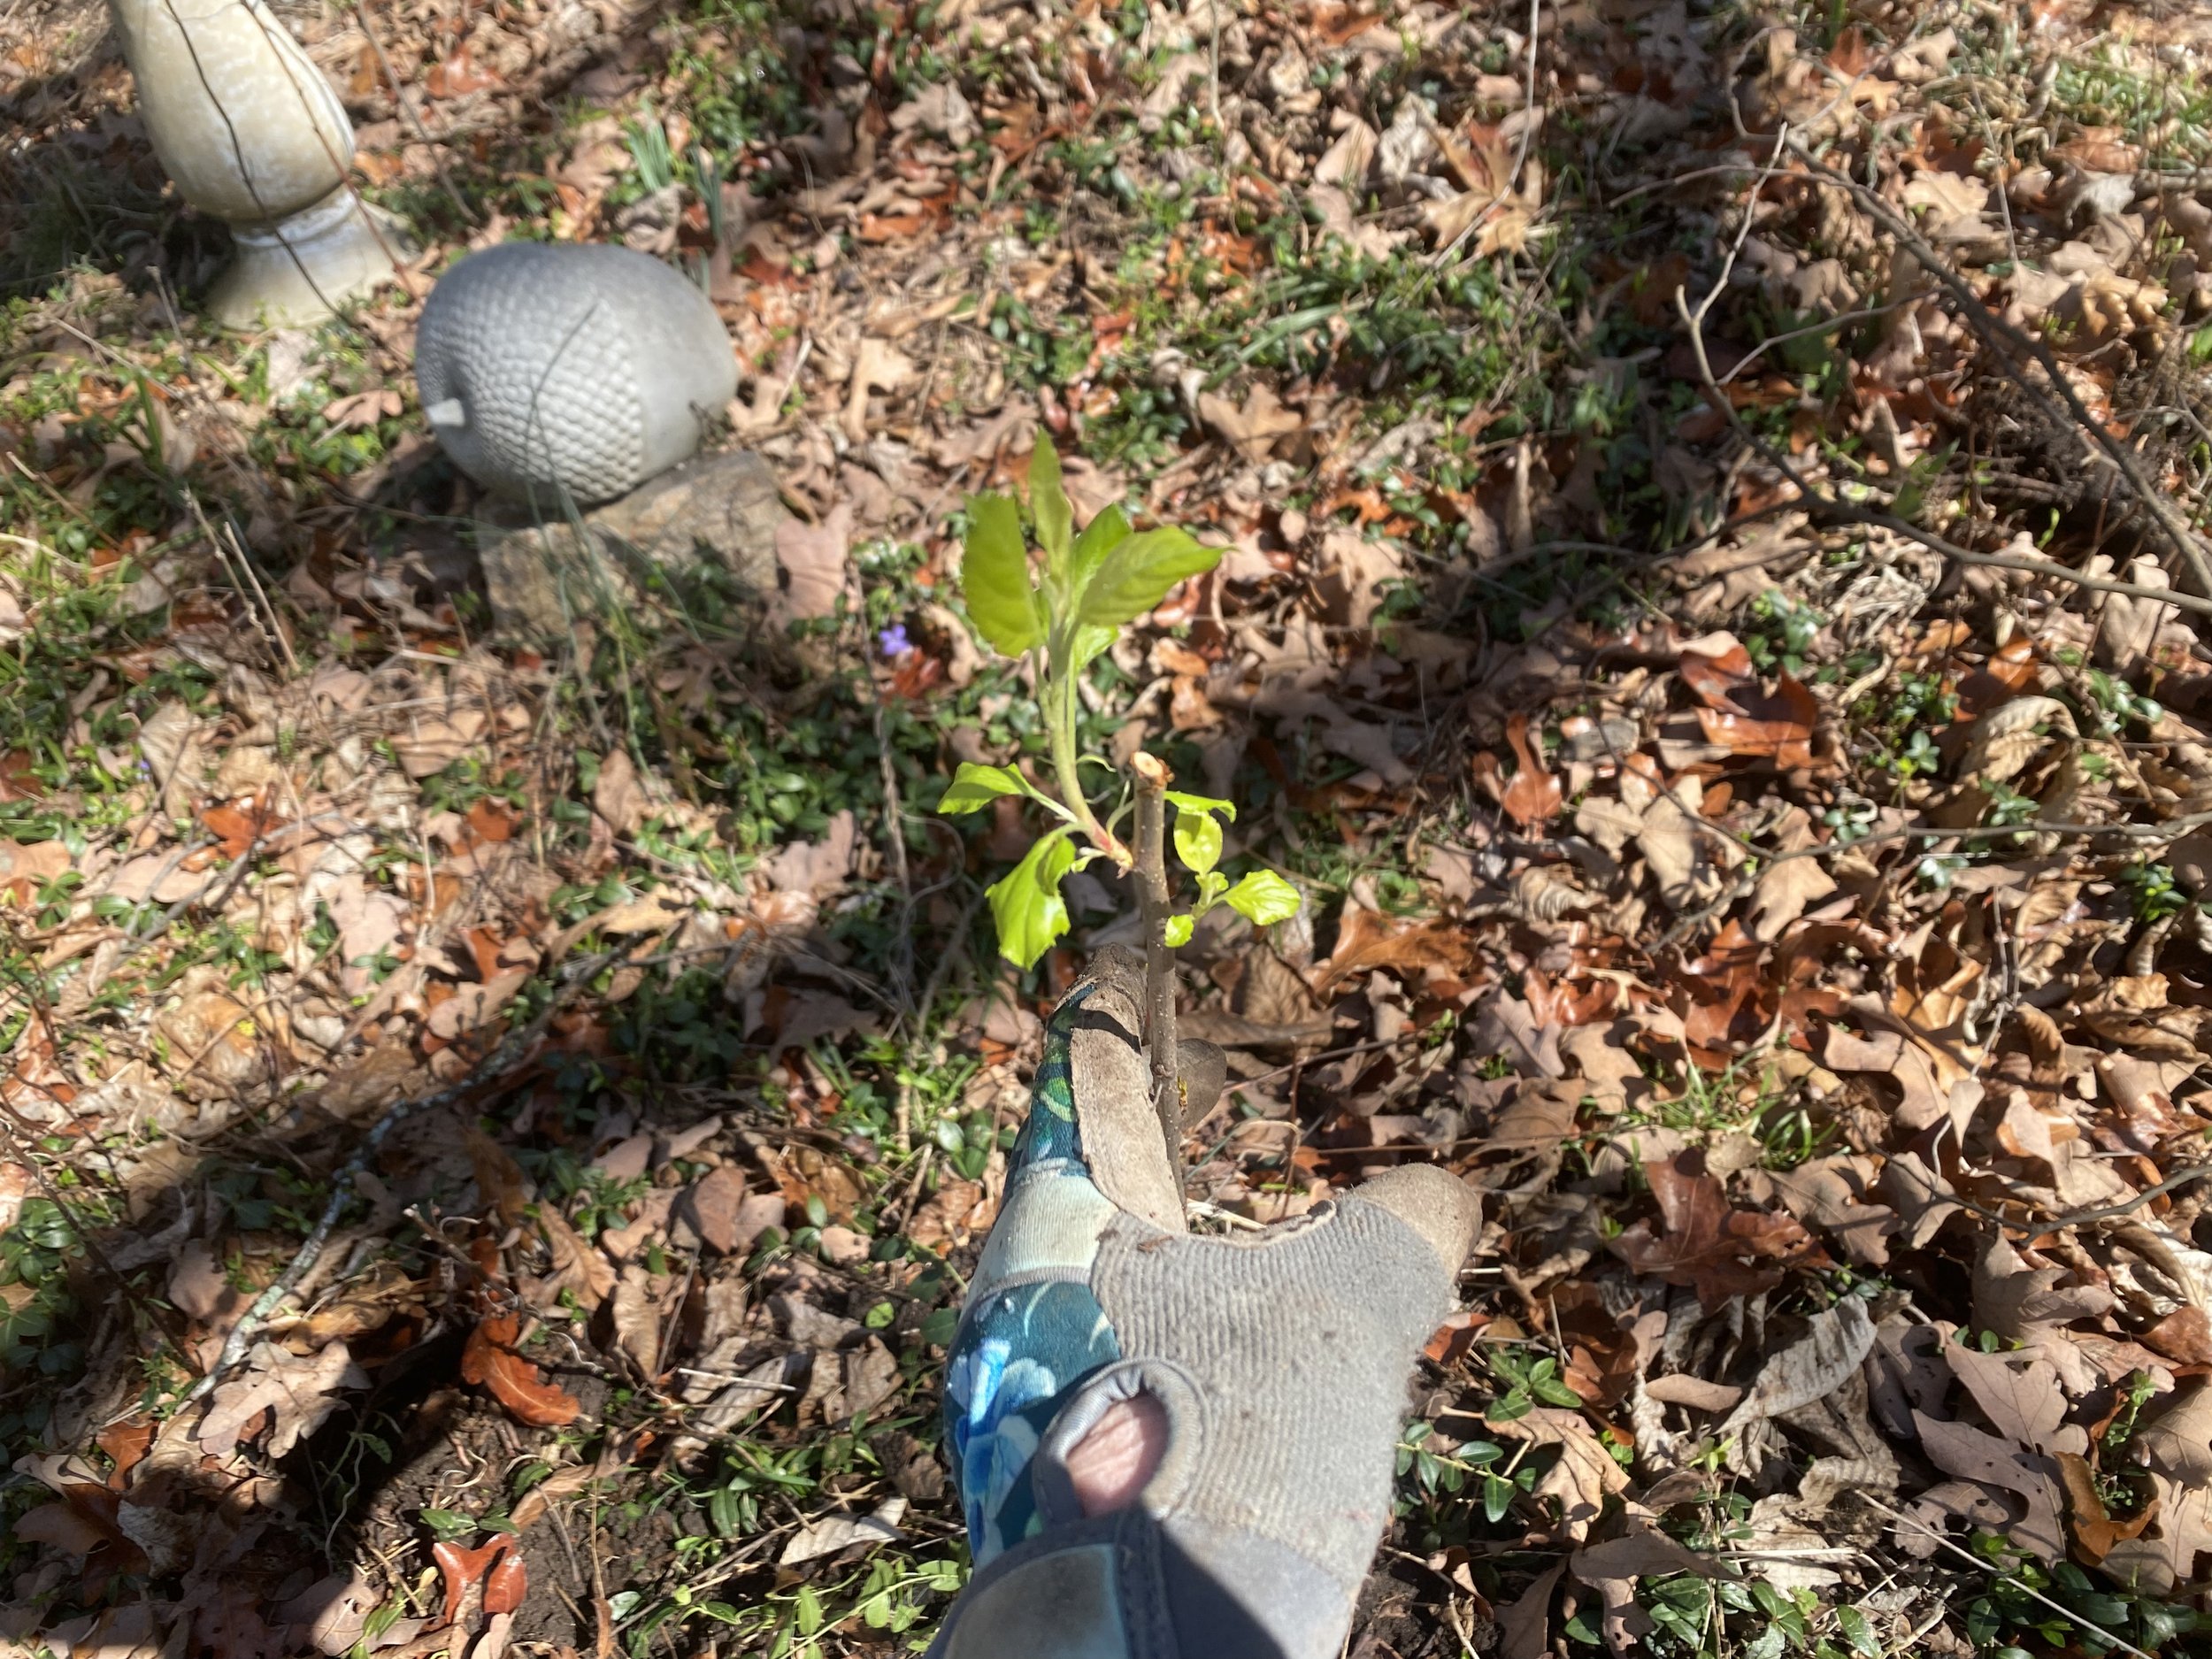
Once the seedlings have grown a few inches tall and have developed several sets of leaves, they can be carefully transplanted into larger pots or directly into the garden bed. I wait until after the last frost to transplant directly into the garden.

For more gardening, beekeeping, cooking and easy home decor tips, subscribe to Garden Notes.

Charlotte

Envelope Seed Packets

These saved marigold seeds are now ready to be stored until spring. (charlotte ekker wiggins photo)

Envelope Seed Packets

With many of us not needing paper envelopes to mail in bills, why not save them to package saved seeds.

You can use them for other things as well but I usually have more seeds than I have ways to save them.

The return envelopes with the clear window work best so that you can see what seeds are inside.

mark your seed envelopes with at least the year for the seeds, if not the variety. (charlotte Ekker Wiggins photo)

Helps also to mark the envelopes with at least the year of the seeds, if not the seed variety. I can identify most seeds but not all so I also add the plant name to the date. Well, I should although I’ve been known to say to myself you’ll recognize these seeds, then don’t.

Store the seeds in a dry place. I keep baskets around the house where I can keep all of my seed packets together. You can pick up baskets at thrift stores.

For more gardening, beekeeping, cooking and easy home decor tips, subscribe to Garden Notes.

Charlotte

After Rain Chores

A gift crabapple tree is going in where a cherry tree died last year. (charlotte ekker wiggins photo)

After Rain Chores

Besides my pick axes and boots, rain is the next favorite garden assistant. When you plant on a limestone hillside, rain is not only critical for your success but it also can be helpful.

One of the first things I did when I started to develop flower beds - more like shelves with rock borders, I made sure the rain coming from uphill property would keep the flower shelves hydrated. That meant making small trenches to guide the water and lowering the flowering shelves so they could naturally collect water.

Now more than 40 years on this hillside, rain has become critical to my success:

  1. Dig holes after a rain. Soil will be more pliable and easy to work. I mark off possible locations before rain, then check the possible areas after rain. If there are too many rocks, I move the location.

  2. Remove dead trees. The rain will make dead tree removal easier, especially for trees with deep roots.

    3. Plant trees. You can more easily dig deep holes for root planting.

4. Plan to remove invasive species such as bush honesuckle. I can pull out young bush honeysuckle starts by hand after a good rain.

5. Follow the trenches rain makes and use those low spots for rain gardens.

6. Look for dry spots and adjust whatever is growing. You don’t want plants that need a lot of moisture growing in a dry area.

7. Check that birdbaths have been filled. If not, move the bird bath.

8. Note rain debris. Retrench the area to guide rain into areas with soil and flowers.

9. Ease plant stakes deeper into the ground. The rain-softened soil will have more give after a rain.

10. Walk through your garden and notice what’s starting to come up. Rain encourages new growth.

Rain certainly can help a garden with moisture but its also an excellent planting aid.

Charlotte

Where to Plant Daffodils

daffodils work well on the back of a flower border. (charlotte ekker wiggins photo)

Where to Plant Daffodils

As you enjoy spring daffodil blooms, this is also a good time to scope out where you want to add more this fall.

Daffodils grow from bulbs that collect sunshine through their leaves after they bloom. They are easy to grow and, in good growing conditions, will spread and return from year to year.

Front or Back

Small daffodils such as Tete A Tete (in photo) will easily incorporate themselves at the front of a flower bed.

Larger taller varieties such as King Alfred will do better towards the back of an area with other plants. The larger the bulb, the deeper they should be planted, usually 4-6 inches.

Once the daffodils stop blooming, their greenery should remain so they can collect sunlight for the next blooming season. Their stems will turn to yellow and can be composted but they don’t look the best. Having other plants around will help cover the dying greenery.

Sun or Shade

Daffodils do well in both sun or shade. Since my trees don’t leaf out until later I don’t worry about bulbs getting too much shade. They access a good amount of sun to replenish their bulbs for next year.

Pots or Ground

You can also plant daffodils in pots and later move them to your garden. I prefer to plant once so I tend to get them in the ground and call it good.

Surprise!

There are “rules” and then there are times to break the rules. I like to add whimsy to my garden so planting daffodils in unexpected places is an easy way to add fun.

Scope out an unexpected garden spot now and mark it so you can find it later this fall. Then shop for an interesting daffodil variety to add to that spot. You will thank me next spring!

Charlotte

Trimmed Hardy Mums

hardy mums wintering over in my garage needed a trim. (charlotte ekker wiggins photo)

Trimmed Hardy Mums

My experiment to winter over hardy mums in my garage is going relatively well. I’ve only lost a couple of mums so far and new growth is appearing at the base of the plants.

vigorous new growth under the dead overhead branches. (charlotte Ekker Wiggins photo)

To give new growth better access to sun, I’m trimming off the dead branches from last year’s growth.

That should give the mums an easier way to collect sunlight and turn the new growth from light yellow to green.

glad I trimmed. This one is needed some sunlight to turn green. (charlotte ekker wiggins photo)

Once it’s time to plant these outside, they will be exposed to a few hours of sun a day.

Then it will be time to settle them into their new outside homes, giving them a whole growing season to get established.

Hardy mums are excellent natural bug deterrents as well as long-lasting cut flowers.

Charlotte