Favorite Gardening Tool

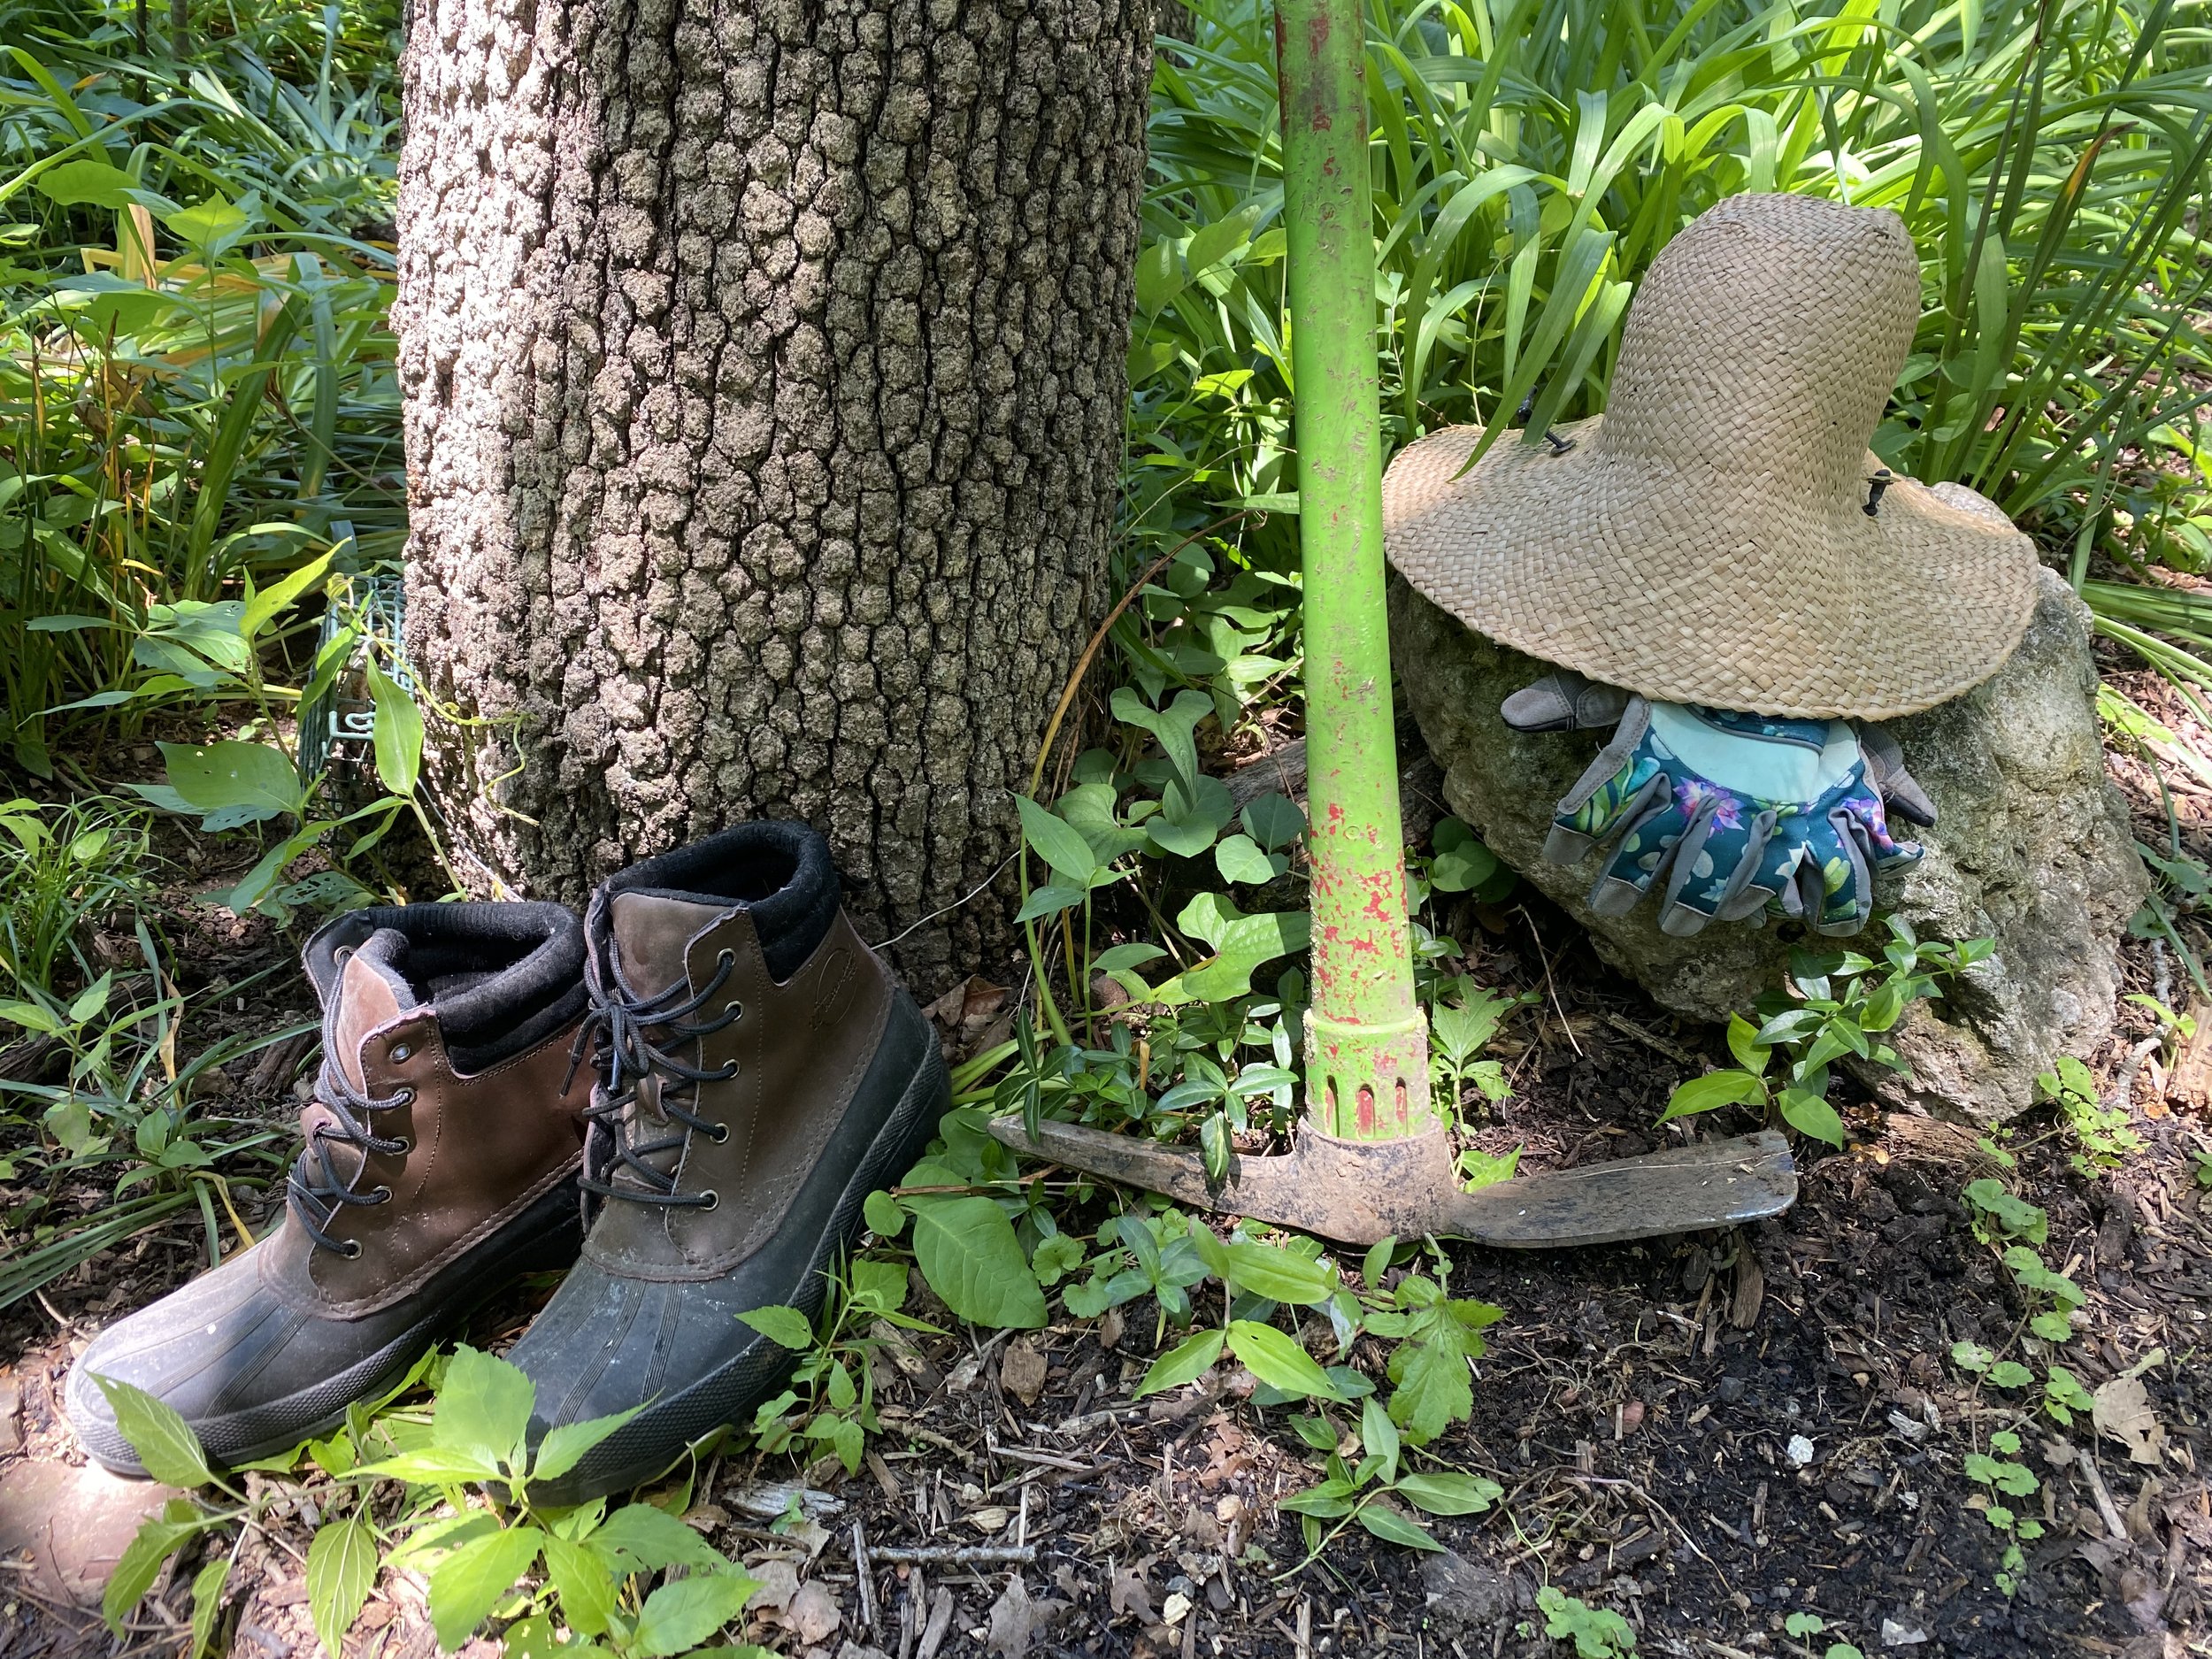
Some of my tools to garden on a Missouri limestone hillside. (Charlotte Ekker Wiggins photo)

Favorite Gardening Tool

It’s interesting to watch a new generation of gardeners with their raised beds, ergonomic hats and specialty tools. Gardening for several decades now on a one-acre Missouri limestone hillside, where my neighbors said nothing would grow, I didn’t have some of those options. I resorted to hardware stores for my gardening gear.

Basic gardening gear today usually includes a cute pair of ergonomic shoes; floral-patterned gloves; a collection of unique purpose hand tools and a pretty, wide-brimmed hat perfect for a tea party.

I love hats and have several pretty gardening ones hanging on my hallway wall. My favorite and most practical gardening hat was a thrift store find. It has an under-the-chin tie. Although not as pretty as most gardening hats, it gives me shade and stays on when winds out of the west quickly move in from the south. Although I can see storms moving in from my vantage point, I don’t always stop gardening preceding an incoming storm. I really should rethink that. Our last storm was an EF1 tornado.

I also have waterproof footwear; heavy duty hunting boots, best for trampling through overgrown patches and staying upright when a steep hillside is wet.

My favorite small gardening gloves with built-in grips were found on sale at a hardware store at the end of the season. I bought all that were left and wouldn’t know where to find more. They have flowers printed on part of the fabric. The more important aspect is that they have a woven fabric on the palms that give me extra grip. One doesn’t think grip is important until one has a hefty tool in hand using my favorite gardening tool: a pick ax.

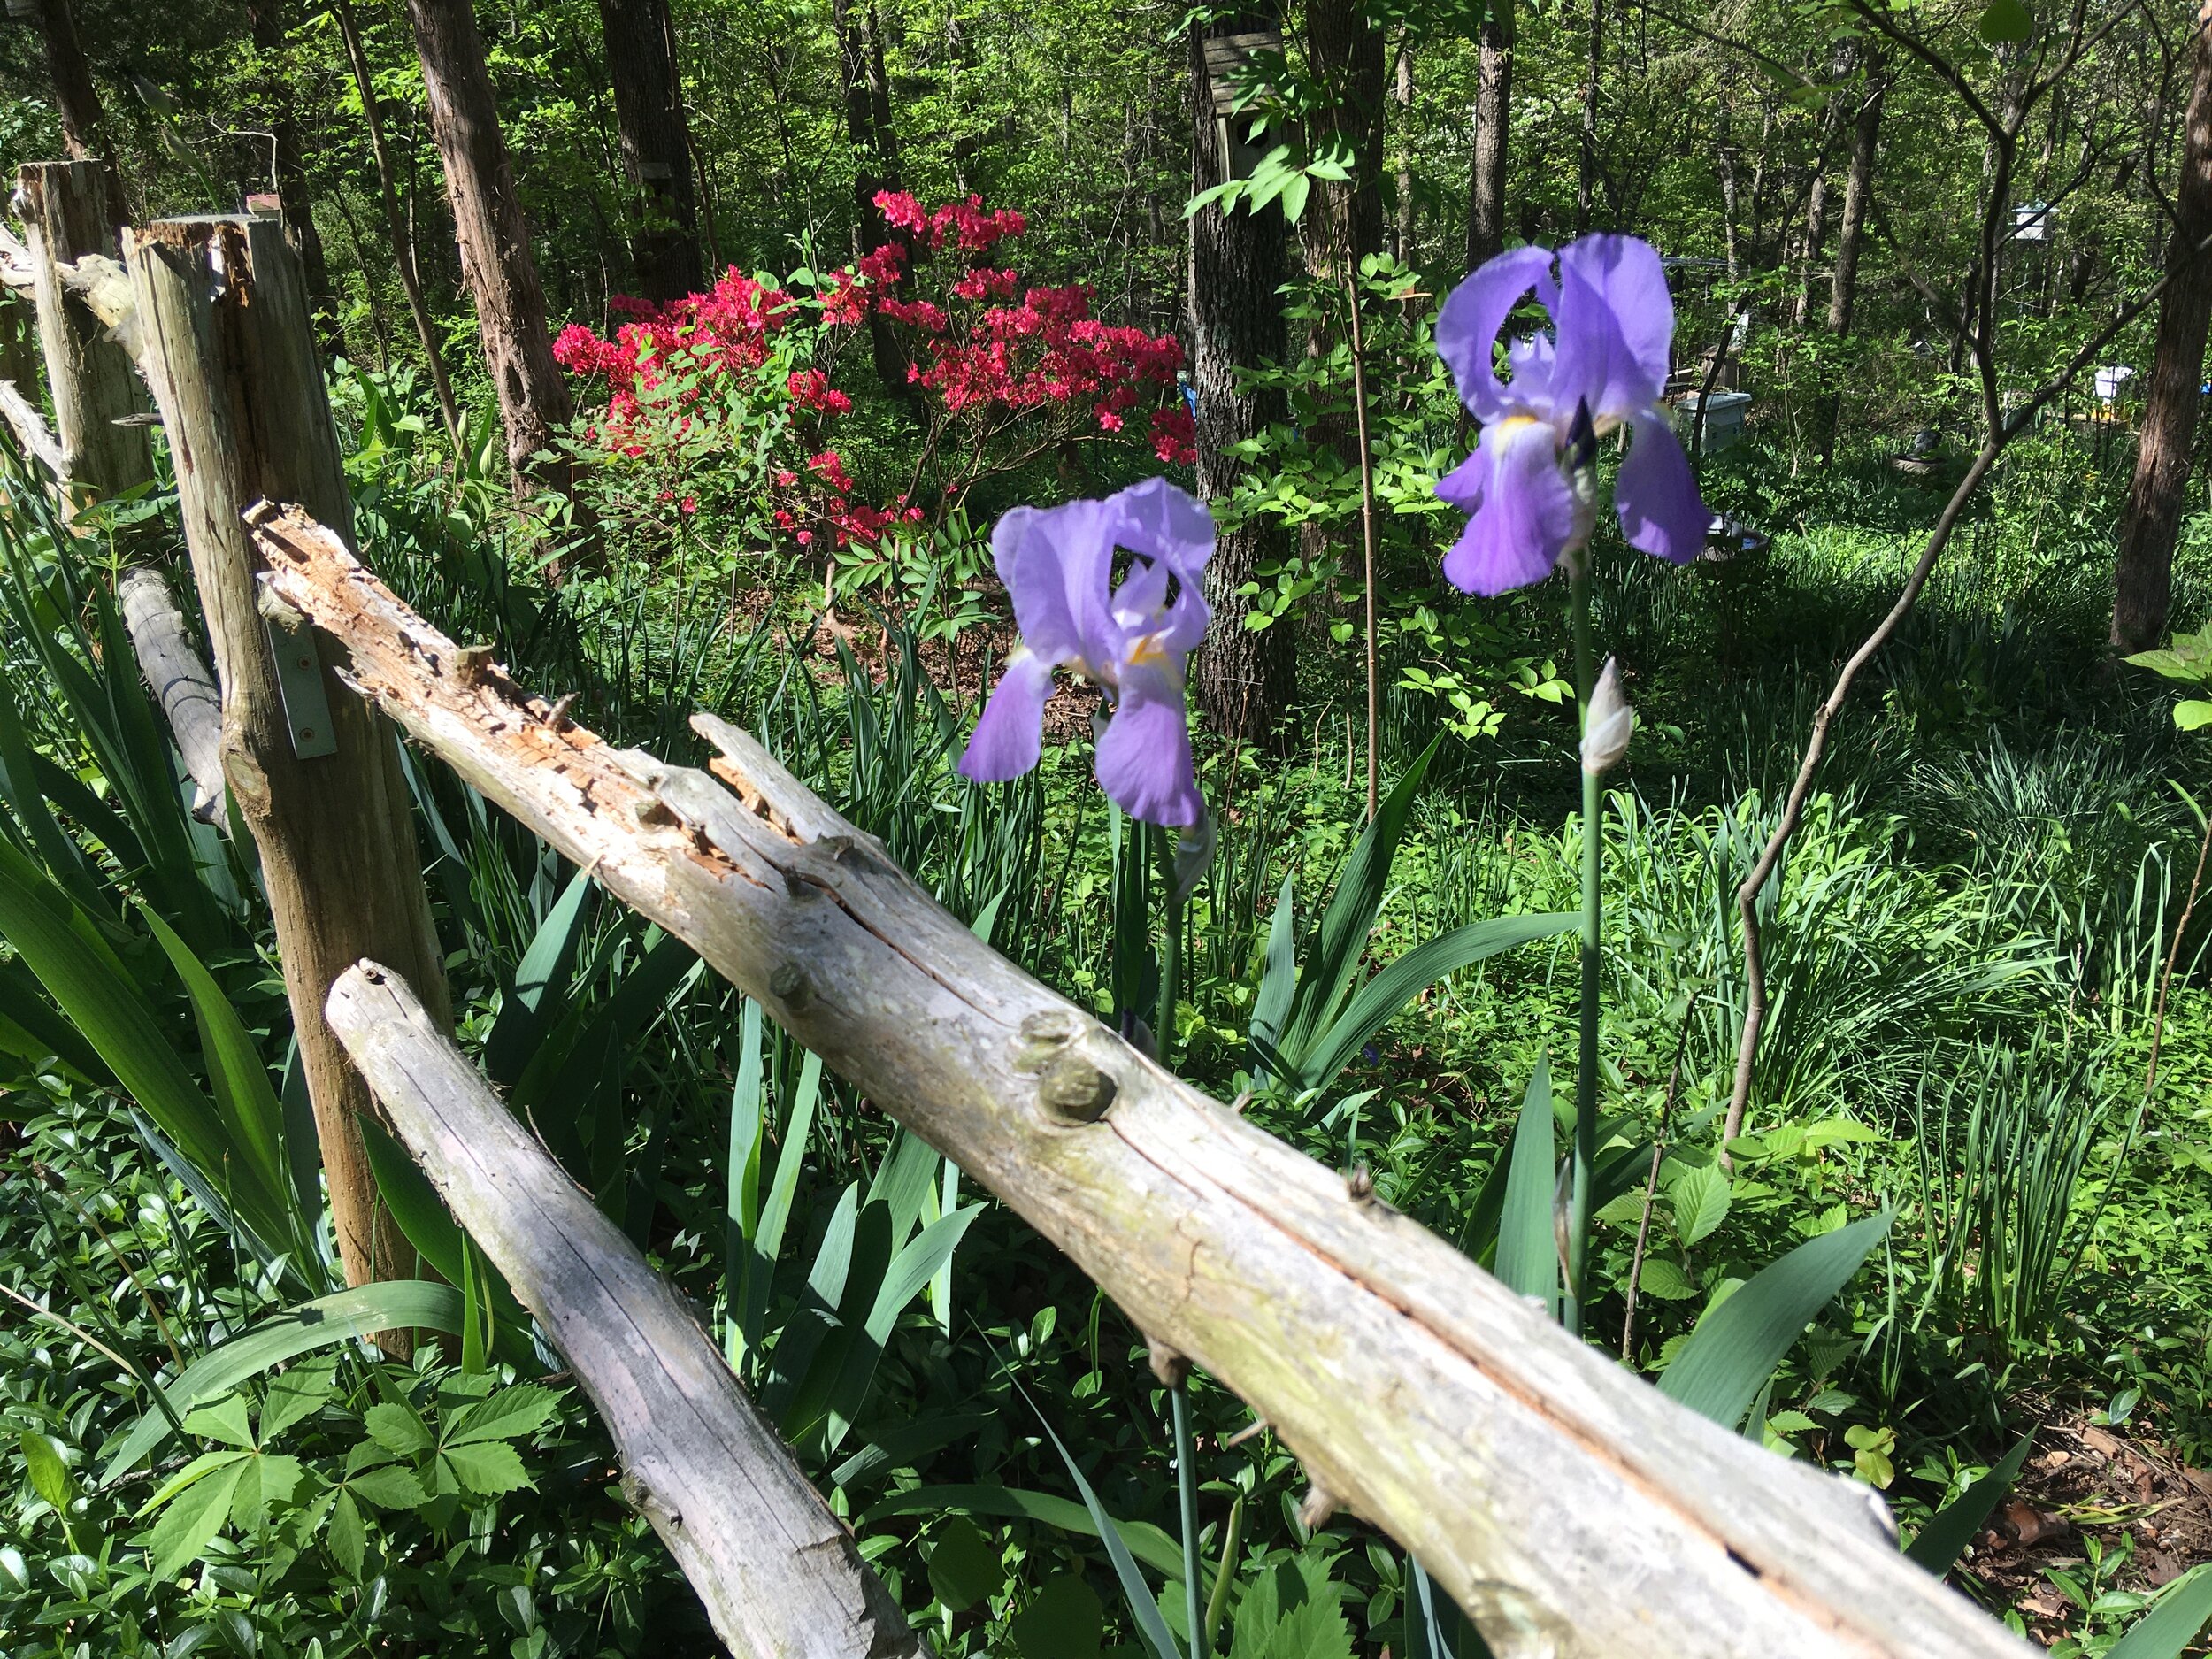
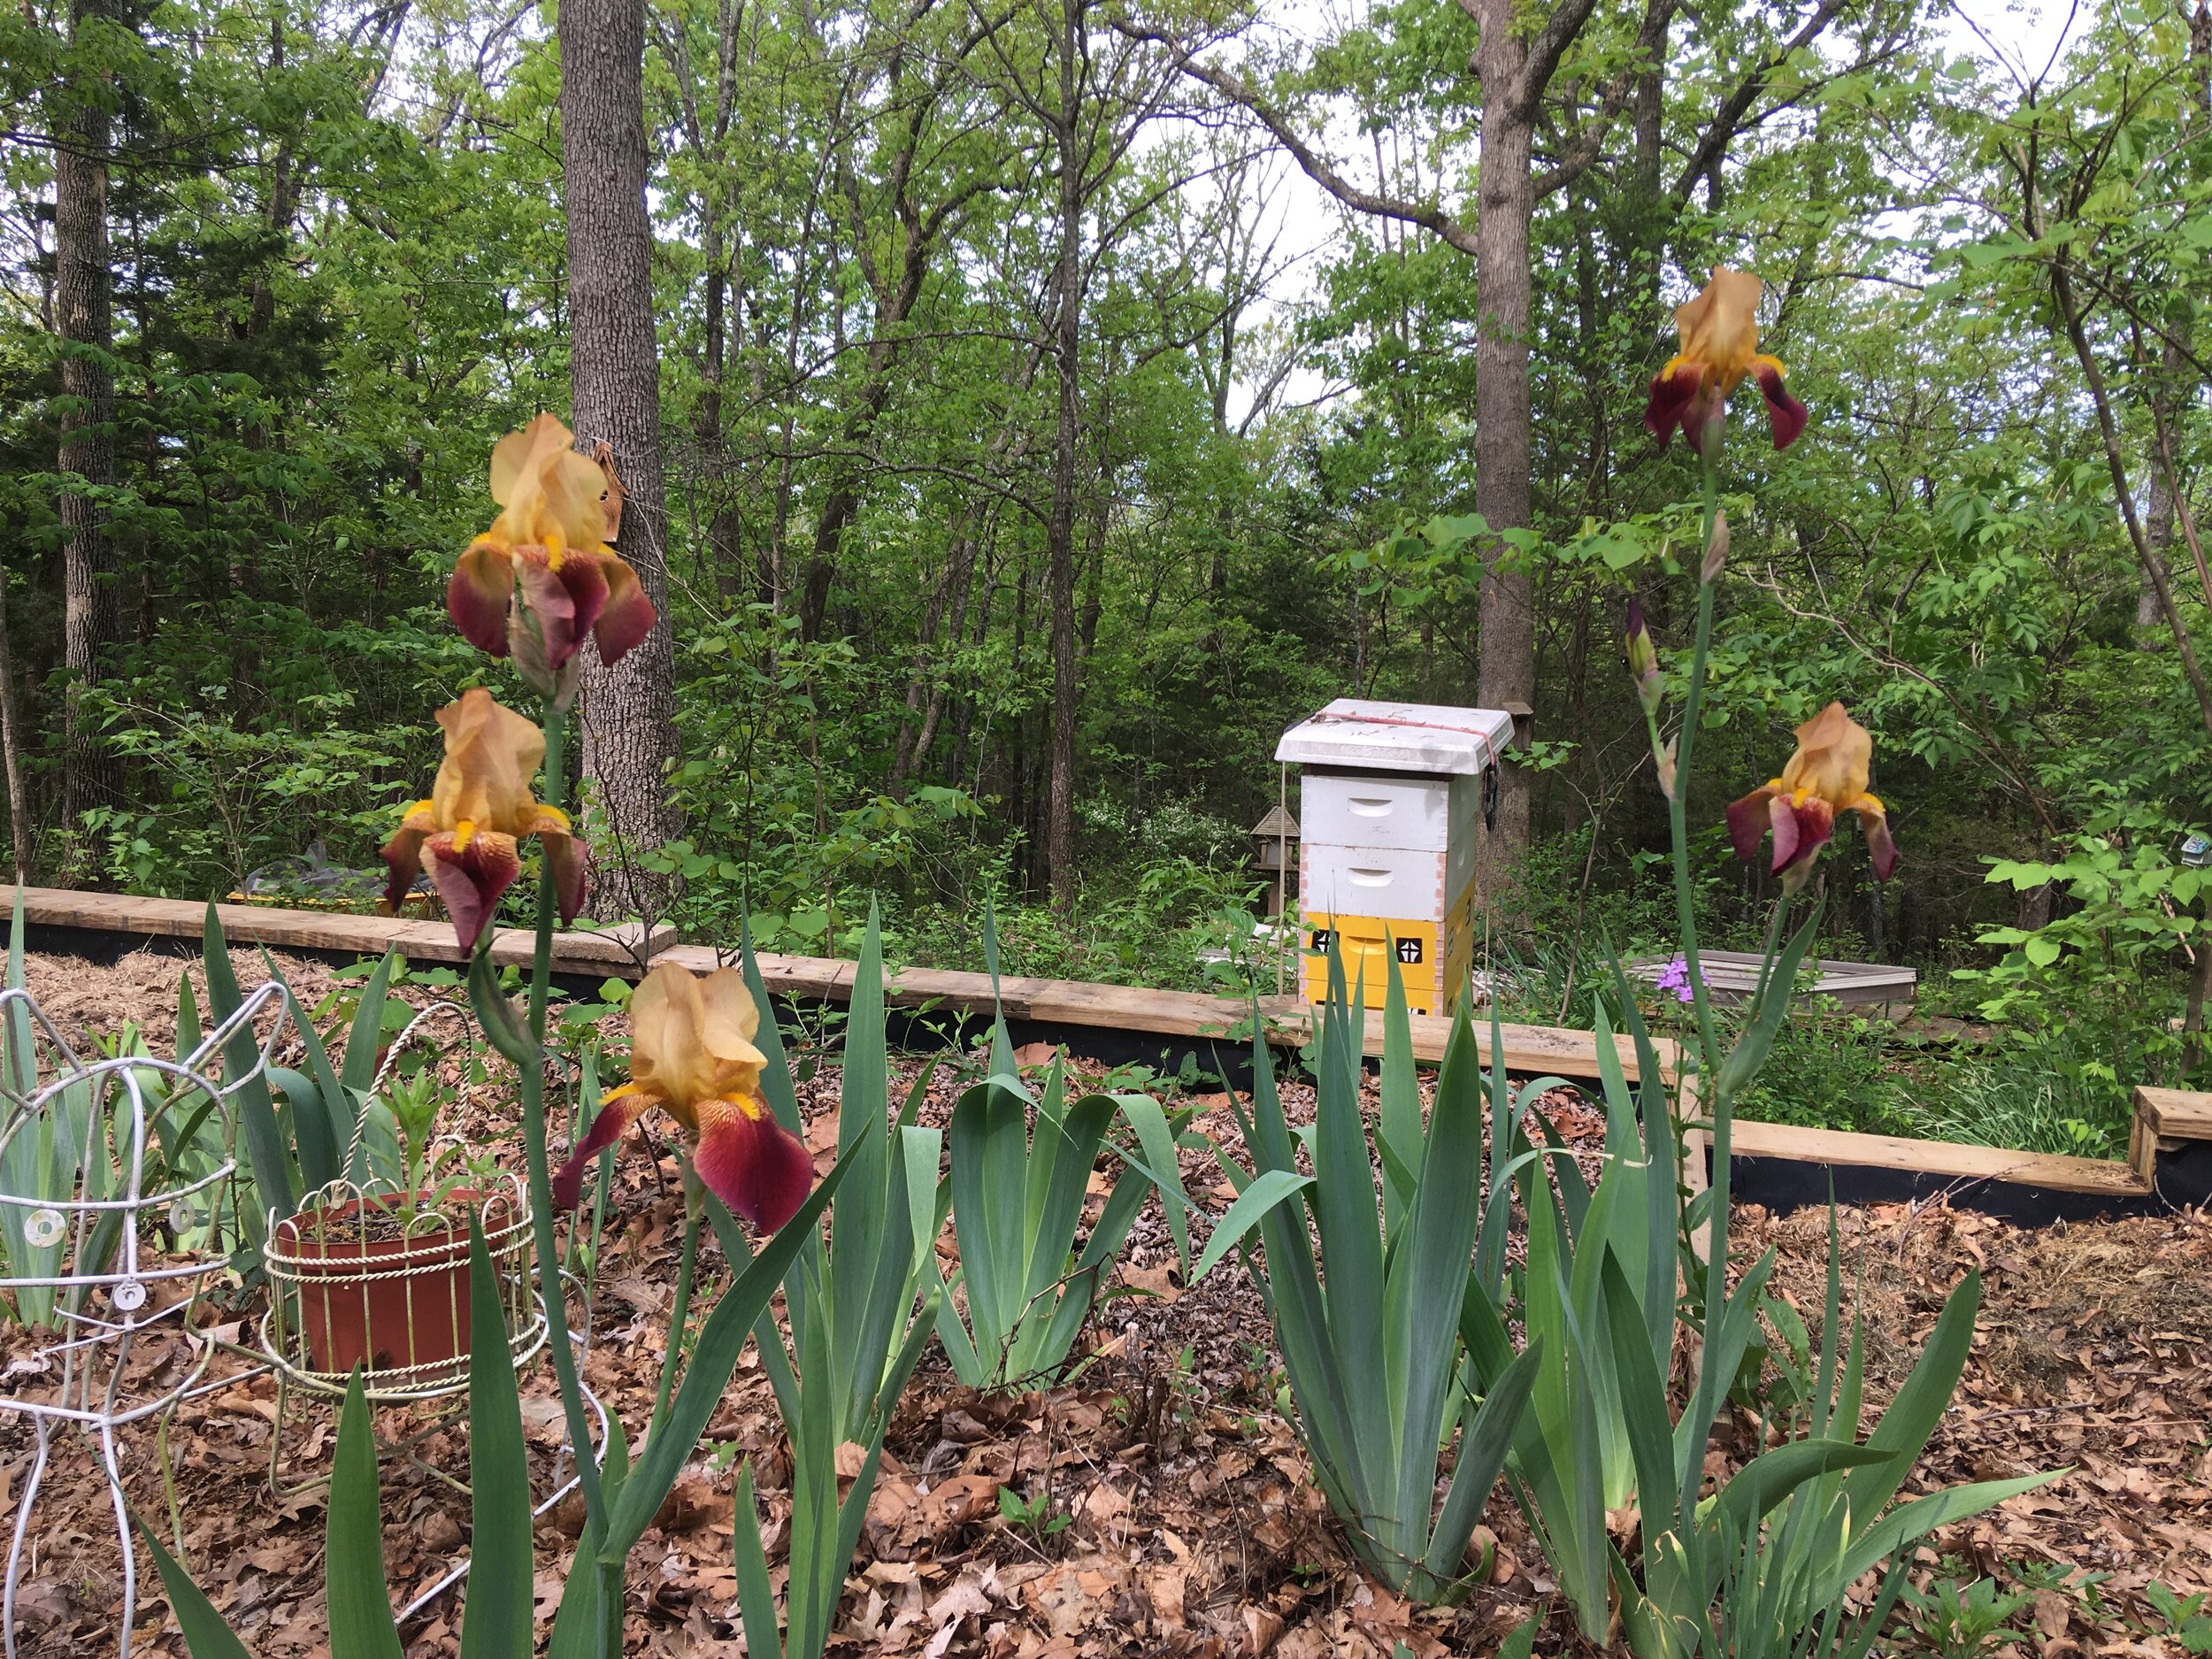
Actually I have two, one for each side of the garden flanking the house. I grow mostly rocks on this hillside with intermittent hardy flowers. They have to be to survive in this USDA Hardiness zone 6 garden. I still garden as if I am in USDA Hardiness zone 5 because weather has become so unpredictable. I am especially fond of native trees, shrubs and flowers. The one downside is that it can take them a long time for roots to get established. One of my flowering dogwood trees was 3-feet tall for a good 20 years before it added new growth.

Since soil is 45% rock, I may also be contributing to developing new soil by pickaxing this hillside. Soil is not renewable so I include flower borders to protect what little soil I do have. The pick ax helps me build trenches to install downed tree trunks I use for soil guarding borders.

Cut down trees also make for wonderful water-retaining bottoms to new flower beds. I can pickax holes in the trees to make planting spaces until plants can get established roots. See previous reference for how long that can take.

Wood chips from our local recycling center and homemade compost boost the soil. I can easily mix them with the pick ax pointed end.

The pick ax is also handy because I either need to create planting holes or locate them. Either way, the pick ax makes the process faster and easier, as long as it doesn’t hit me on the head as it ricochets from hitting something hard. Now I rummage around to determine what I’m digging into first. Had to relearn that lesson just last week.

With practice, the pick ax is also an excellent tool for digging up plants that need to be moved. I can easily get a ball of soil around their roots. Moving that big blob of plants and soil is a different story. Not to mention having to dig a large enough hole to welcome it.

One of my two pick axes losing their red paint. (Charlotte Ekker Wiggins photo)

Someone else must have my growing conditions because the latest pick axes I bought had a green plastic coating. When I first purchased these, they were frequently lost, or as I prefer to refer to them, still working somewhere.

My handyman surprised me one day by spray painting them red. In the meantime I also developed a system where I would only place them in certain areas so that I didn’t lose them.

Pick axes vary in size and weight. Whatever my green ones are, they give me a good workout best appreciated at the end of a day in the garden.

Time for a new coat of red paint.

Charlotte

This post is part of the #GardenBloggersChallenge sponsored by Gardencomm for the month of May. You are invited to join in and can see more details at gardencomm.org.

Growing Iris

Some of the blue Iris from my mother’s favorite iris beds. (Photo by Charlotte Ekker Wiggins)

Some of the blue Iris from my mother’s favorite iris beds. (Photo by Charlotte Ekker Wiggins)

Growing Iris

When I think of Mother’s Day flowers I think of peonies and iris, usually combined. Where I garden in USDA Hardiness zone 5B, peonies and iris tend to bloom in and around the traditional Mother’s Day holiday. The second weekend in May also tends to be the last hard frost day where I live. In other words, two great reasons to give Mom flowers for Mother’s Day.

There are more than 200 different Iris varieties. The ones most people ask me about are the Bearded Iris, like the ones in the photo.

If you don’t know if you have your Iris planted correctly, this is a good time to look at the green flags that represent leaves and monitor if you see any buds popping up.

White iris from a friend’s garden getting ready to bloom. (Photo by Charlotte Ekker Wiggins)

White iris from a friend’s garden getting ready to bloom. (Photo by Charlotte Ekker Wiggins)

If your Iris is blooming, that means you have it planted in the right conditions for both soil and light requirements.

If not, check how much light your Iris are getting, most prefer full sun.

Secondly, check how deep you planted the rhizomes. Iris flowers and leaves grow from basically a thick root that needs to sit on top of soil. The roots like to be below but the rhizome itself needs to sit at soil level.

Iris rhizomes need to be sitting on top of soil with roots nicely covered. (Photo by Charlotte Ekker Wiggins)

Iris rhizomes need to be sitting on top of soil with roots nicely covered. (Photo by Charlotte Ekker Wiggins)

If you can’t see your rhizomes you have your Iris planted too deeply.

To correct, carefully dig up the rhizomes after a good rain and re-plant with the rhizomes sitting on top. If you planted them too deep they won’t bloom this year so move them as soon as you can. That will give roots extra time to get established and hopefully bloom next year.

Another group of Bearded Iris in bloom in my garden. (Photo by Charlotte Ekker Wiggins)

Another group of Bearded Iris in bloom in my garden. (Photo by Charlotte Ekker Wiggins)

Aren’t these stunning? My mother used to call Iris the equivalent of North American orchids. We grew up in South America with a backyard full of orchids so that was a familiar reference.

One last thing about the name “Iris.” In Greek, the word stands for rainbow, a wonderful association with this lovely family of blooming plants.

The blue bearded Iris in the top photo, by the way, are descendants of ones I brought to Missouri from my mother’s favorite Iris bed. She was given the Iris for Mother’s Day many decades ago, then moved them when she moved to northern Illinois.

I like to think her spirit is still enjoying these flowers.

Charlotte

Daffodil After Care

Daffodils blooming among my soil-hugging Blue Vinca. (Photo by Charlotte Ekker Wiggins)

Daffodils blooming among my soil-hugging Blue Vinca. (Photo by Charlotte Ekker Wiggins)

Daffodil After Care

Daffodils are a garden favorites and for good reason. They are easy to plant; they come back year after year and, with a little good care, will bloom for many years to come. I’m talking decades here.

If you have ever come across abandoned farmsteads, you usually can find the main farm house by following the daffodils. These small, old-fashioned yellow trumpet-faced flowers announced the advent of spring and were usually planted close to home.

There is another reason why they survived for so long. Their green leaves, or stalks, were not cut down after they bloomed. The leaves are solar collectors, turning sunlight into sugar that is stored in the underground bulbs. That stored energy generates the next year’s flowers. Now do you think you might know why your daffodils aren’t blooming?

I keep bunches of daffodils together for garden color. (Photo by Charlotte Ekker Wiggins)

I keep bunches of daffodils together for garden color. (Photo by Charlotte Ekker Wiggins)

Cutting Daffodils

One of my favorite all time things to do with daffodils is to cut and share them. To maintain their obvious garden presence, I look for daffodils that have fallen to the ground to cut. Some have bent stems, others are just too leggy and can’t hold the flower heads up any more. Those to me are the daffodils that get to come inside, leaving a strong daffodil presence still in the garden.

Downed daffodils get cut for inside flower bouquets. (Photo by Charlotte Ekker Wiggins)

Downed daffodils get cut for inside flower bouquets. (Photo by Charlotte Ekker Wiggins)

One of my garden walks on the south side. (Photo by Charlotte Ekker Wiggins)

One of my garden walks on the south side. (Photo by Charlotte Ekker Wiggins)

Daffodil After Care

As I am walking the garden to cut daffodils, I also dead head the ones that are fading. Daffodils don’t all bloom at once. The tiny yellow ones are the first to bloom, followed by a wide variety of colors and shapes that get different starts depending on how much sun they have, how much rain, the quality of the soil.

When buying daffodil bulbs, get early, mid and late bloomers to extend your daffodil blooming season. While you are at it, also get a bag of bone meal to add to the bottom of the planting hole. Bone meal is a natural fertilizer and excellent daffodil food. A tiny handful per planting hole is all you need to provide the bulbs phosphate to ensure blooms next year. I also scatter a couple of bags of bone meal over the garden before a good rainfall after they finish blooming.

Now here is one of my clumps of white daffodils that are fading.

A clump of fading white daffodils next to a yellow daffodil bunch. (Photo by Charlotte Ekker Wiggins)

A clump of fading white daffodils next to a yellow daffodil bunch. (Photo by Charlotte Ekker Wiggins)

To save what energy they have left, I cut off the fading flower heads leaving the green stems intact. Use clippers to cleanly cut off the flower head.

I also leave the fading flowers in the ground to compost back into the soil. Not always, though. Sometimes I collect the flower heads and add them to the compost bin, just depends on how fastidious I’m feeling.

I don’t cut the nearby yellow daffodils, those stay to keep color in that garden spot.

The daffodil clump trimmed, leaving the fresh flowers. (Photo by Charlotte Ekker Wiggins)

The daffodil clump trimmed, leaving the fresh flowers. (Photo by Charlotte Ekker Wiggins)

The ground cover around the daffodils is Vinca. To keep my soil on this hillside, Vinca has been an excellent plant to hold in the soil. The blue flowers also look lovely among the yellow and white spring daffodils.

It can take over so if you add Vinca, keep it contained by pulling out the plants by their roots.

My refreshed bouquet of cut daffodils now keeping me company inside. (Photo by Charlotte Ekker Wiggins)

My refreshed bouquet of cut daffodils now keeping me company inside. (Photo by Charlotte Ekker Wiggins)

My newest bouquet of mixed daffodils now keeping me company. Do cut and bring some inside, they are wonderful signs of spring and hope!

Charlotte