When Is It Too Late to Plant in Fall?
/
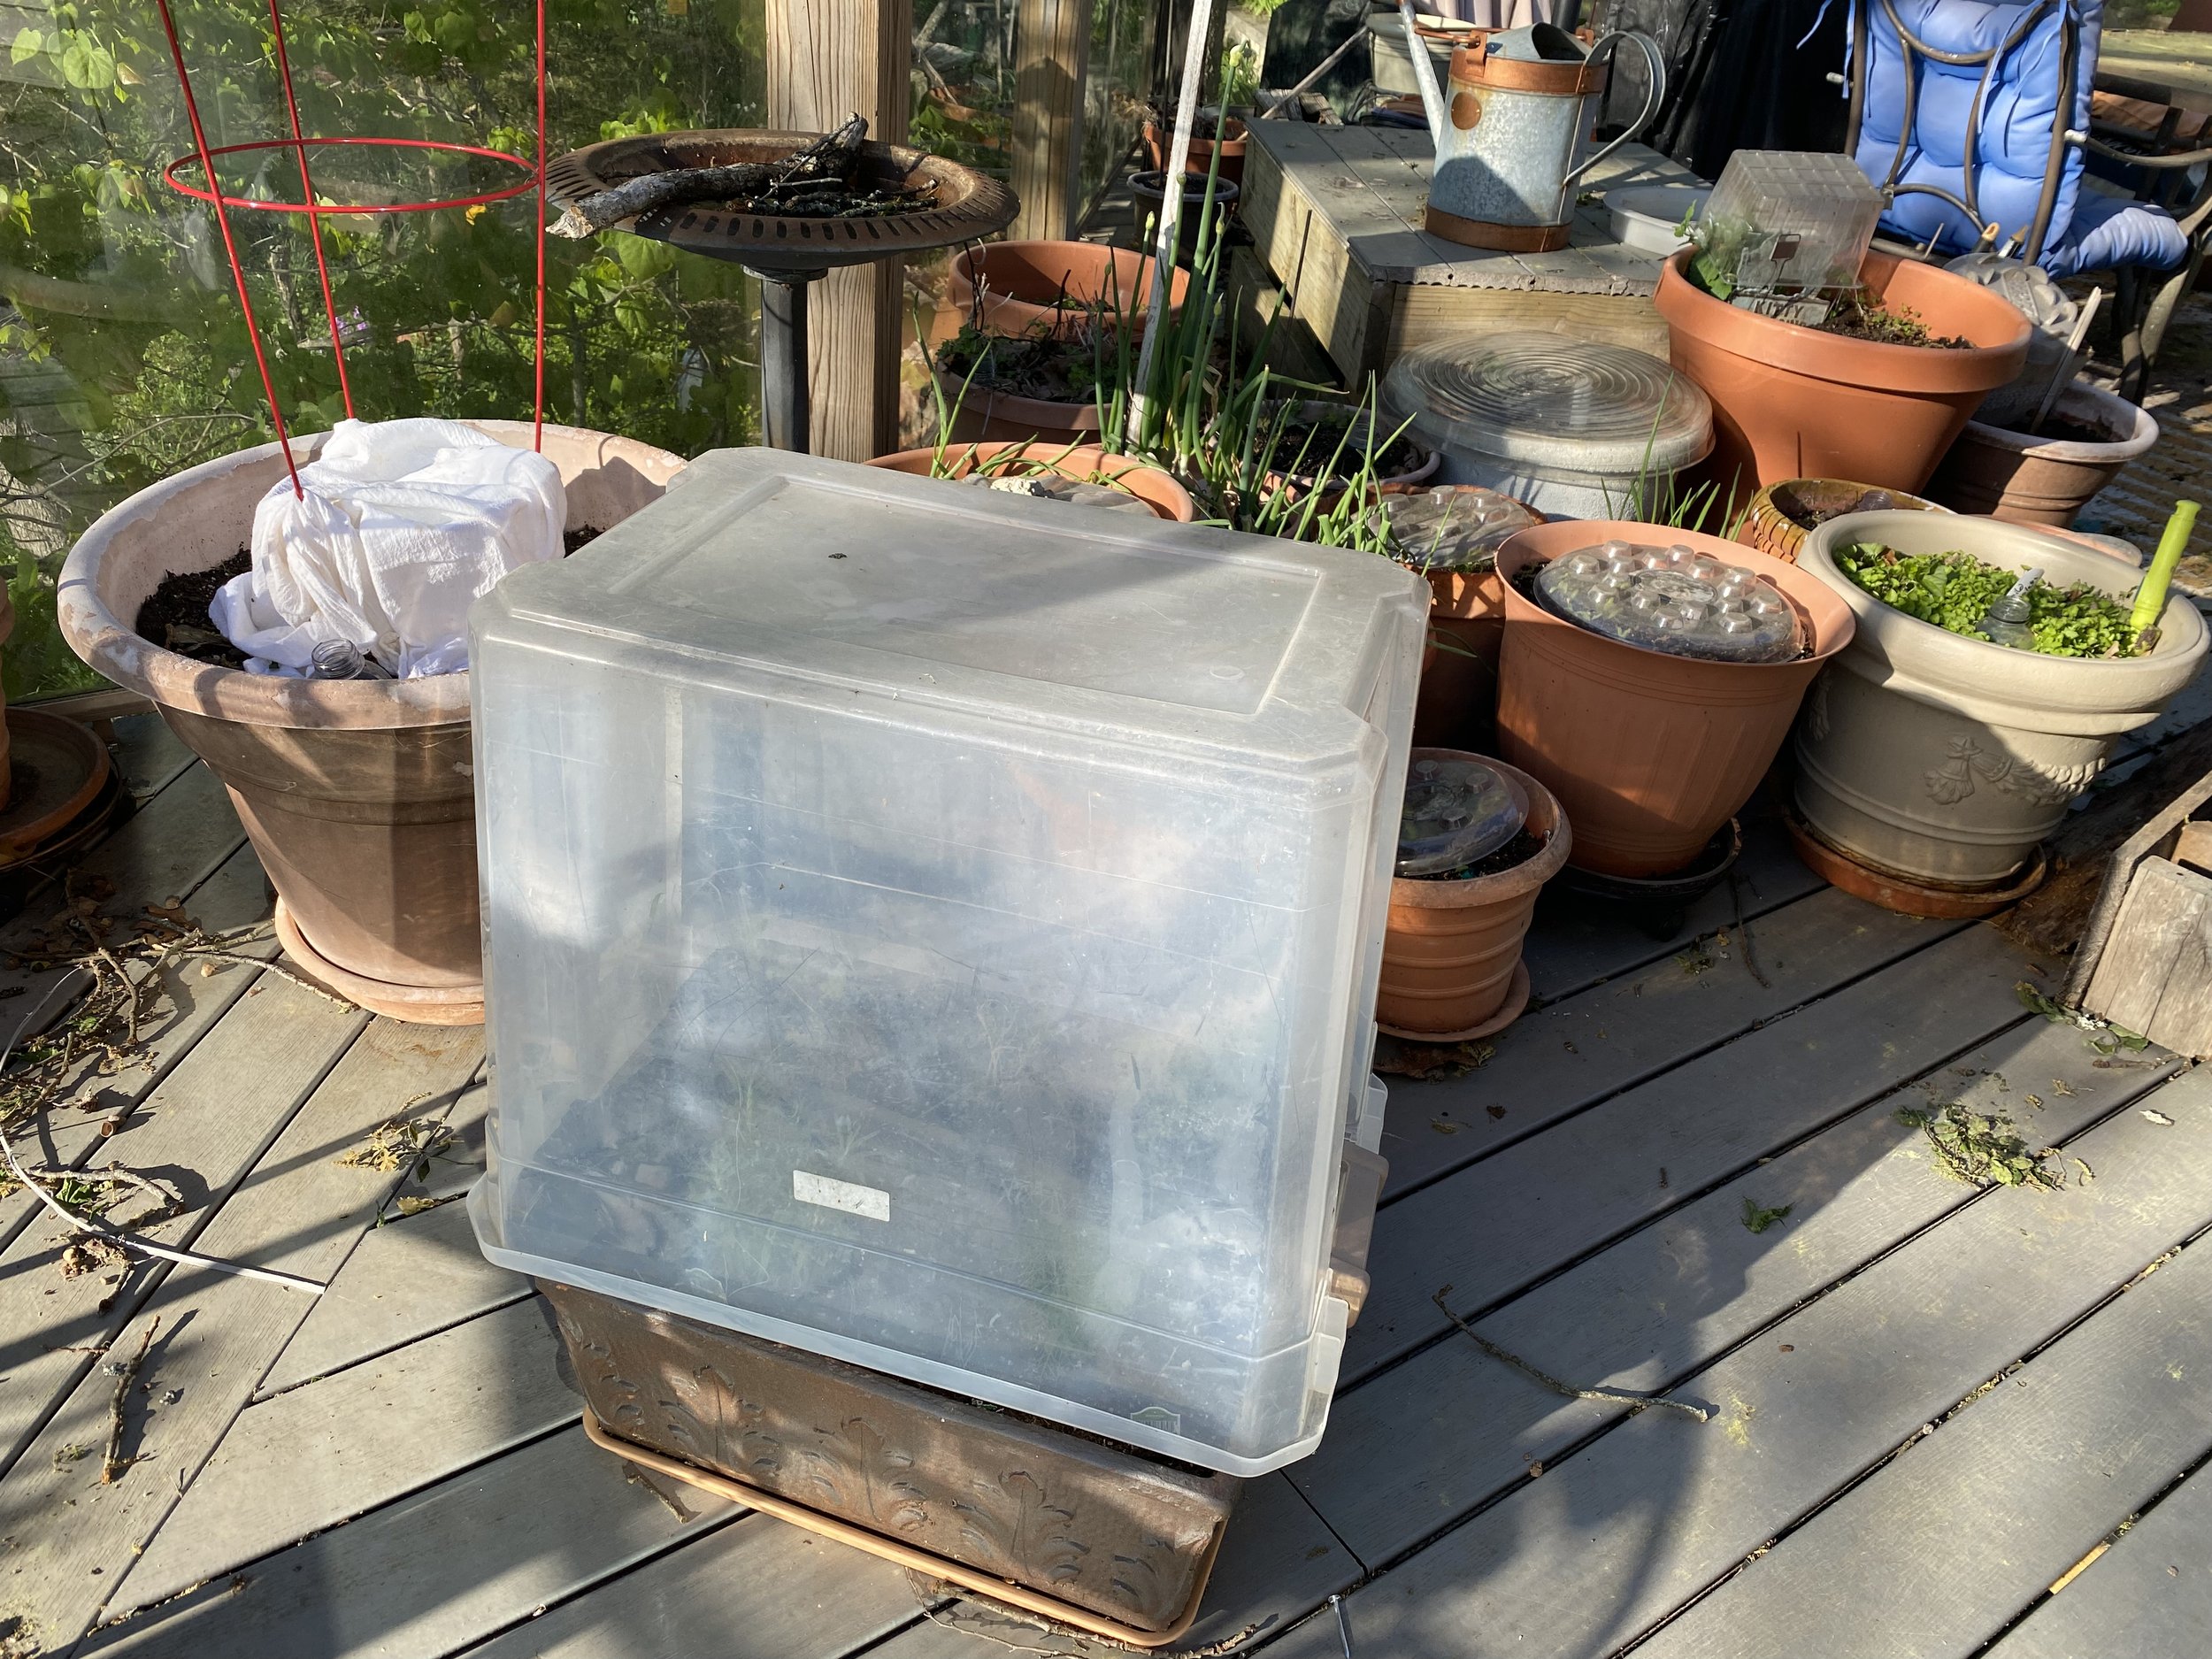
Part of my stash of sale plants I am getting into the ground in late October in mid-Missouri. (Photo by Charlotte Ekker Wiggins)
“Charlotte, that’s a pile of plants to get into the ground before winter. We had a frost last night, aren’t you afraid the cold weather will kill them off?” — Darryl
When Is It Too Late to Plant in Fall?
Hi Darryl,
I would if I had not done this a few times before. The question of when to stop planting has to do with how cold the soil is, not the first hard frost. In USDA Hardiness zone 5b, although we may have our first killing frost around Halloween, which kills off the top of the plant, the critical part of the plant that needs to get established is the roots. The soil where I live stays warm well into December.
That’s why fall is a good time to plant trees. There will be a good 4-6 weeks before the ground hardens and the winter cold pushes plants into dormancy.
Plants that have been established in pots over the growing season have strong enough roots to get them into the ground now so they can settle in before the winter soil freeze. I would be less enthusiastic if these plants were recently planted and their roots were still developing. When you see roots waving at you from the bottom of the pot that’s a sure sign the roots have had a good growing spurt.
If you have bare root plants, I would pot them in new potting soil, water them well and bury them in a garden area still in their pots. A nice mulch blanket of dry leaves will keep moisture in the soil and protect the plants from temperature fluctuations. I also place a couple of handfuls of wet dry leaves in the bottom of the hole to make sure the roots have access to moisture.
I will do the same thing with any plants I can’t get into the ground now.
I have successfully pulled a number of plants through winter still in their pots in my nursery area but I do feel guilty when they are still growing there after 2 years. I really should move them into their final growing space in my garden.
Charlotte