Best Leaf Mulch
/
Shredded leaves make excellent mulch and growing medium. (Photo by Charlotte Ekker Wiggins)
Best Leaf Mulch
Over the years I have become very particular about the leaves I use for fall mulching. My favorite combination are the leaves ground up by lawn mowers and turned into small pieces.
I can usually find those shredded leaves in bags people haul to our local recycling center. Not every bag will work. Some have tiny pieces of grass mixed in. Others include small twigs and even seed pods. Nothing wrong with those additives for recycling but for my flower beds I want just the shredded fall leaves.
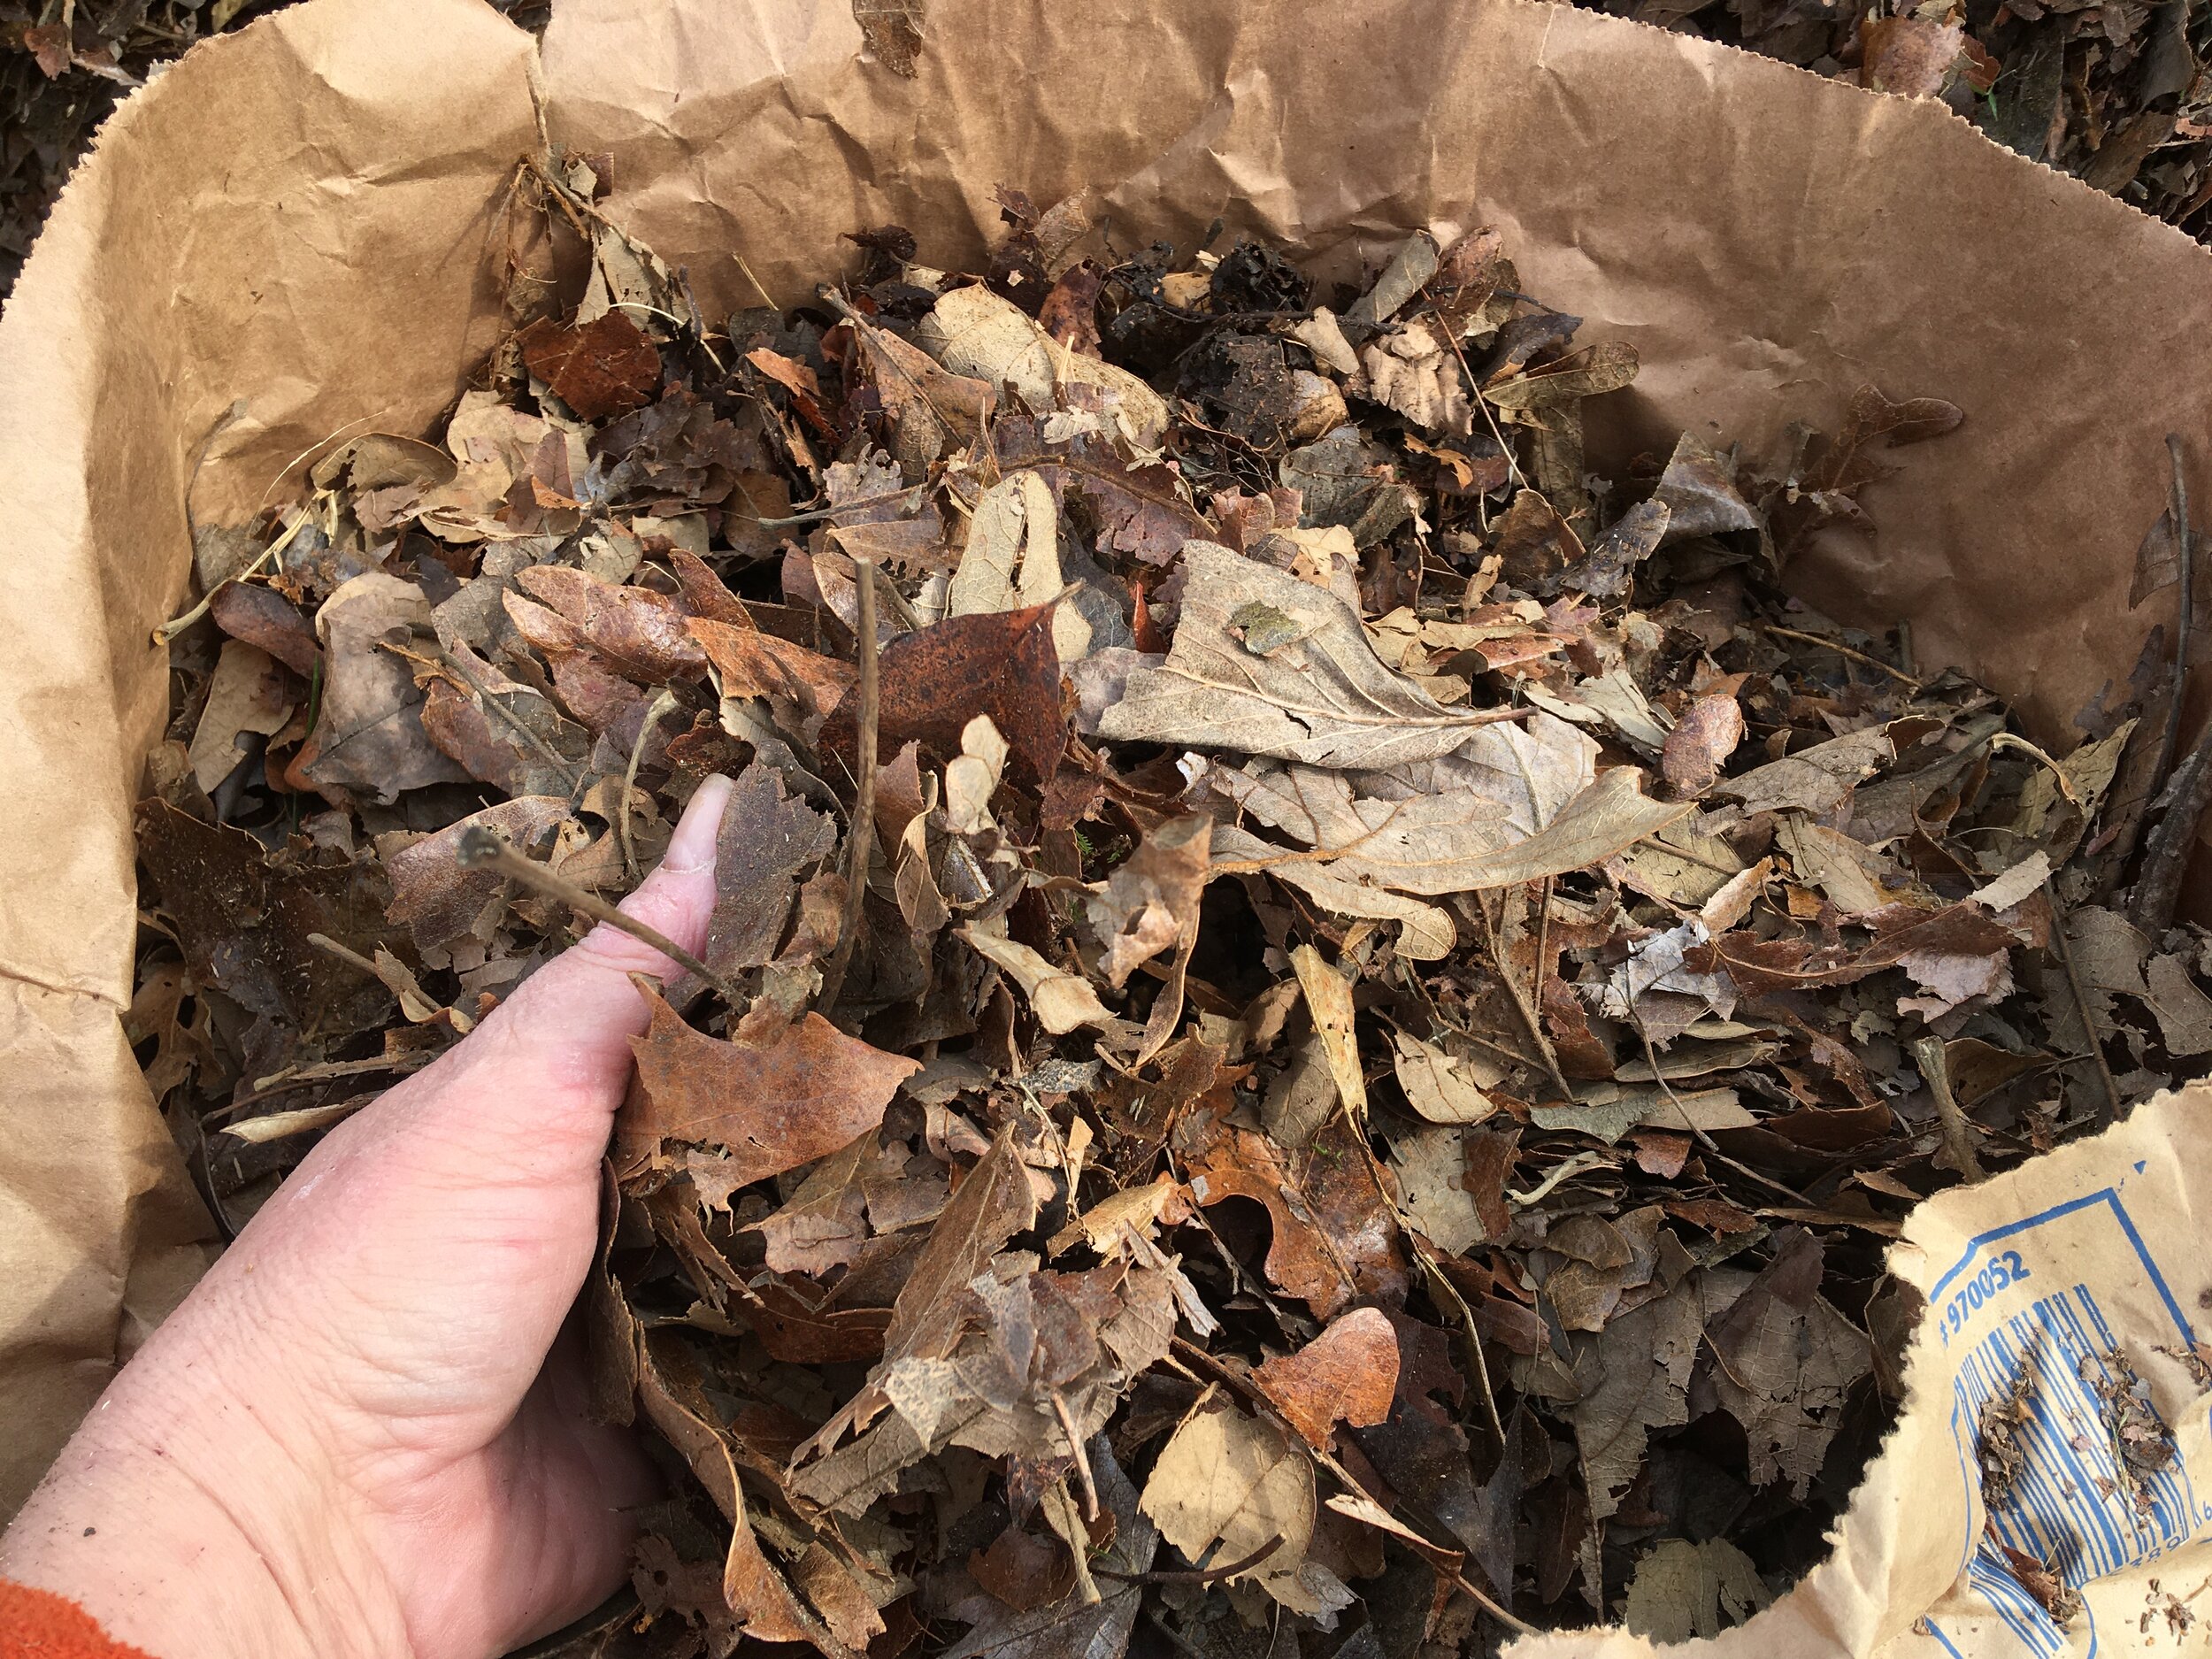
Some shredded leaves without anything else mixed in. (Photo by Charlotte Ekker Wiggins)
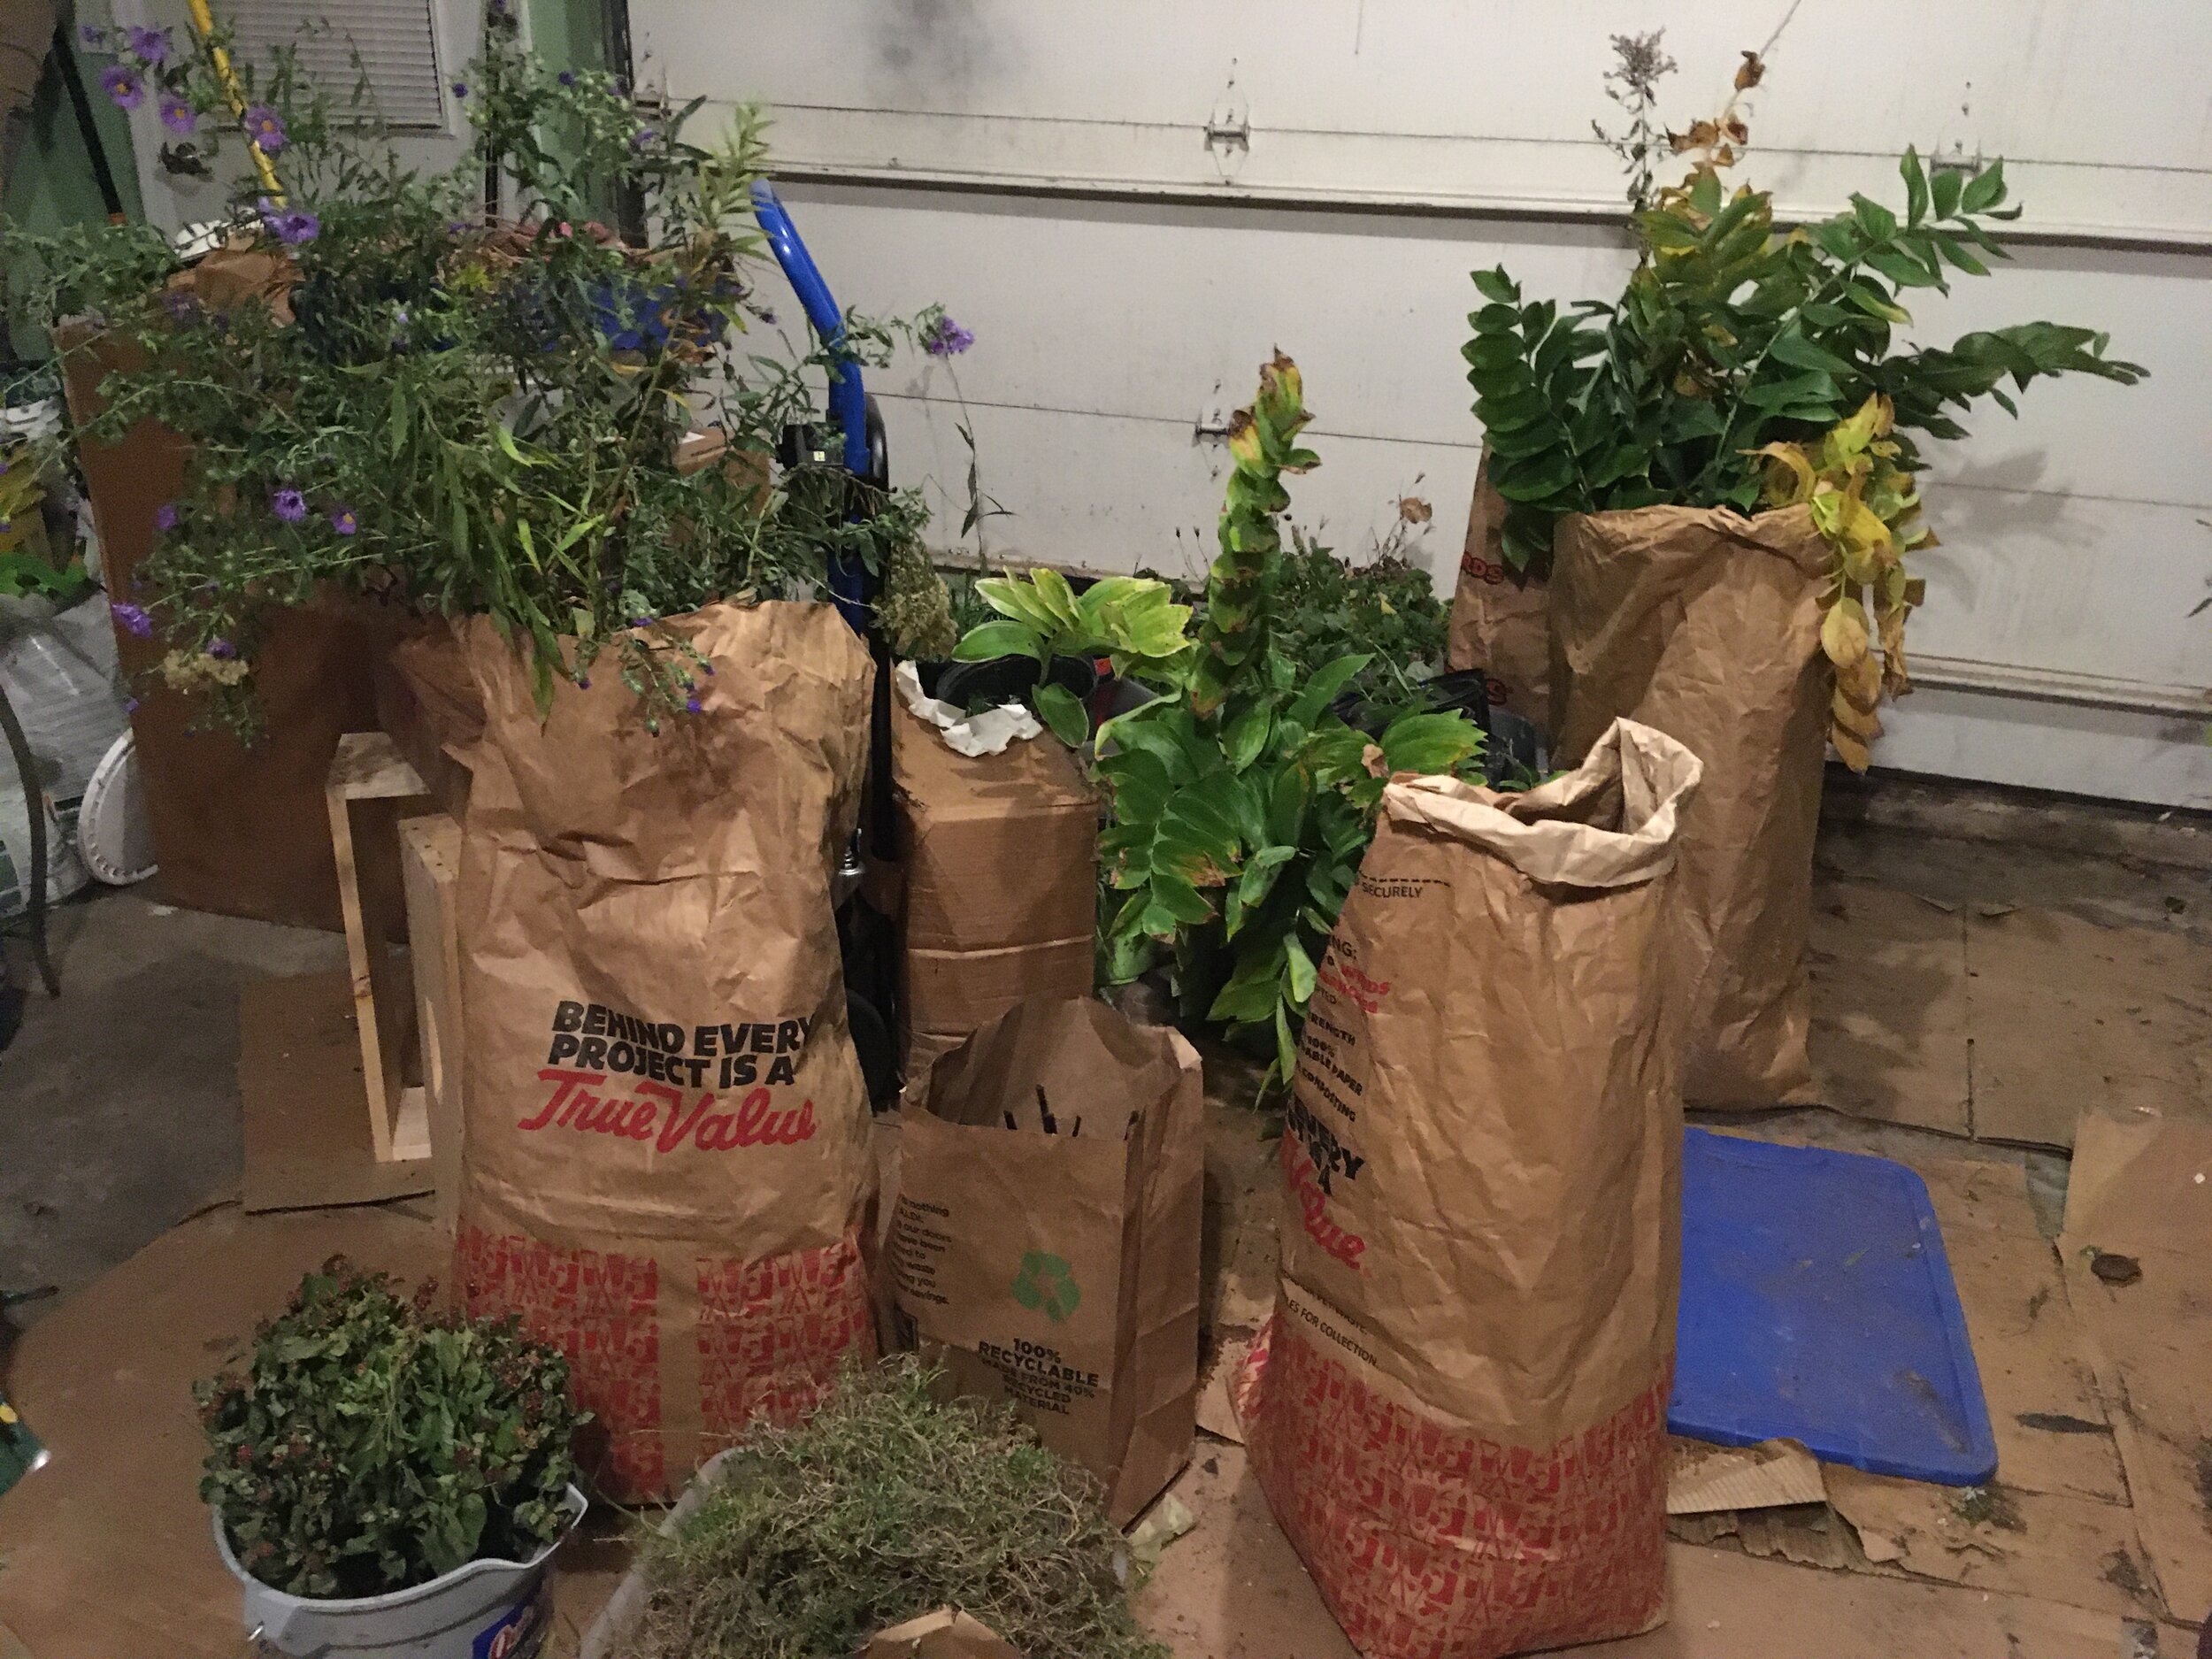
On warm fall days, I will look for a pile of dumped shredded leaves and fill brown bags full or the shredded leaf goodness.
Be careful, the dust of the leaves can get into your lungs if you get too close.
Here’s what one of the larger piles of dumped shredded leaves looks like. The taller pile makes it easier to fill brown bags.

Be still my heart, a pile of shredded leaves waiting for me at our local recycling center. (Photo by Charlotte Ekker Wiggins)
Besides working as mulch, which keeps the soil temperature around plant roots from thawing and heaving, shredded leaves make an excellent planting medium in spring. By then the leaves have started to decompose and some plant roots will find their way into the decomposing leaves for nutrition and ease of growth.
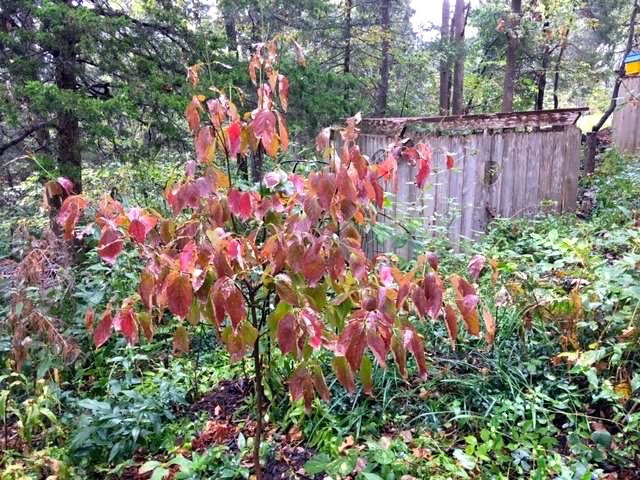
In fall, i will cover roses, newly-planted perennials such as mums and any trees I may add with shredded leaves. The leaves will provide the new plants with protection as they settle into their new growing spots.
I also use shredded leaves to protect my hillside flower beds. Winter winds can dry out plants; by covering them with shredded leaves, they not only get protection from changing temperatures but also from damaging winds.
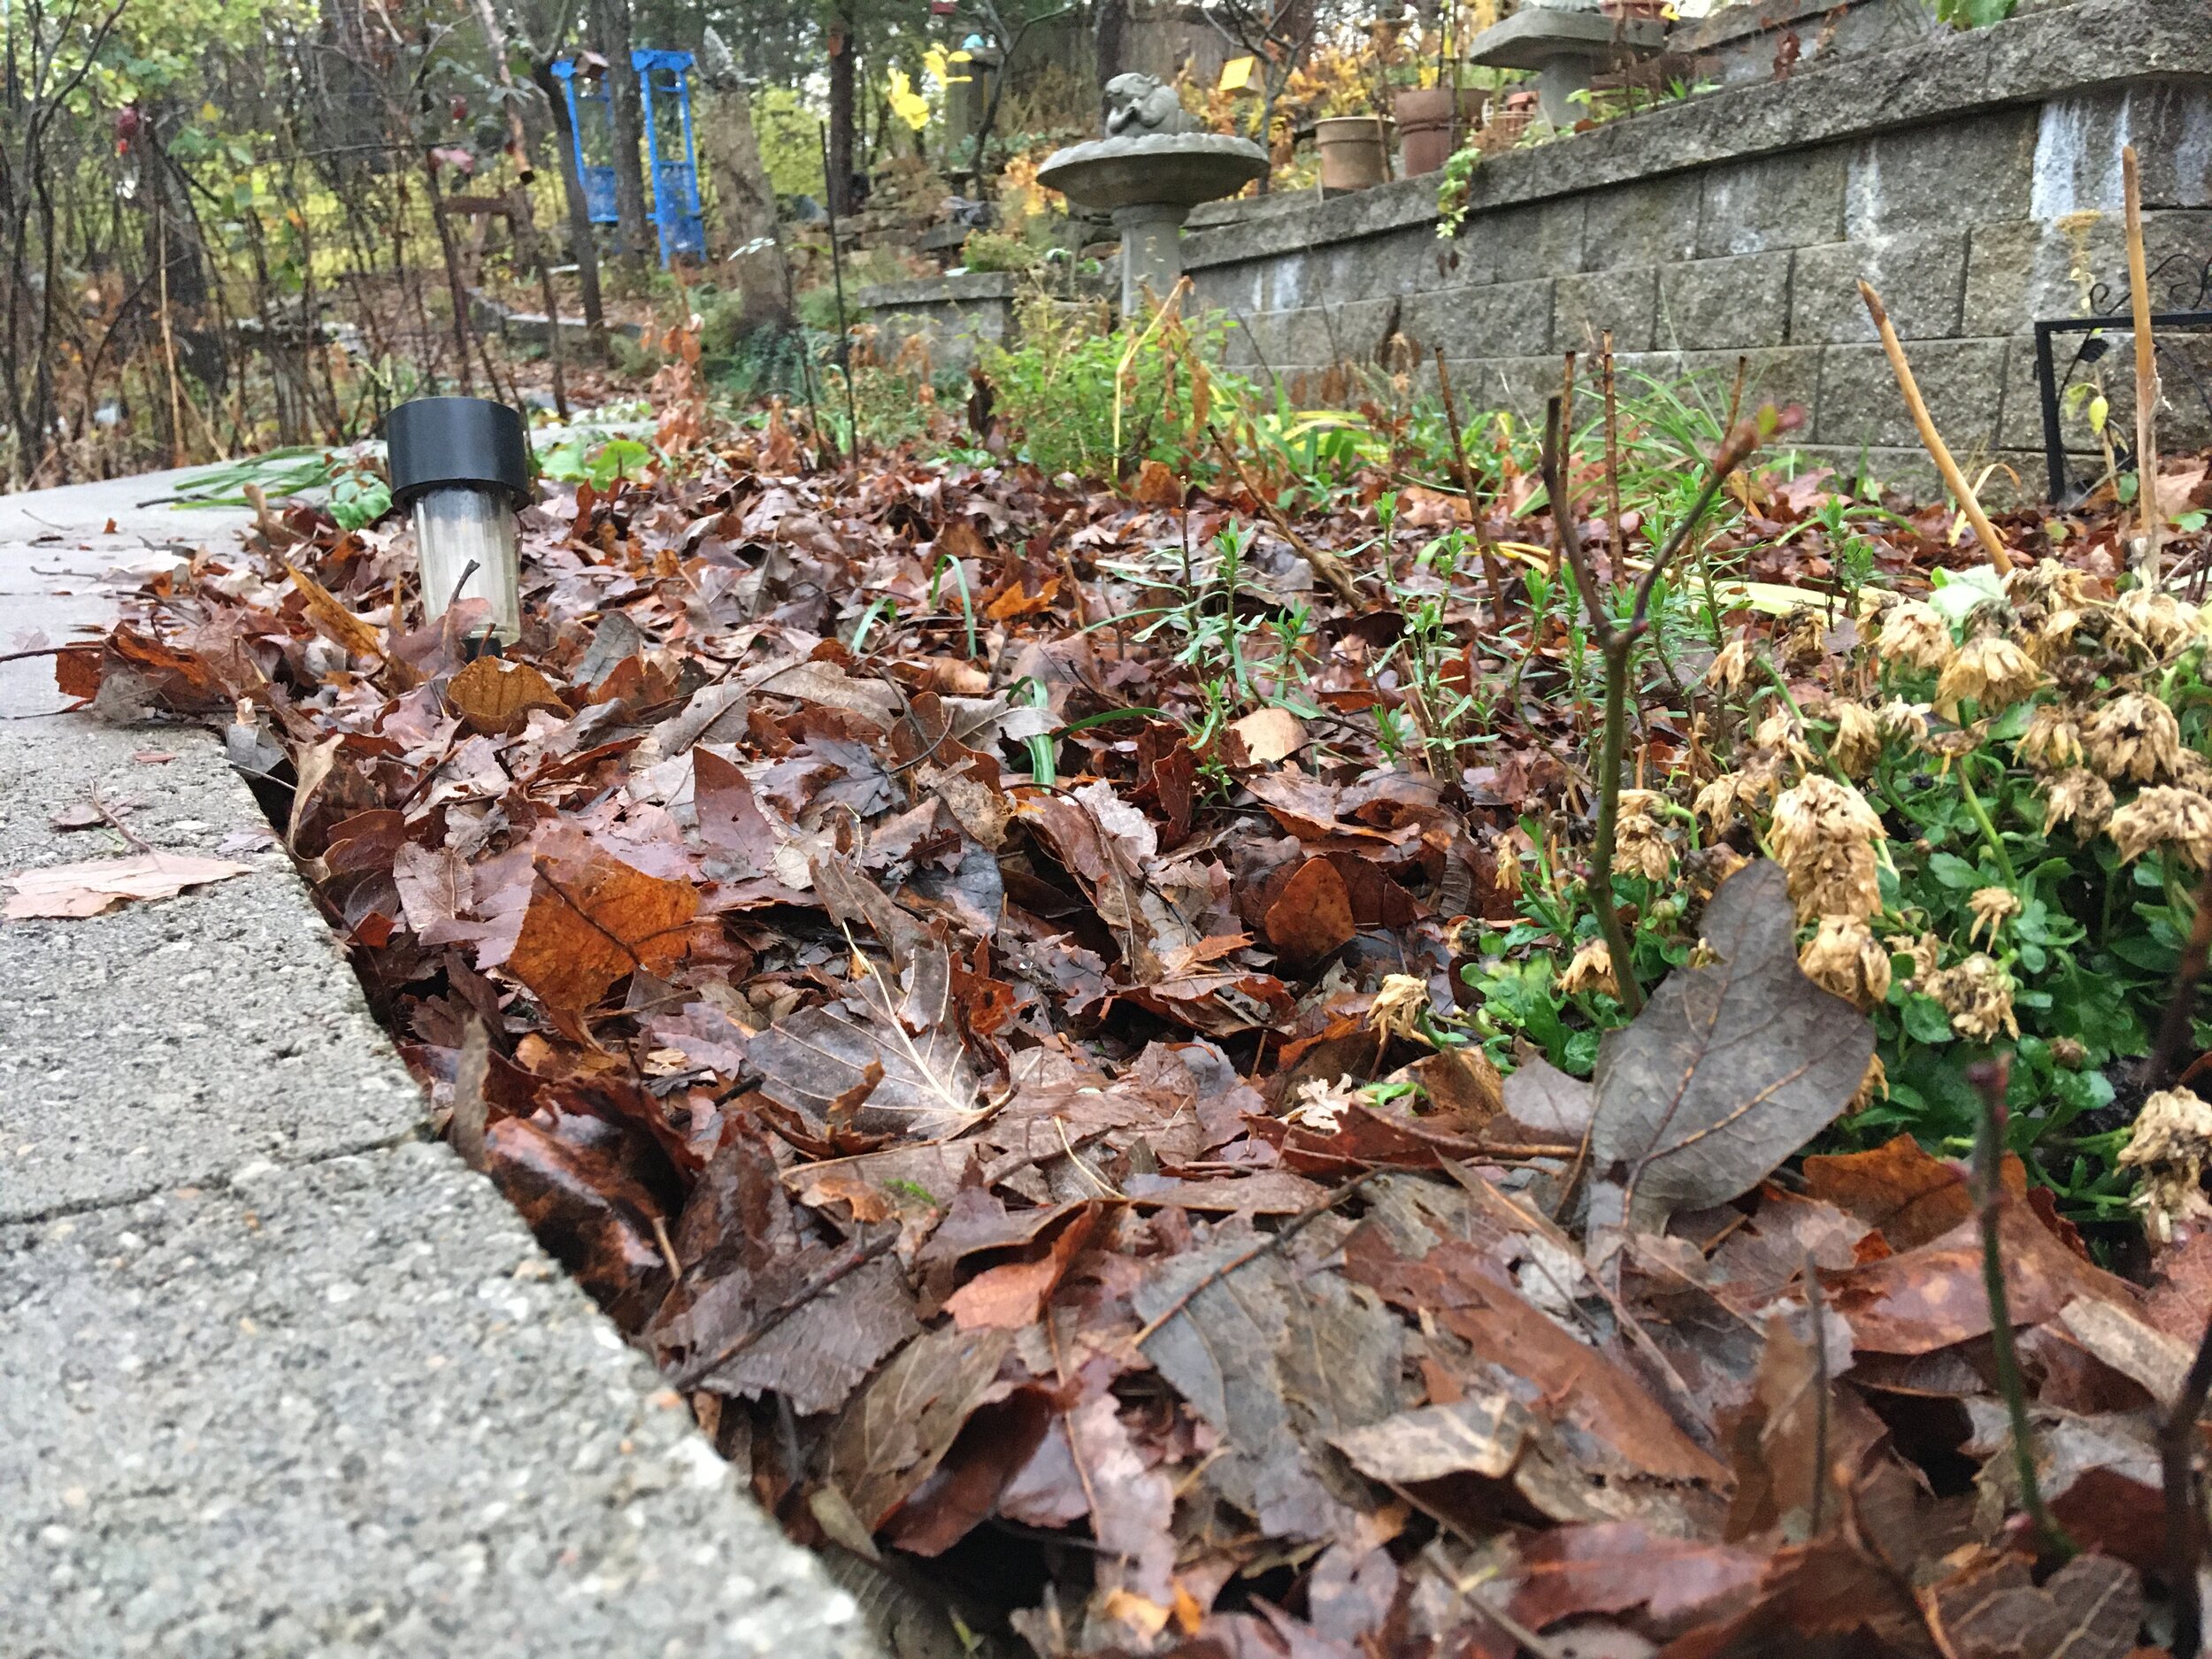
Shredded leaves return organic matter to soil, feeding the microscopic creatures that live there. (Photo by Charlotte Ekker Wiggins)
One more reminder about the role of leaves in our garden. There are many beneficial garden residents that winter over in leaves from gnats and spiders to butterflies, moths and salamanders.
I will continue to haul shredded leaves back to my garden until it’s too cold to spread them, and I can hardly wait to see how the garden will grow next year!
Charlotte