November Gardening Chores
/
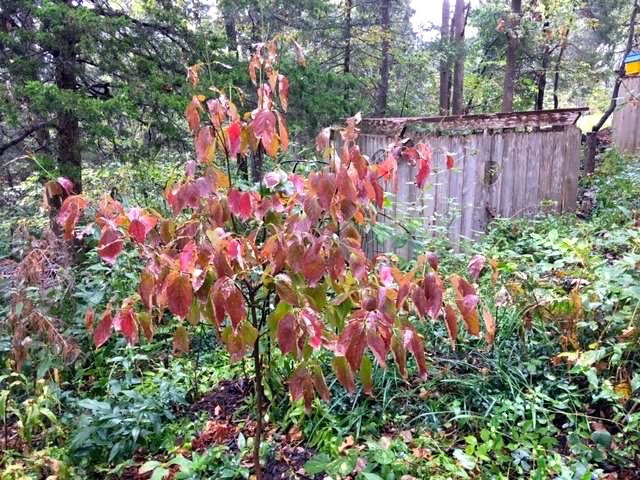
Fall is all about extra garden color, like this lovely plum accent from a pink dogwood. (Photo by Charlotte Ekker Wiggins)
November Gardening Chores
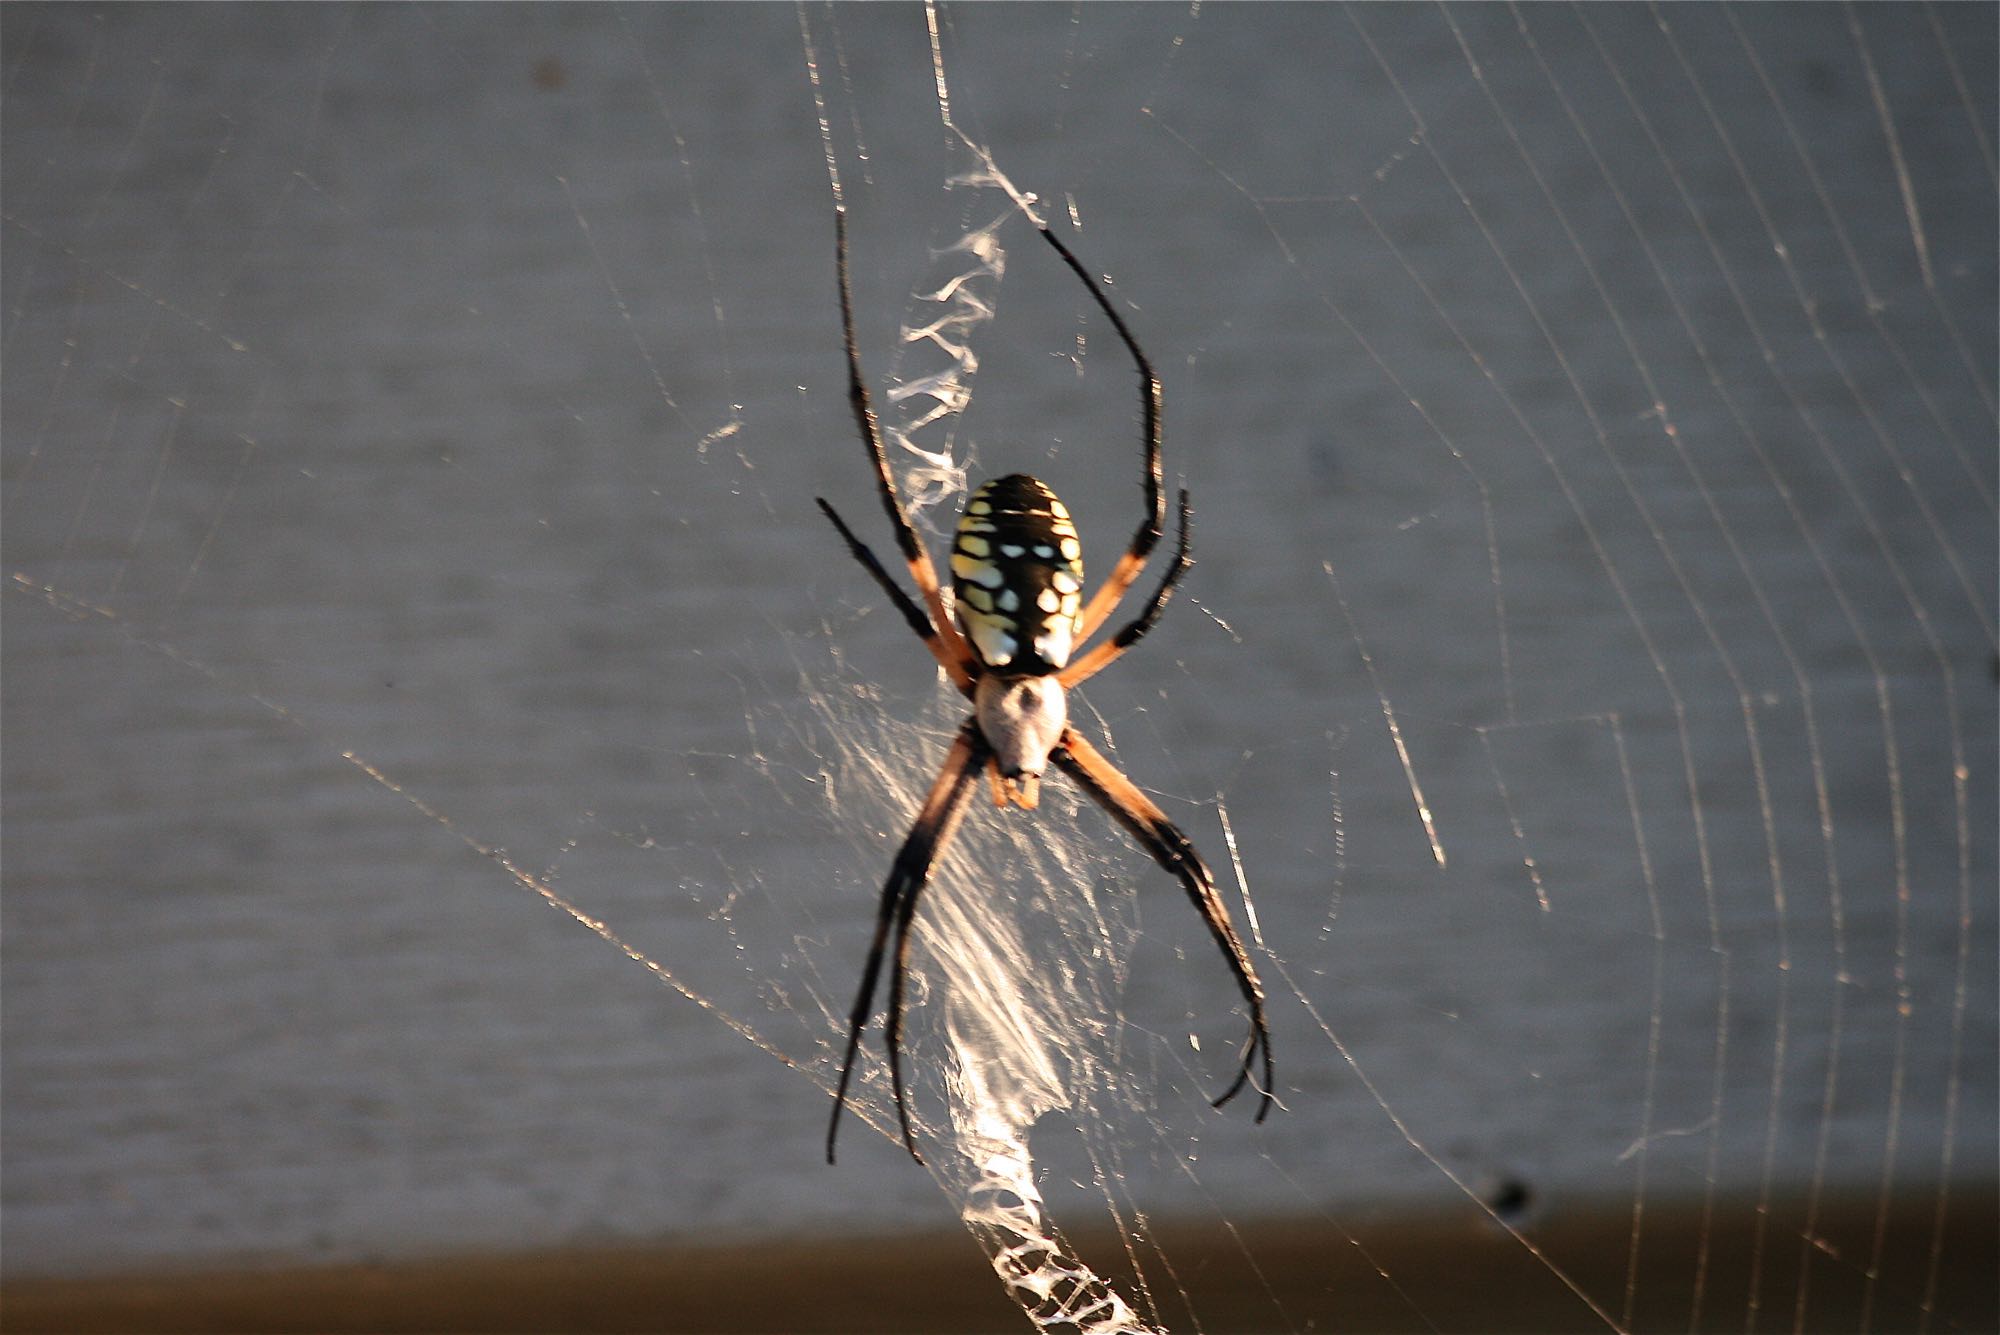
Snow was back in the forecast for Halloween this year but we are still waiting for a white dusting in mid-Missouri USDA Hardiness zone 5b/6a. I survived moving all of my potted plants inside but just barely, had to escort the usual hijackers back outside – praying mantis, lizards, several garden spiders.
Now that we are all settled inside, I am still moving potted plants around to give them optimum light conditions. My heat is on so leaves are dropping early, especially the ferns. It’s going to be a long winter.
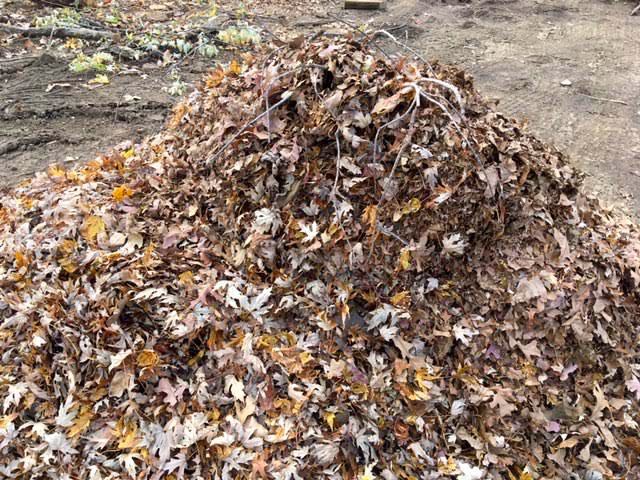
Tree leaves have also been making their way onto flower beds for mulch and a layer that hopefully decomposes into soil over the next few years. I will be adding wood chips from our local recycling center after the first hard frost.
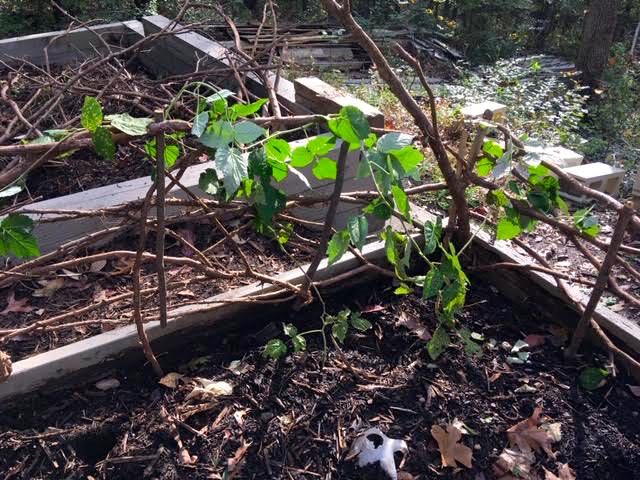
If you want to plant, or move trees, this is a good time. I prefer planting into final spots in spring so my seedlings are now in pots and heeled into the nursery garden bed. That will give me all winter to decide on their final destination.

Fall is the time to save seeds for next year. Here I am collecting garlic chive seeds. (Photo by Charlotte Ekker Wiggins)
It’s been very dry so remember to water. An inch a week is a good measure, especially for woody plants, such as azaleas and evergreens. When watering, check for damaged branches and remove. Once winter ice moves in, the ice will cause more damage than necessary on those weak and damaged limbs. I take pruners with me so I can also trim out suckers and branches that are too long, especially along where I regularly walk. No point in putting that off until later when the ground is covered in ice and snow.
If you haven’t done so already, this is a good time to empty most of your composters. Most likely candidates to get the new rich soil amendment include asparagus and strawberry beds. I also added compost to my deck pots to get them ready for my next crops. I still have red onions growing so I may scatter some lettuce and spinach seeds.
Still need to mound my rose crowns with 6 inches of soil or so before the first frost. I have mounds of mulch already piled nearby to scatter on the plants after I add a layer of leaf mulch for extra insulation.
My purple coneflowers bloomed well this year so I have trimmed a few seed heads to plant in my nursery bed next year. The rest I leave for winter bird food.
Have grass to mow? You should be on the downside of the mowing season. Make the last cut when you see grass has stopped growing. Let clippings lie where they’ve been cut to restore Nitrogen to the soil. Have fun mowing over the leaves to shred and move them to flower beds.
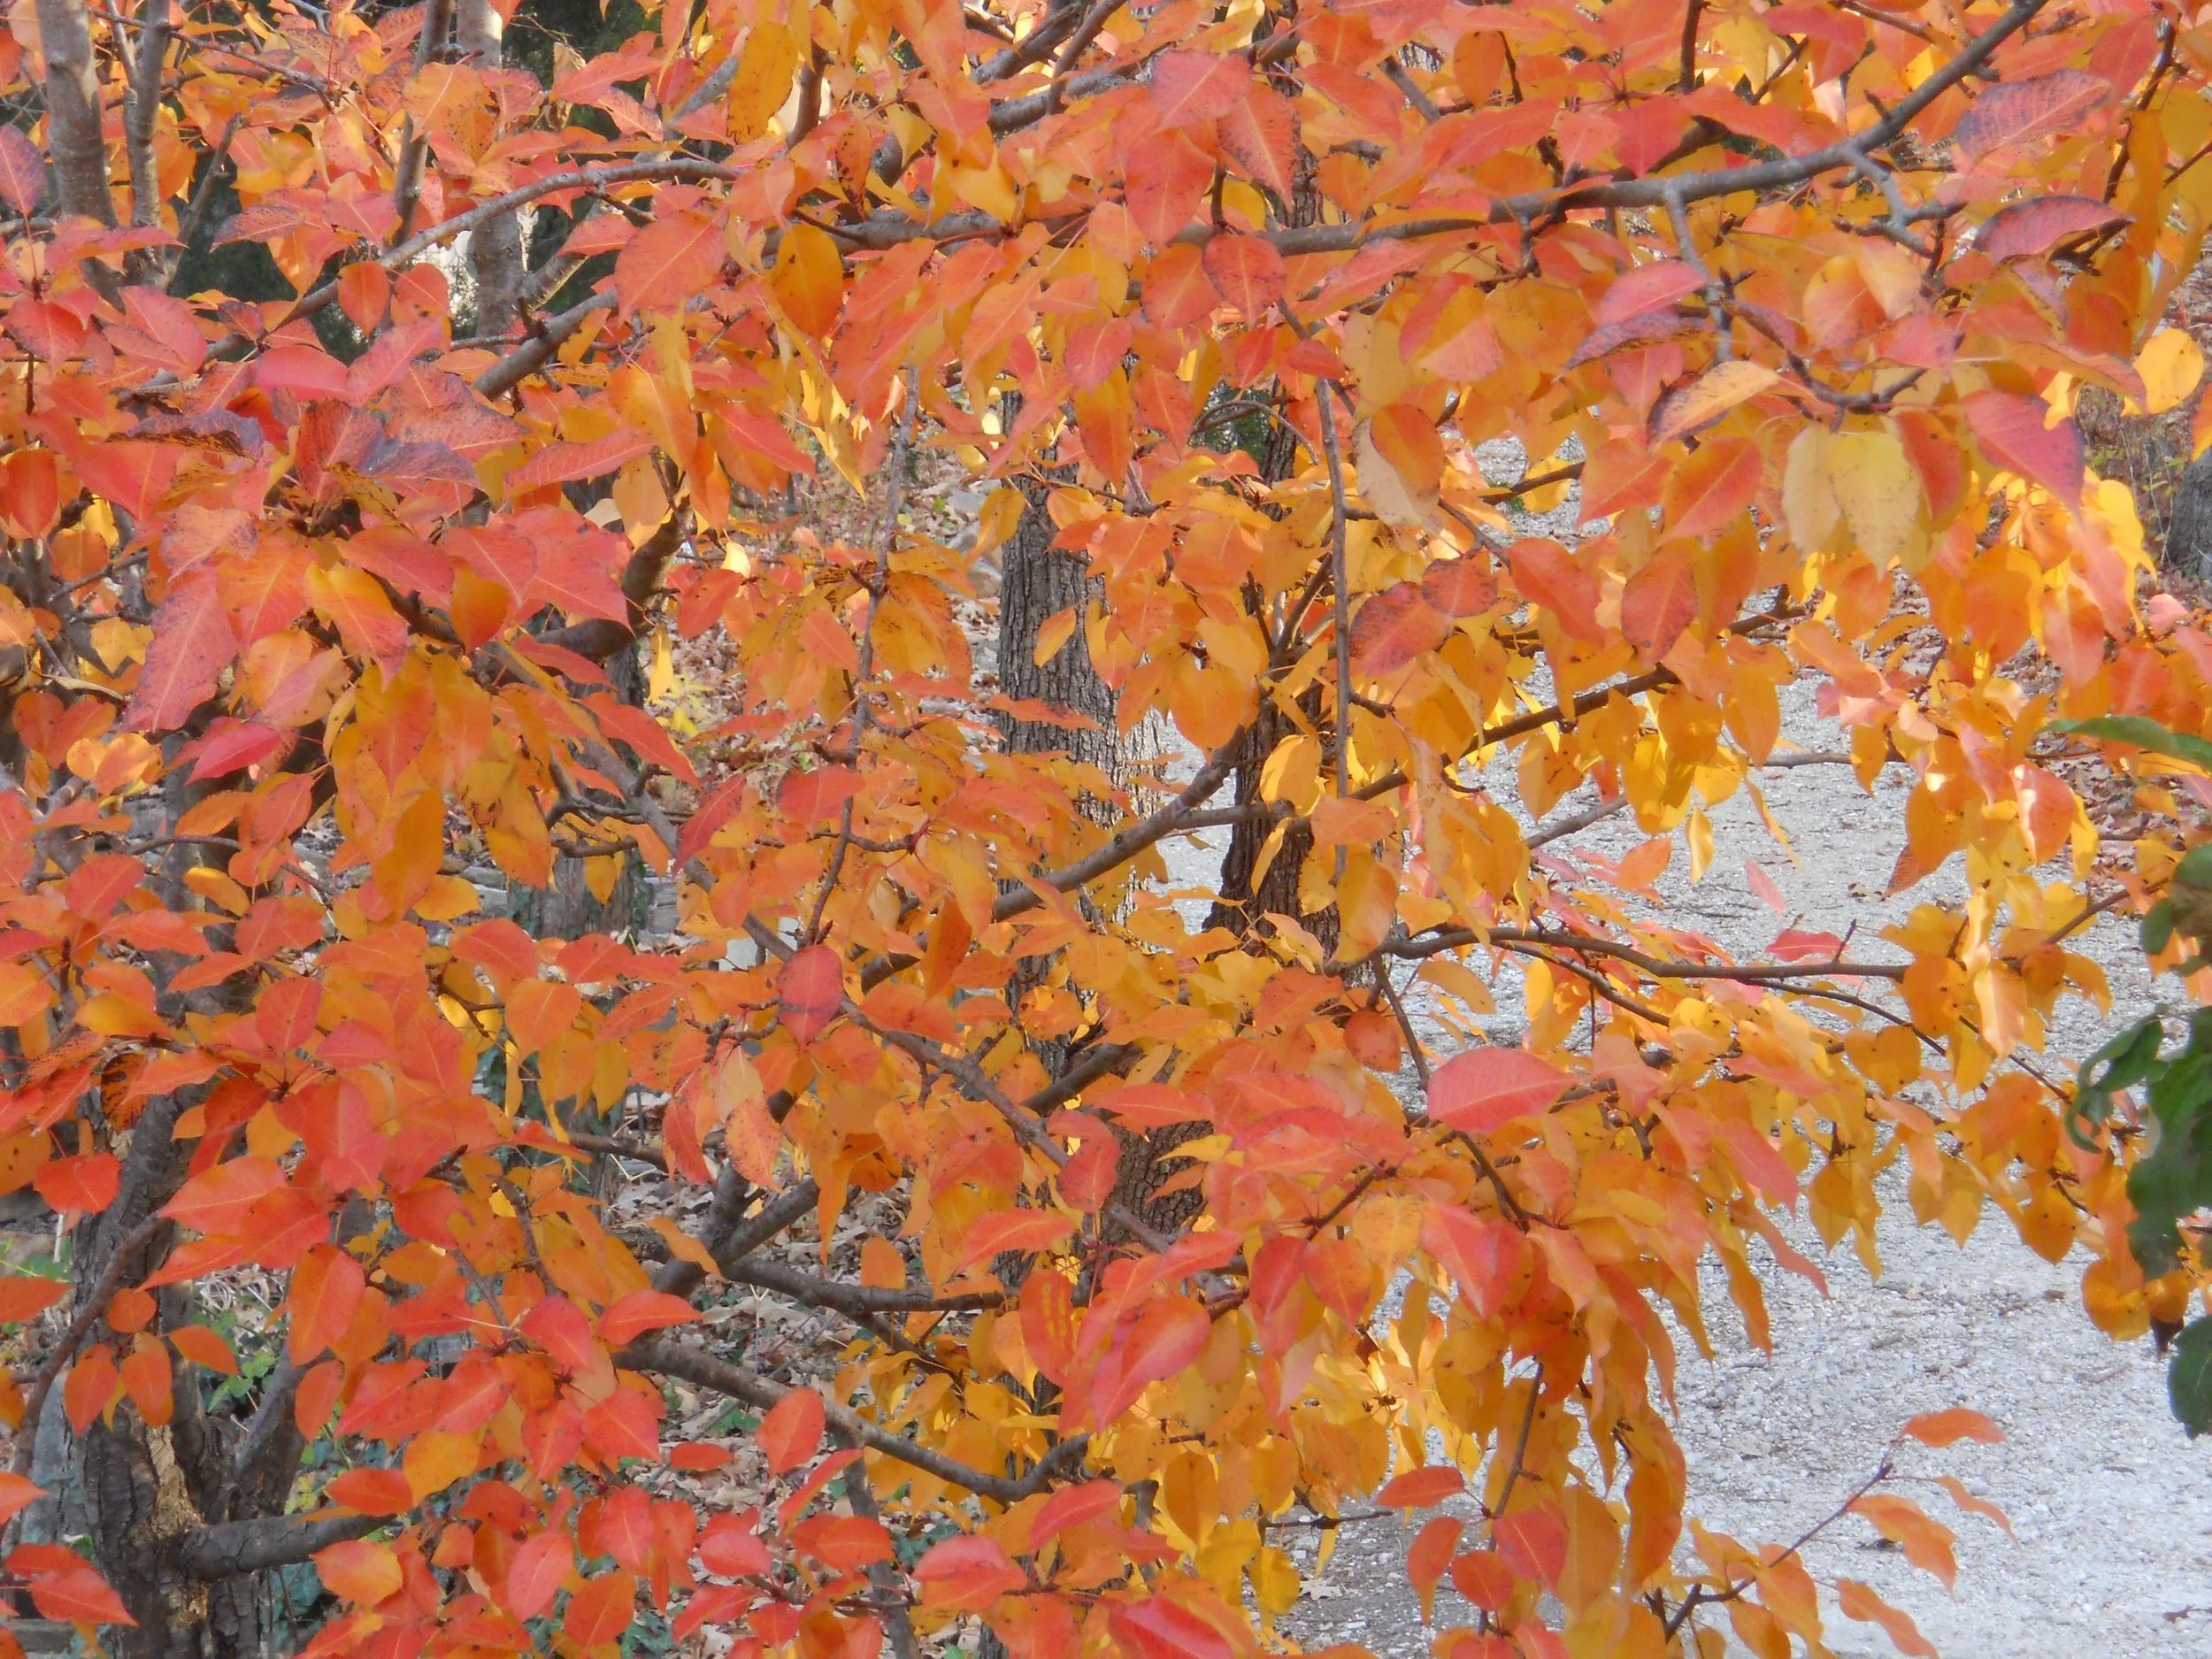
Don’t forget to stop and enjoy the fall colors. Trees, shrubs and some perennials take on a different color in fall, changing gardens into new, sometimes surprising color palettes. Take note of something you like and plant more next year.
Ok, it can snow now.
Charlotte