Homemade Rose Food
/
If you don’t have coffee grounds, save tea bags to mix with egg shells and banana peels. (Photo by Charlotte Ekker Wiggins)
Homemade Rose Food
There’s another snow storm in the forecast for mid-Missouri but I know spring is close, I am encouraged - no, propelled to start making my homemade rose food.
Frankly I can’t tell you where I found this homemade plant food recipe. I have been making it for a couple of decades now from dried egg shells, banana peels, coffee grounds and Epsom salt.
The hardest part is saving the items so they can dry and then get mixed.
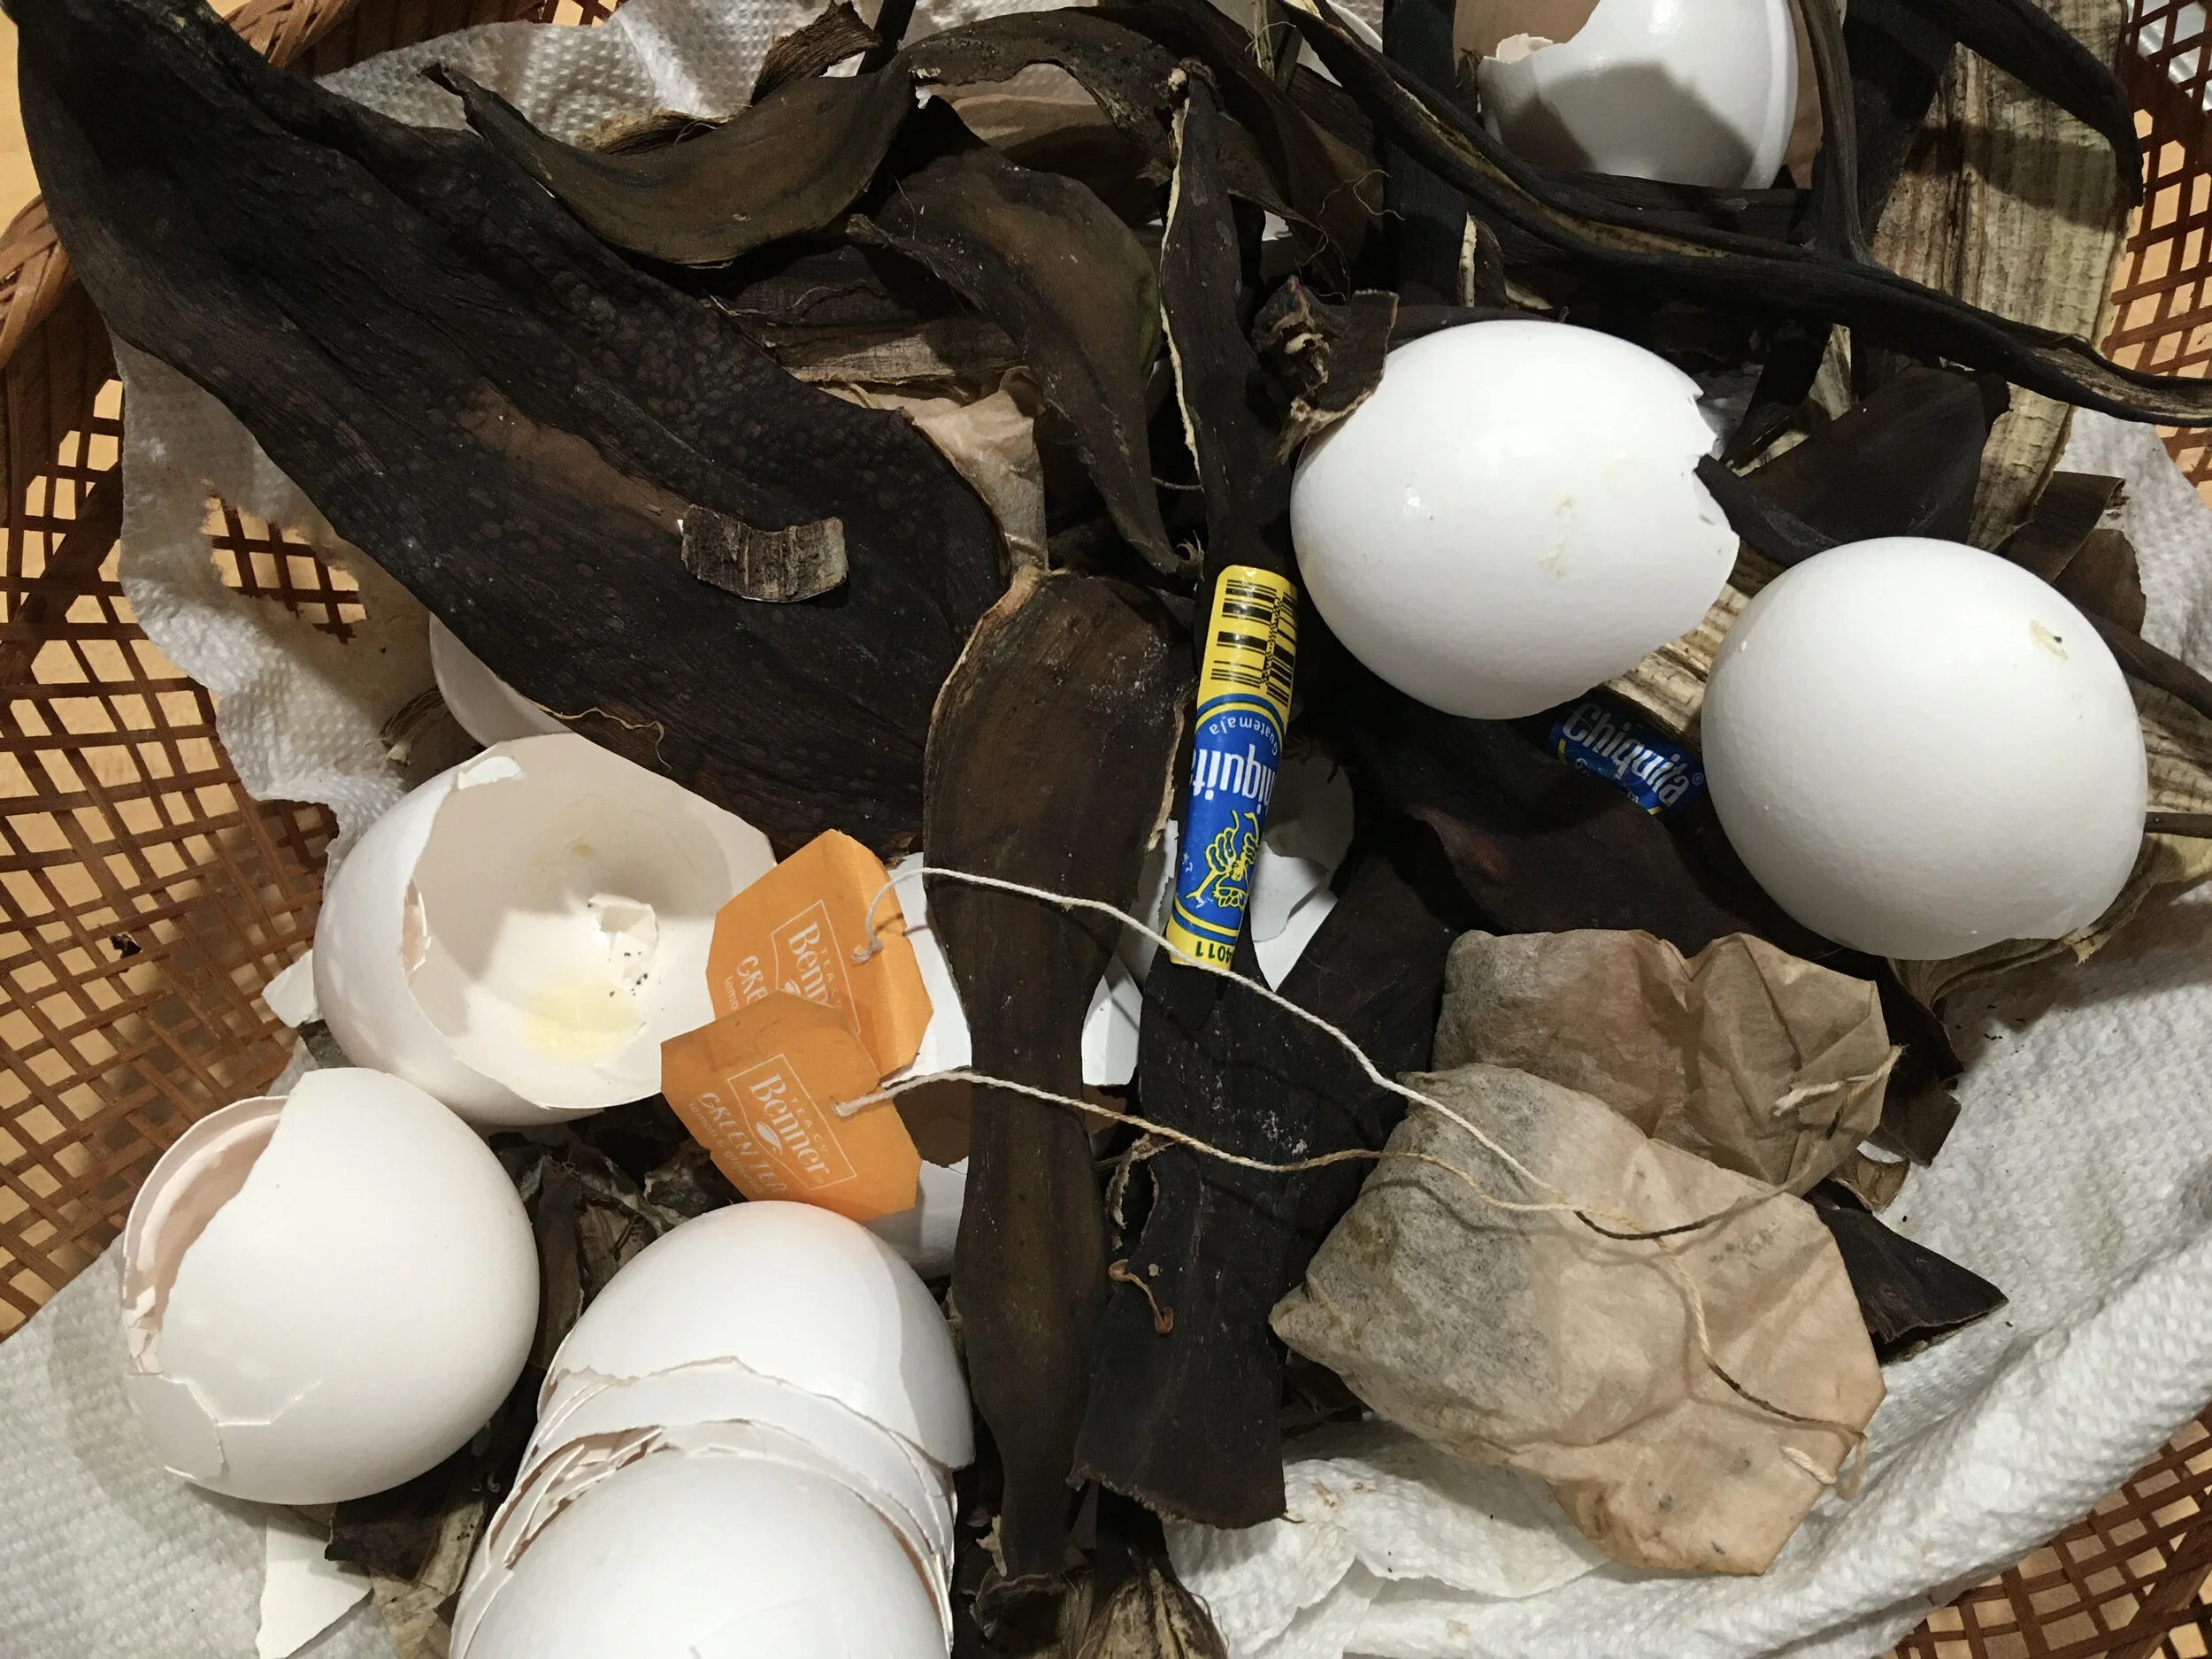
To easy dry the banana peels, egg shells and tea bags, i have a basket that sits on top of my refrigerator lined with a paper towel over those silica pouches that get included in show boxes and other shipped items.

The little drying basket I keep on top of refrigerator to dry egg shells and banana peels. (Photo by Charlotte Ekker Wiggins)
What I do know is that this homemade rose food works. When I worked in a government office, I used to take fresh flowers in for our coffee break room, two bouquets of flowers every week or so. When my tea roses were blooming, I would take in those little bouquets and get accused of buying the flowers, or having a secret admirer who gave them to me. Grew them myself, I would say ,but people would still raise eyebrows.
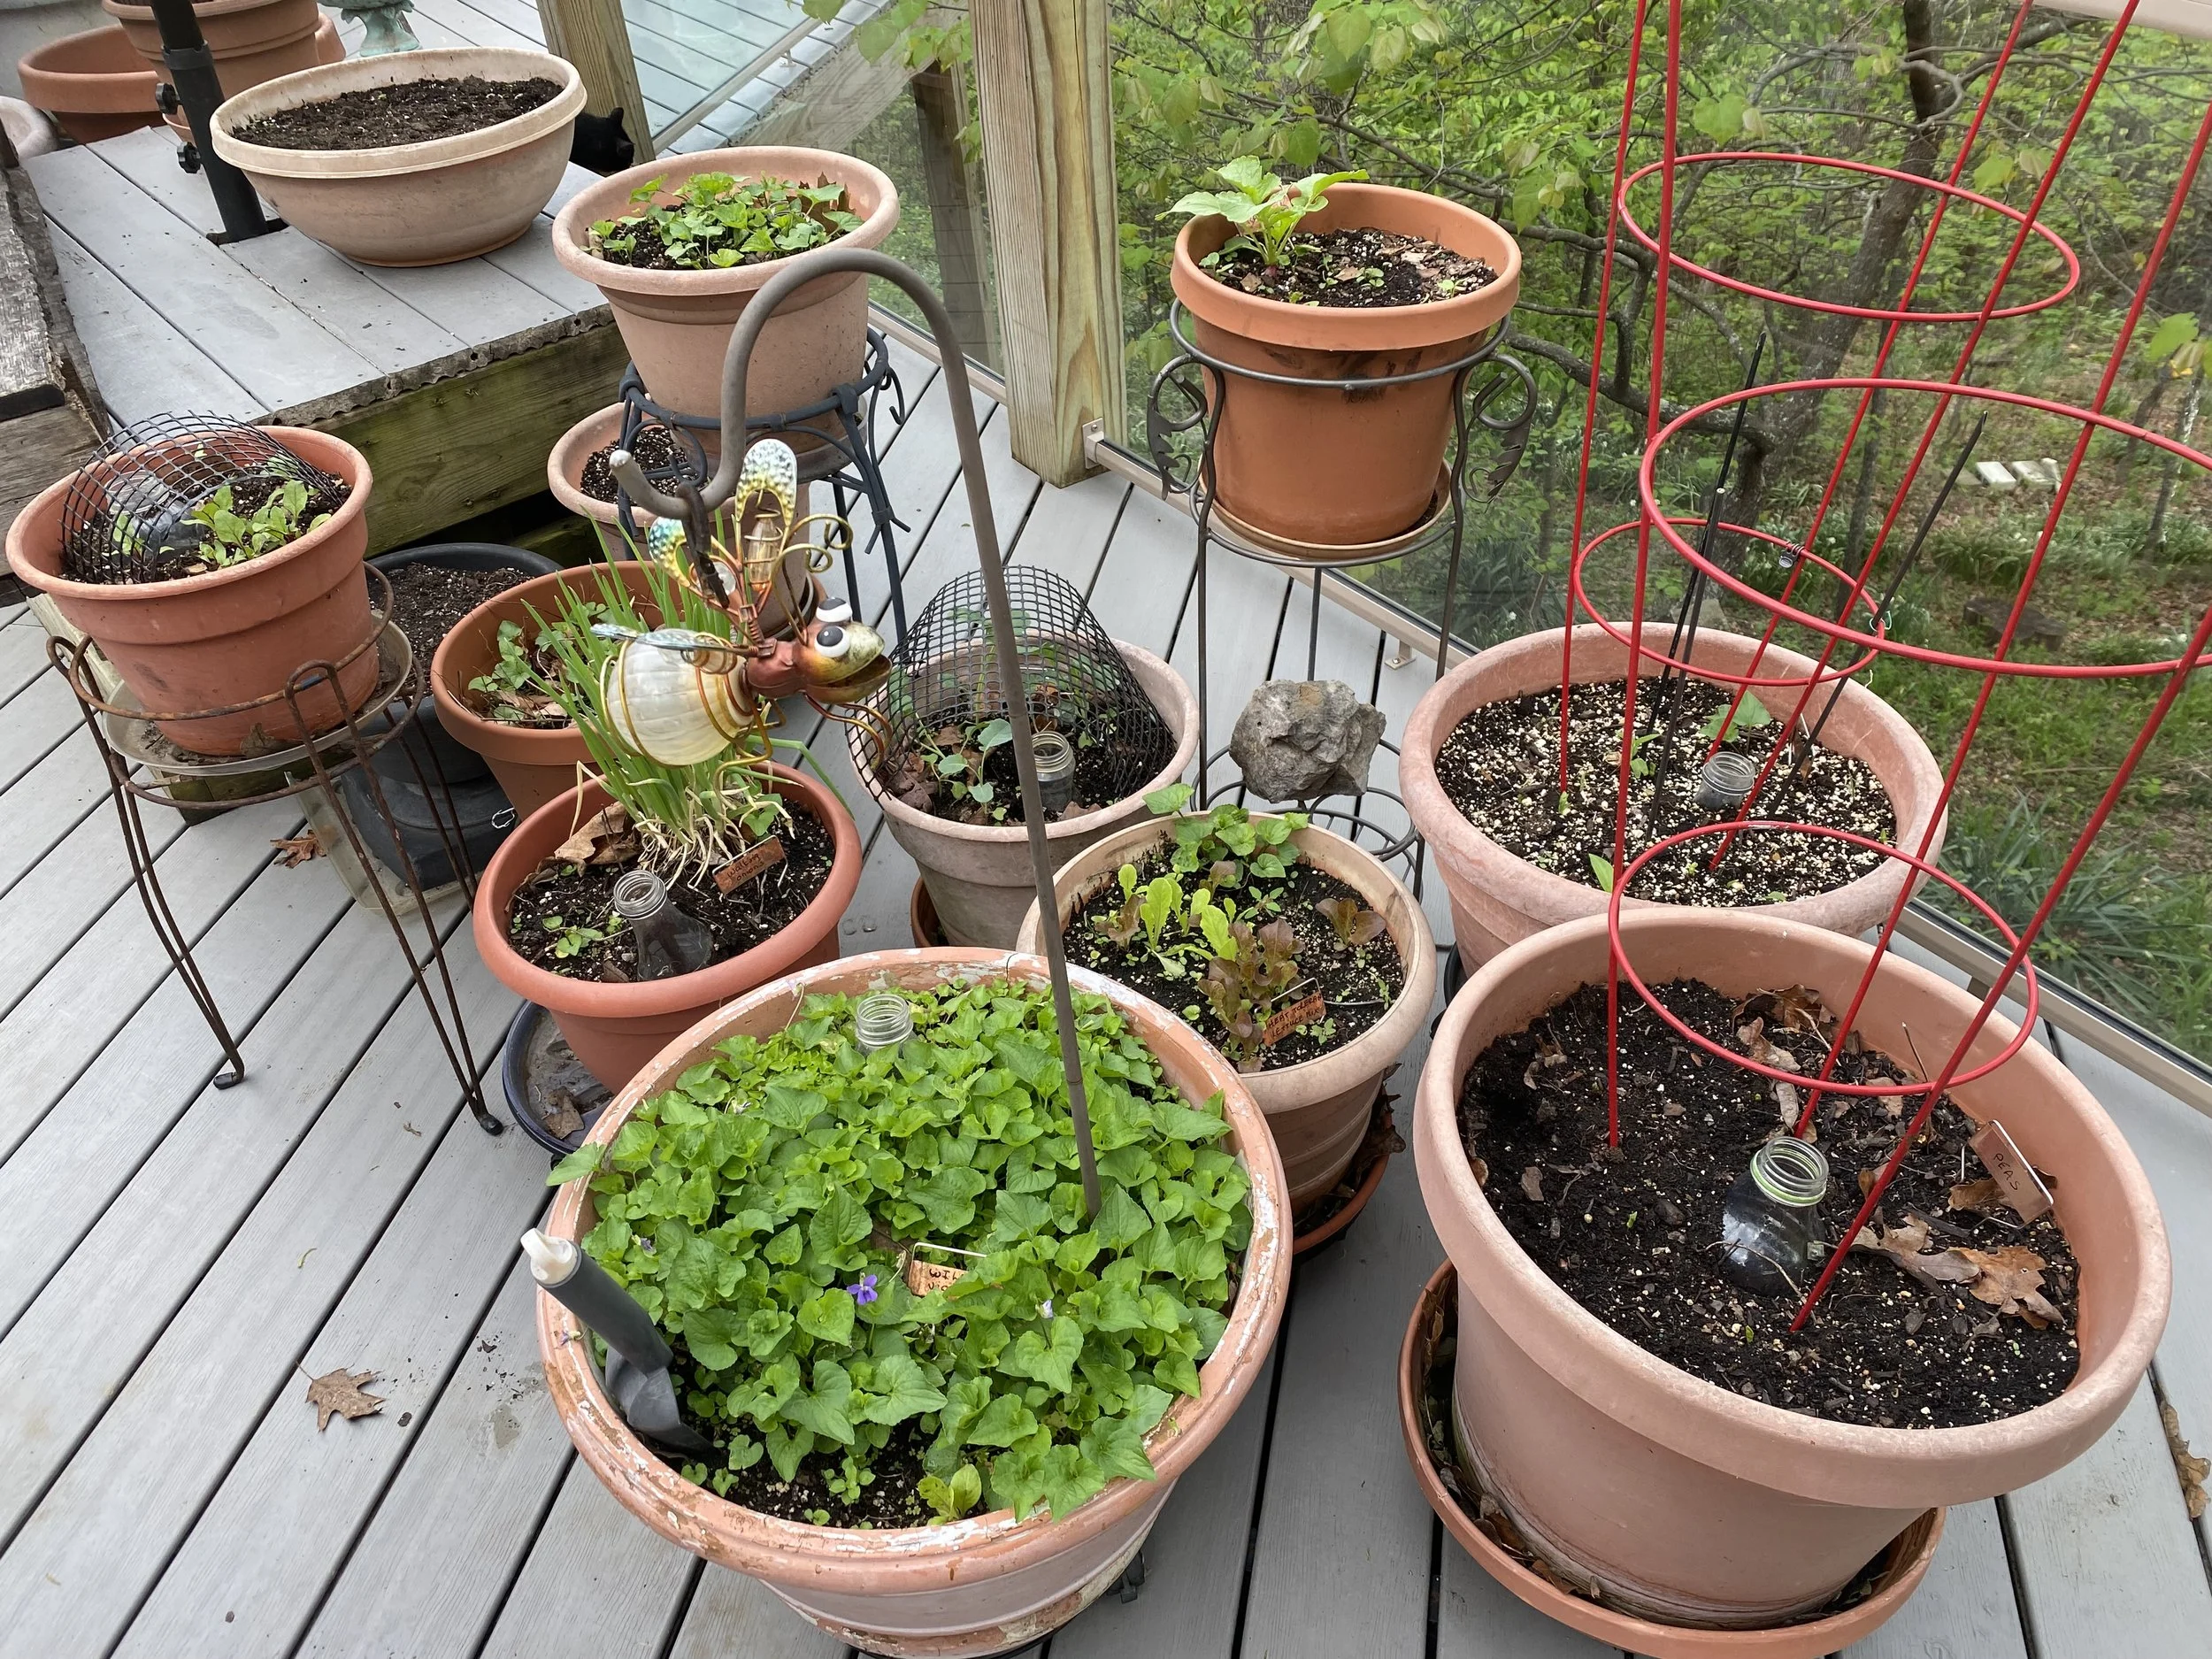
Missouri is not the best place to grow roses but our clay soil is good for roses. The hot temperatures strain roses later in the season but we can grow roses through a good long spring. As long as the soil is well fed, the roses will follow.
To start, dry banana peels. I keep a basket on top of my refrigerator lined with a paper towel. I find it easier to cut up the banana peels after they are dry but I have cut them up both fresh, and dry.

Banana peels are easier to cut up after they are dry. (Photo by Charlotte Ekker Wiggins)
I also use the basket over the refrigerator to dry out egg shells.
Since I don’t drink coffee, I collect it from our bee club meetings and a local coffee house. I also save tea bags.
I also dry out the coffee on a newspaper spread onto a bread tray in my garage. Once dry, I store the dry coffee in a reused plastic container I use later to mix all ingredients.

Dry coffee grounds are better to mix up with other ingredients. (Photo by Charlotte Ekker Wiggins)
I also keep a supply of Epsom salts handy for garden use. If I happen to run out of bath salts, I also have this as a back up supply.

One of my garden staples, epson salts, good for soil as well as soothing baths. (Photo by Charlotte Ekker Wiggins)
Once it’s time to start using, I mix banana peels and coffee in equal parts. I add crushed egg shells and Epsom salts half the amount of the banana peels. Mix.
To use, I make a small trench around the drip line of the roses and sprinkle the mixture in.
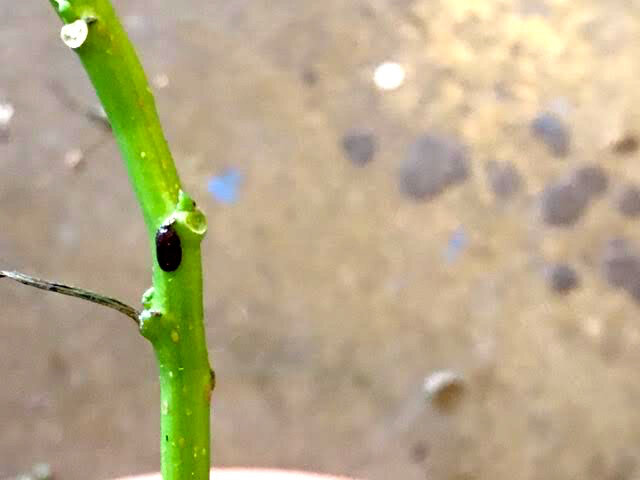
How well does it work?
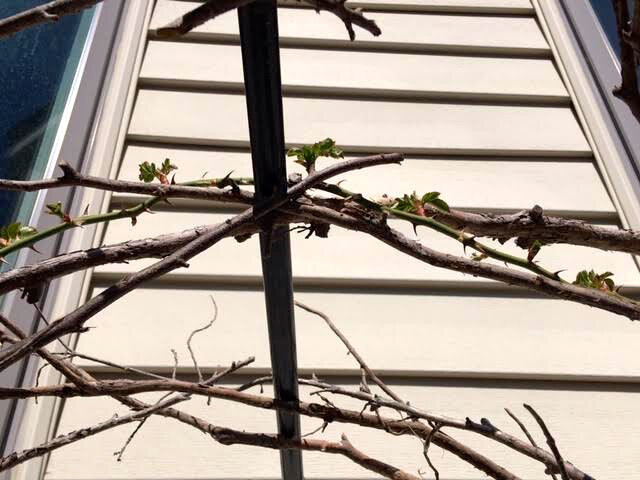
Here’s an old fashioned climbing rose that gets the homemade rose food every year.
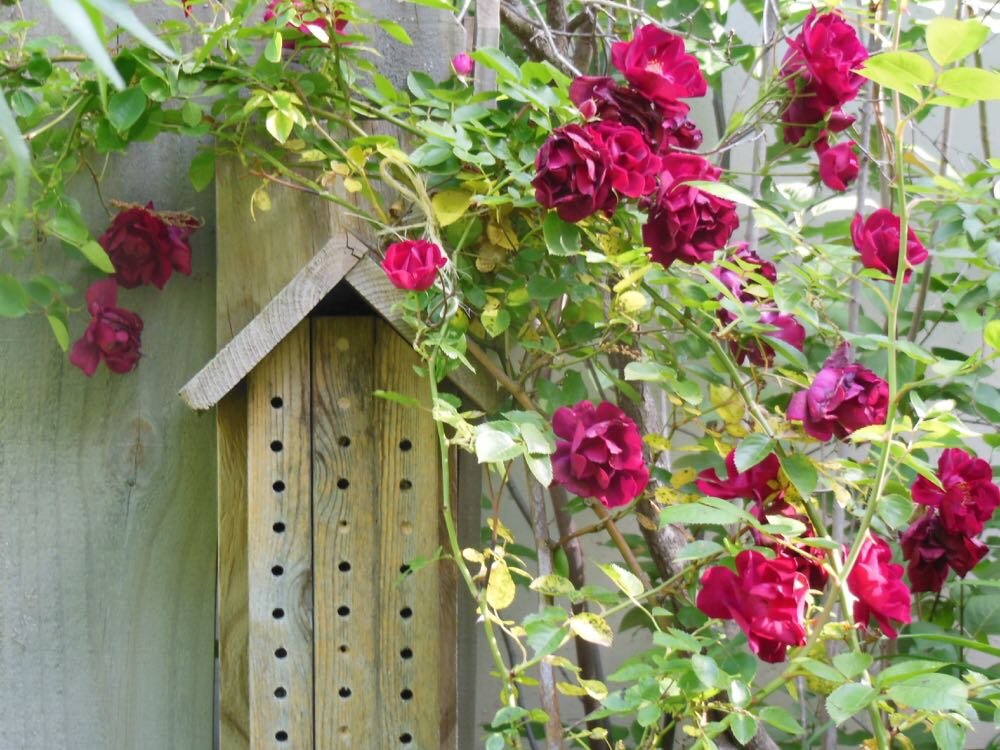
And here is an old climbing rose, rejuvenated last year with my homemade rose food. (Photo by Charlotte Ekker Wiggins)
One of the best things about this mixture is that I am reusing banana peels, egg shells and coffee grounds and making a plant food that has proven itself.
Also helps to have an extra source of Epsom salts for my tired muscles!
Charlotte