Bolting Plants
/
This yellow onion from my refrigerator crisper is now in bloom. (Photo by Charlotte Ekker Wiggins)
Bolting Plants
One of my earliest gardening recollections is of a neighbor in Illinois complaining about her garden “bolting.” She had a small garden to the side of her house facing ours. I remember peeking at what she was doing when I got off the school bus. Some days she would invite me to come over to harvest - a cucumber here, a handful of tomatoes there.
One day she was fussing about her radishes and lettuce “bolting.” I couldn’t possibly imagine how rooted plants could take off so she had my full attention. What she meant was the typically spring plants we grow for their tender leaves and roots were putting their energy into reproduction. They were growing flowers that turned to seeds. She was of that gardening generation that thought they should be able to control, or at least manage, what their plants were doing.
If you don’t know what bolting is, you probably have seen it if you’ve ever grown lettuce. Those young early spring leaves are mild and tender compared to leaves grown later in the season. I have a pot of spring lettuce that kept delivering for months until it decided to try to bloom.

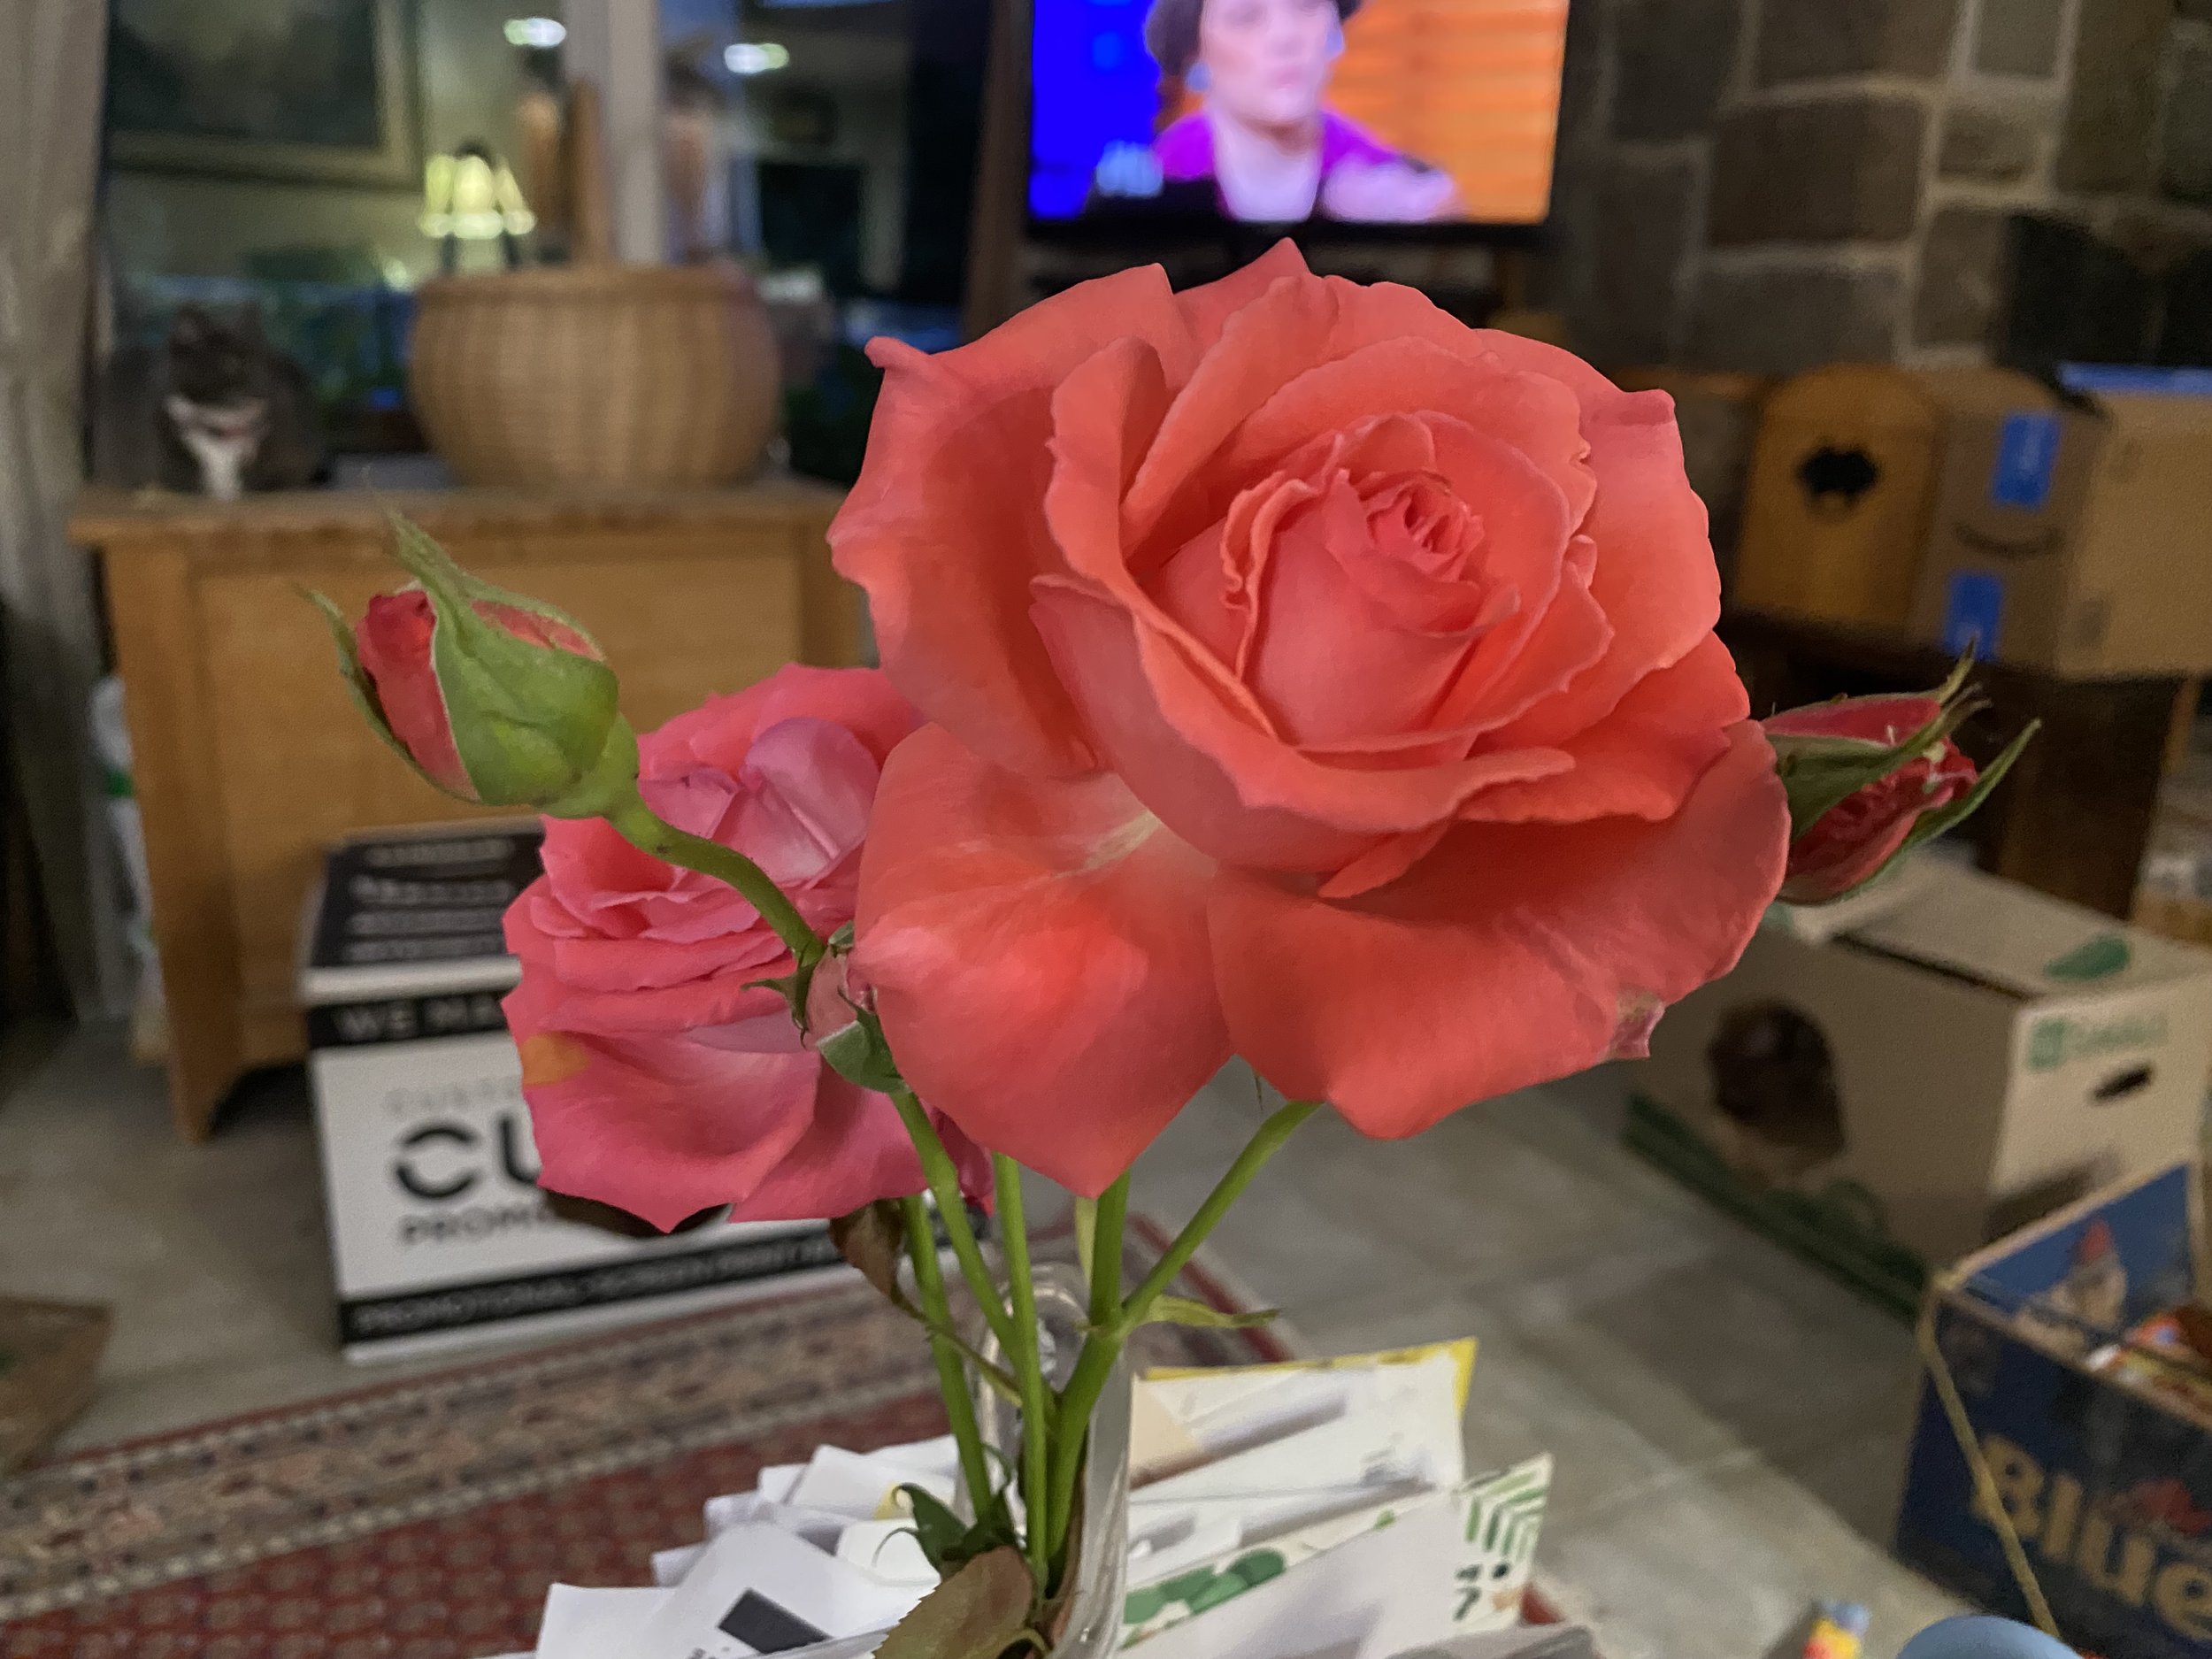
The spring lettuce crop is trying to produce flowers and leaf taste is now bitter. (Photo by Charlotte Ekker Wiggins)
I sampled the older lettuce leaves again last week and, sure enough, they were tough and bitter, like some people I know who are older. If you look closely, there are some young lettuce shoots on the side I can still use for salads.
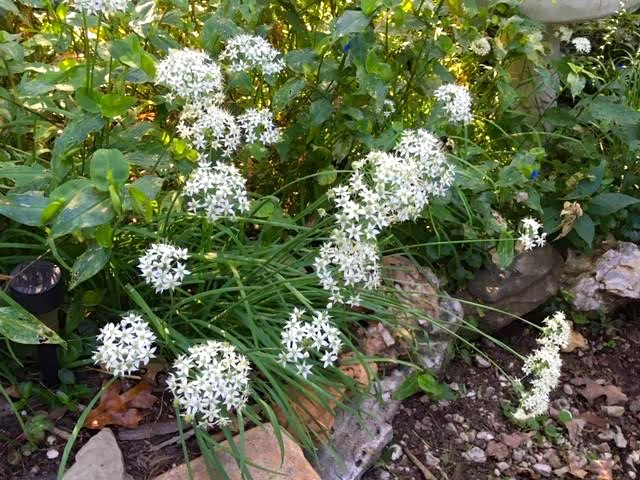
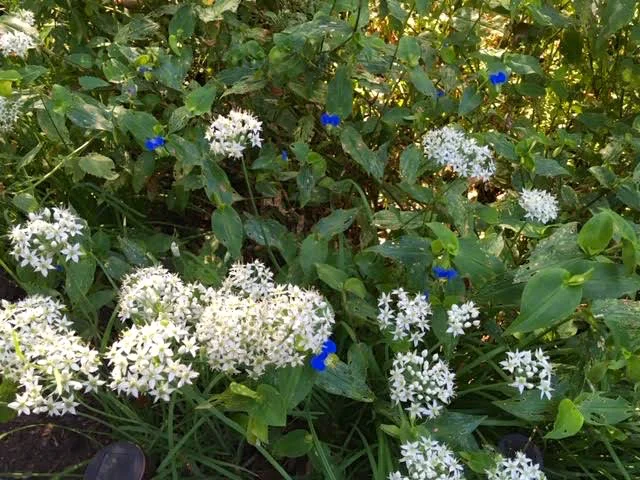
The top photo is another example. That yellow onion was growing in my refrigerator crisper so I decided to pot it and let it live out it’s life naturally. The onion is now blooming, taking all of the energy from the bulb and putting it into producing the stem and flowers. I will not get another onion from this but I will get seeds.
So in my world, bolting is a good thing. I used to call this plant phase “going to seed,” which if you are growing heirloom and non-hybrid plants will provide “free” seeds for planting next year.
Good for Bees
As a beekeeper, bolting plants are also a good development. The flower production produces nectar that entices bees, which in turn move pollen from one plant to the next and increase the fruit and seed yield.
One other thought. As our weather grows increasingly unpredictable, the ability to manage plants will be more challenging. We may need to consider ways to mitigate weather fluctuations to be able to grow some of the foods we like to eat.
In the meantime, think twice about moaning and groaning about it. The plant is taking steps to survive by producing flowers and then fruit or seeds; bees get nectar they use for flight fuel and pollen for baby food, and you will benefit from being able to collect seeds and grow it again next year. It’s a win, win, win!