Dame's Rocket
/
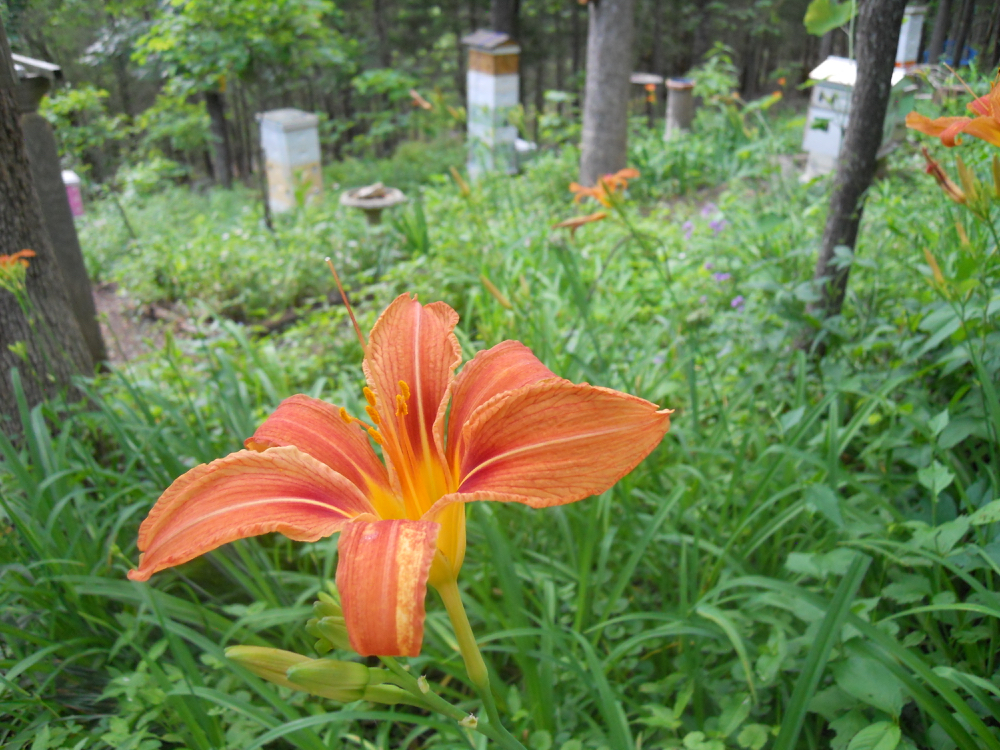
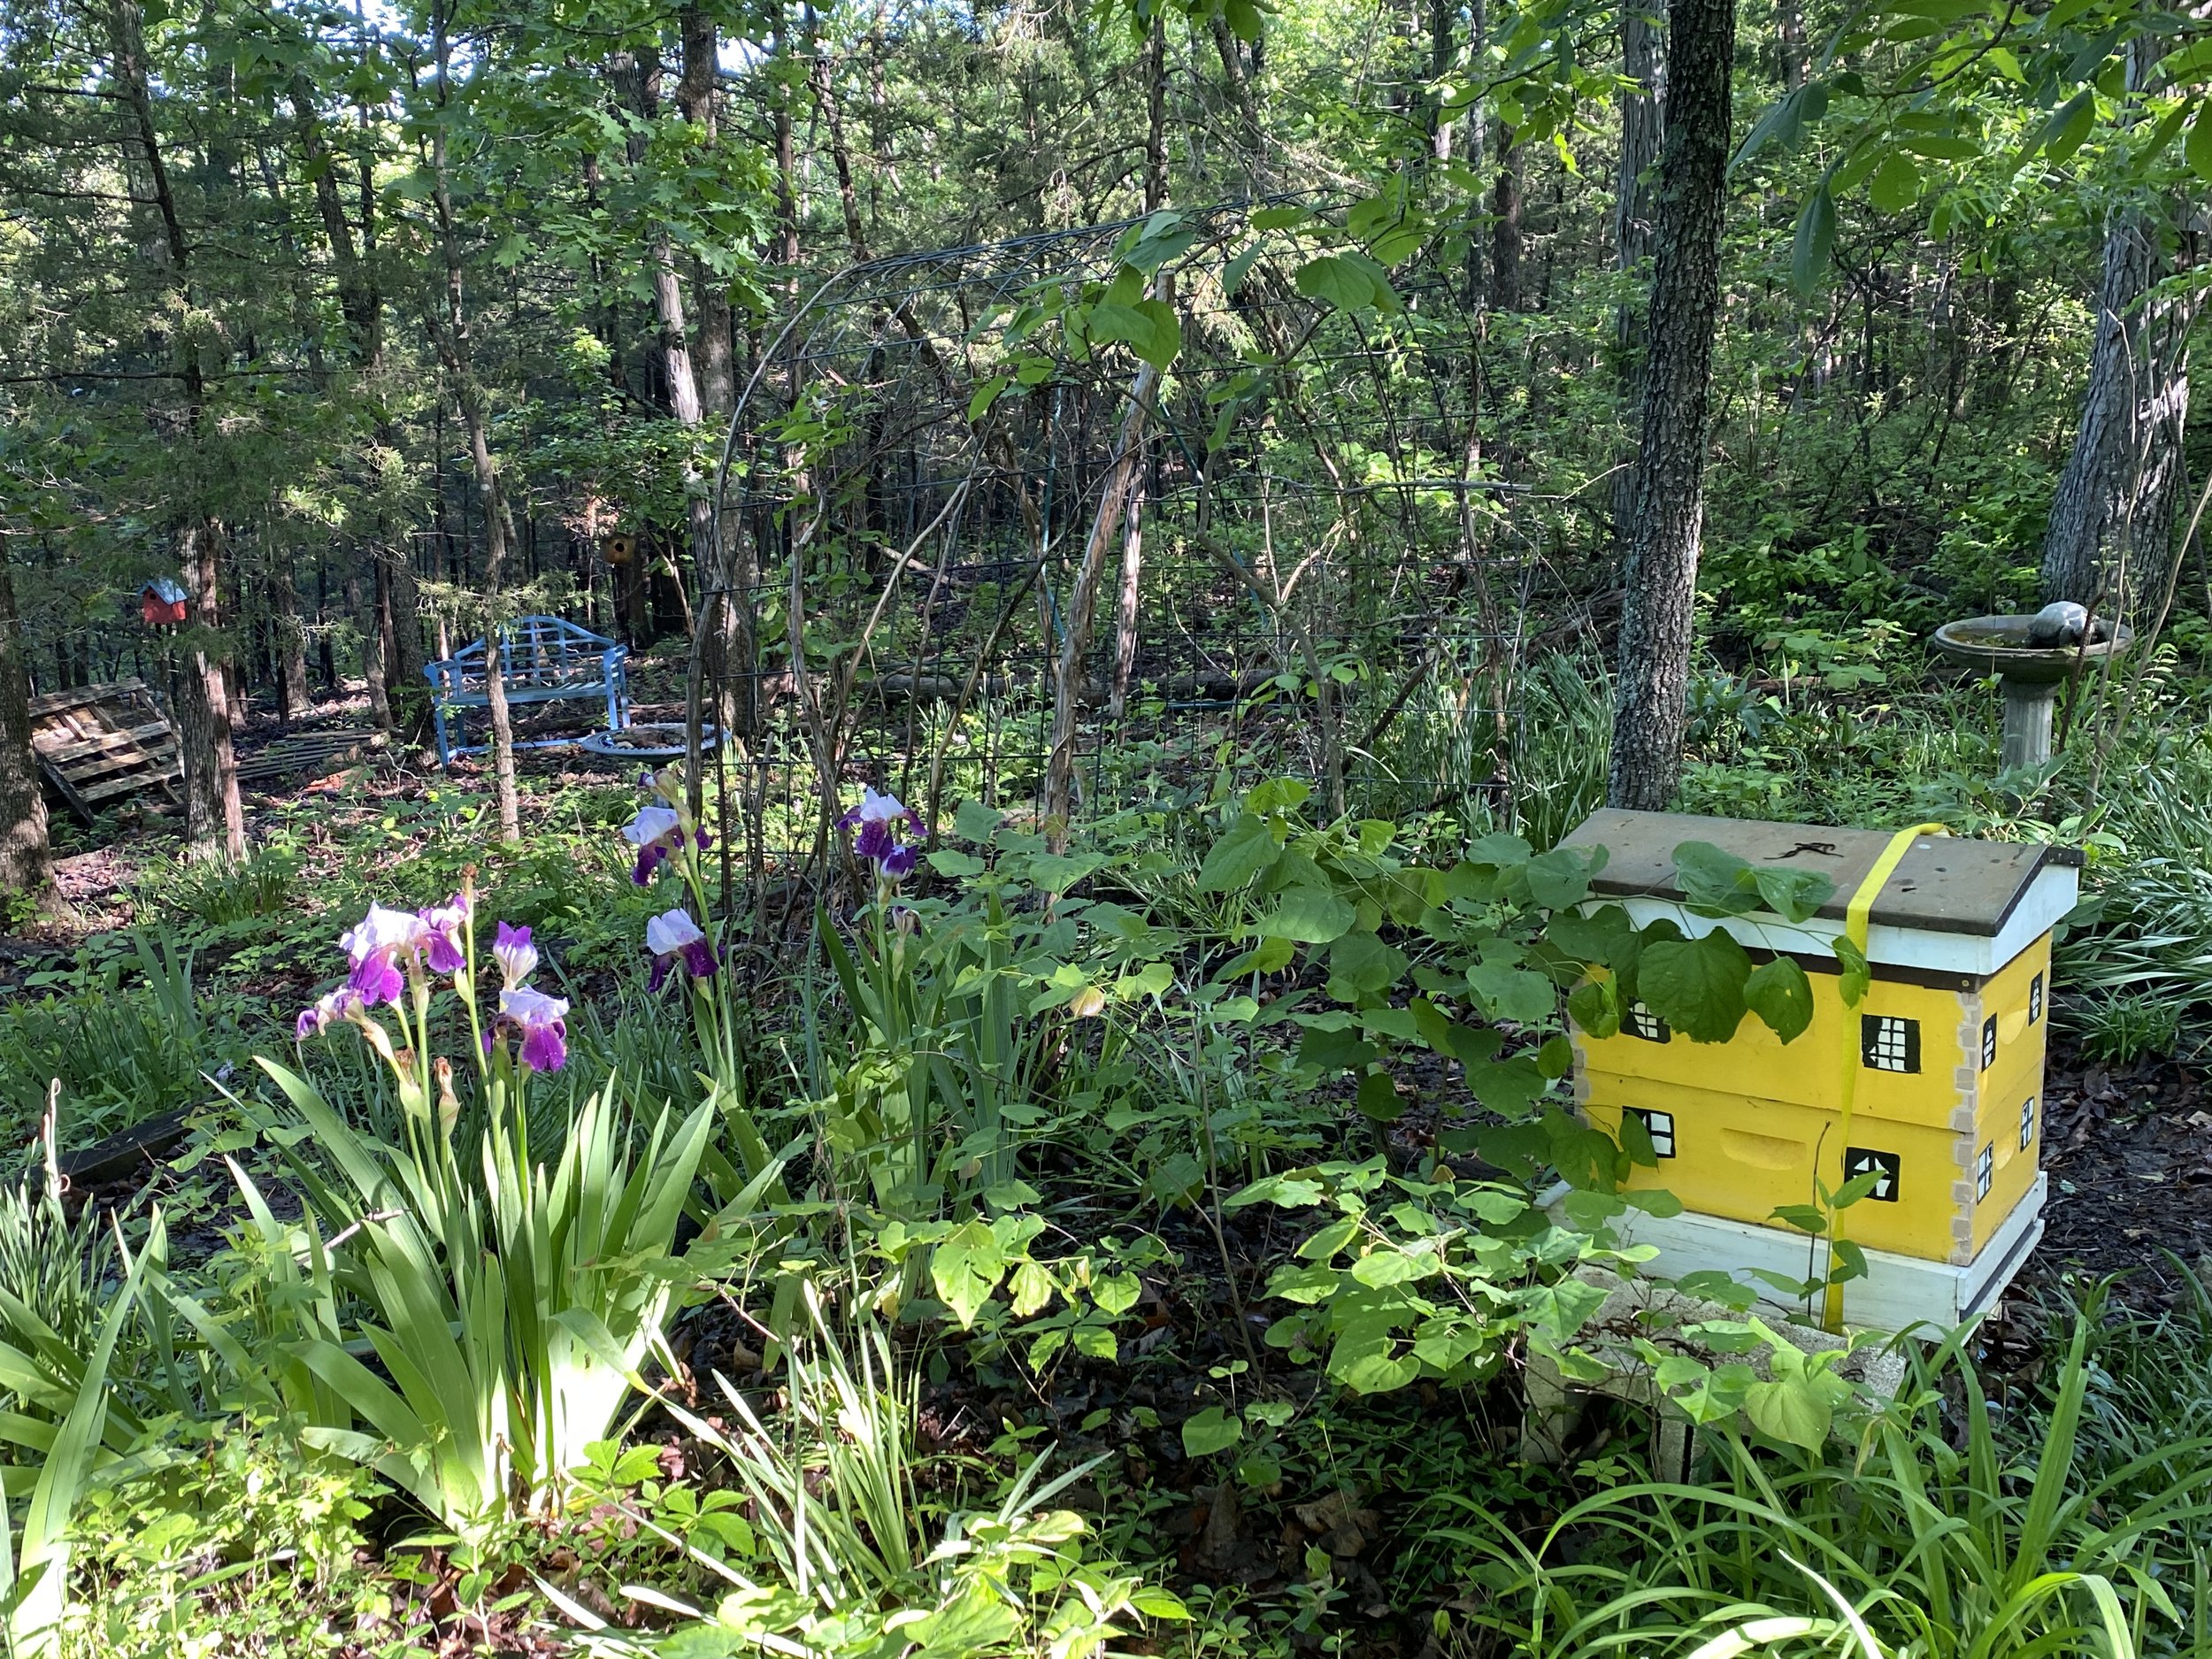
Dame’s Rocket blooming in my southern apiary. (Photo by Charlotte Ekker Wiggins)
Dame’s Rocket’
Just about the time my old-fashioned lilacs have me hooked on their lovely scent filing up my rooms, Dame’s Rocket comes along to extend that delight. These similar looking perennials have bundles of small flowers that are highly fragrant.

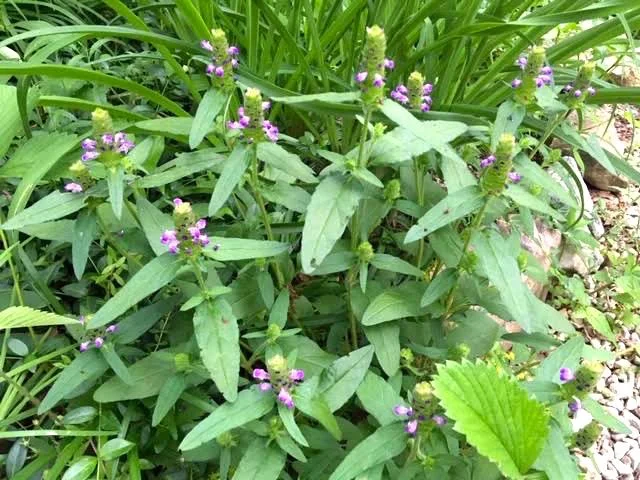
Dame’s Rocket flowers have a similar appearance to lilacs. (Photo by Charlotte Ekker Wiggins)
I forget where I found my first starts but I do have them in my garden, growing in more shady spots. And I recently found out they should not be welcome.
According to Applied Ecological Services, “Dame’s rocket (Hesperis matronalis) is a tall, short-lived perennial, which produces white, pink or purple flowers in the spring. In recent years, Dame’s rocket has gone rogue, moving from yards and garden plantings into the adjoining landscapes.
An abundant seed producer, Dame’s rocket is dispersed with the aid of mammals. When the seed-bearing pods ripen, they pepper seed onto the coats of a wide variety of wildlife, allowing for extensive seed spreading. As a result, the plant is rapidly infiltrating waterways, wetland margins, farm fence rows and tree lines, and even colonizing natural areas of prairie, savanna, stream course and many types of meadows and wetland margins.
Dame’s rocket seems to be following explosive growth patterns similar to its close relatives in the mustard family, garlic mustard, yellow rocket, hedge mustard and wild radish, all highly invasive species that have infested agricultural lands and native woodlands, savannas and grasslands across the country. Very high-quality landscapes, including state natural areas, are not immune from the invasion, nor are agricultural lands.
Dame’s Rocket appears to have allelopathic tendencies (the ability to produce chemicals that prevent or reduce the growth of other plants) similar to garlic mustard. Observations in floodplain forests have shown nearly continuous development of Dame’s Rocket along with an equally dense growth of garlic mustard—both plants are able to quickly form dense monocultures within a few years of colonization.”

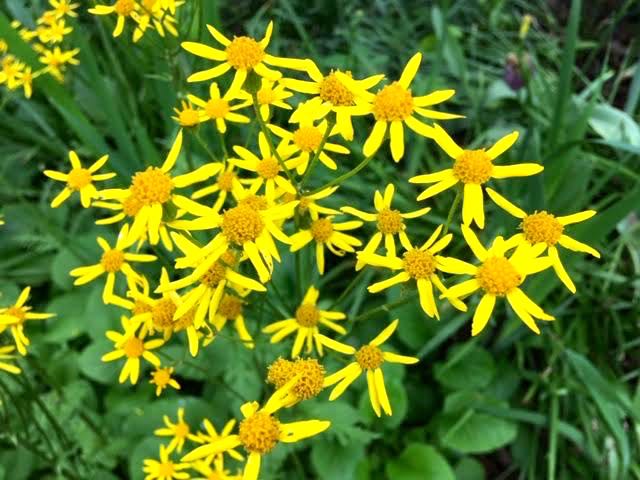
Three invasive plants: Bush white honeysuckle, Dame’s Rocket and Yellow Rocket. (Photo by Charlotte Ekker Wiggins)
So similar to some other pretty invasive species, from yellow rocket to bush honeysuckle, this is now a plant I need to decide whether I keep or tear out. Luckily it does not grow very fast on my limestone hillside so I may put off deciding for another year.
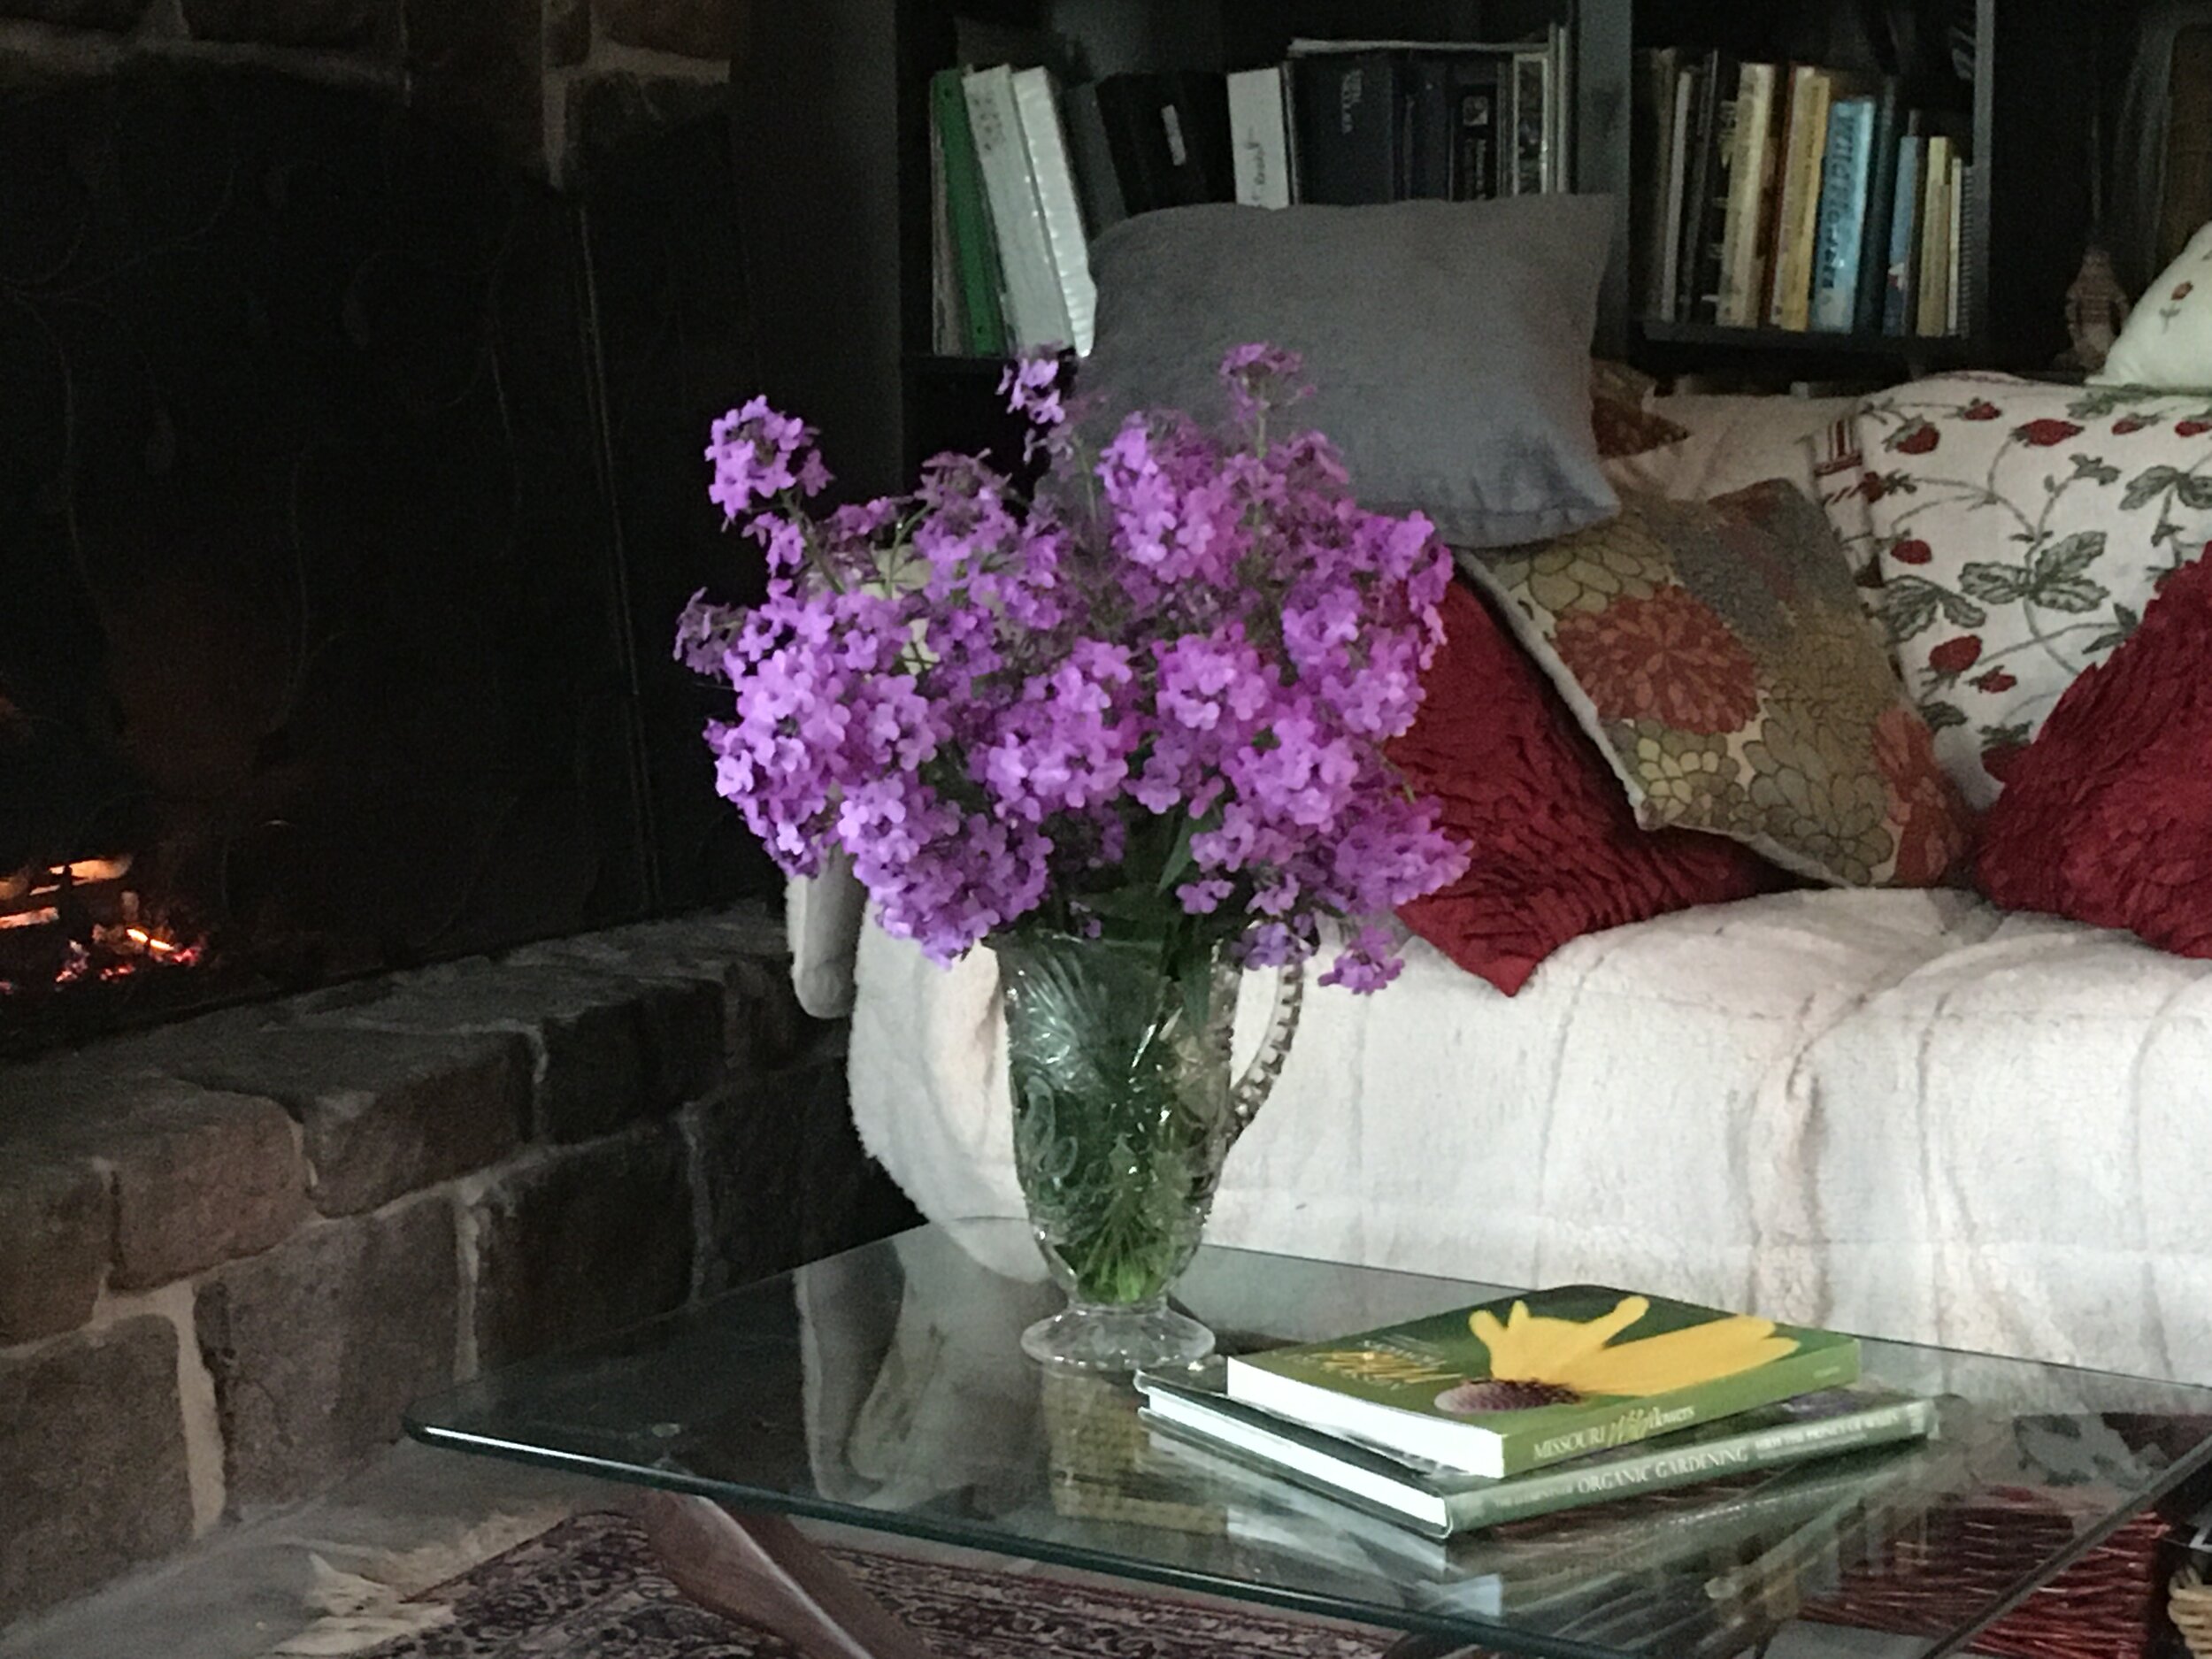
A vase full of Dame’s Rocket fills my den with their lovely fragrance. (Photo by Charlotte Ekker Wiggins)
In the meantime, my solution to not distributing more Dame’s Rocket seeds is to cut off the flower heads when they are still in bloom and enjoy them inside. It’s a cold overcast early May day, it’s a nice way to enjoy their beauty and minimize their damage.
It took them only an hour to fill my cozy den with their lovely scent!
Charlotte