How to Grow Strawberries
/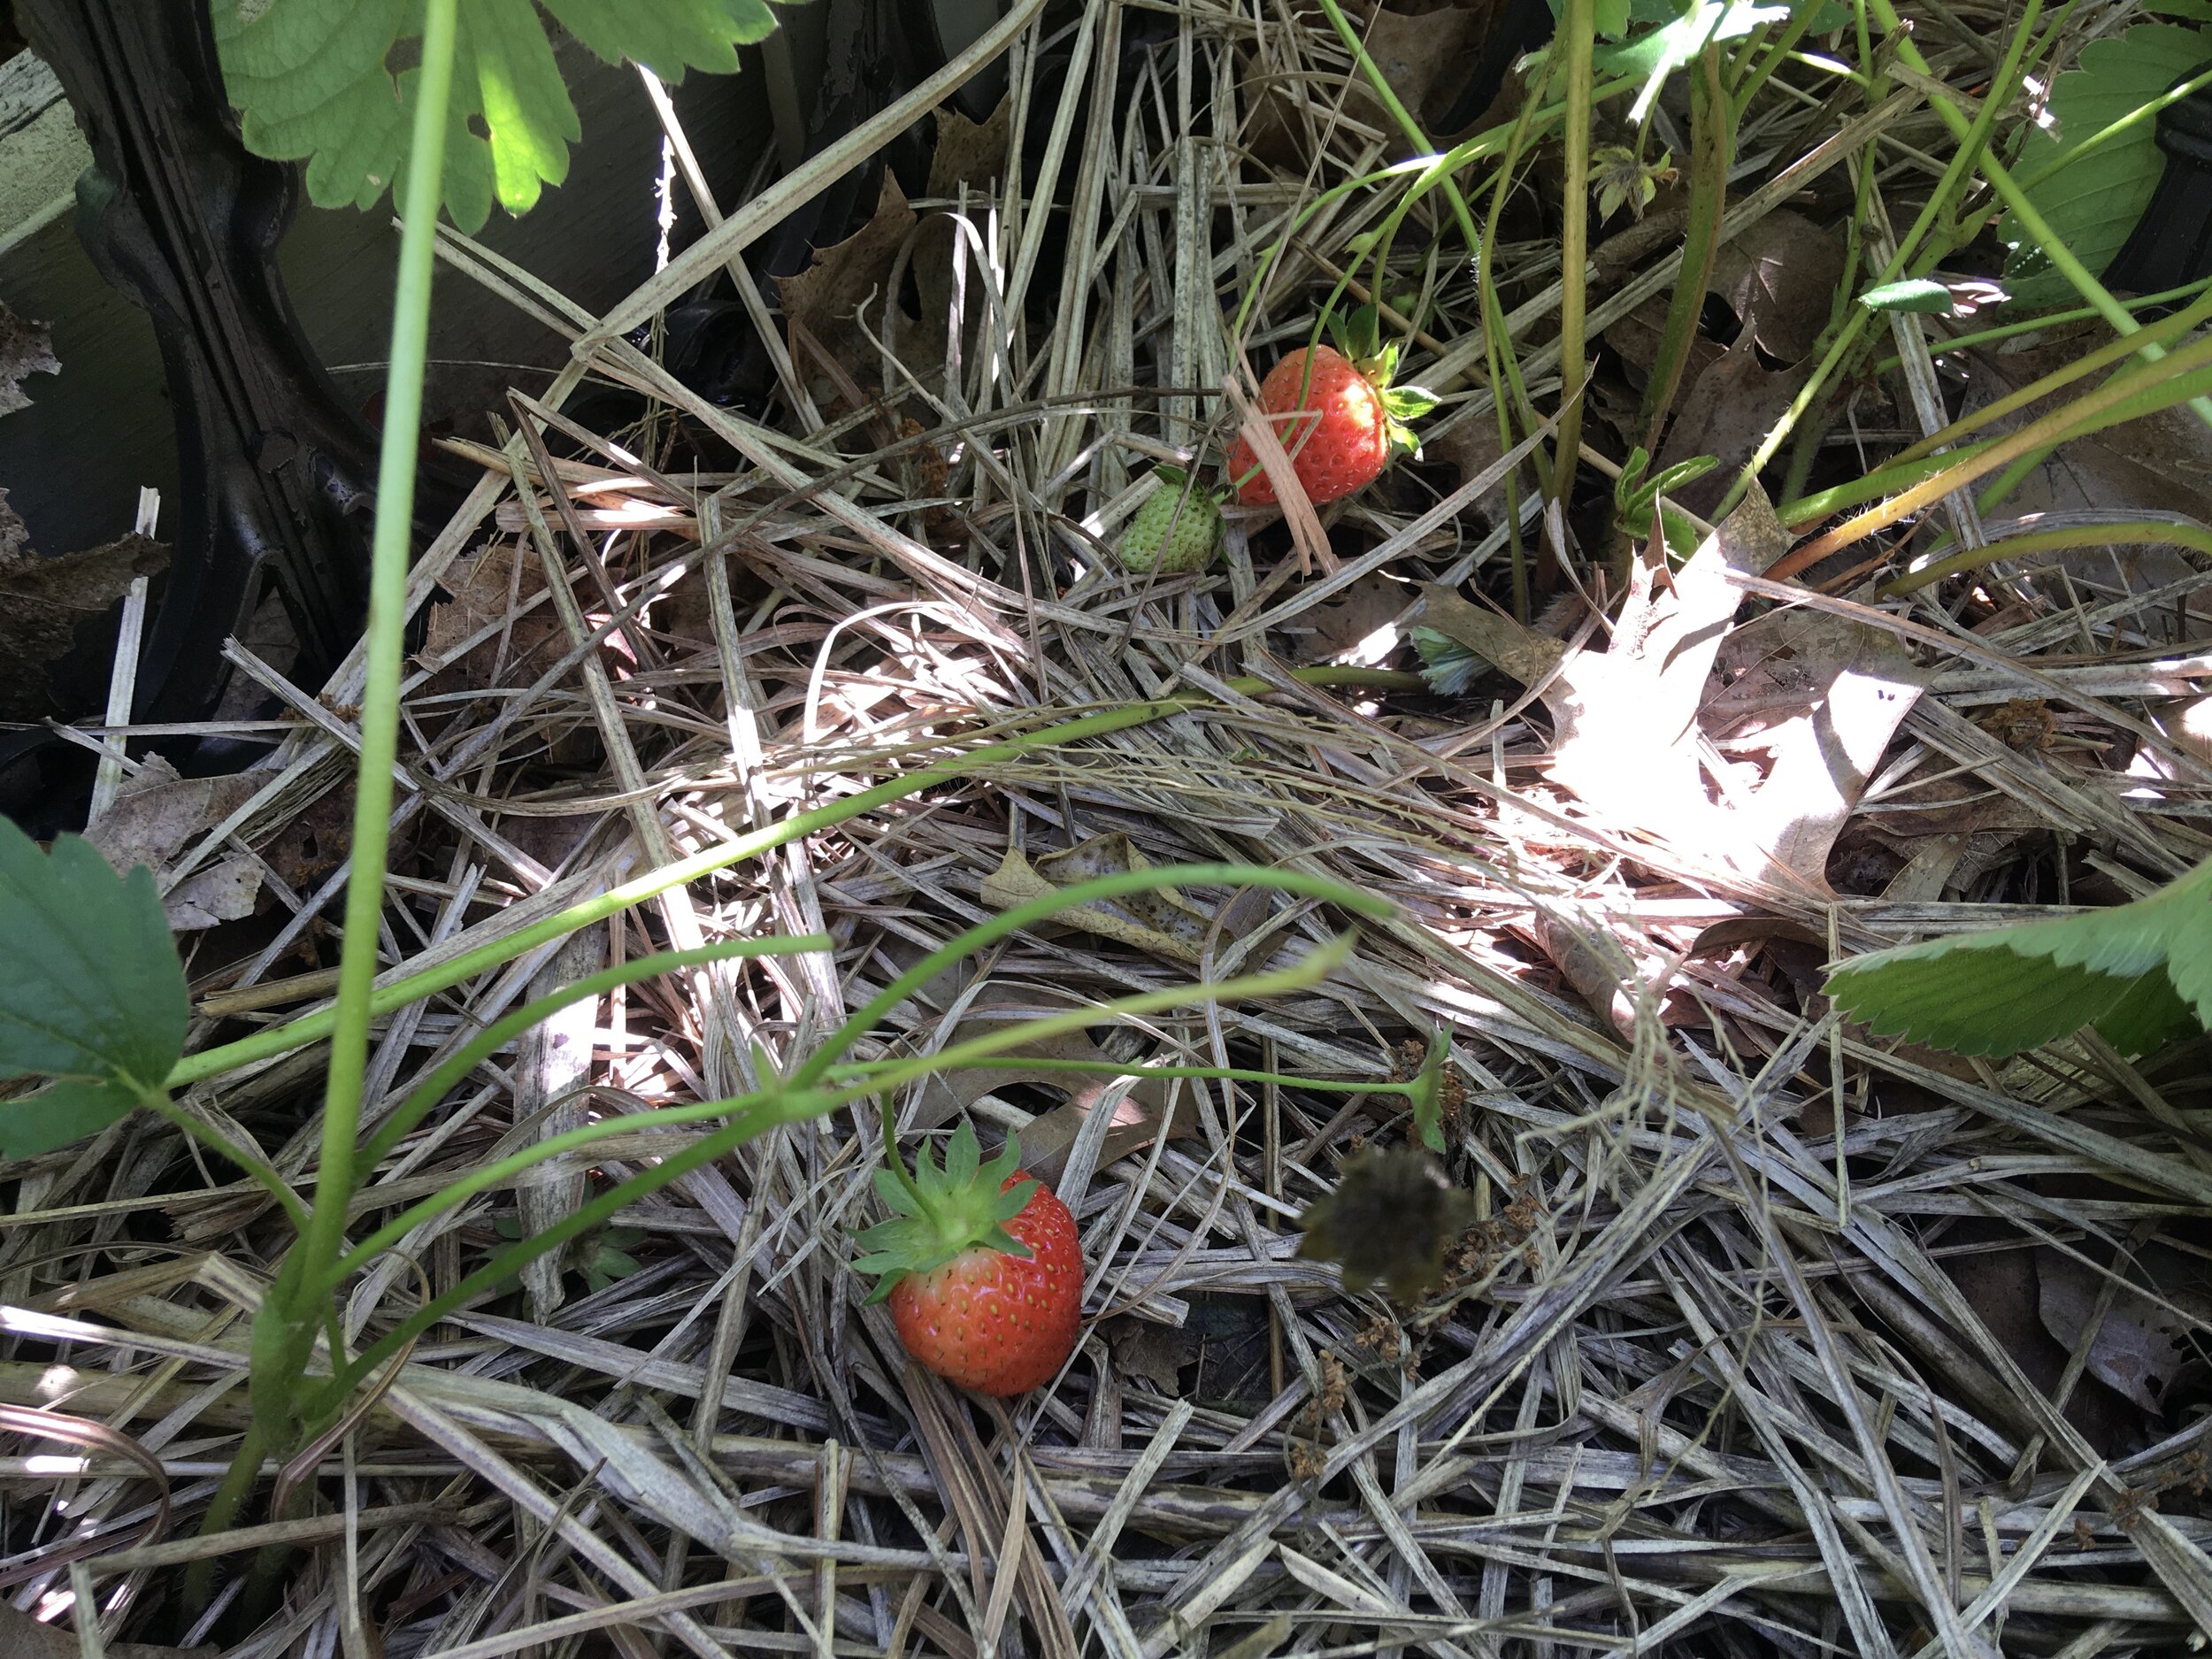
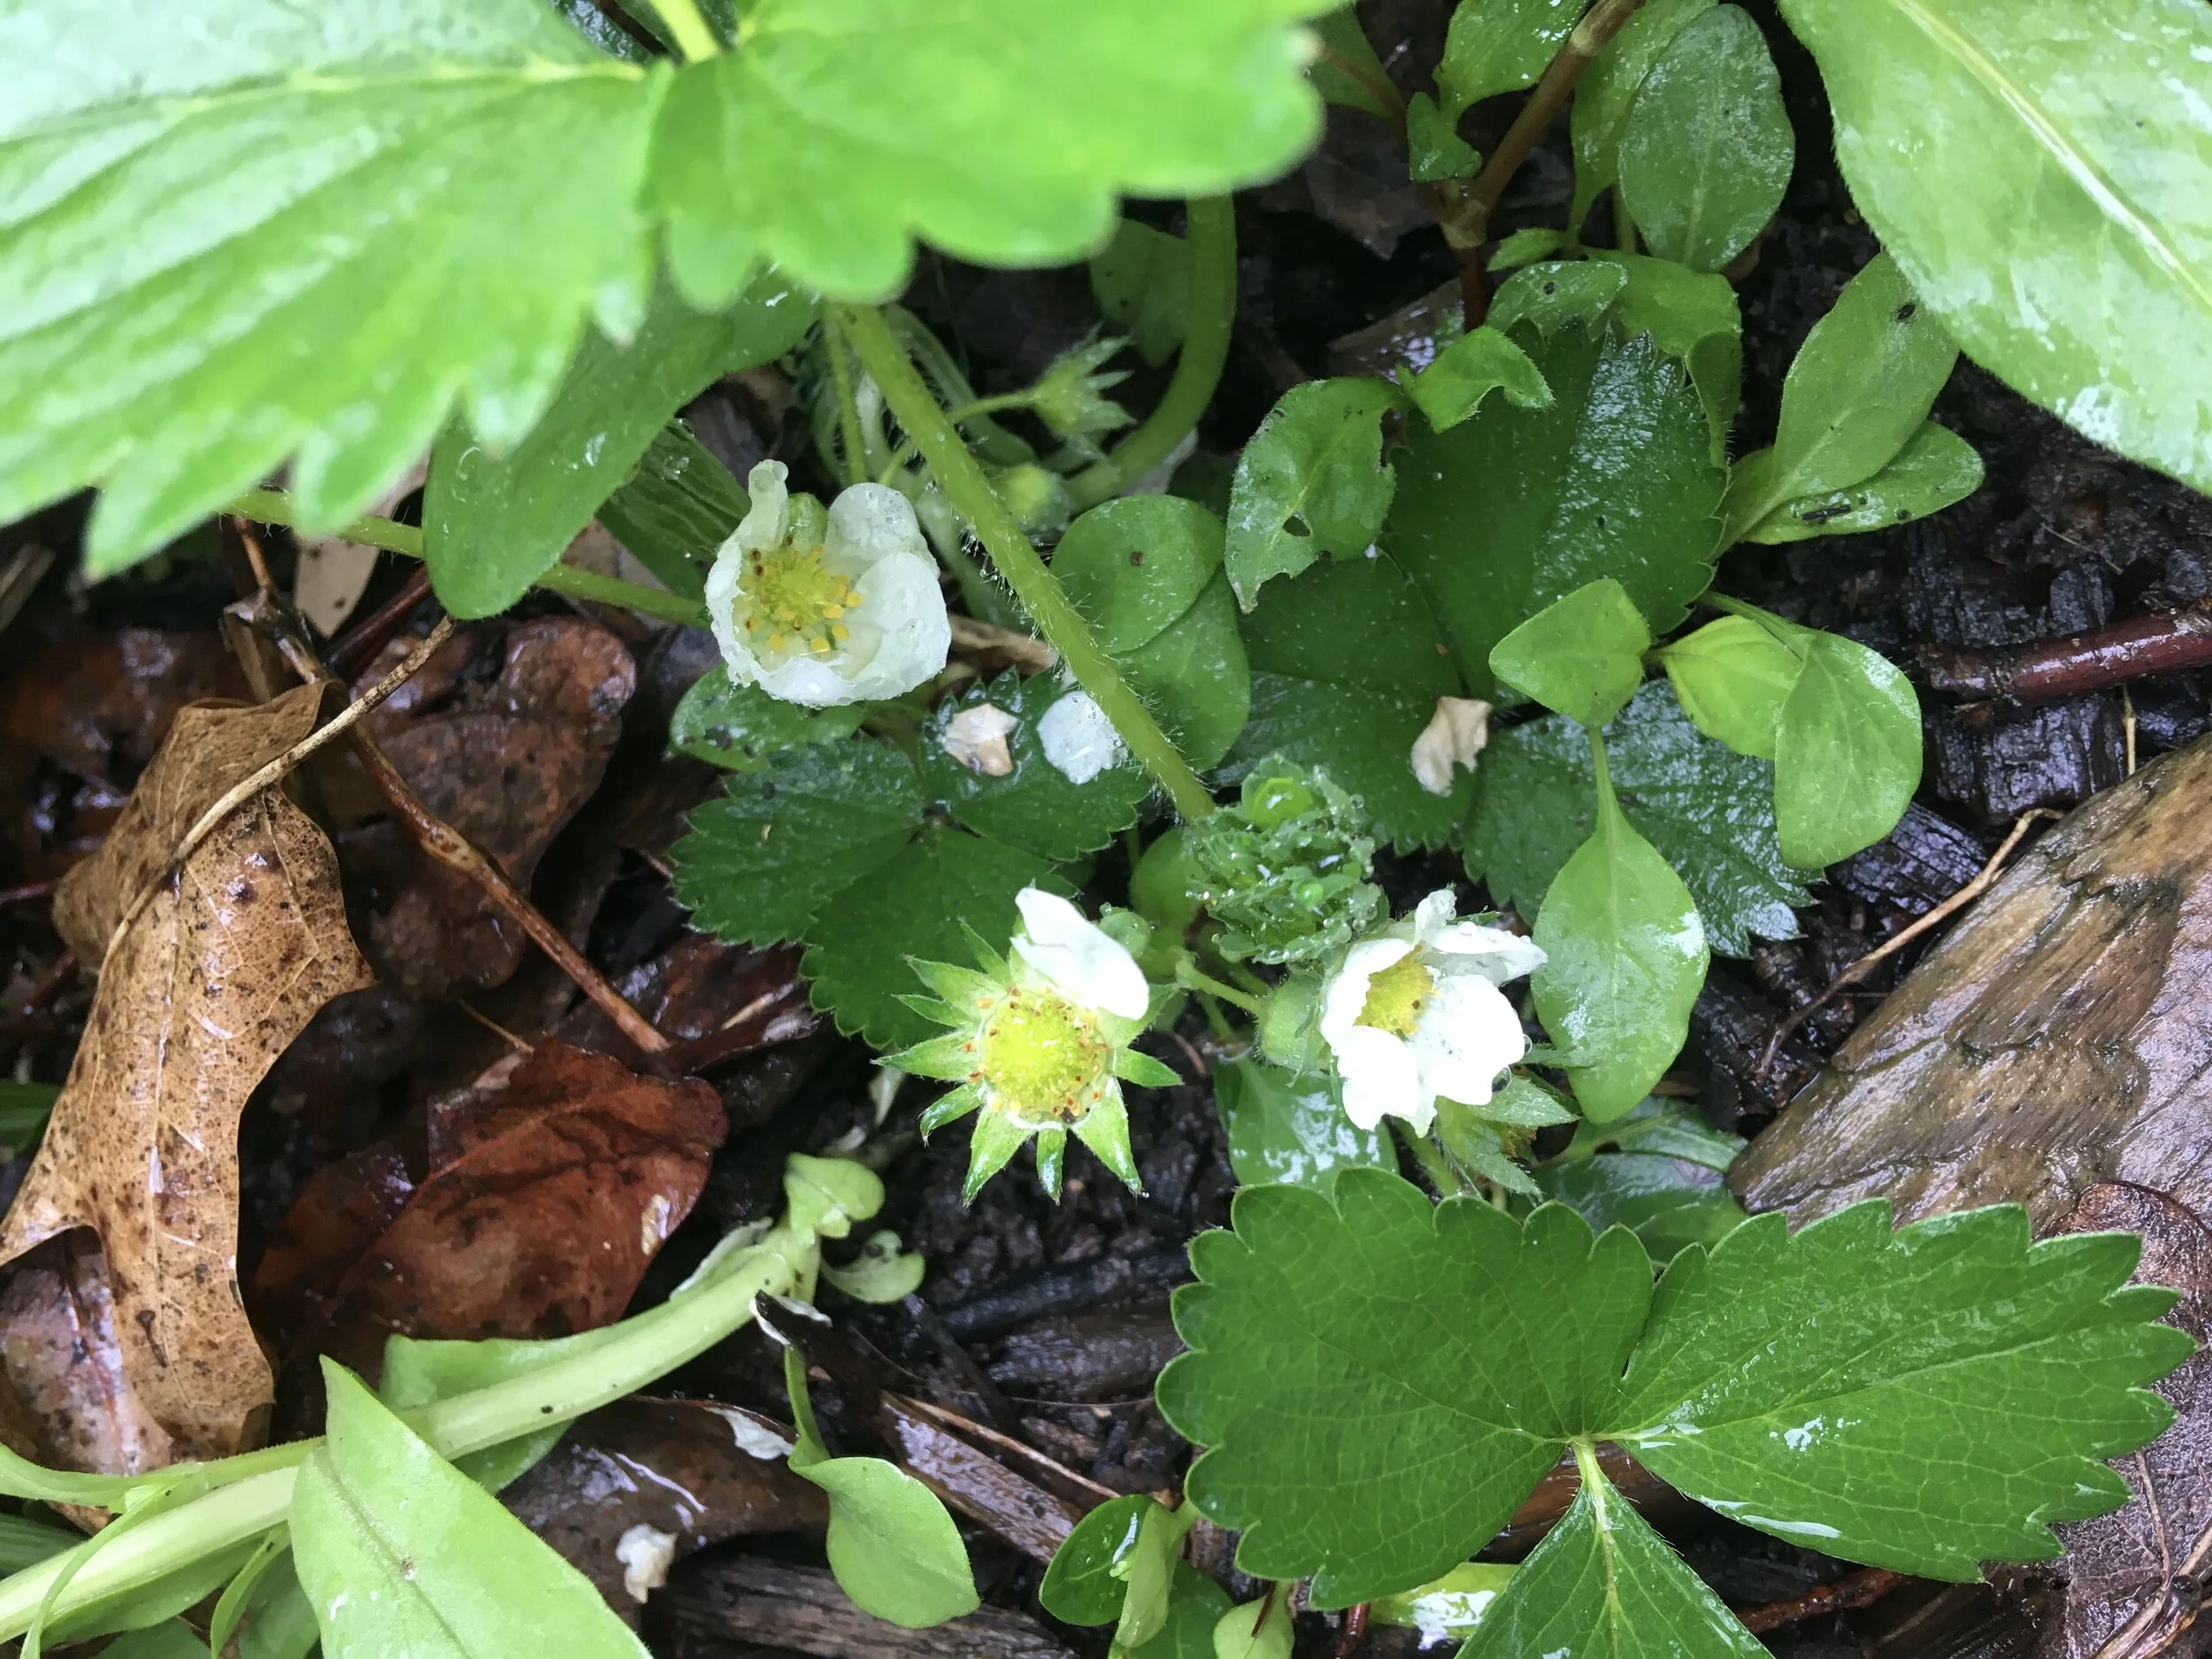
My home grown everbearing strawberries almost ready to pick. (Charlotte Ekker Wiggins photo)
Grow Strawberries
Summer is officially here when I start seeing locally-grown strawberries, usually several weeks before the official start of summer. In USDA Hardiness zone 6B, where I live, strawberry season begins in June. Or maybe I should say strawberry shortcake season. It continues for several weeks, or months, depending on the strawberry variety.
My family goes back several generations as Hungarian strawberry farmers. That may explain why most of us siblings love strawberries just as they are. Commercially-grown, strawberries usually end up on the top 10 list of plants raised with harmful chemicals so growing them at home is an excellent option.
Types of Strawberries
There are a number of strawberry varieties. Here are the two most popular types of strawberries:
June-bearing strawberries provide strawberries for 5-6 weeks starting in June.
Ever-bearing strawberries bloom 3-6 months starting in June.
For example, the ever popular Quinault and Ozark strawberries are ever-bearing strawberries.
How to Plant Strawberries
Strawberries are heavy feeders, which means they take a lot of resources out of the soil. To get ready for my first strawberry plantings, I added both compost and manure to ensure the soil microbes were well-fed so they could feed the plants.
For those flower beds where I used strawberries as border plants, they also were given extra mulch and compost.

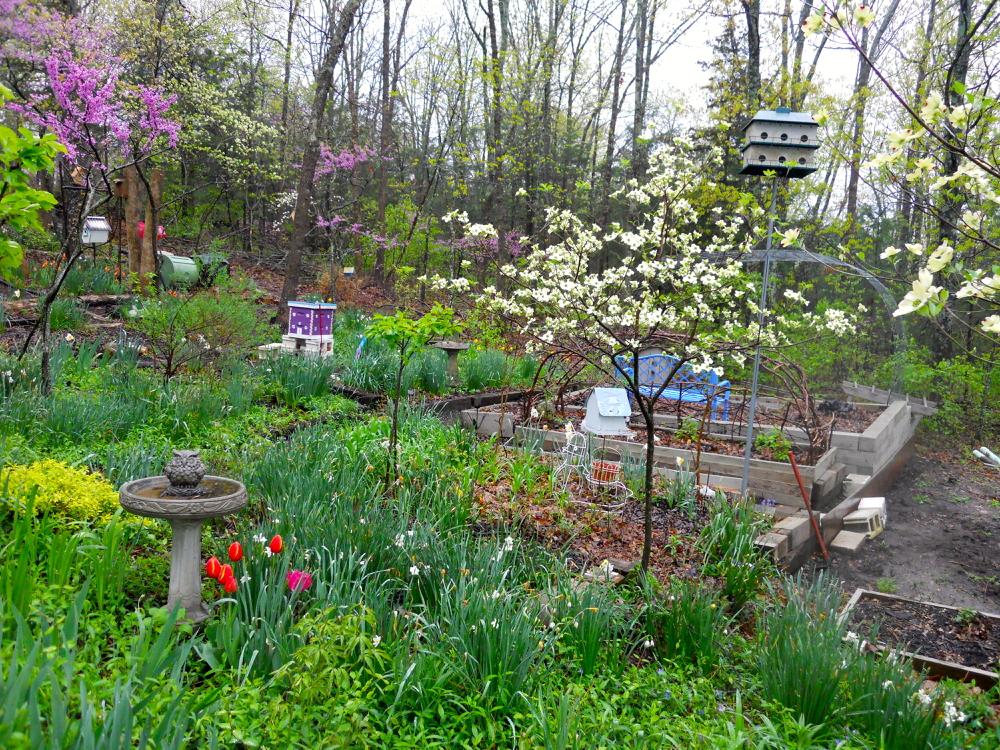
Strawberry plants can easily be used on flower borders. (Charlotte Ekker Wiggins photo)
Last year, I planted a good 60 or so new ever-bearing strawberry plants as flower bed borders. This way I can easily pick strawberries as I walk by.
Strawberry plants in their first year can appear small. It normally takes a year for plant roots to get established.
You should also remove the flowers in the first year. You want to concentrate the plant’s energy in getting roots established.

Here’s another border where I included strawberries. (Charlotte Ekker Wiggins photo)
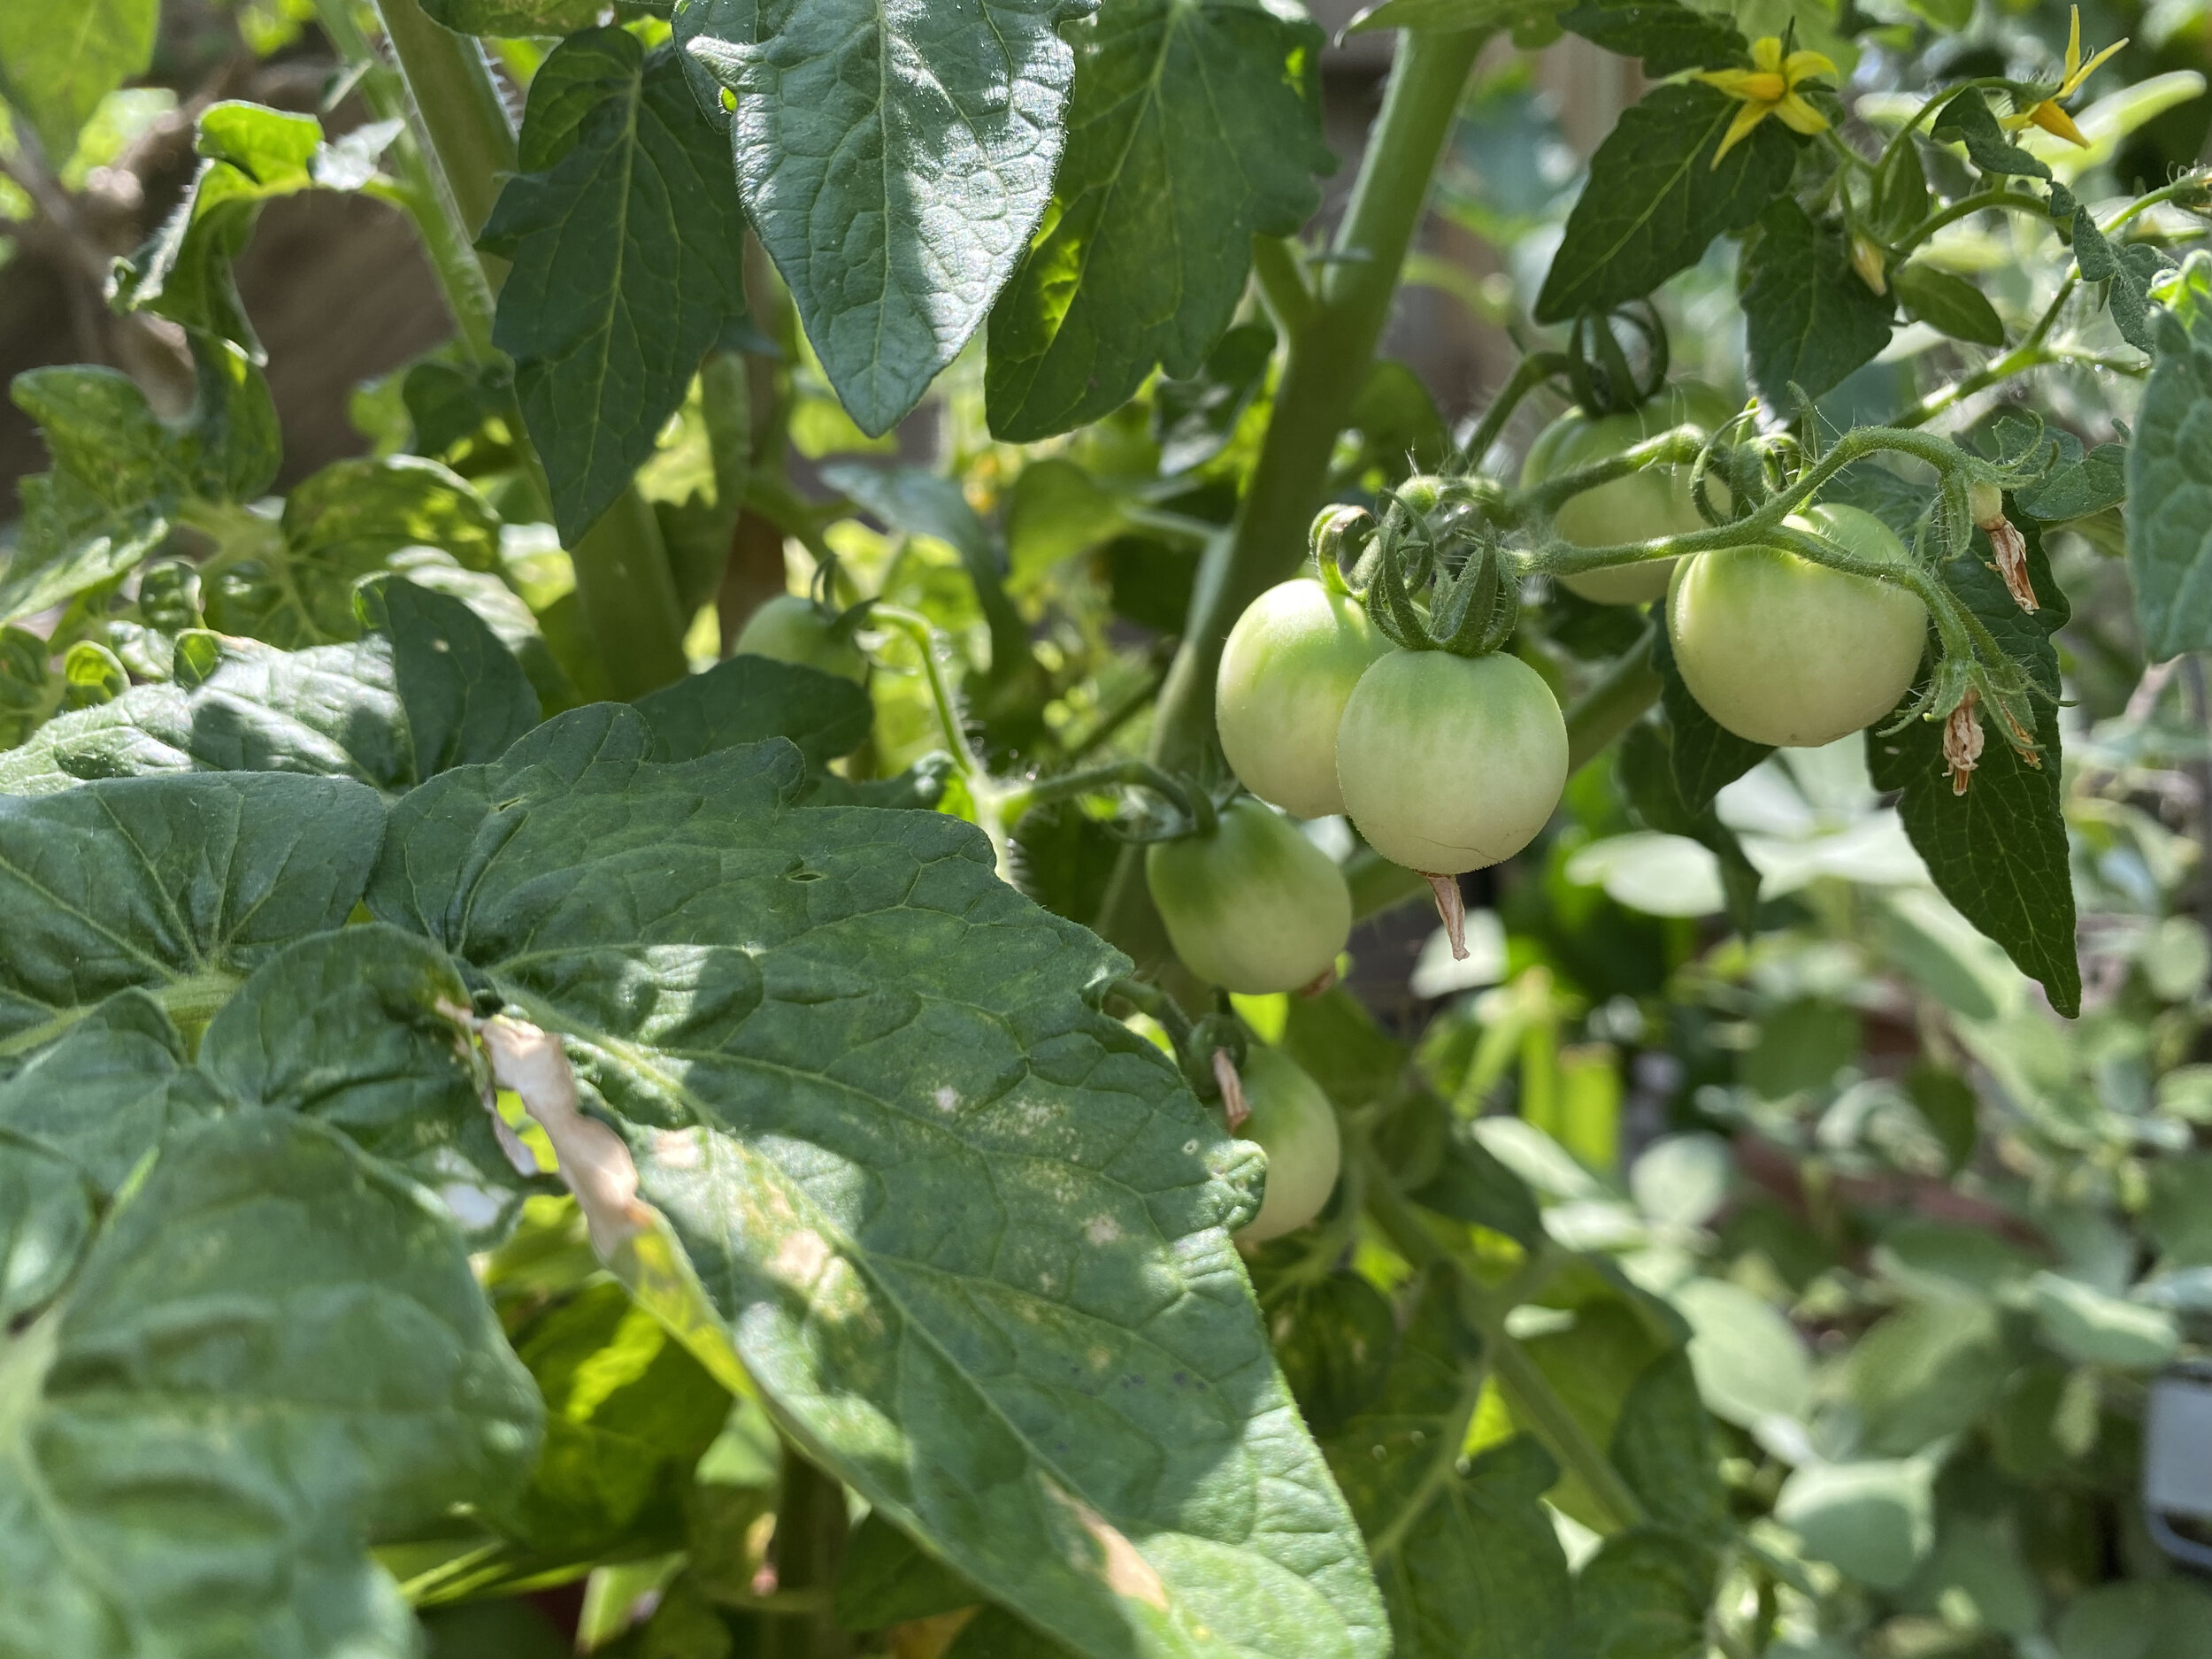
I also added June-bearing plants in a couple of flower beds. Those are honestly for the visiting turtles that somehow know when the berries are ripe.
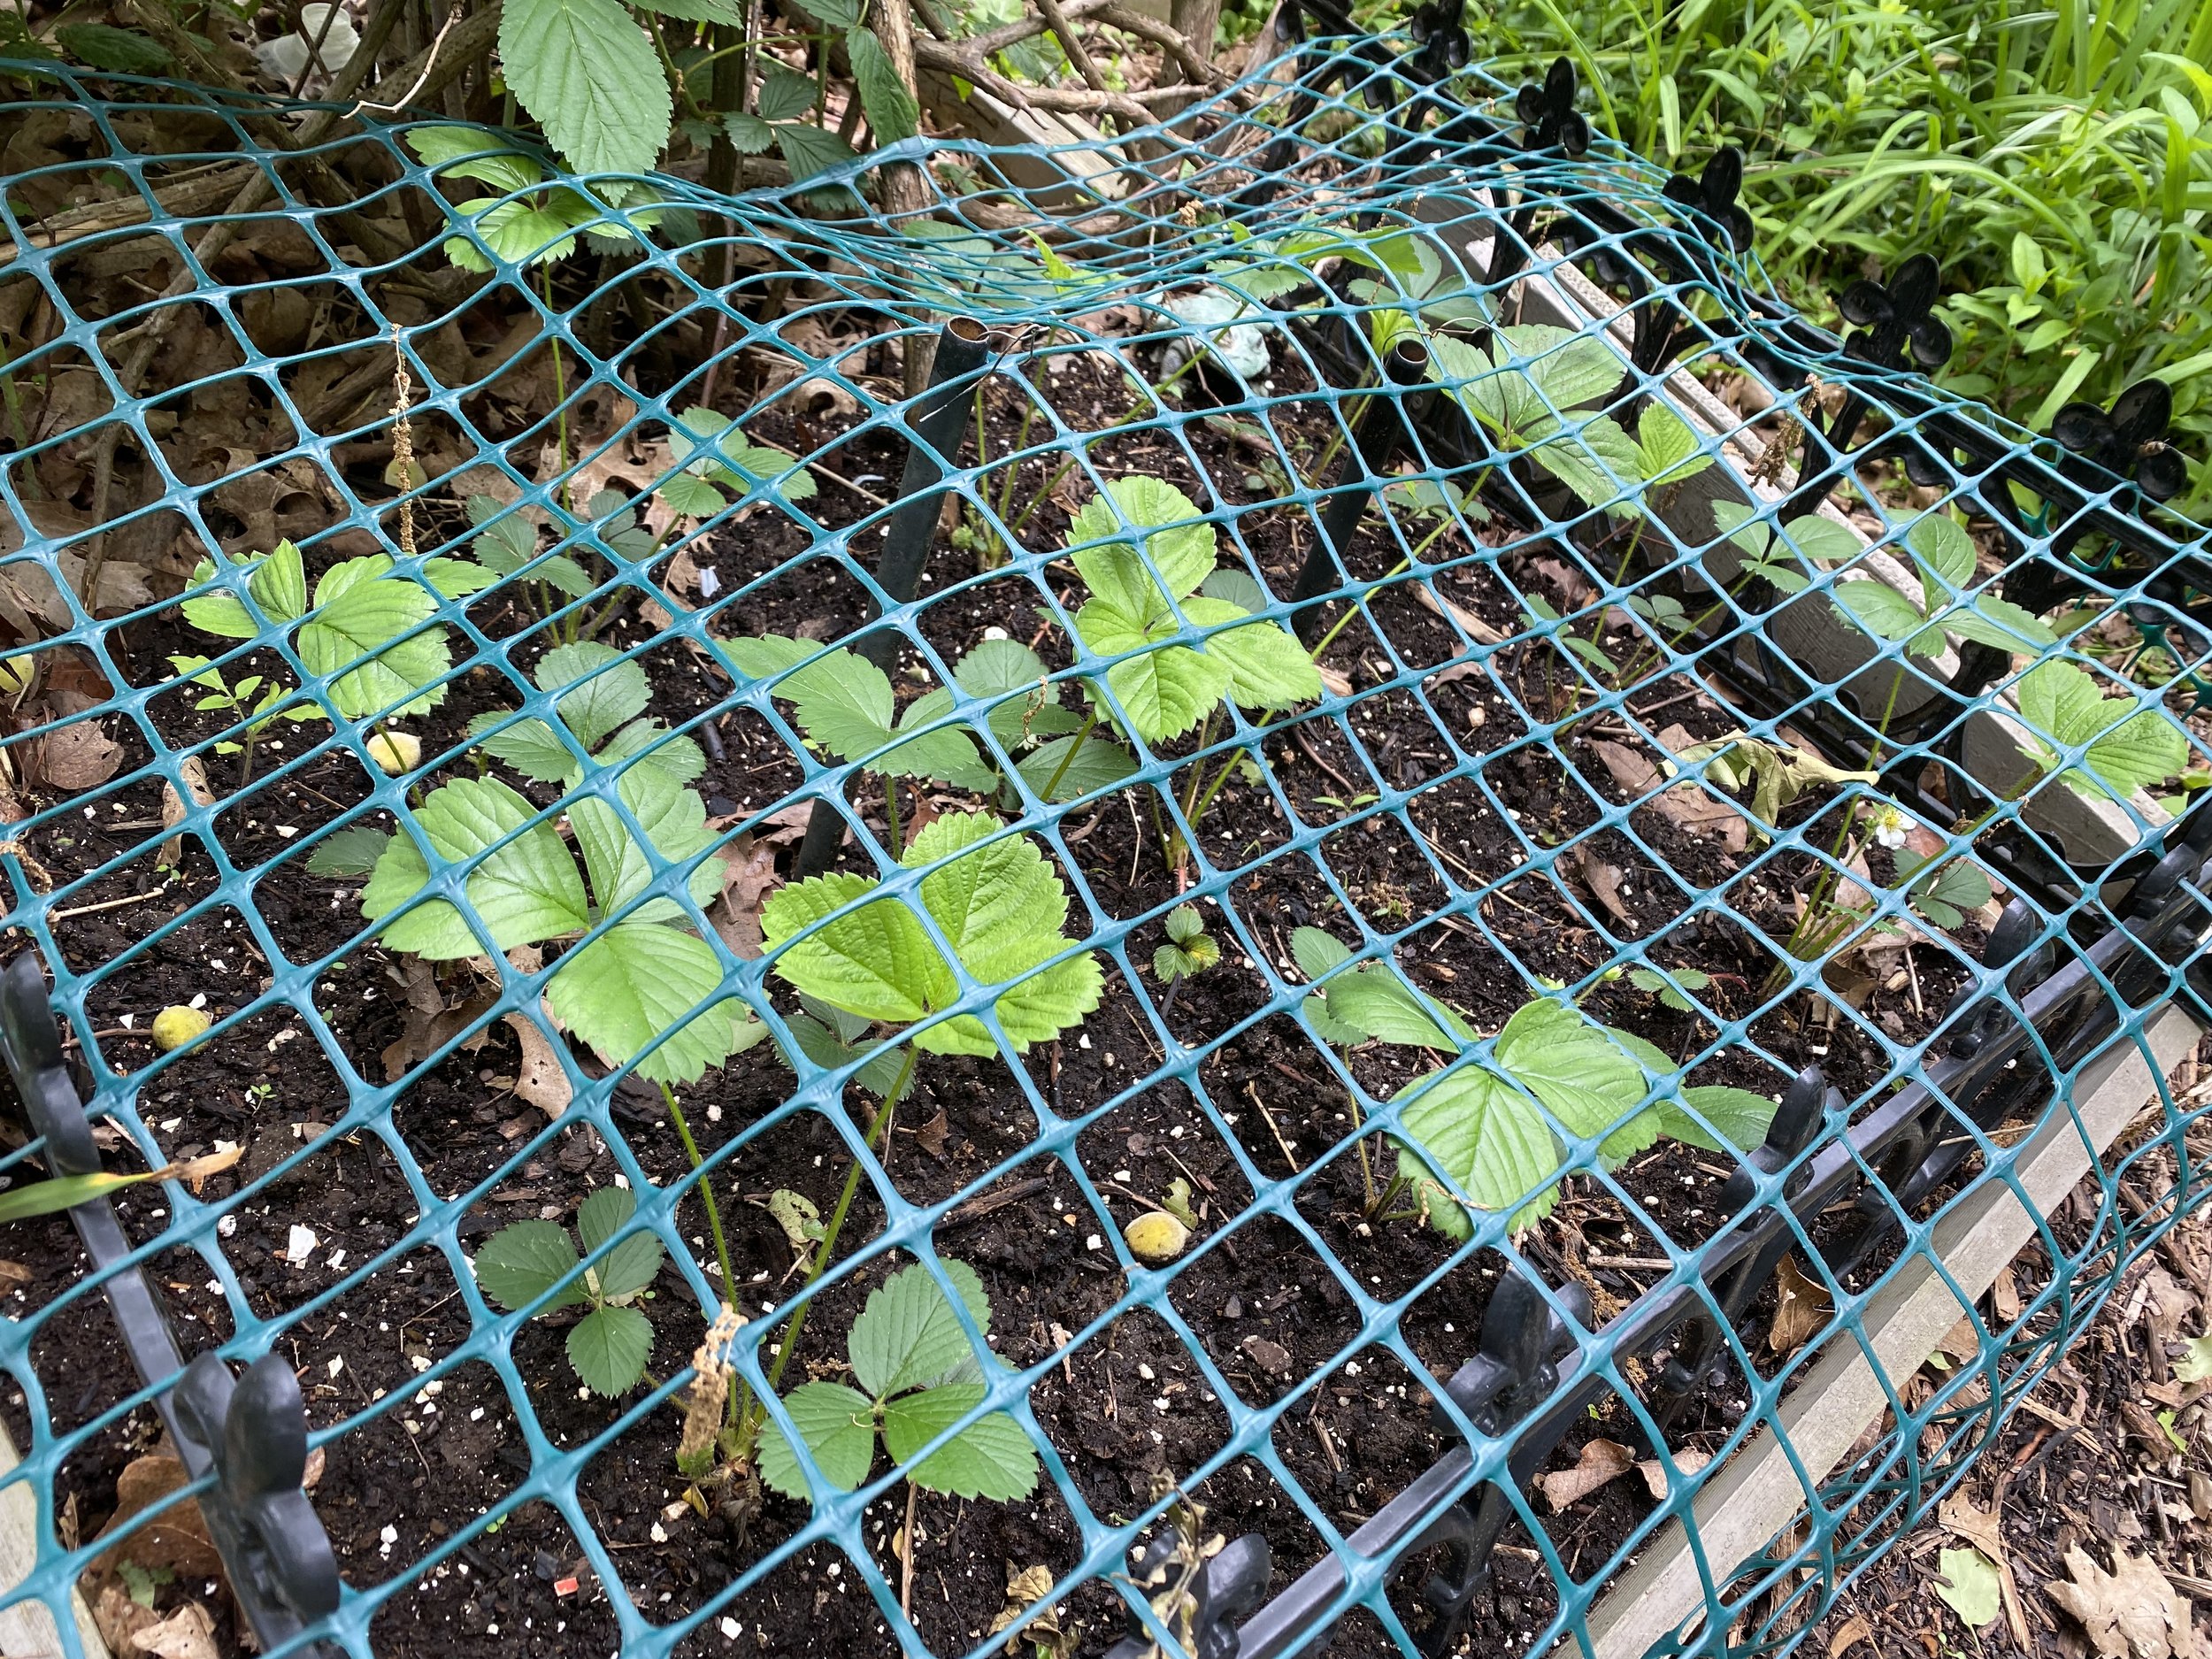
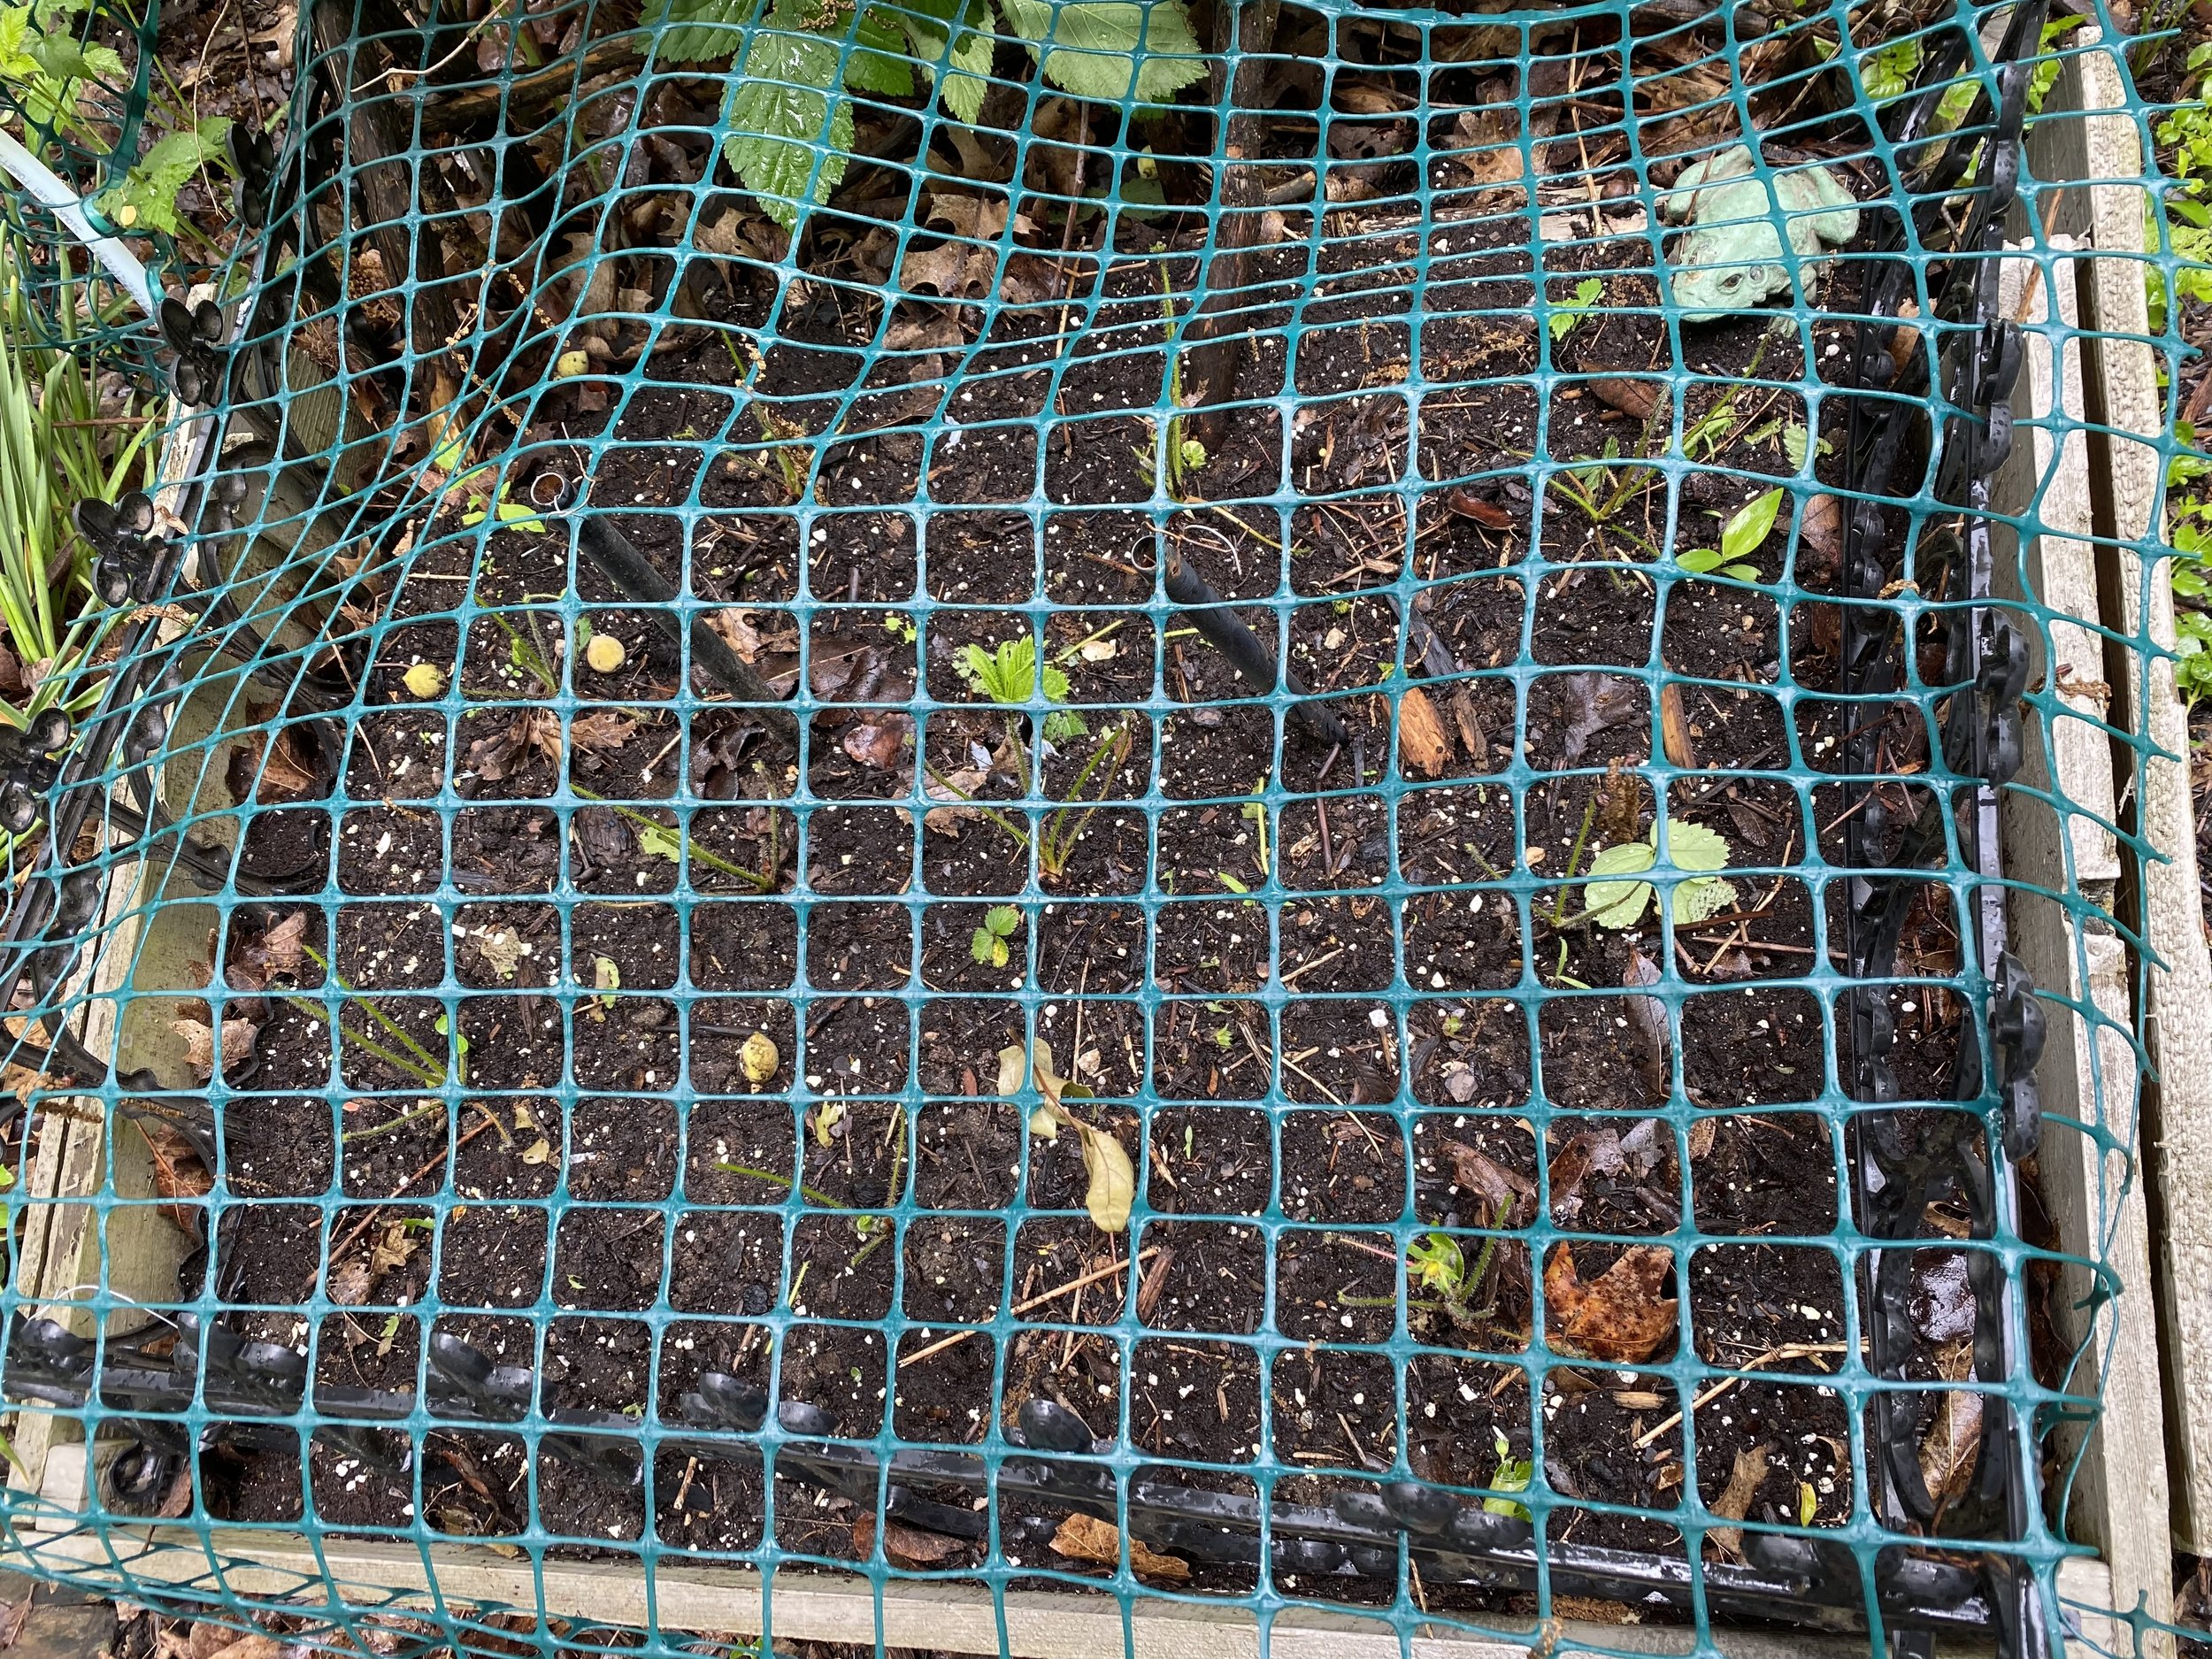
Now the more traditional way to grow strawberries is to have separate planting beds. To grow strawberries in beds, they need to be rotated 3-4 years to give soil time to recover and re-energize.

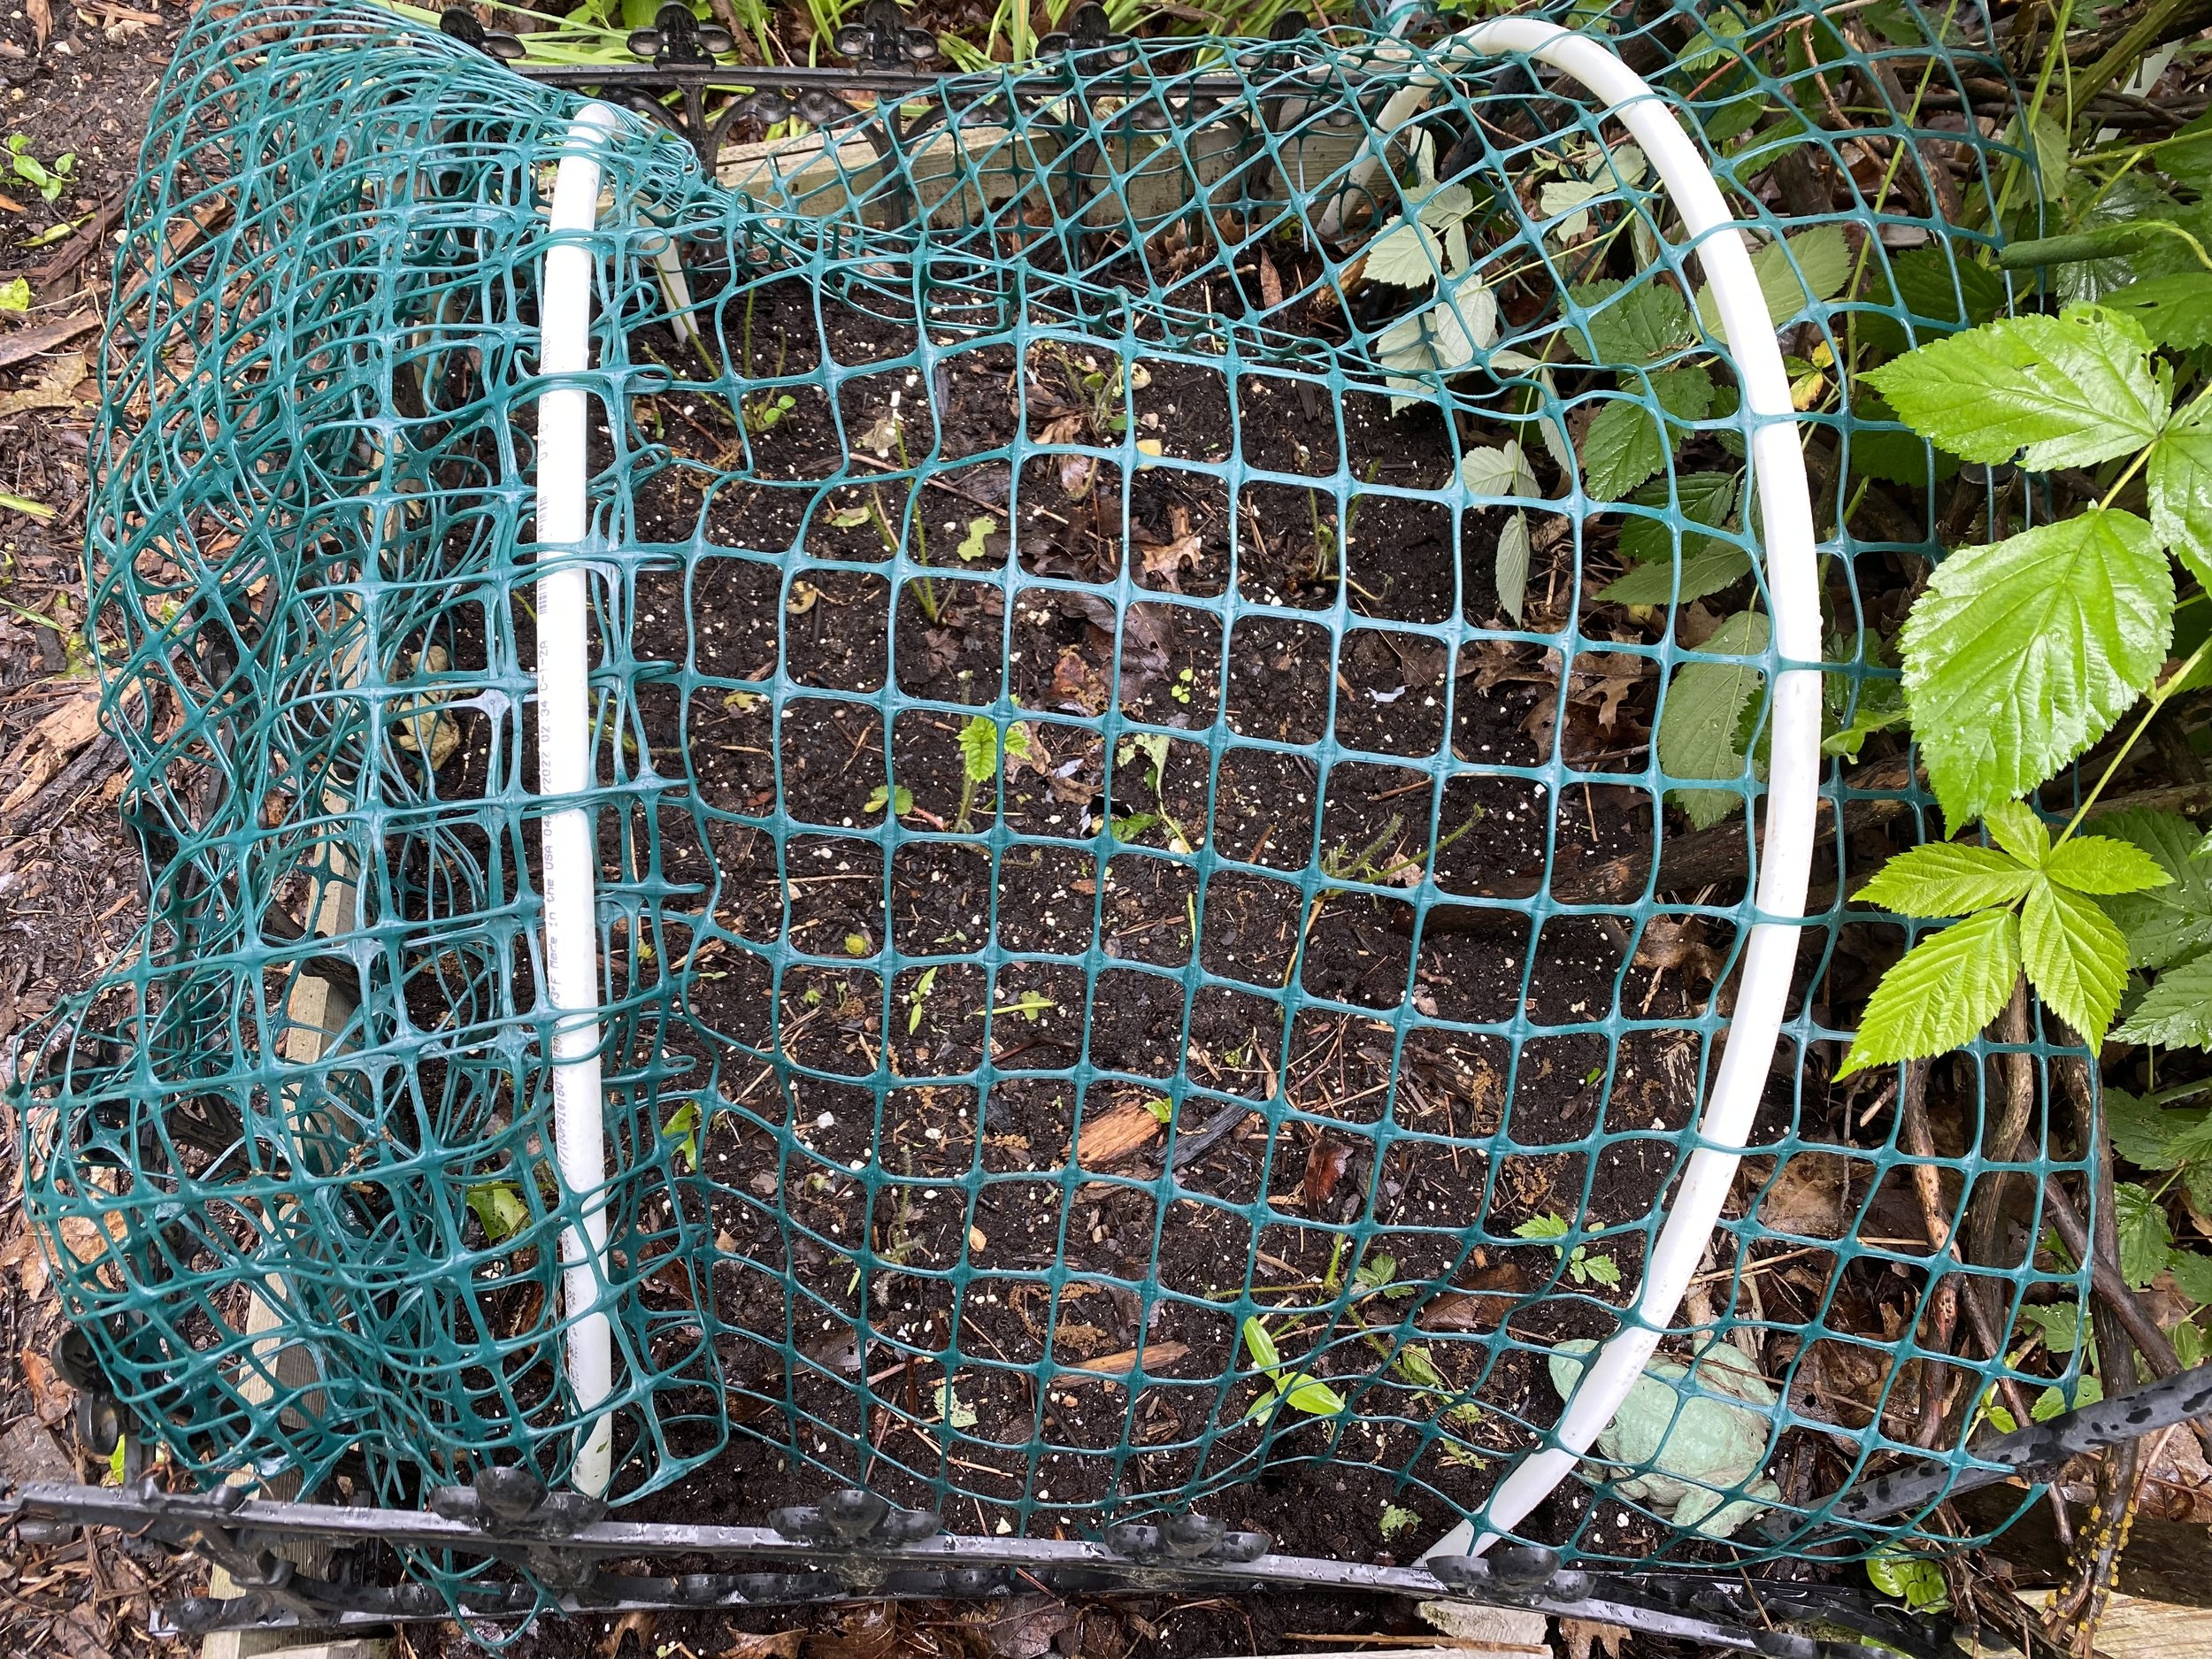
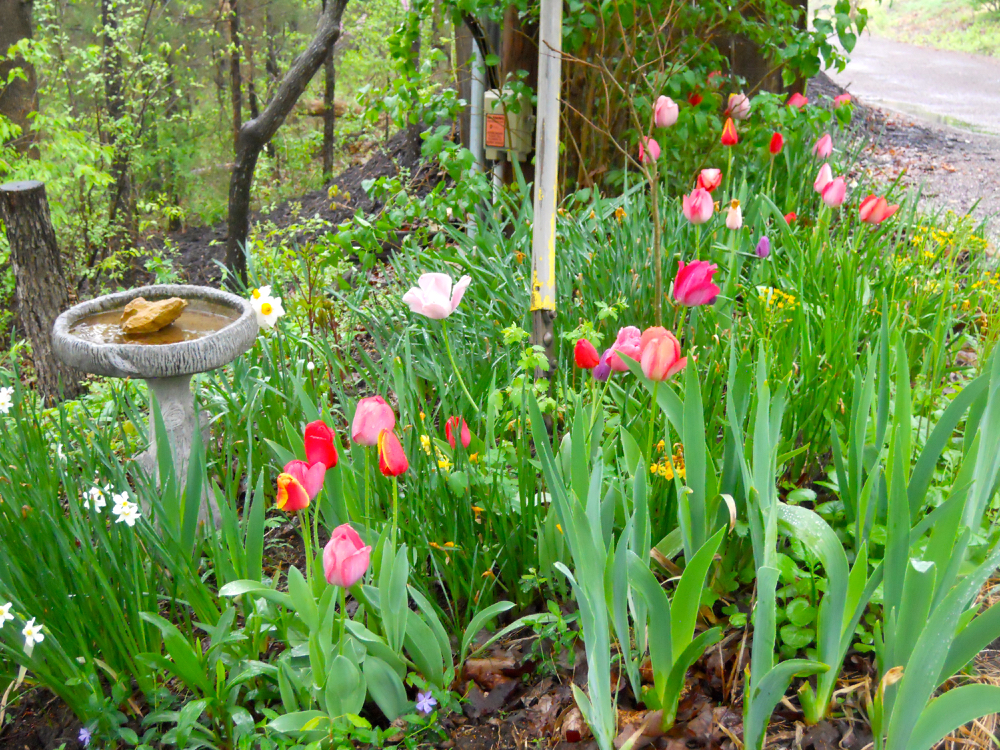
Separate strawberry beds are the traditional way to raise berries. (Charlotte Ekker Wiggins photo)
After planting, add straw under the leaves. You don’t want the berries touching soil or they will rot.
For more weekly gardening, beekeeping, cooking and easy home decor tips, subscribe to Garden Notes.