Rose of Sharon Trees
/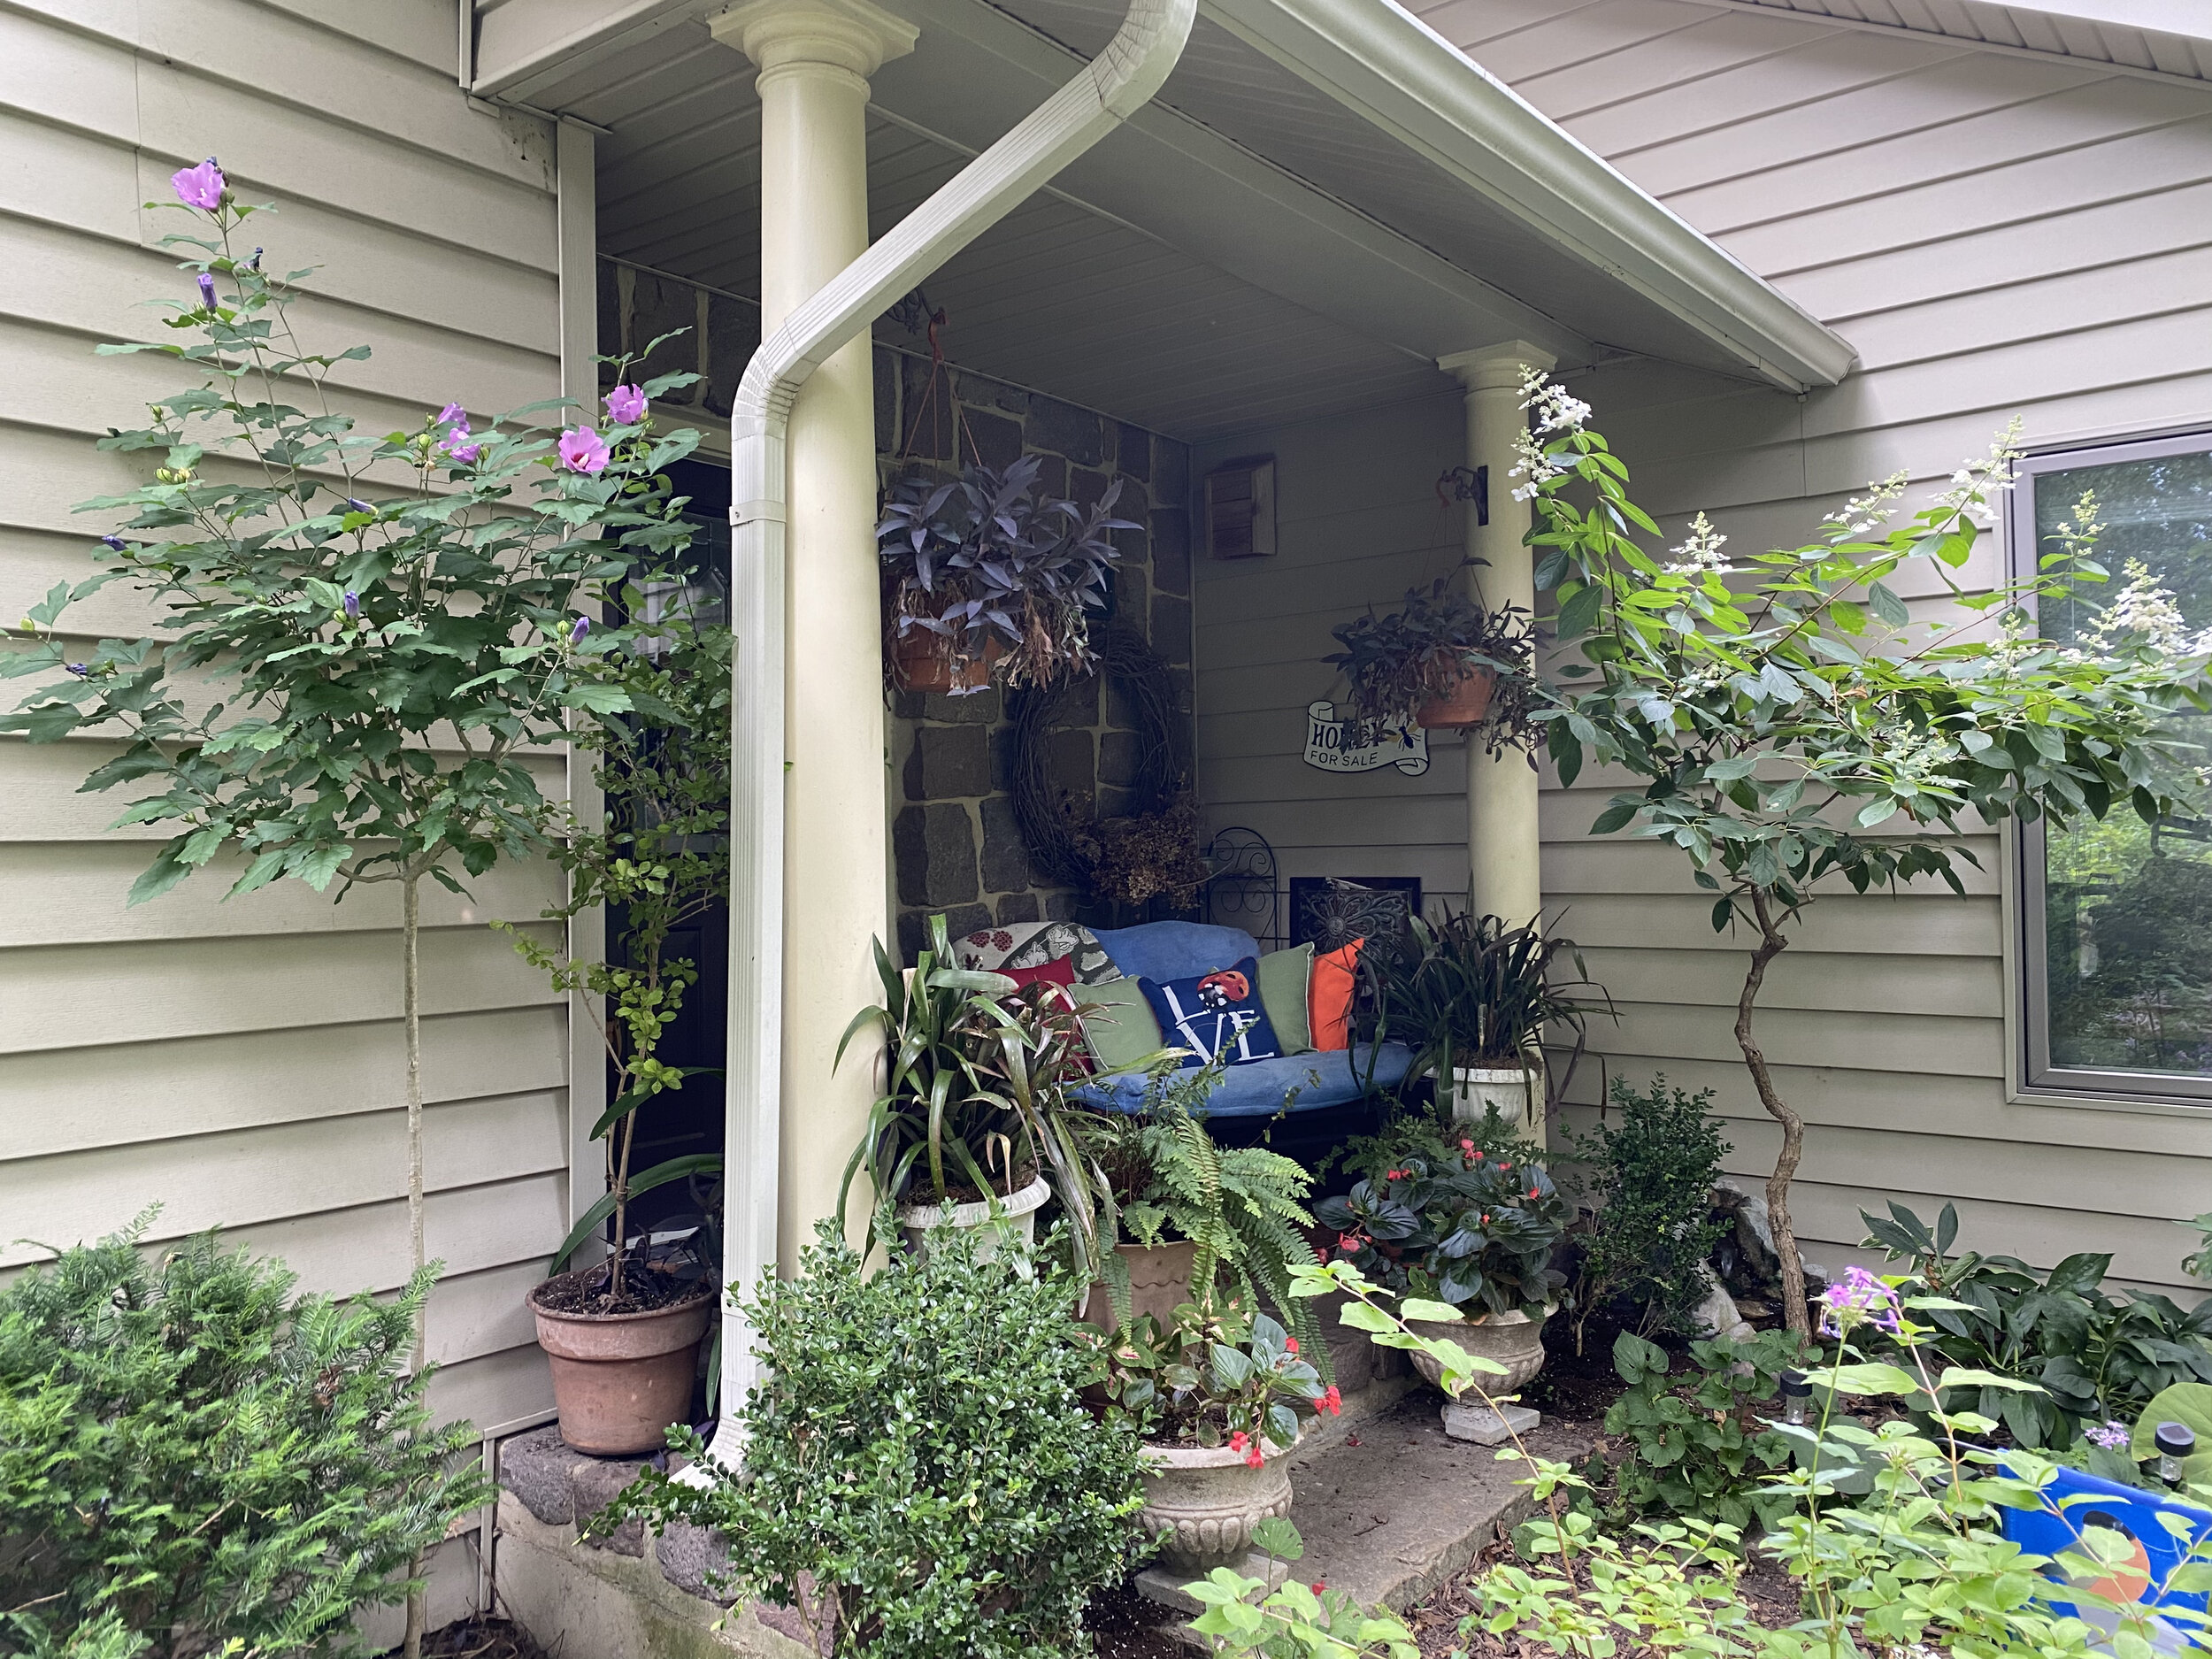
Rose of Sharon, left, and Panicle Hydrangea, right, trimmed as trees. (Photo by Charlotte Ekker Wiggins)
“Charlotte I love your Rose of Sharon trees, where did you get them? I would like to add some to my garden….” - Lila
Rose of Sharon Trees
Hi Lila,
If you have Rose of Sharon shrubs or access to them, that’s all you need. The Rose of Sharon trees in my garden are shrubs I pruned into a tree shape. The hardest part of doing it is/was waiting!
Rose of Sharon are a cousin to tropical hibiscus. A hardy perennial usually grown as a shrub, these hibiscus are helpful to have in the garden because they bloom mid to late in the summer season when little else is in bloom.

Keeping a Rose of Sharon shaped as a tree takes persistence and patience. (Photo by Charlotte Ekker Wiggins)
The Rose of Sharon trees in my garden are lavender, pink and white. Several are double lavenders and I have a blue chiffon on my wish list for a new garden area. Until then, I check my trimmed Rose of Sharon trees to make sure they are not putting energy into sprouting side shoots.

Remove any growth along the stem to encourage a straight trunk. (Photo by Charlotte Ekker Wiggins)
If I see those side shoots, I cut them off right then and there, no guarantee I will remember to trim later during winter or early spring.
Young Rose of Sharon trees may need support for a couple of years as their stems get thicker. I use rebar pieces in various lengths to give them support. The rebar can then be re-used for other garden projects like training Eastern Redbuds to grow straight.

Rebar makes good support and can easily be reused. I will tie this gently to the trunk.(Photo by Charlotte Ekker Wiggins)
The other consideration is where to place the Rose of Sharon trees in your garden so they become a focal point.
If for some reason you don’t like where you’ve settled them, they can easily be moved in their first few years. They may not bloom for a year after the move but it’s better to have them in the right spot than growing where you can’t enjoy them.

Another Rose of Sharon tree that is about 5 years old. (Photo by Charlotte Ekker Wiggins)
As I said, the most challenging part of growing Rose of Sharon trees is being patient. It can take 5-7 years before a Rose of Sharon tree trunk is strong enough to hold up the tree and bloom.
Staking the trunks and removing any side growth can help speed up the process but it’s not a quick process.
I happen to think it’s worth it because it provides our gardens with an interesting shape that helps us enjoy the mid-summer blooms.
And bumblebees love these flowers, too!