Missouri Native Poinsettias
/
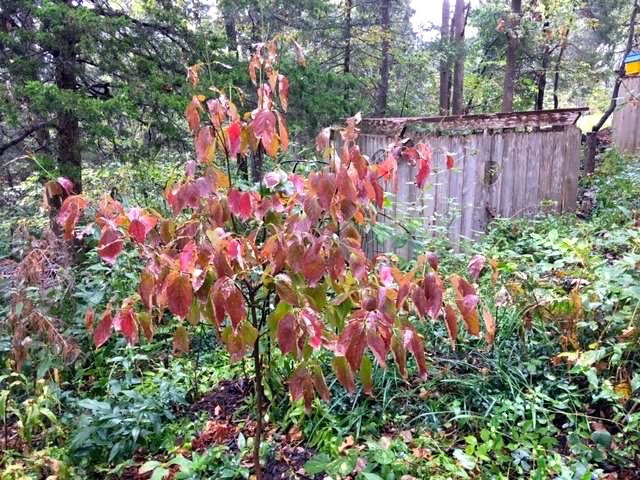
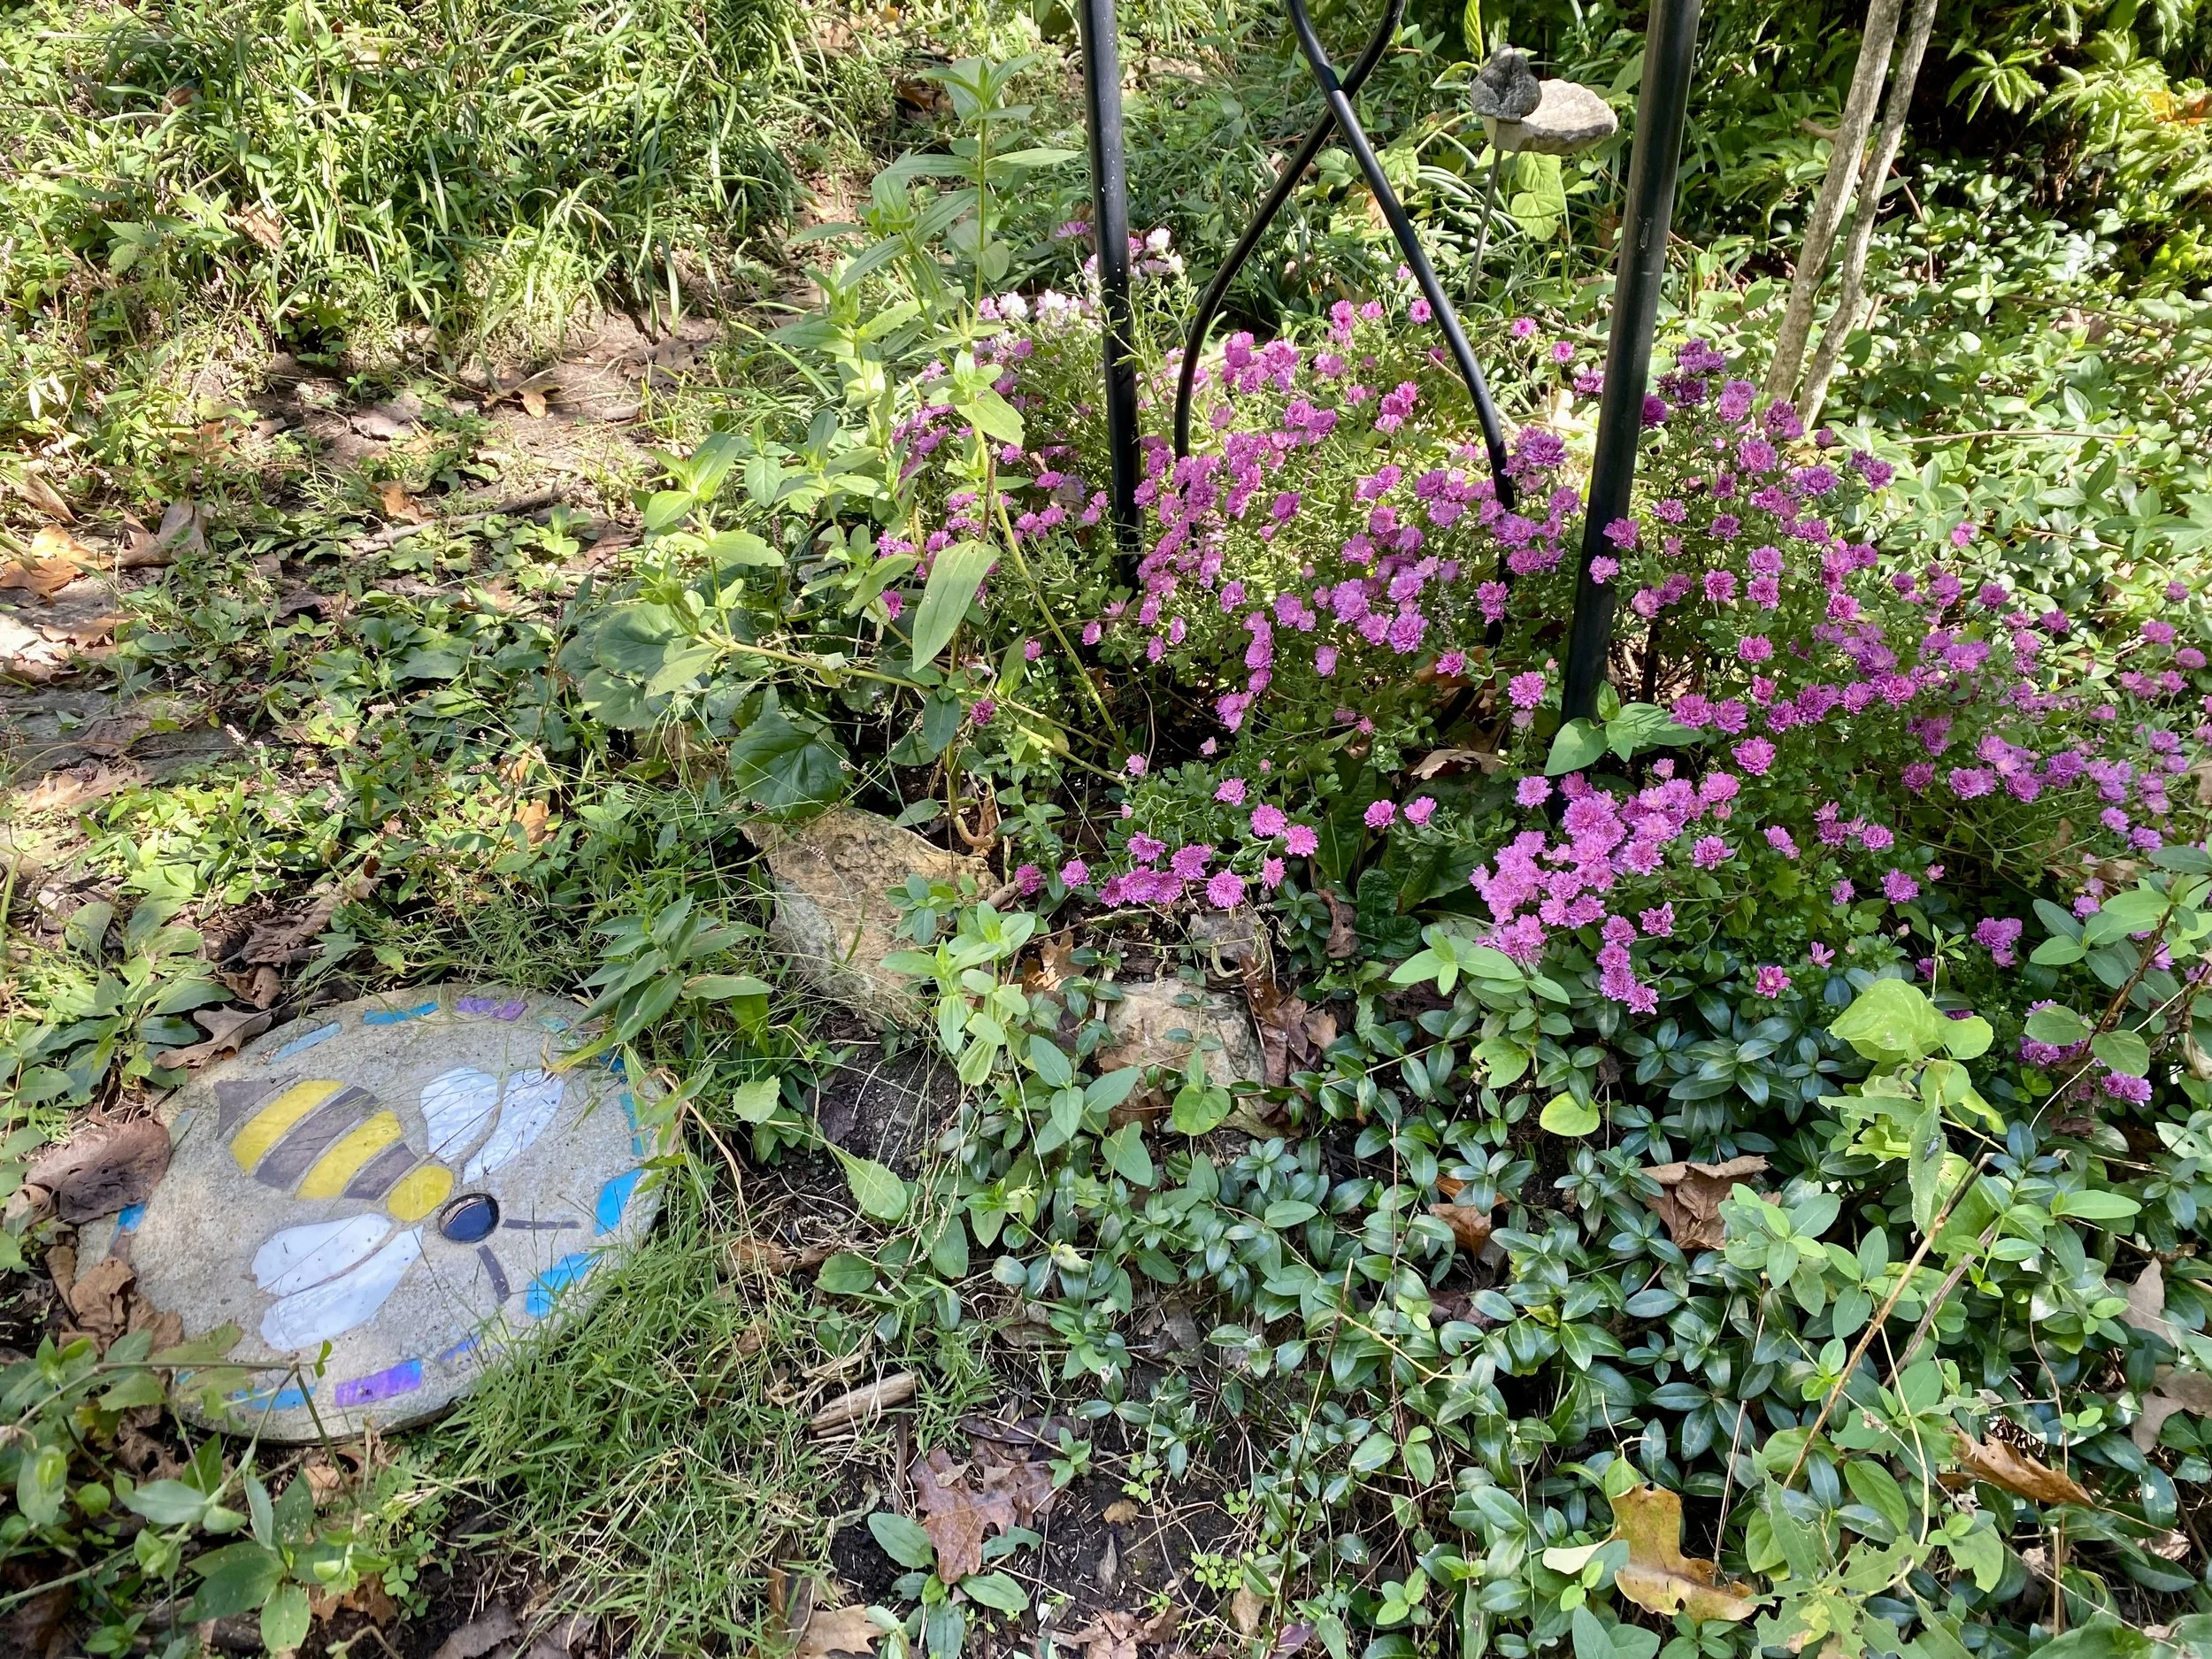
Fire on the Mountain, or wild poinsettia, growing in my hillside garden. (Photo by Charlotte Ekker Wiggins)
Missouri Native Poinsettias
You have probably walked by them a number of times as I have. They tend to grow with other Missouri native flowers such as dayflowers. I have stopped to get a closer look, then decided it’s not possible that a native of Mexico would be related to something growing in mid-Missouri. If you haven’t seen poinsettias at your local home and garden, you will soon, the Mexican native is a favorite holiday plant for its colorful leaves. The flowers are actually the small yellow centers.

Typical holiday poinsettias that originated in Mexico. (Photo by Charlotte Ekker Wiggins)
Turns out I was wrong.
There are actually two Missouri native plants related to that Mexican poinsettia that do grow in Missouri. The first is commonly known as toothed spurge or green poinsettia (Euphorbia dentata). It is an annual, with toothed leaves and hairy stems. Its leafy bracts are green or white at the base. The flowers are the green round items in the center of the bracts. It grows in full sun and mesic to dry conditions.
The second is commonly known as Fire on the Mountain or wild poinsettia (Euphorbia cyathophora.) It is an annual as well with thinner leaves. It has red toward the base of the bracts and prefers sun and a moister soil.
Both of these plants are members of the Spurge family and are considered herbs.
Bees, wasps and butterflies visit them for their nectar. The sphinx moth eats the leaves of the plants. Toothed spurge is considered a weed by Missouri Extension as it often appears in pastured where it is not welcome.
How about that!
Charlotte