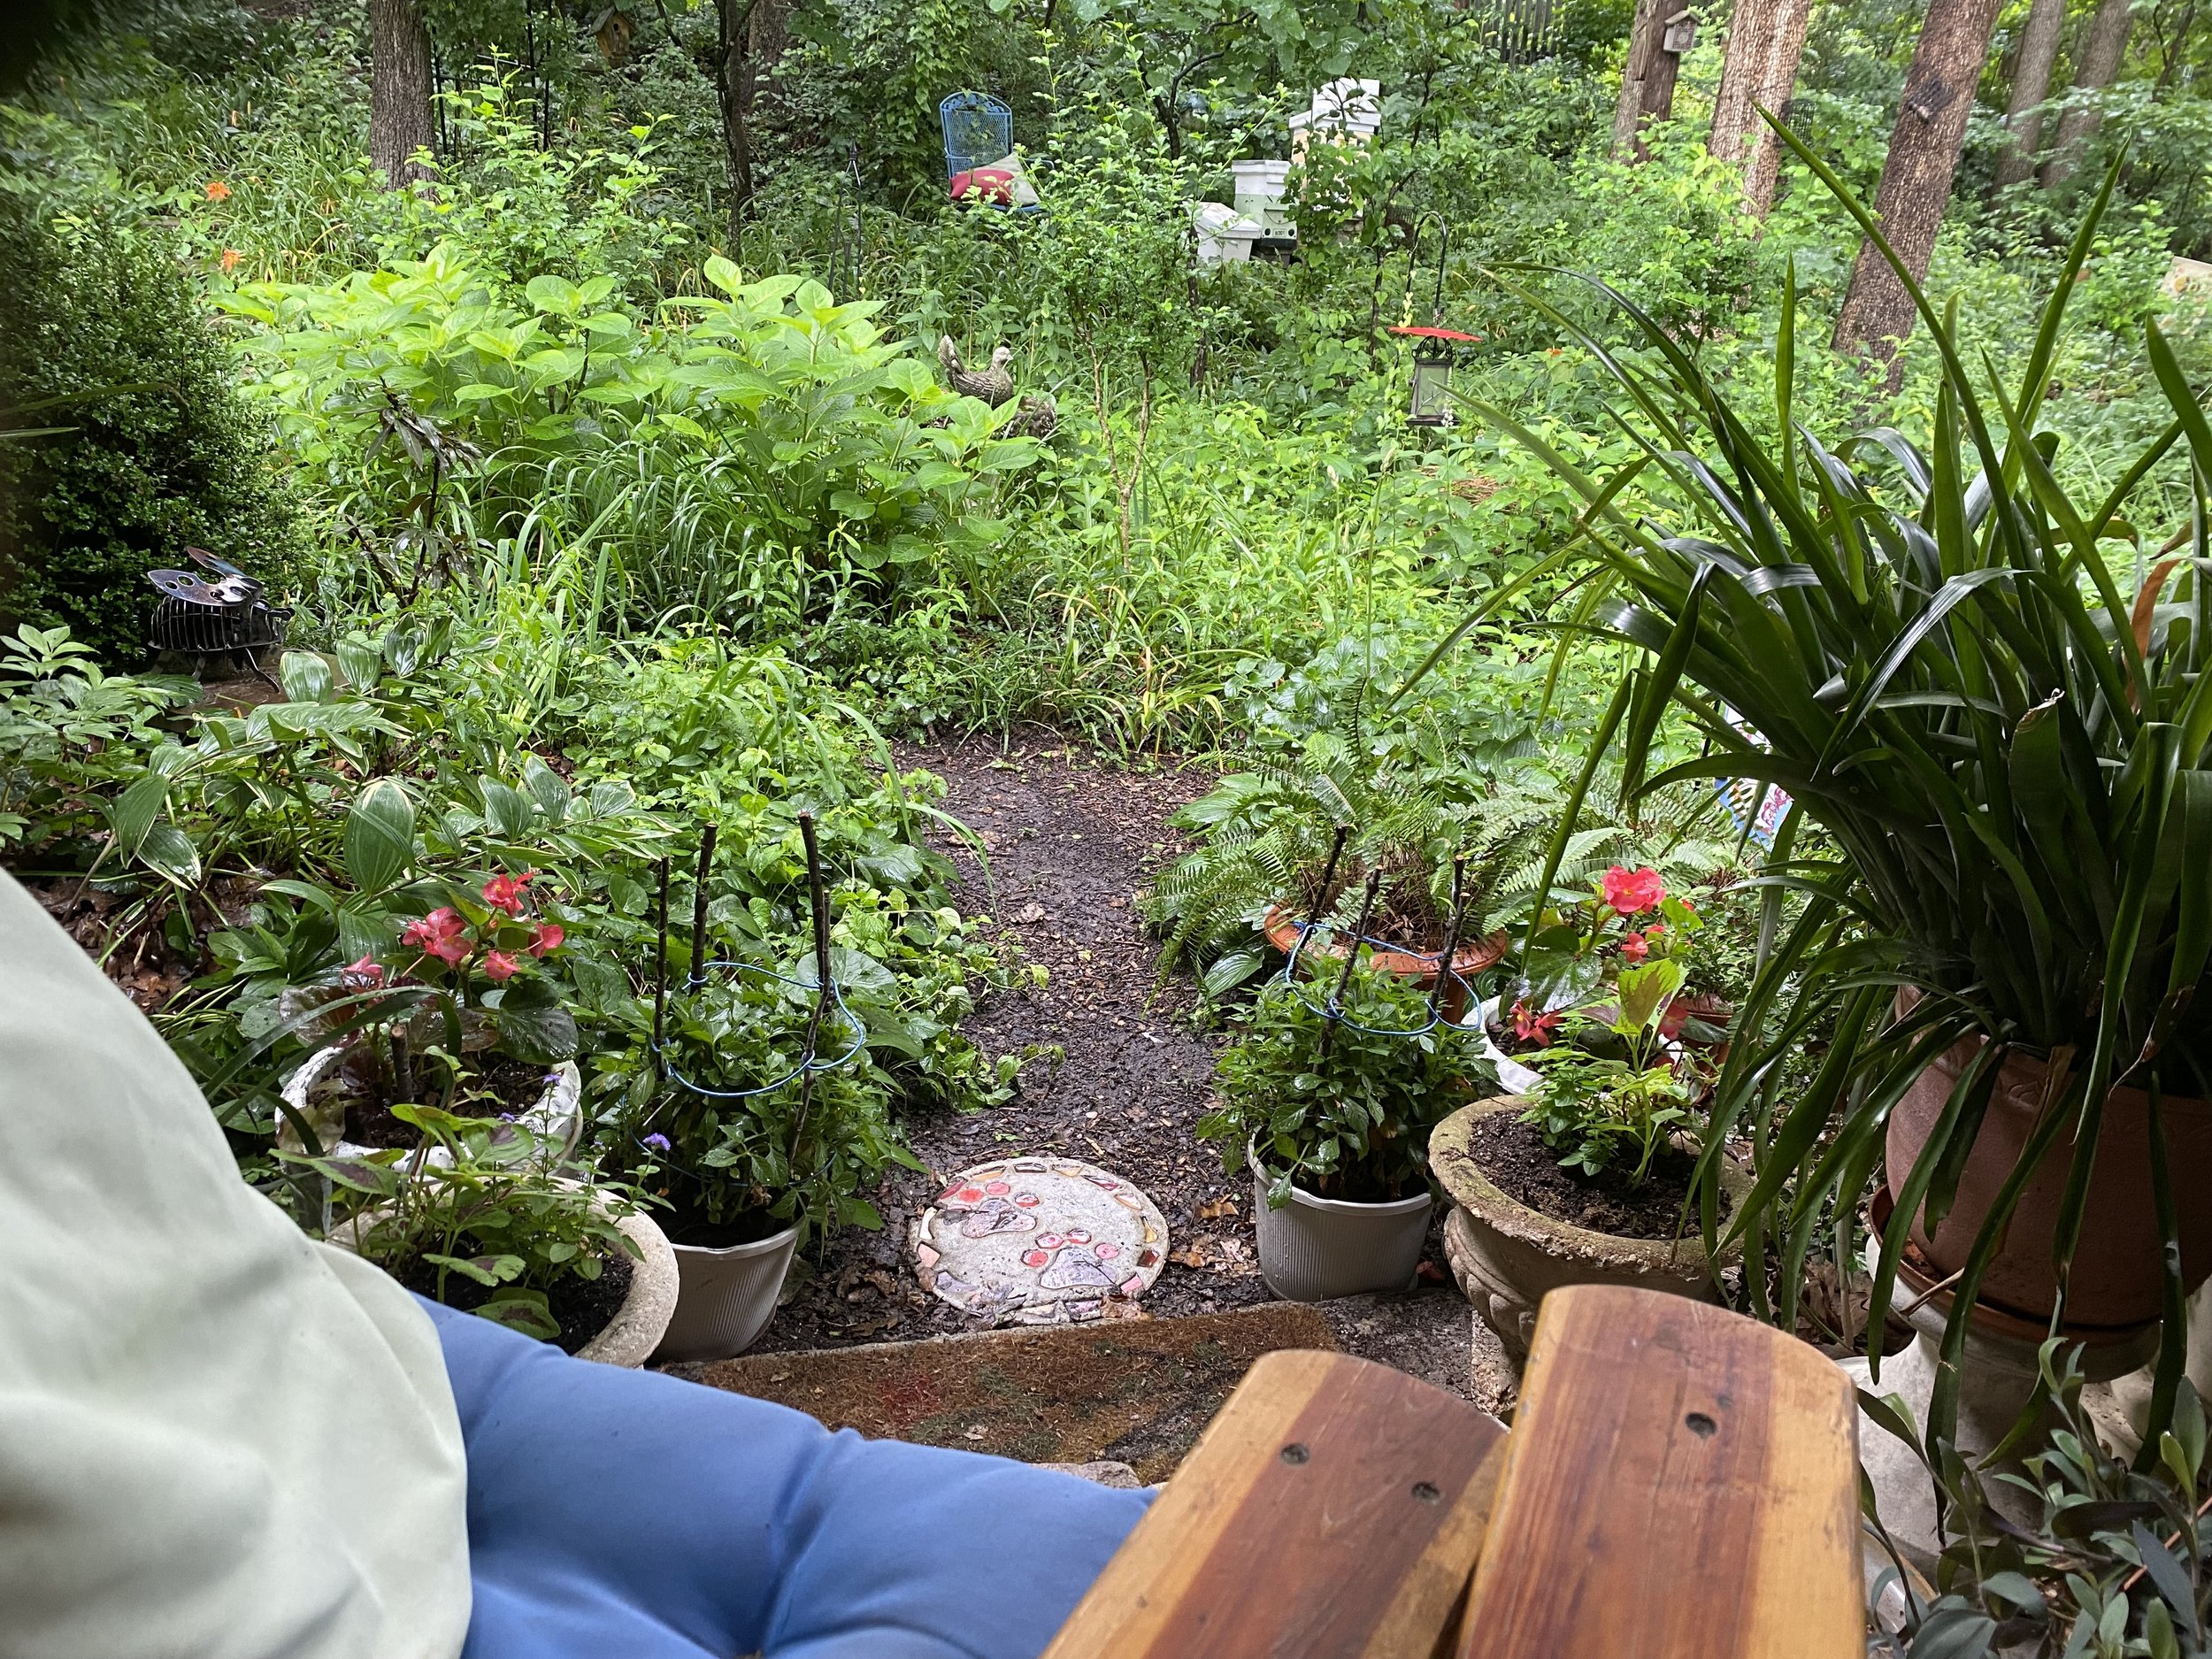
Stump Garden Seat
/
Cedar stump seat under my whimsical arch to nowhere. (Photo by Charlotte Ekker Wiggins)
Stump Garden Seat
I’ve had a love affair with re-using tree stumps every since I can remember. When I had to cut a couple of dead trees out of my hillside garden, I had them cut the stumps to a table height so I can use them as handy surfaces. My old herb garden had a wooden seat with two tree stumps for the base.
So it will come as no surprise to anyone who knows me that my whimsical arbor that goes nowhere now has a huge cedar tree stump underneath it as a resting area with a smaller piece of cedar as the seat.
This all started when I was visiting our local recycling center and spotted the cut down cedar stump. I couldn’t get it into my car but a young man dropping off tree limbs volunteered to load it for me. Right next to the stump was another, smaller cedar piece in the same shape as the stump so I brought both home.

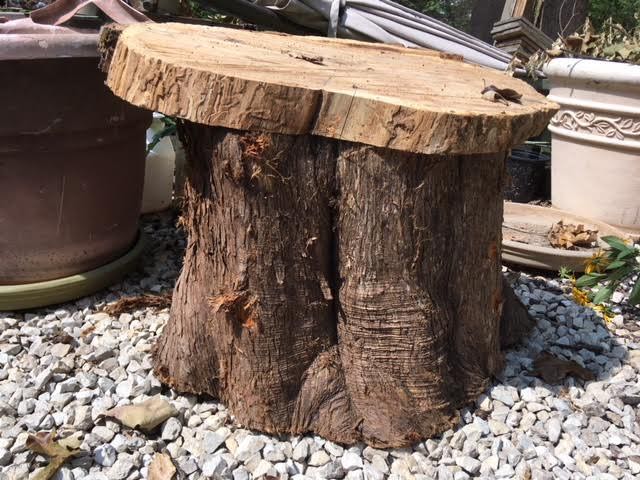
Testing the smaller cedar piece on the cedar stump for a seat. (Photo by Charlotte Ekker Wiggins)
Once home, my handyman moved it to the final location. After testing it out for several days, we settled on how the base would be oriented. The top cedar piece had to be shimmed underneath to make it level with the bottom cedar piece and the leaning hillside.
When the top piece was finally settled, we added the top with screws I tried to cover with wood filler. Not all screws went into the wood low enough for filler so you an still see a couple of them.

If this tree piece could talk! (Photo by Charlotte Ekker Wiggins)
There are several amazing things about the seat. In addition to seeing the holes bugs left, the rings clearly show how old this cedar tree had been, more than 100 years old.

Rings in the cedar stump mark the age of the tree. (Photo by Charlotte Ekker Wiggins)
I didn’t want the elements to speed up the decomposing so I searched for a product that would help protect the seat.

No advertising here, this is the product I found through Amazon. (Photo by Charlotte Ekker Wiggins)
Enter Rustoleum with their two-step process to protect materials from water. What attracted me to use this was the water beading on the grey center photo on their marketing information.
It takes two different sprays to protect the cedar tree stump.
Here is the seat after the base spray was added and yes, there was a little gray spot on the edge of the cedar seat:

After waiting at least 30 minutes, then I sprayed the second finishing spray.

The wood treatment leaves a hazy film but it repels water. (Photo by Charlotte Ekker Wiggins)
Not sure I like the milky look to the wood but it does seem to repel water and give it some protection from the elements. Not to mention once I wipe it off, it keeps the seat of my pants from getting wet!

Rain beads up on the cedar stump top now that it has been treated. (Photo by Charlotte Ekker Wiggins)
Now it is ready to welcome garden visitors including butterflies and me who may want to sit down and enjoy the garden view from this vantage point.
Charlotte