February Gardening Jobs
/
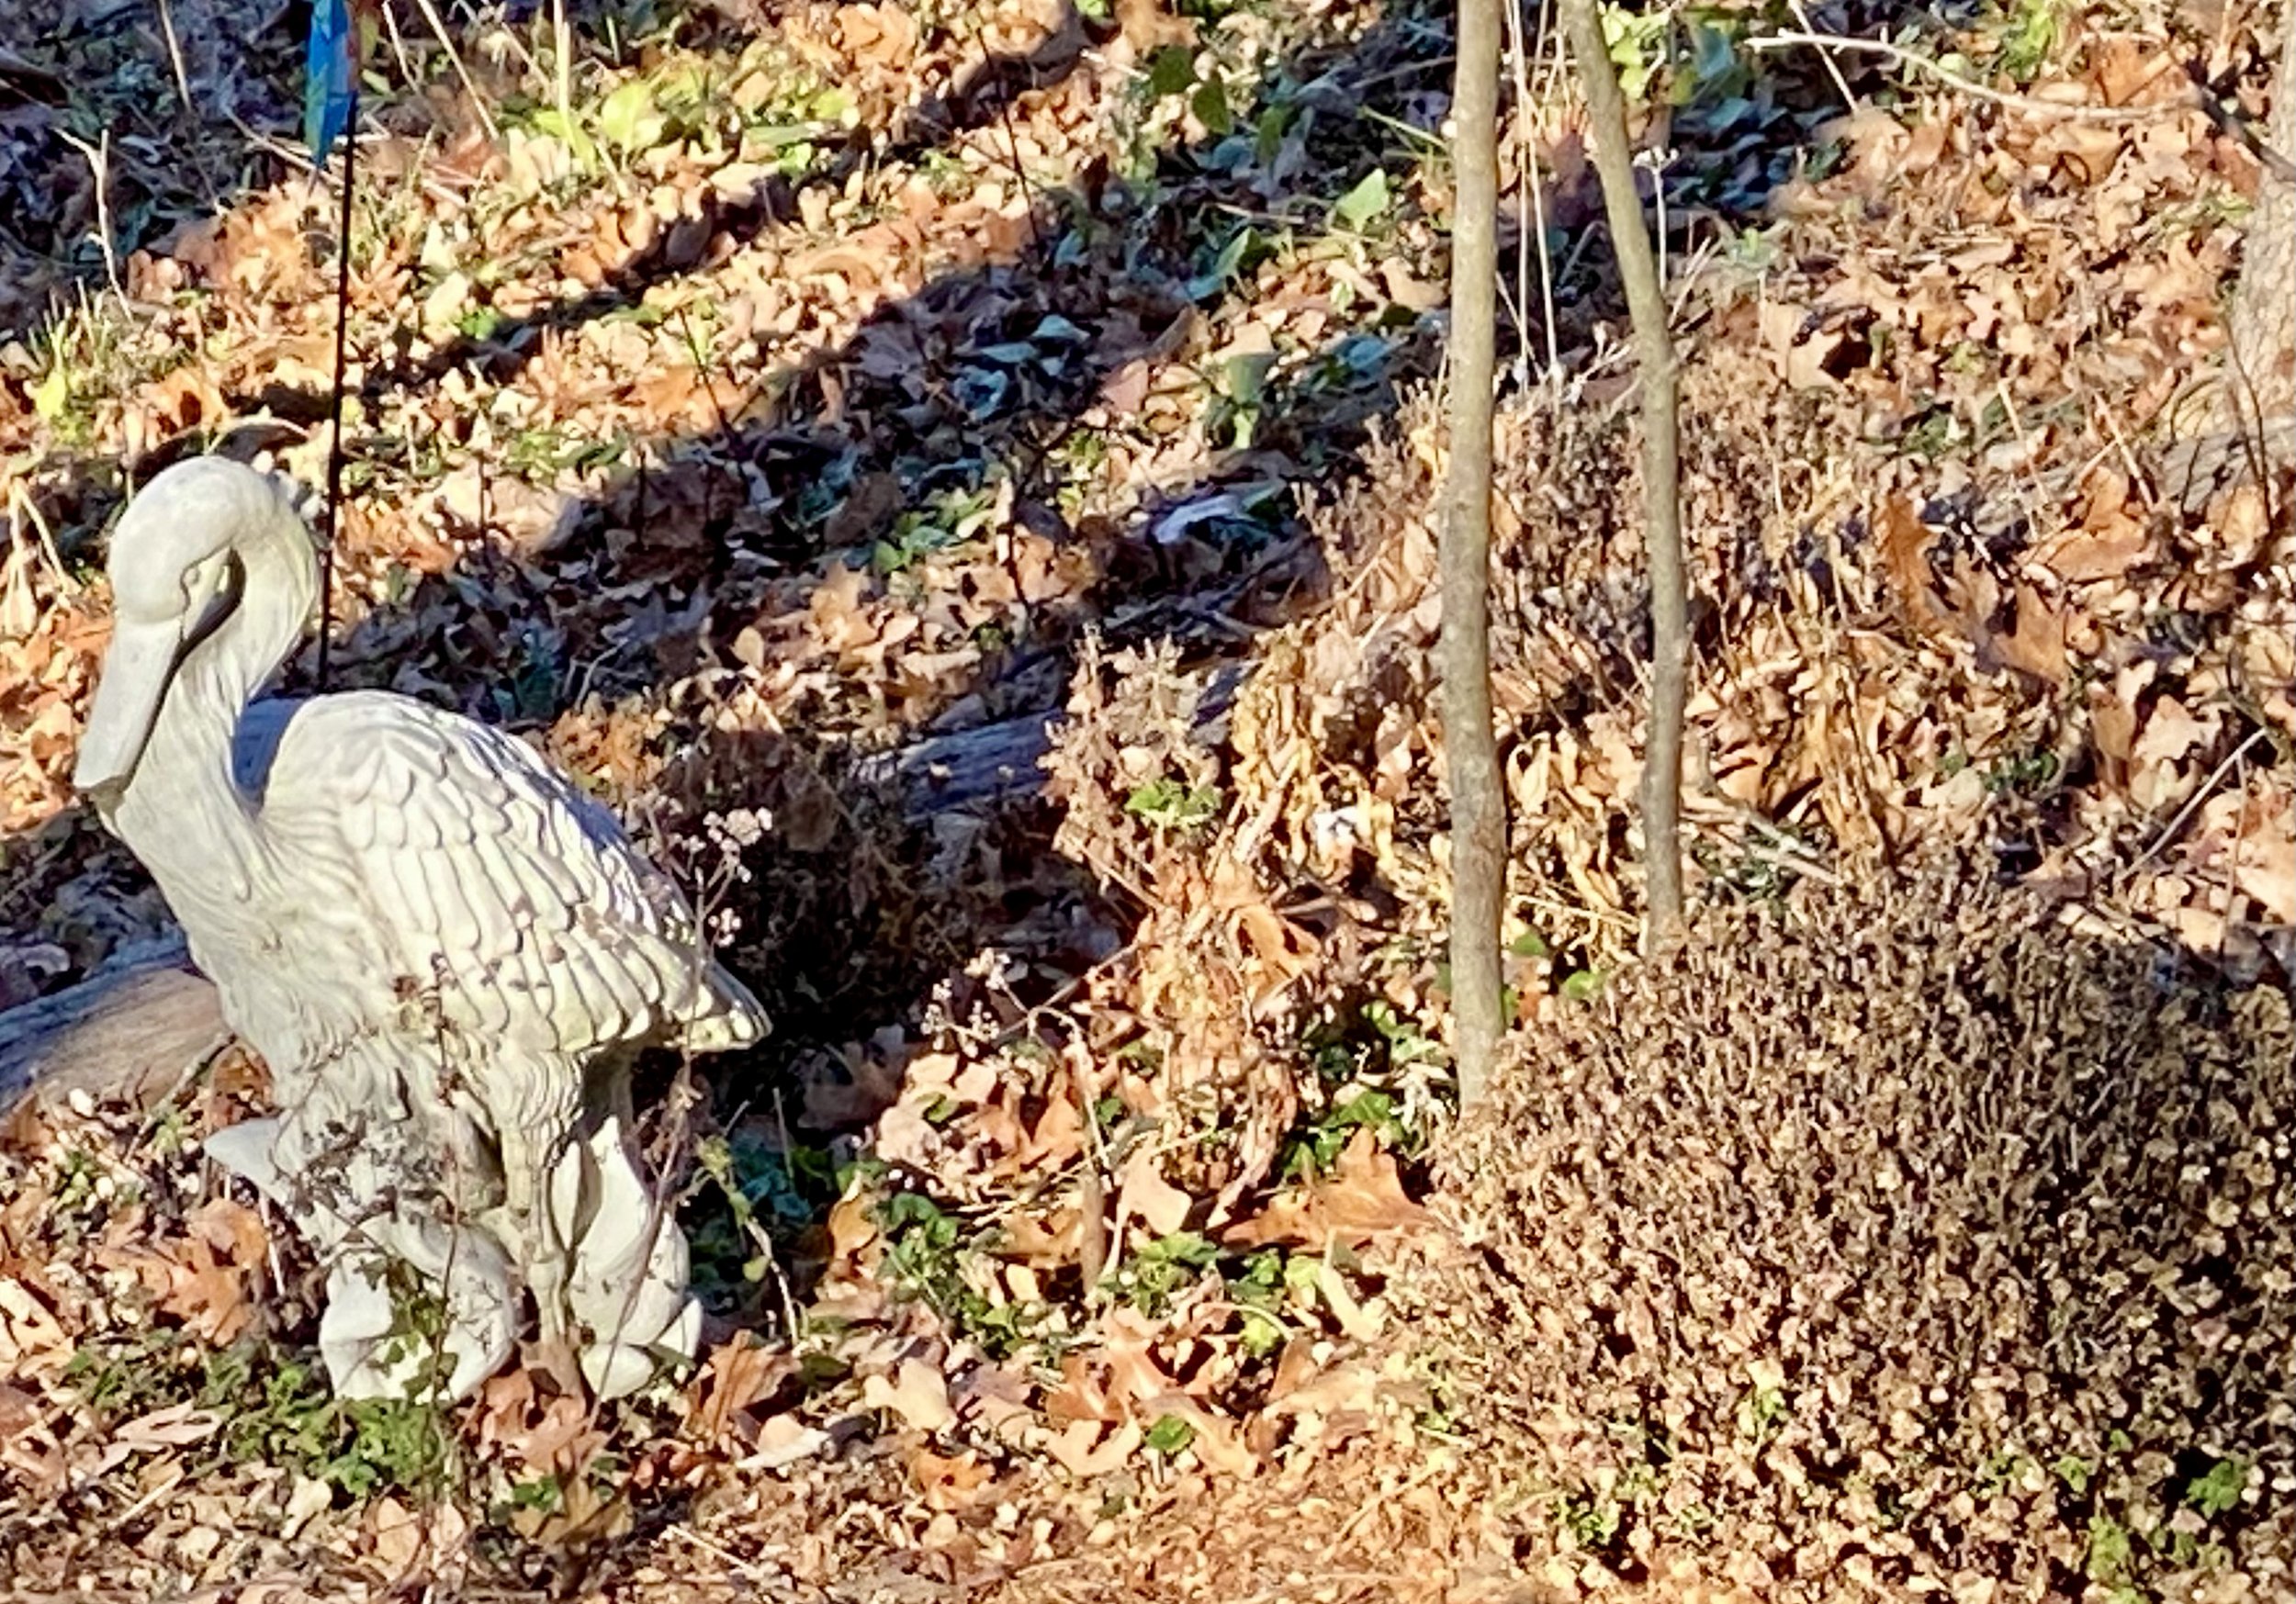
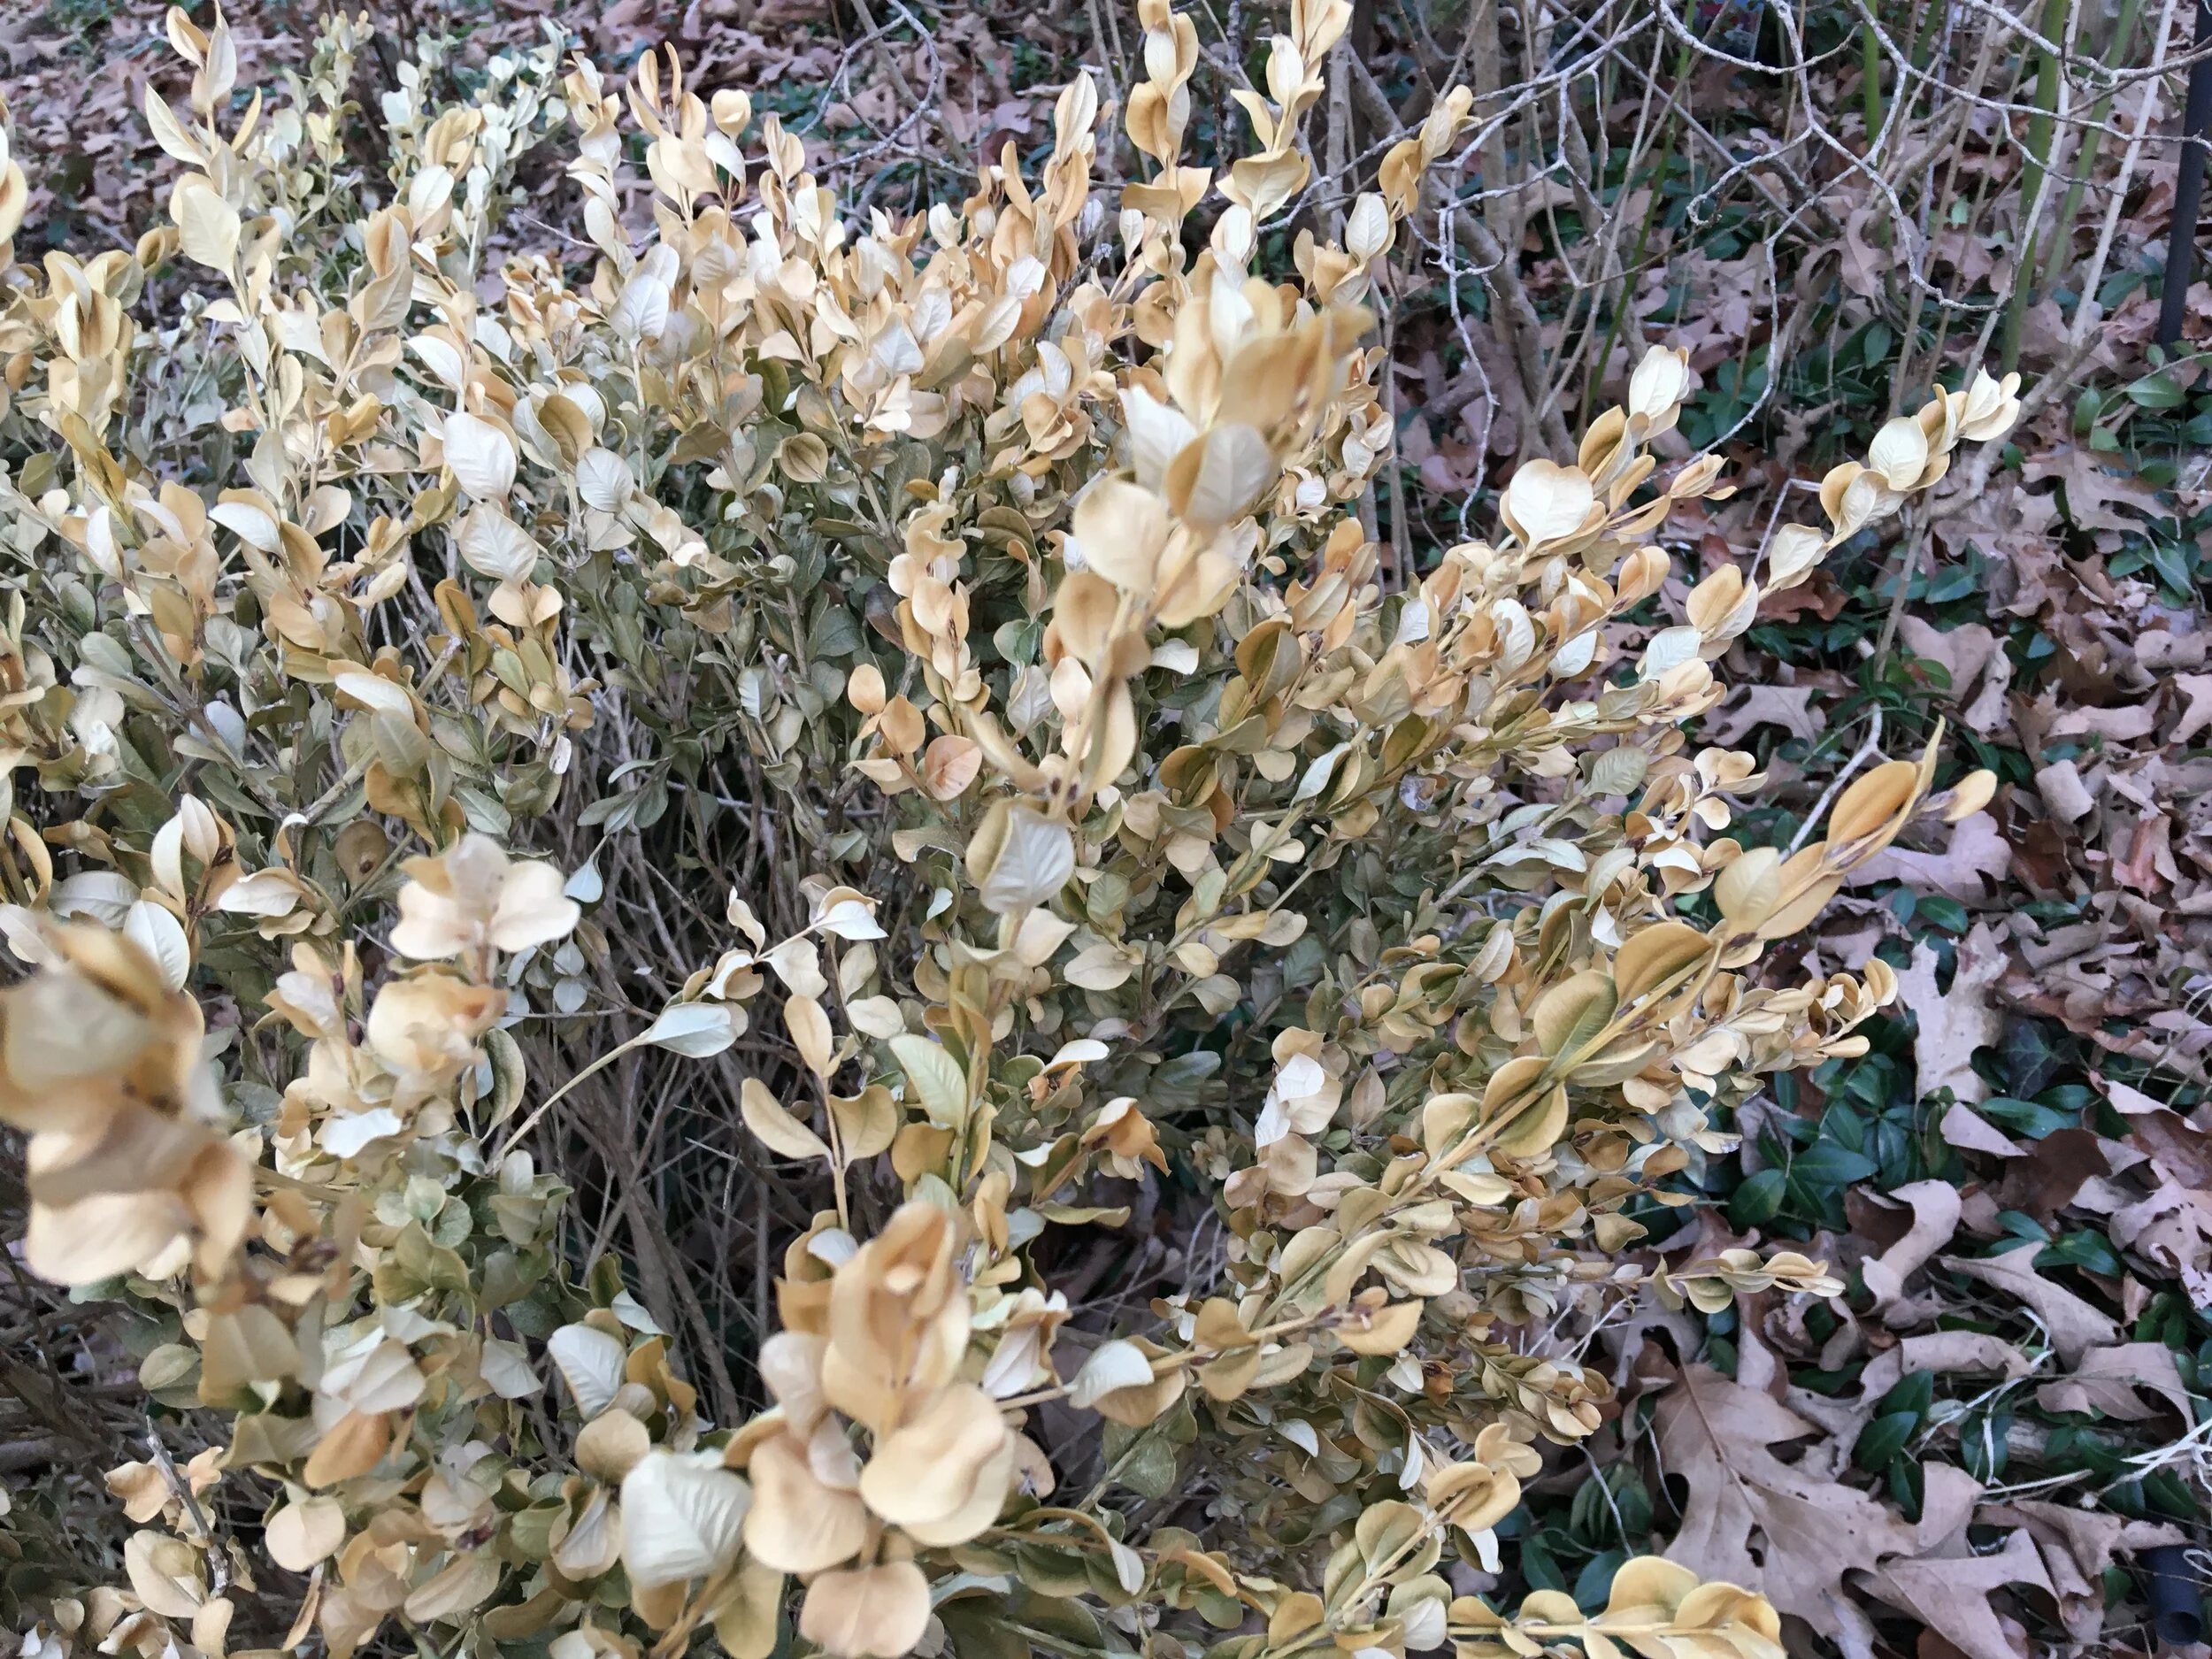
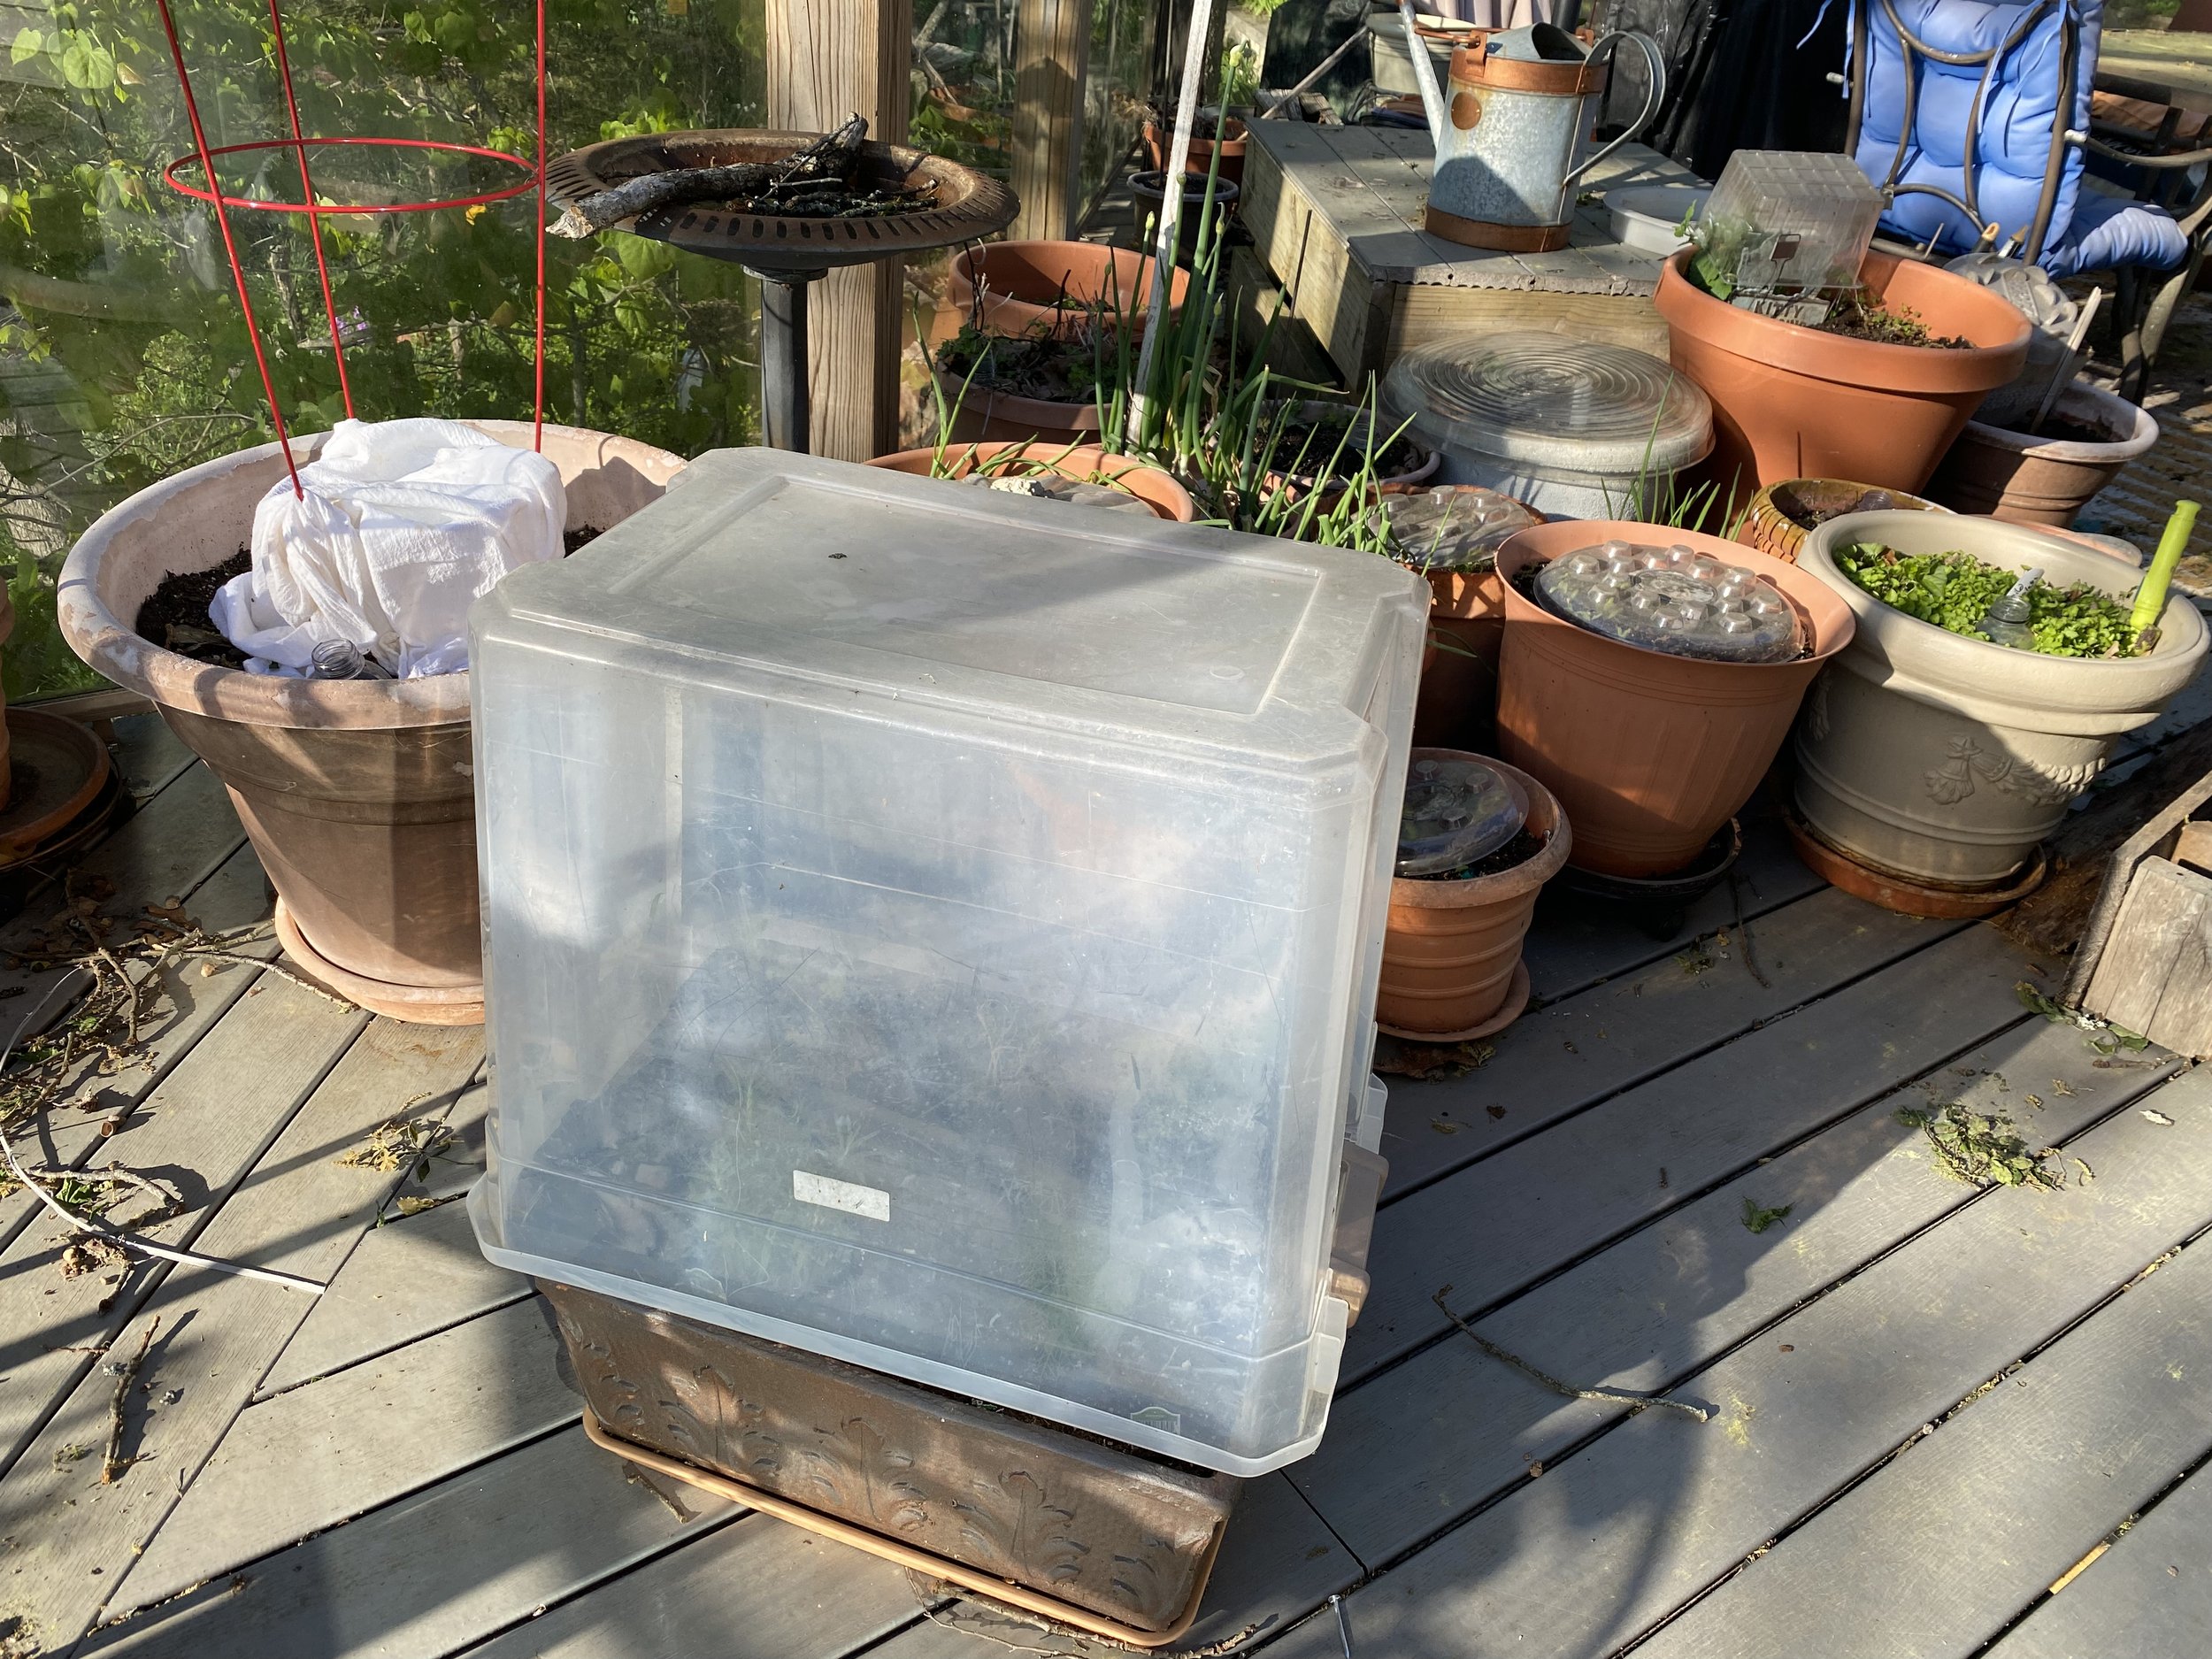
Sunny but still bitterly cold, garden is at work getting ready for spring. (Charlotte Ekker Wiggins photo)
February Gardening Chores
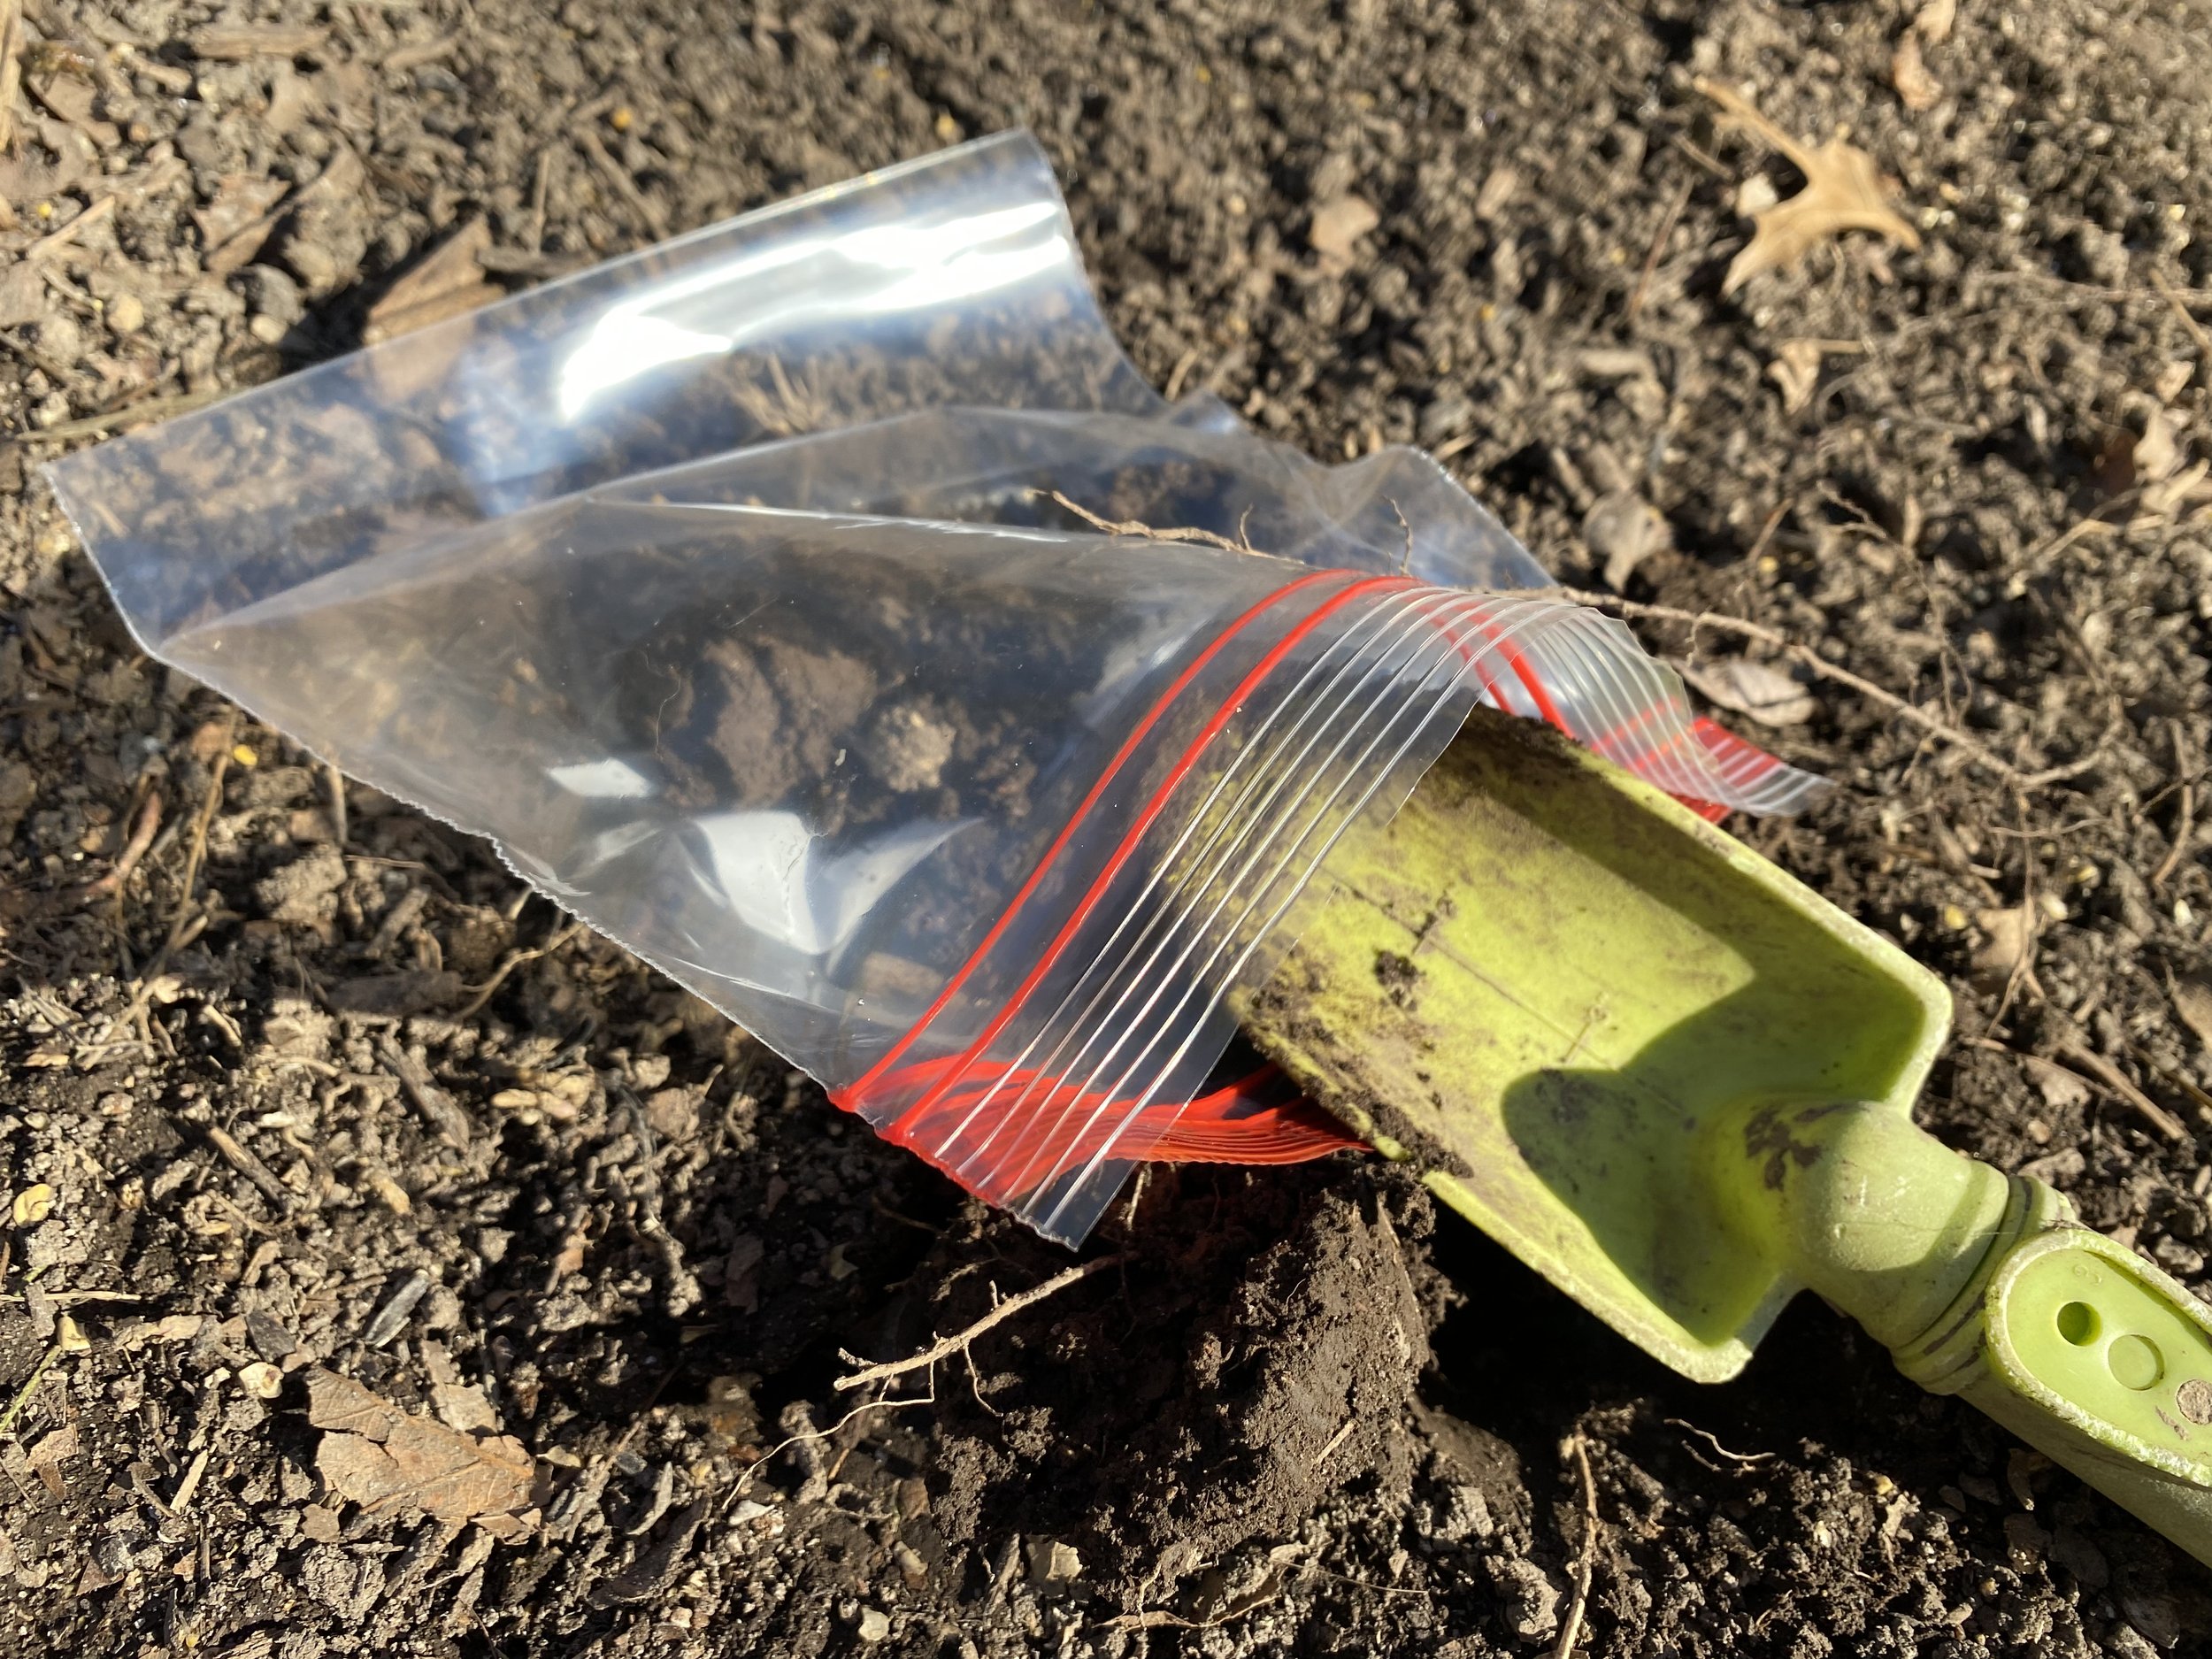
The ground where I live in USDA Hardiness zone 5 till hasn’t frozen this winter so I may sneak some trees still in their pots into the ground on a warm day.
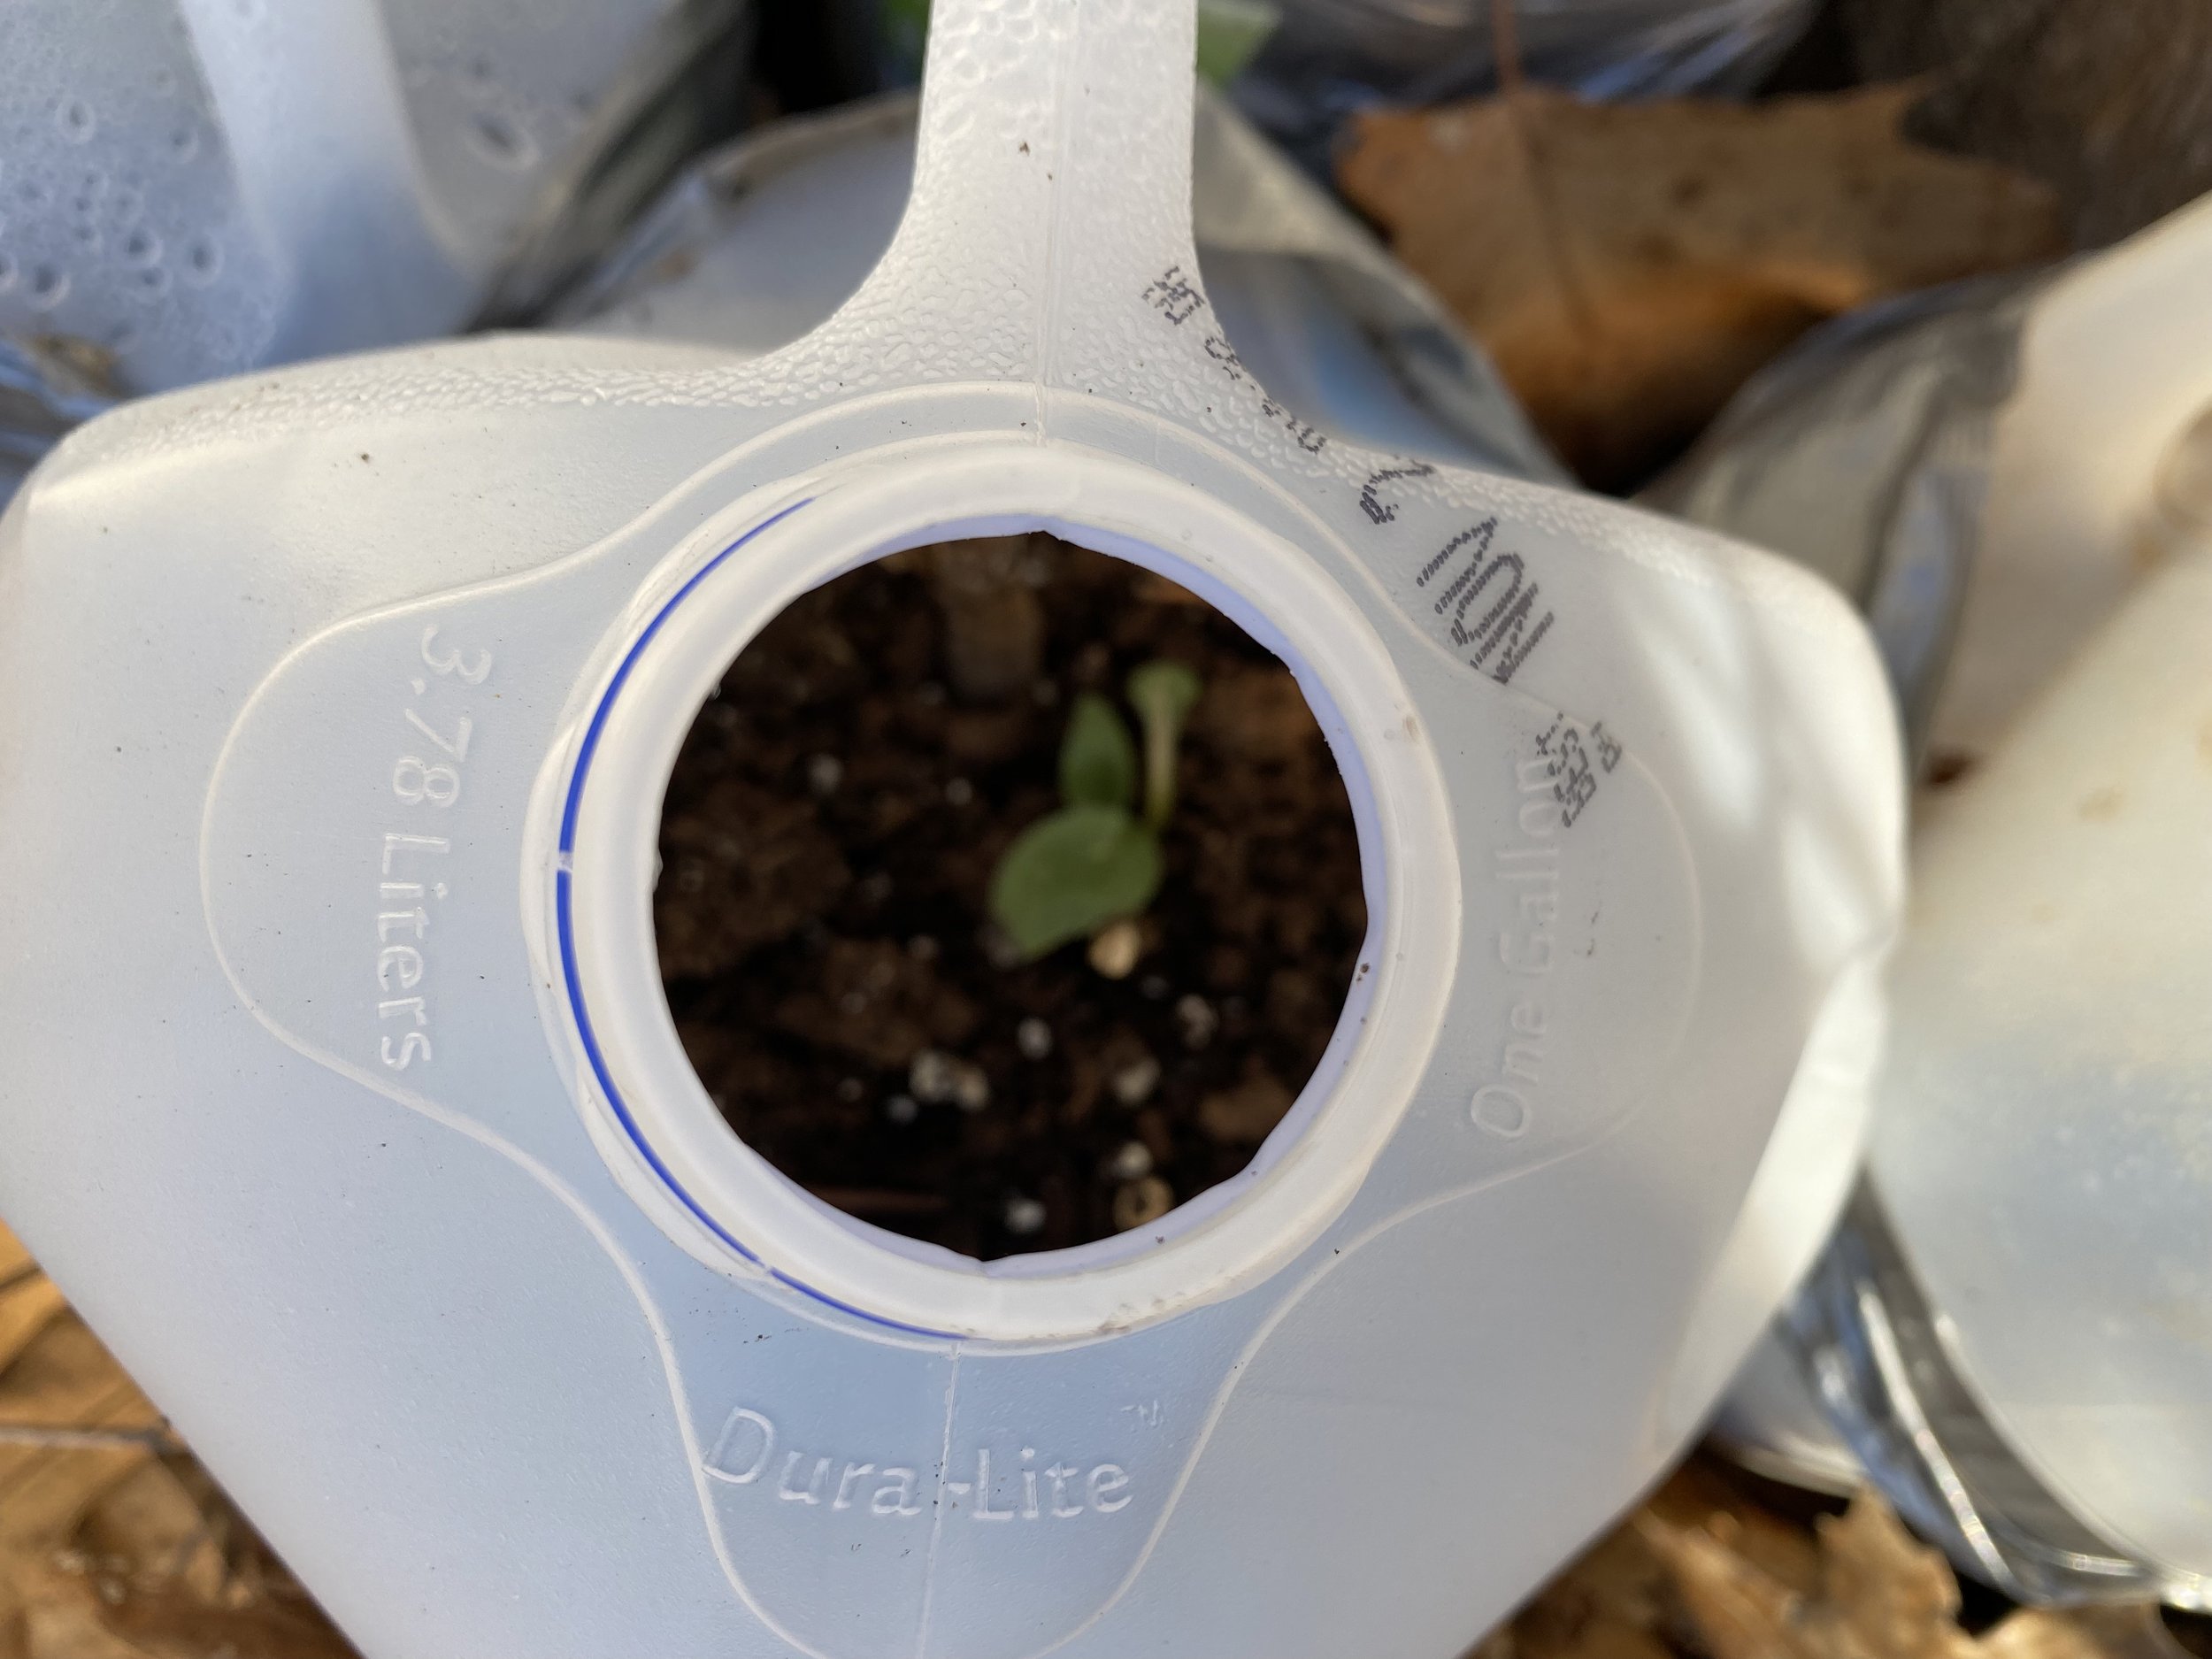
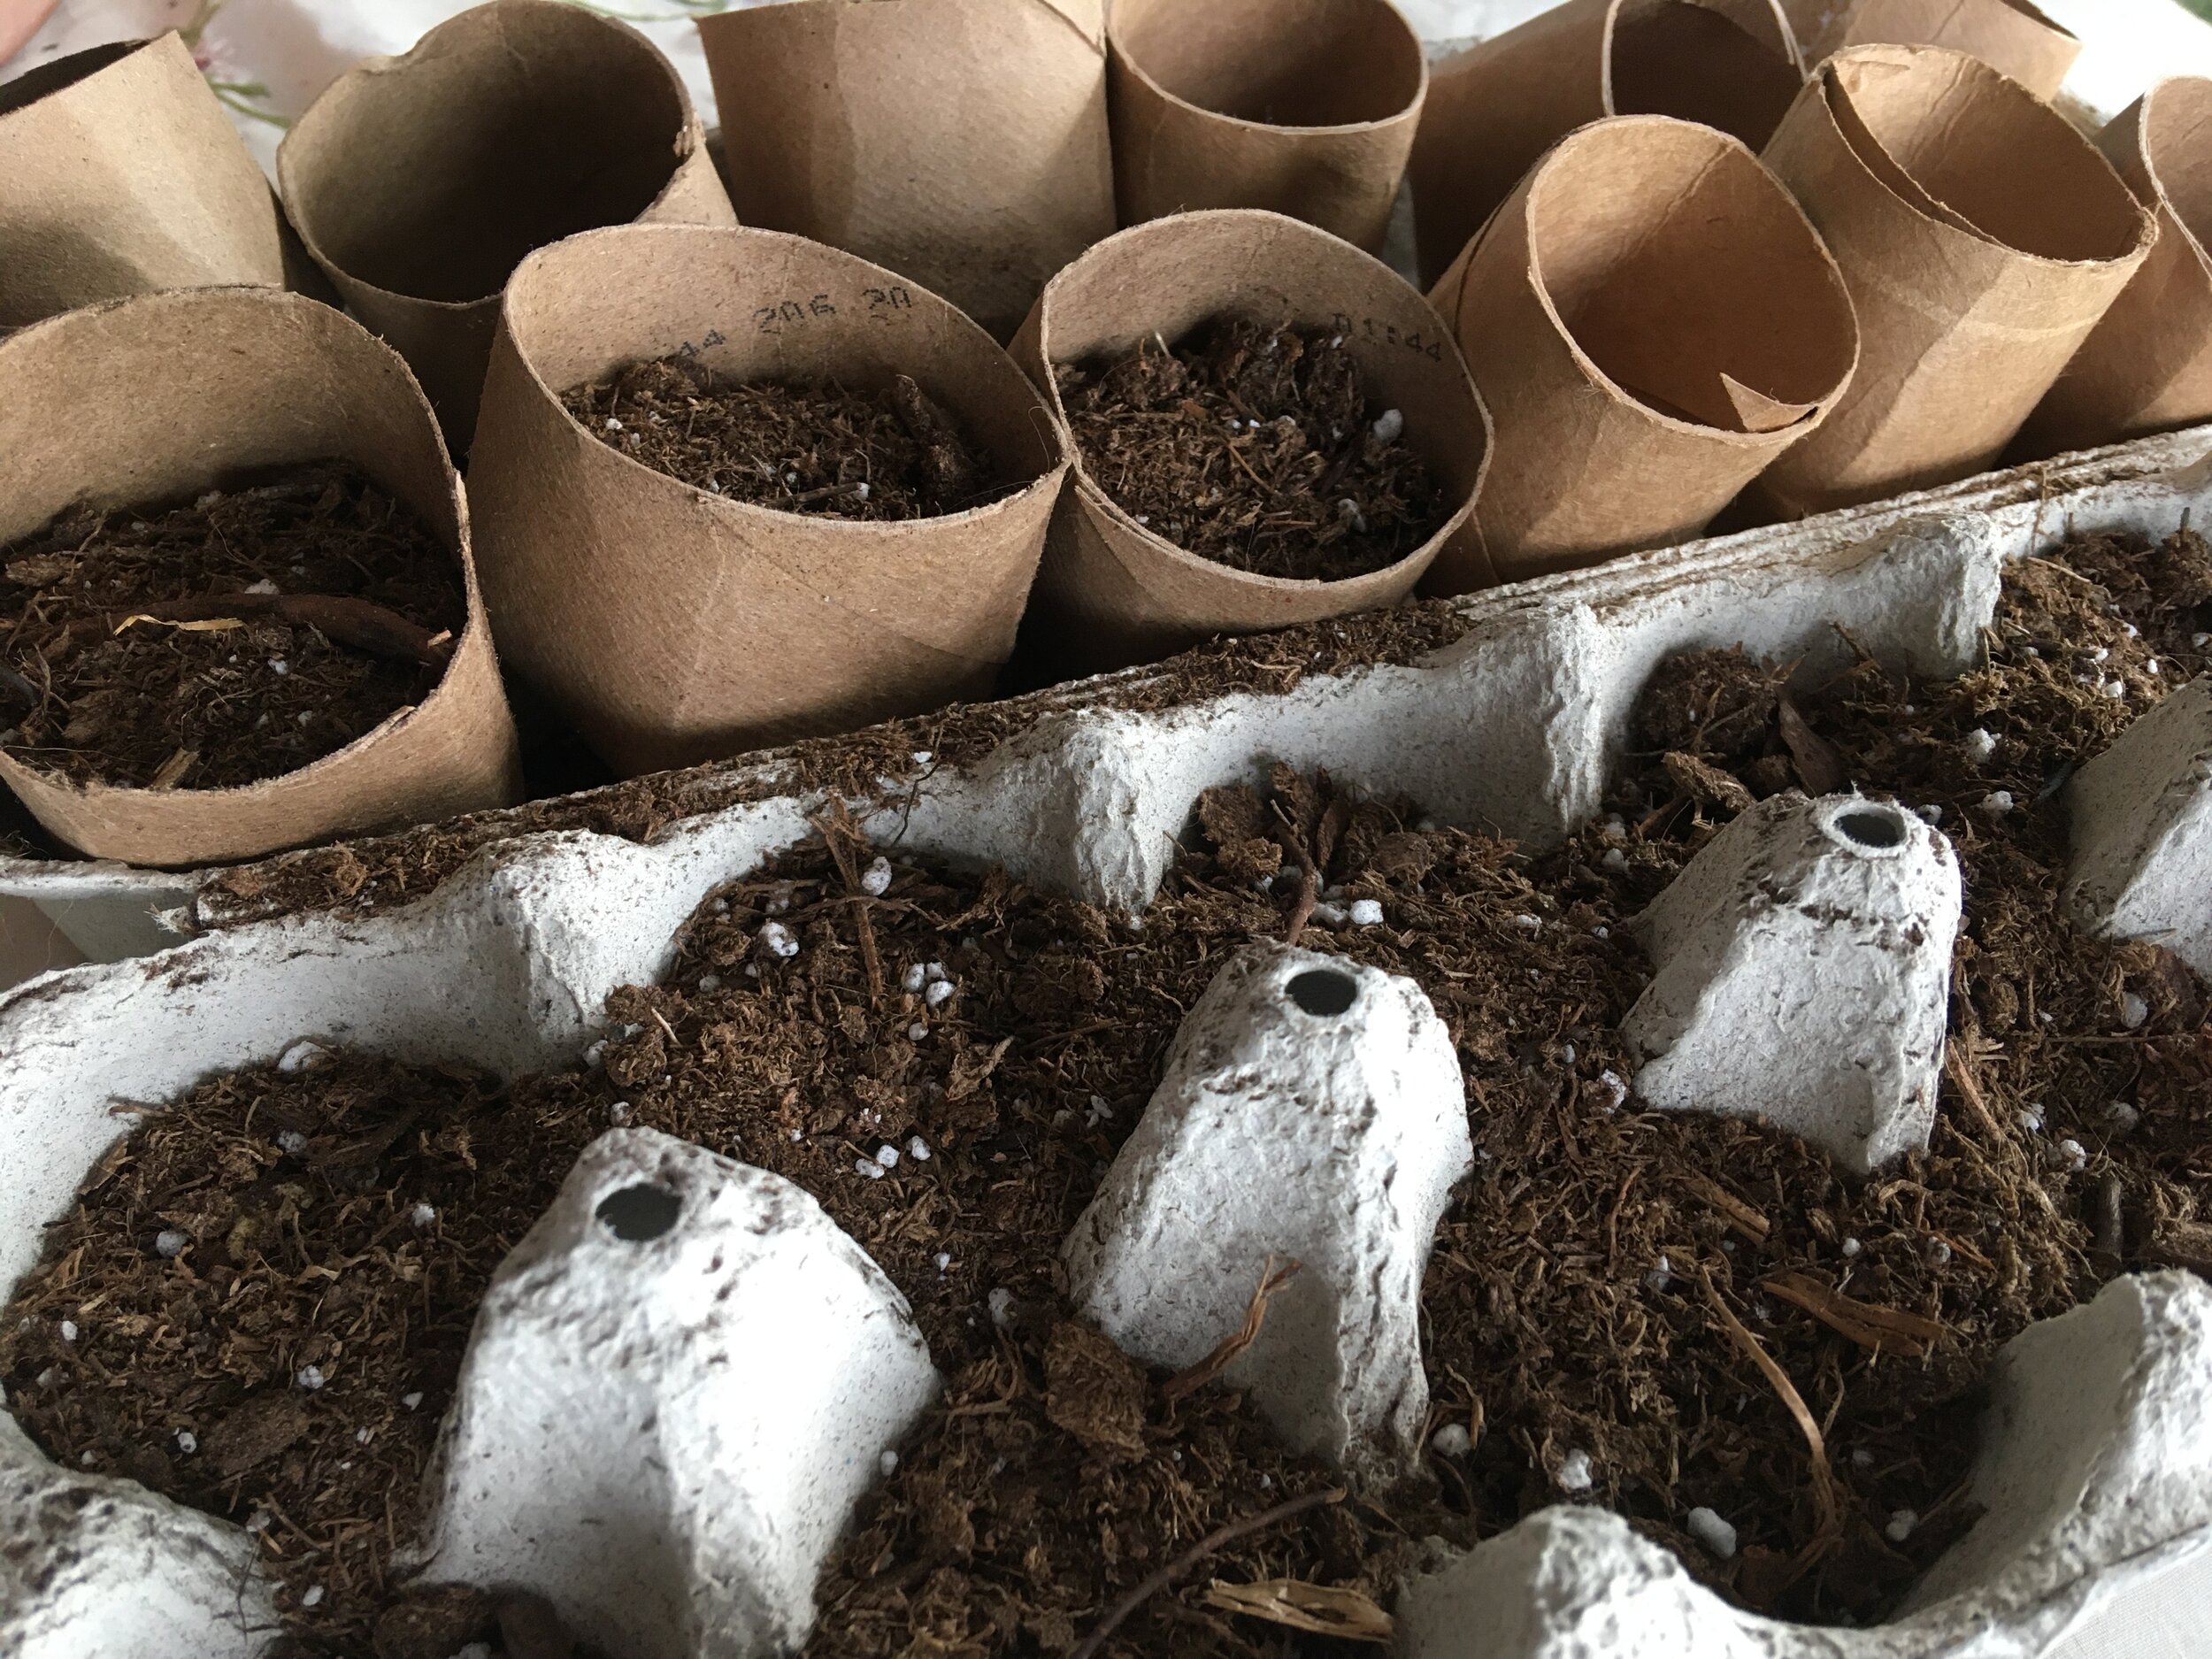
Some of our big box stores have seed offerings and seed starting kits for sale, something I try to stay away from so that I’m not tempted to bring every single one of them home.
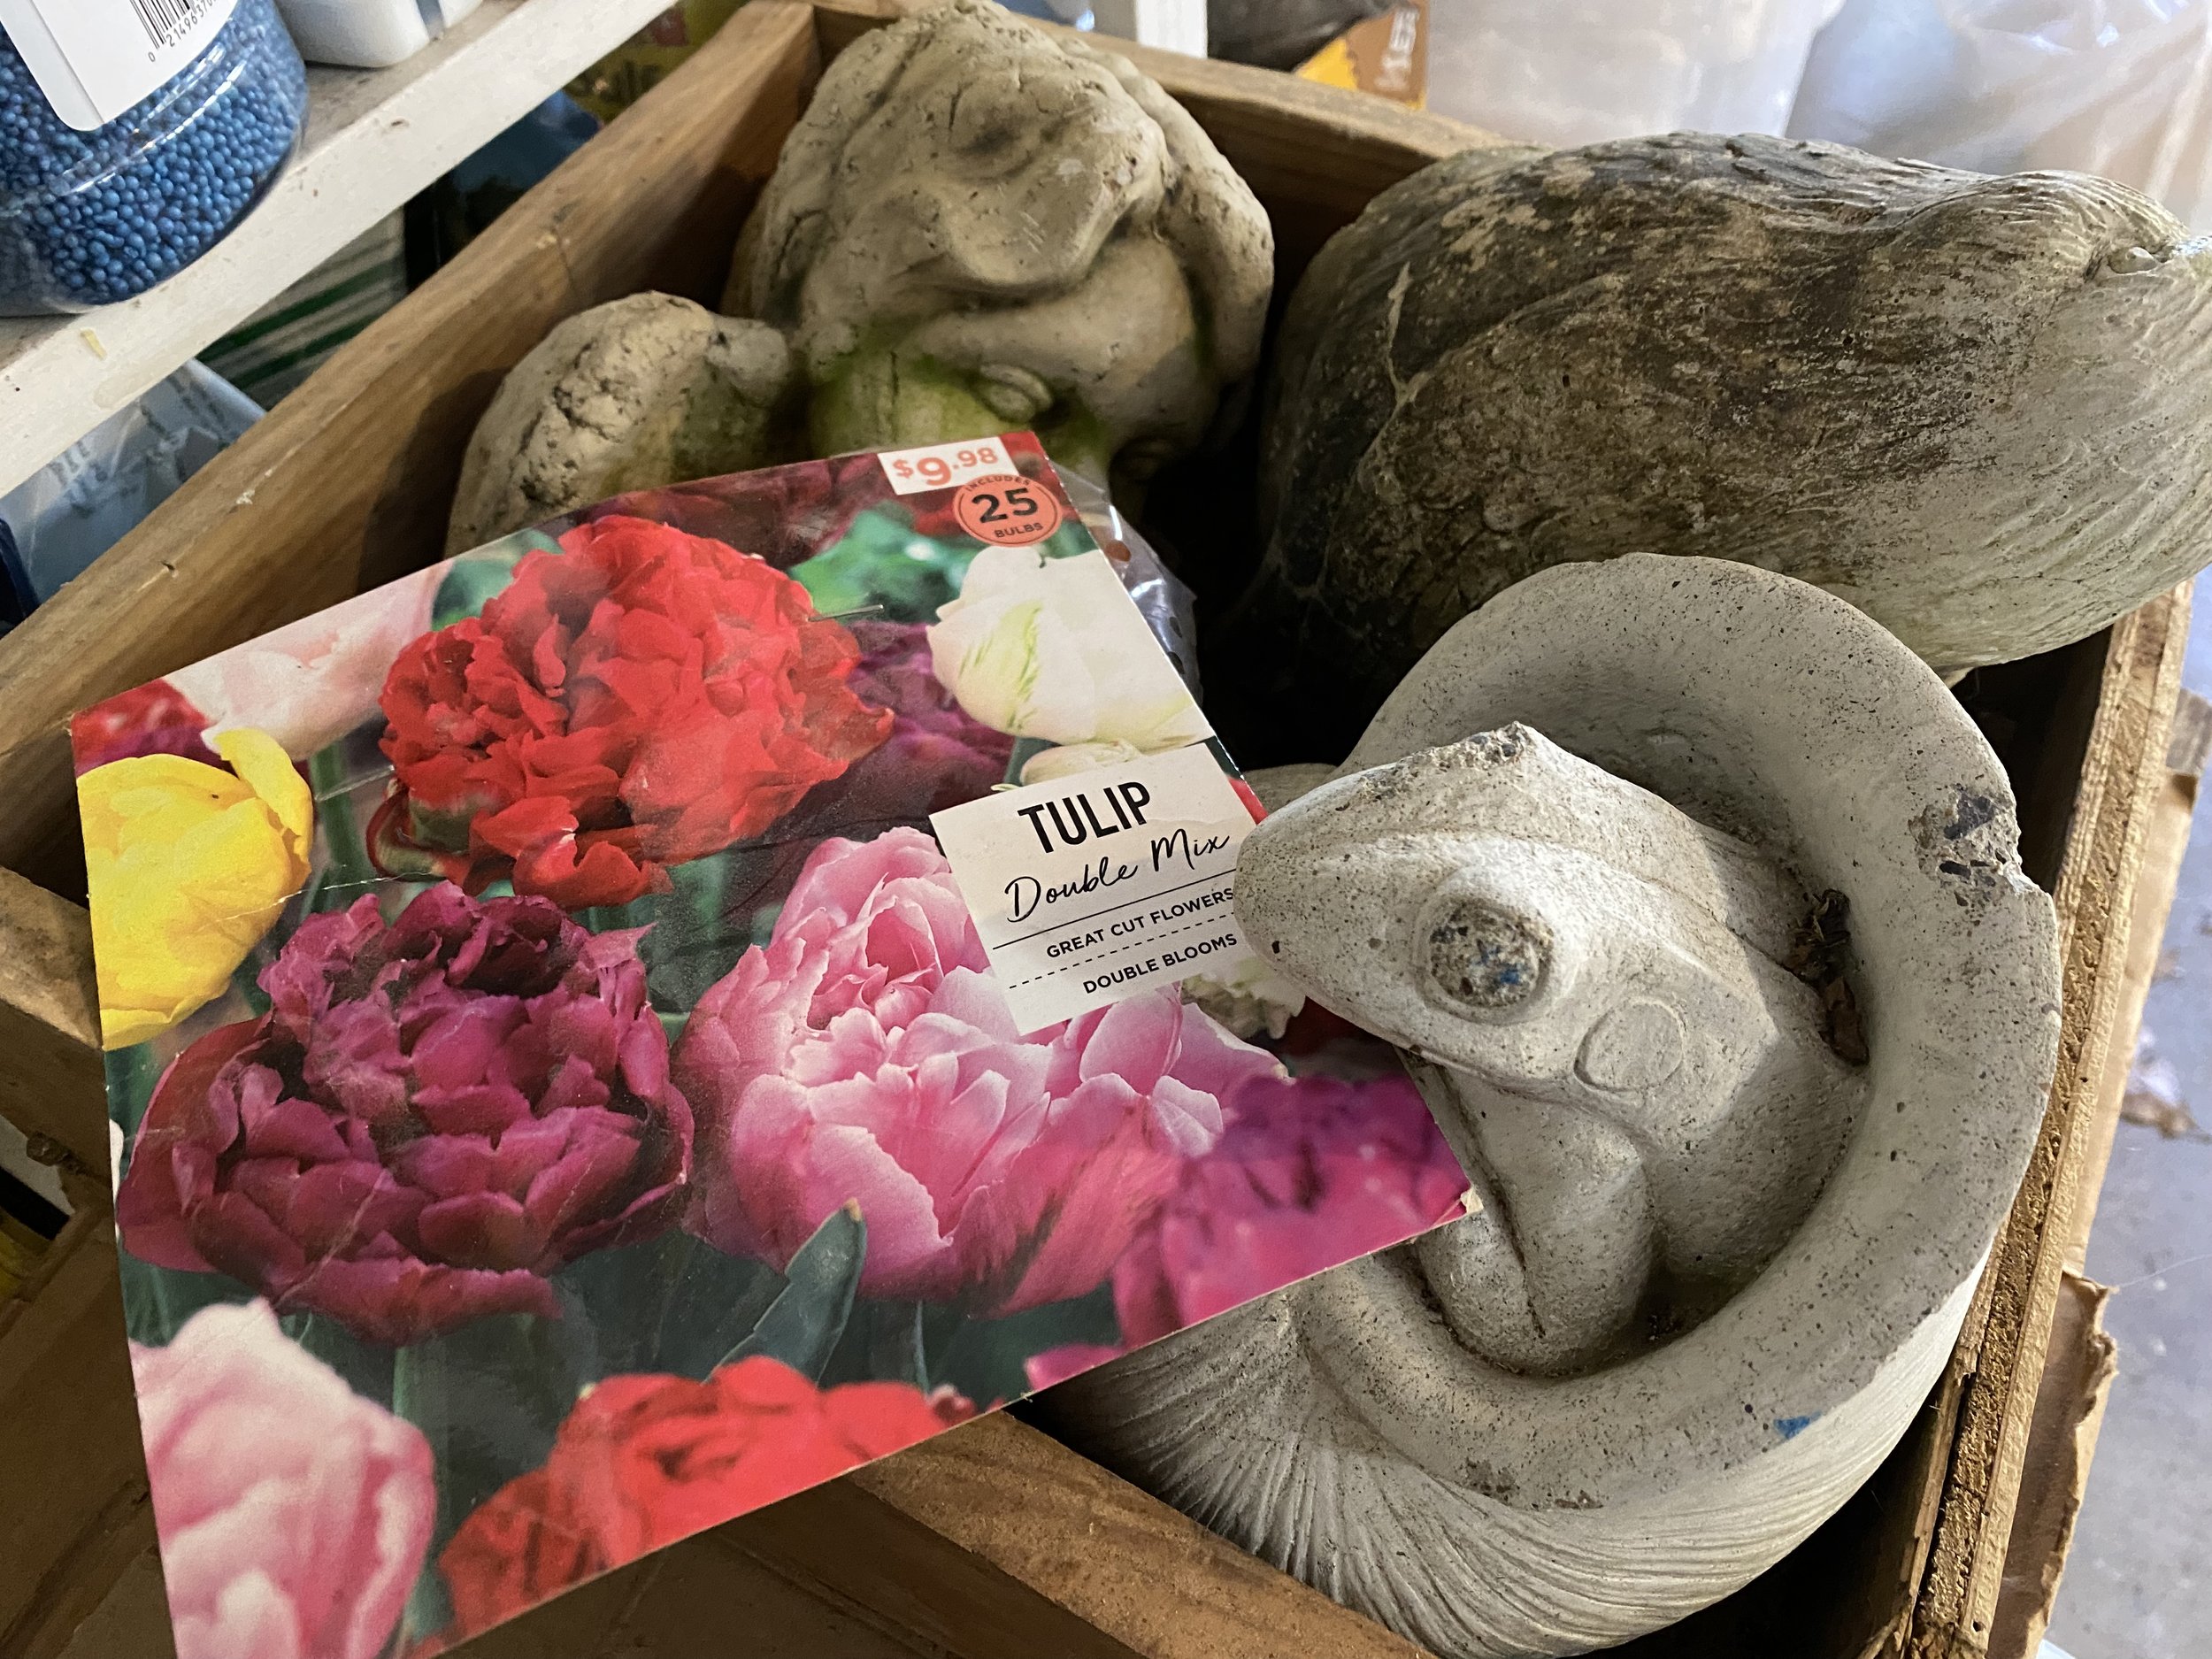
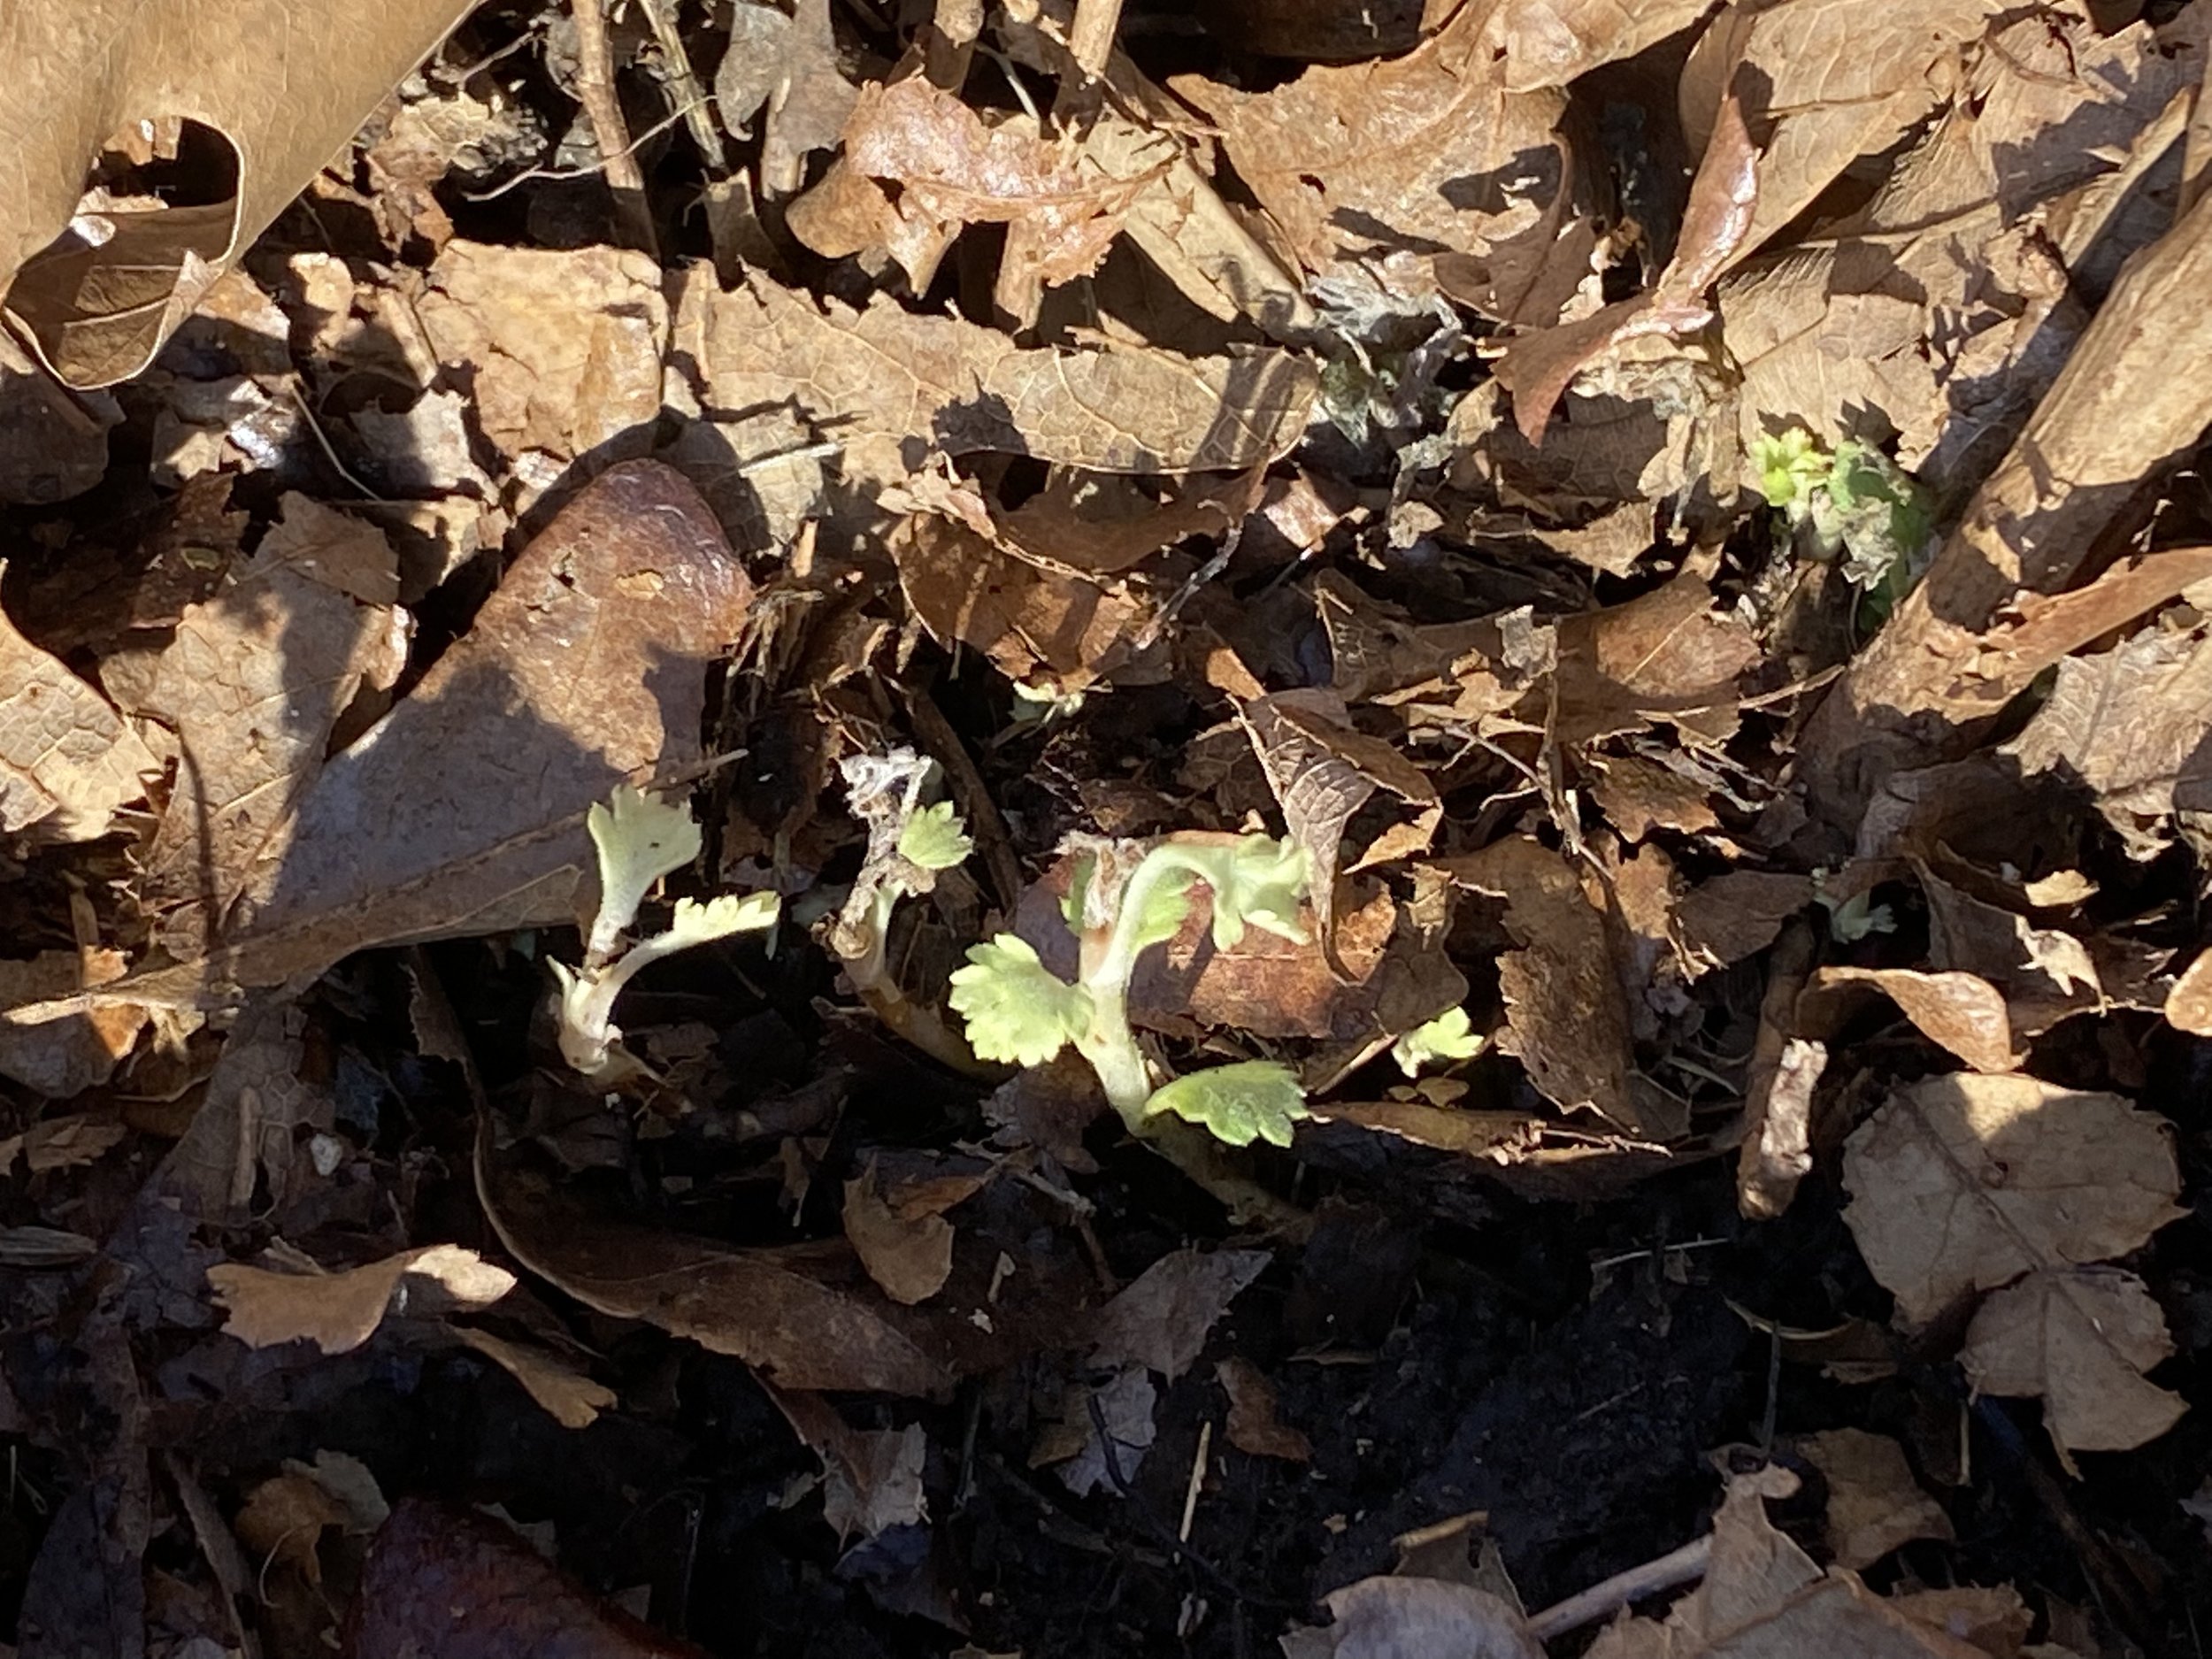
Still time to sneak tulip bulbs into the ground for late spring blooming. (Charlotte Ekker Wiggins photo)
The following are my typical February gardening chores:
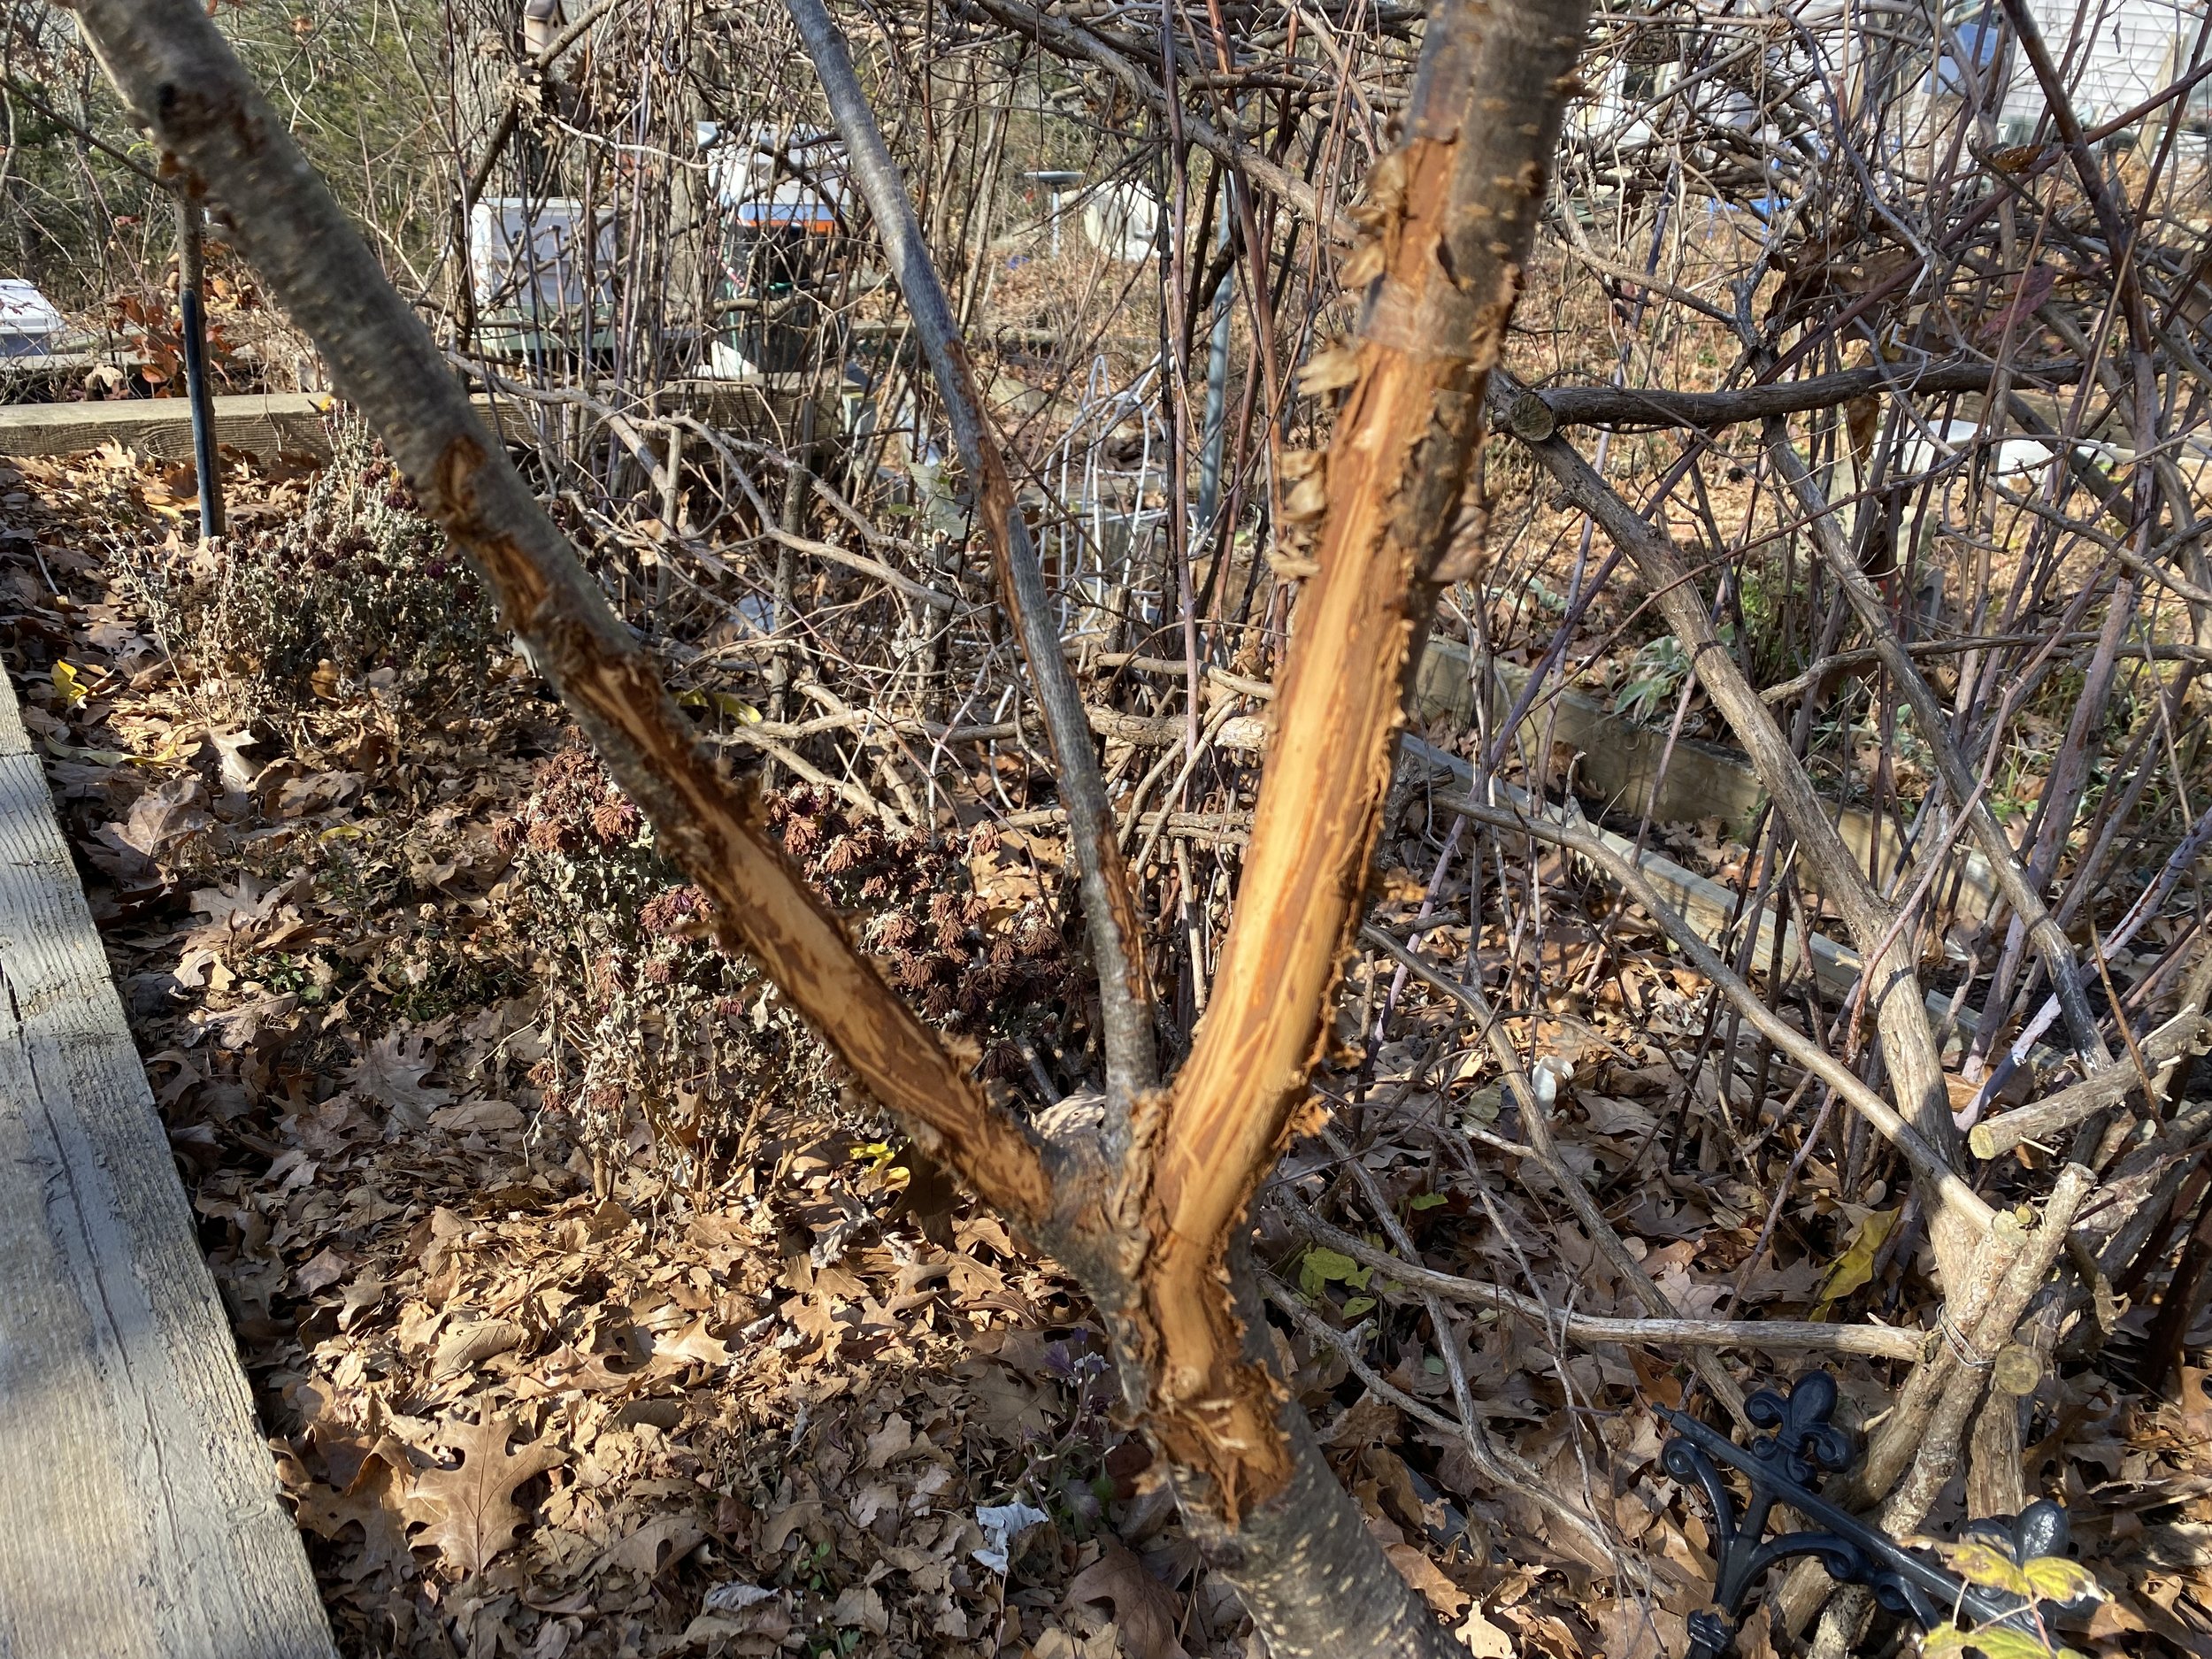
Locate downed tree trunks and use them to border flower beds. As the tree trunks decompose, they will improve soil. I tend to wait until the tree trunks dry out, much lighter and easier to move.
Pressure is on so if you haven’t made a dent in your reading pile, get a start, spring is only 47 days away.
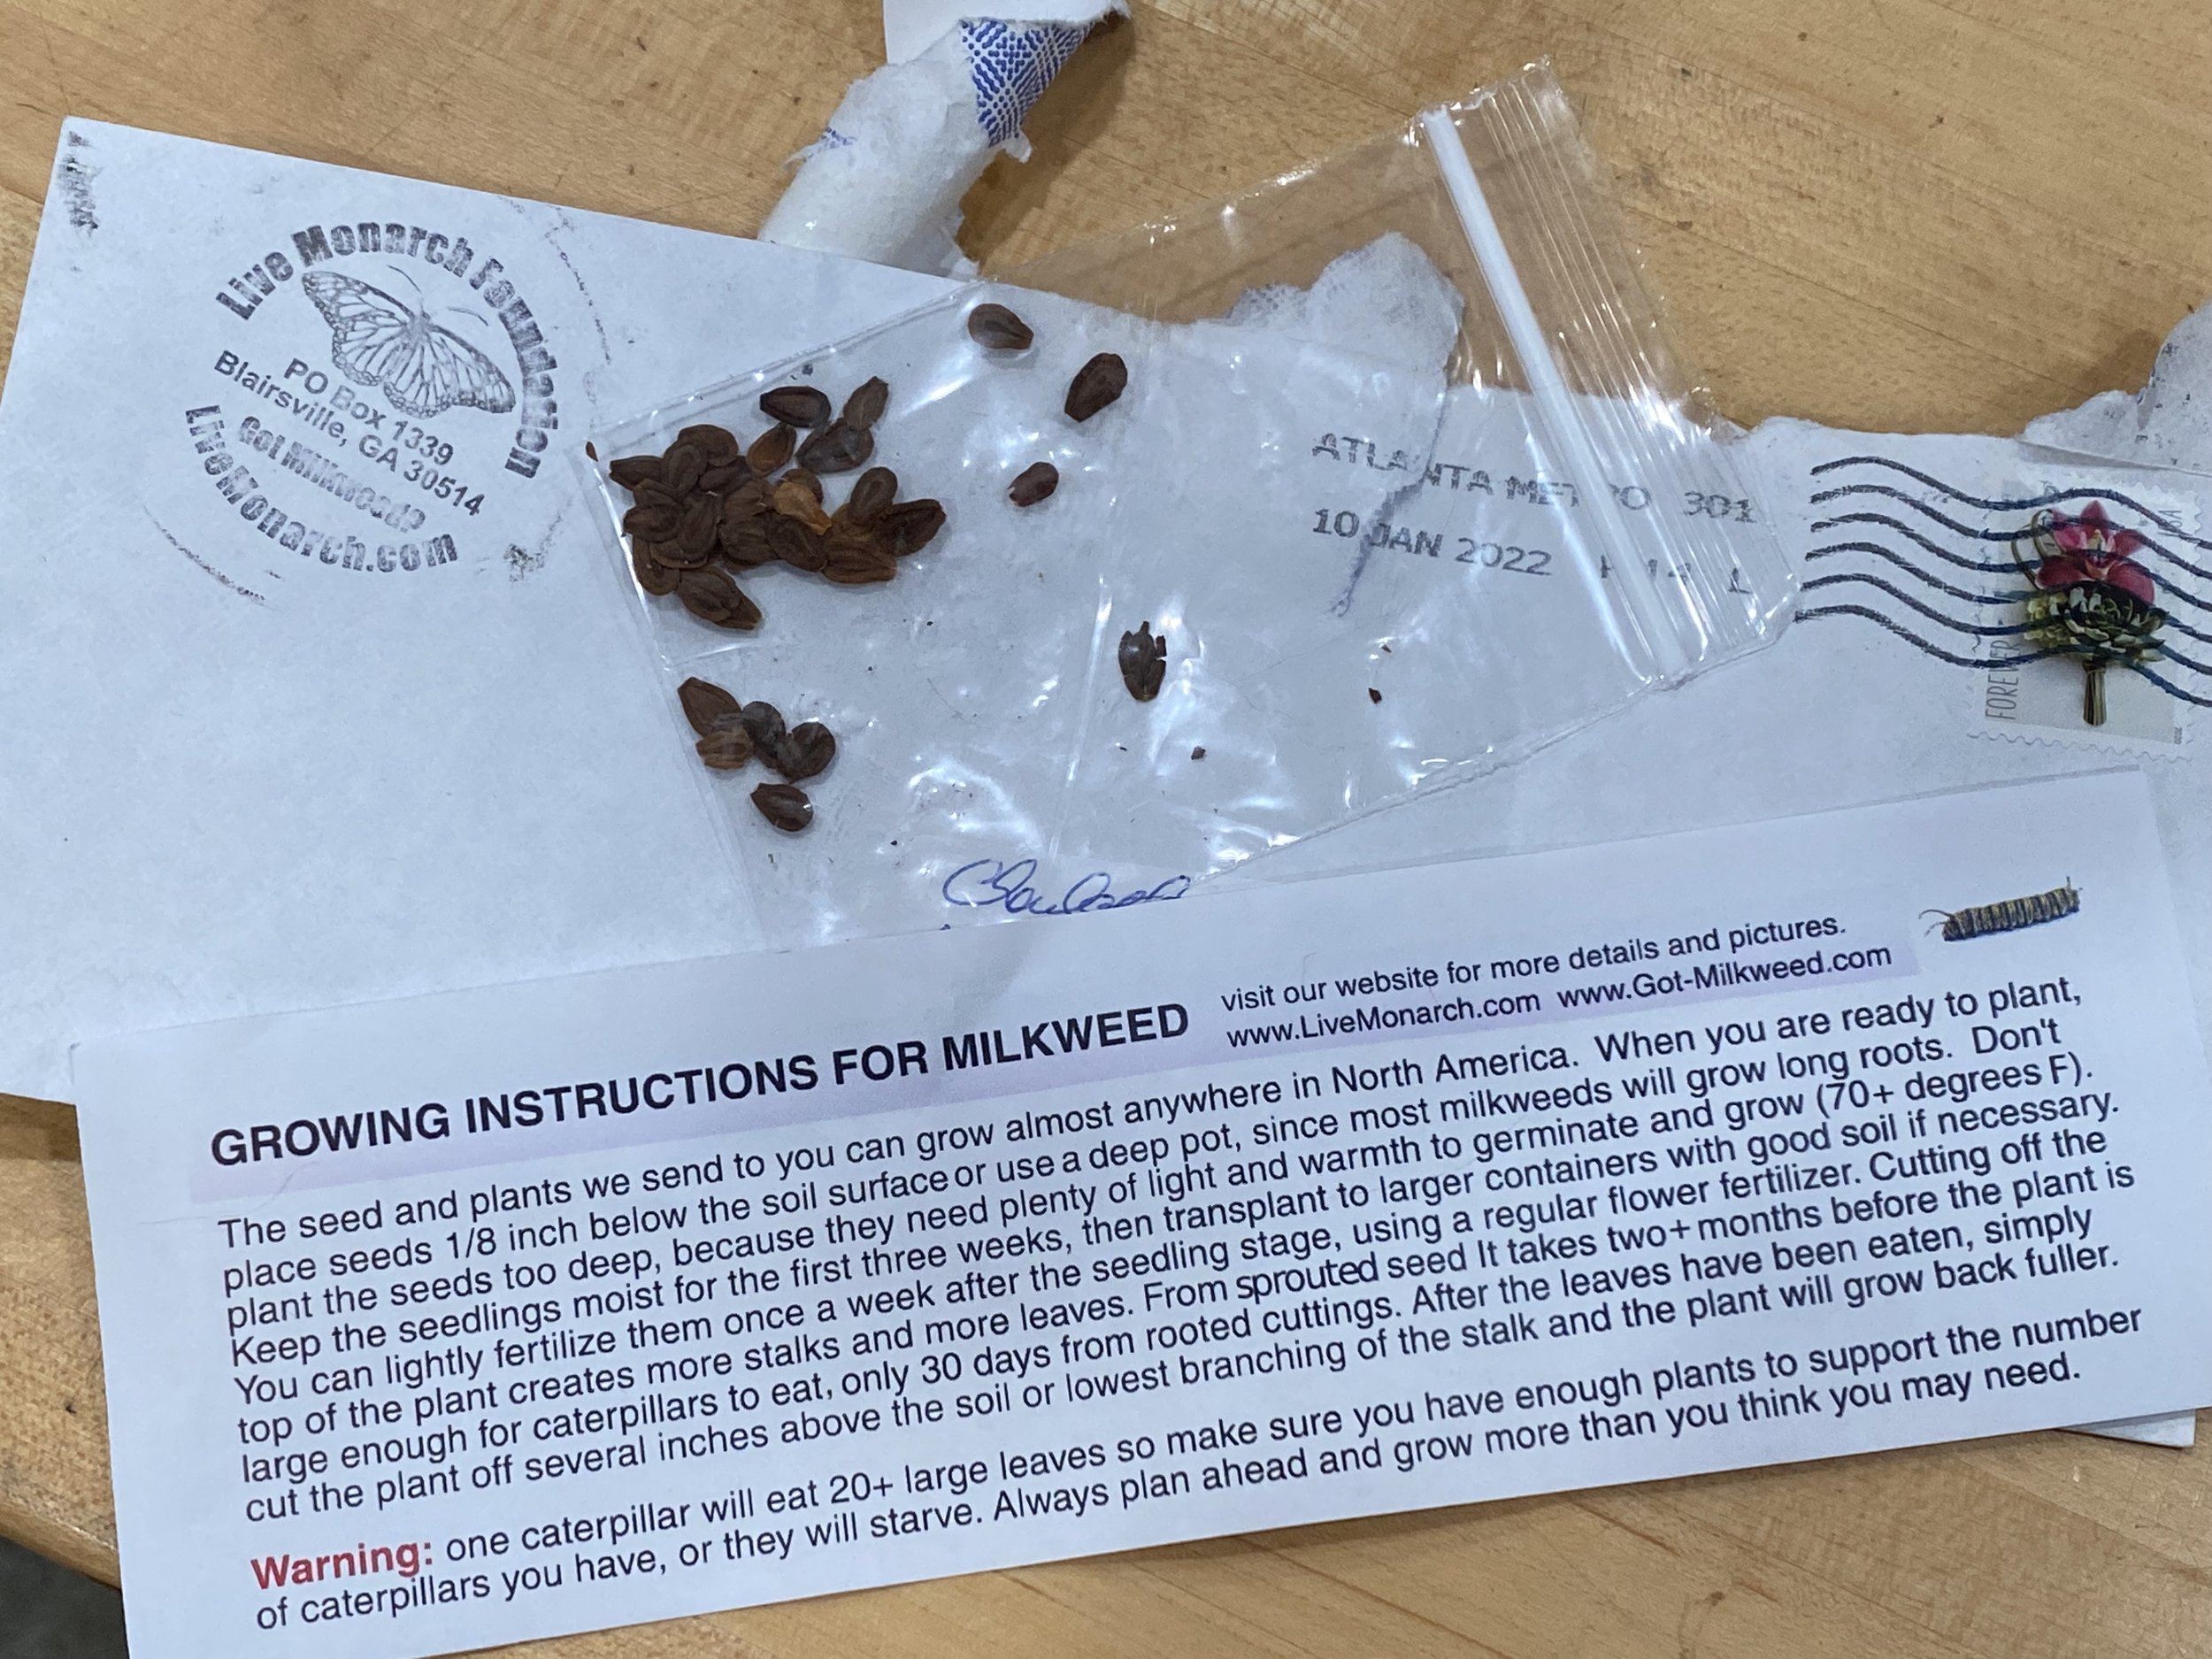
If you haven’t ordered your favorite gardening catalogs, get them ordered. Look for catalogs with detailed plant descriptions and good photographs so you can use them for reference. Missouri Wildflowers Catalog has lovely pictures, even old catalogs are still good references. www.mowildflowers.net. For heirloom seeds, try Baker Creek Heirloom Seeds at www.rareseeds.com, both are Missouri nurseries.
Update garden diary entries. If you’ve missed a few entries, add them now. Underline items you wanted to get done this year. I make a list, then decide which projects I want to tackle. I also carry over the ones I didn’t get to last year, or drop them off the master list. This is a good time to plan, and to dream.
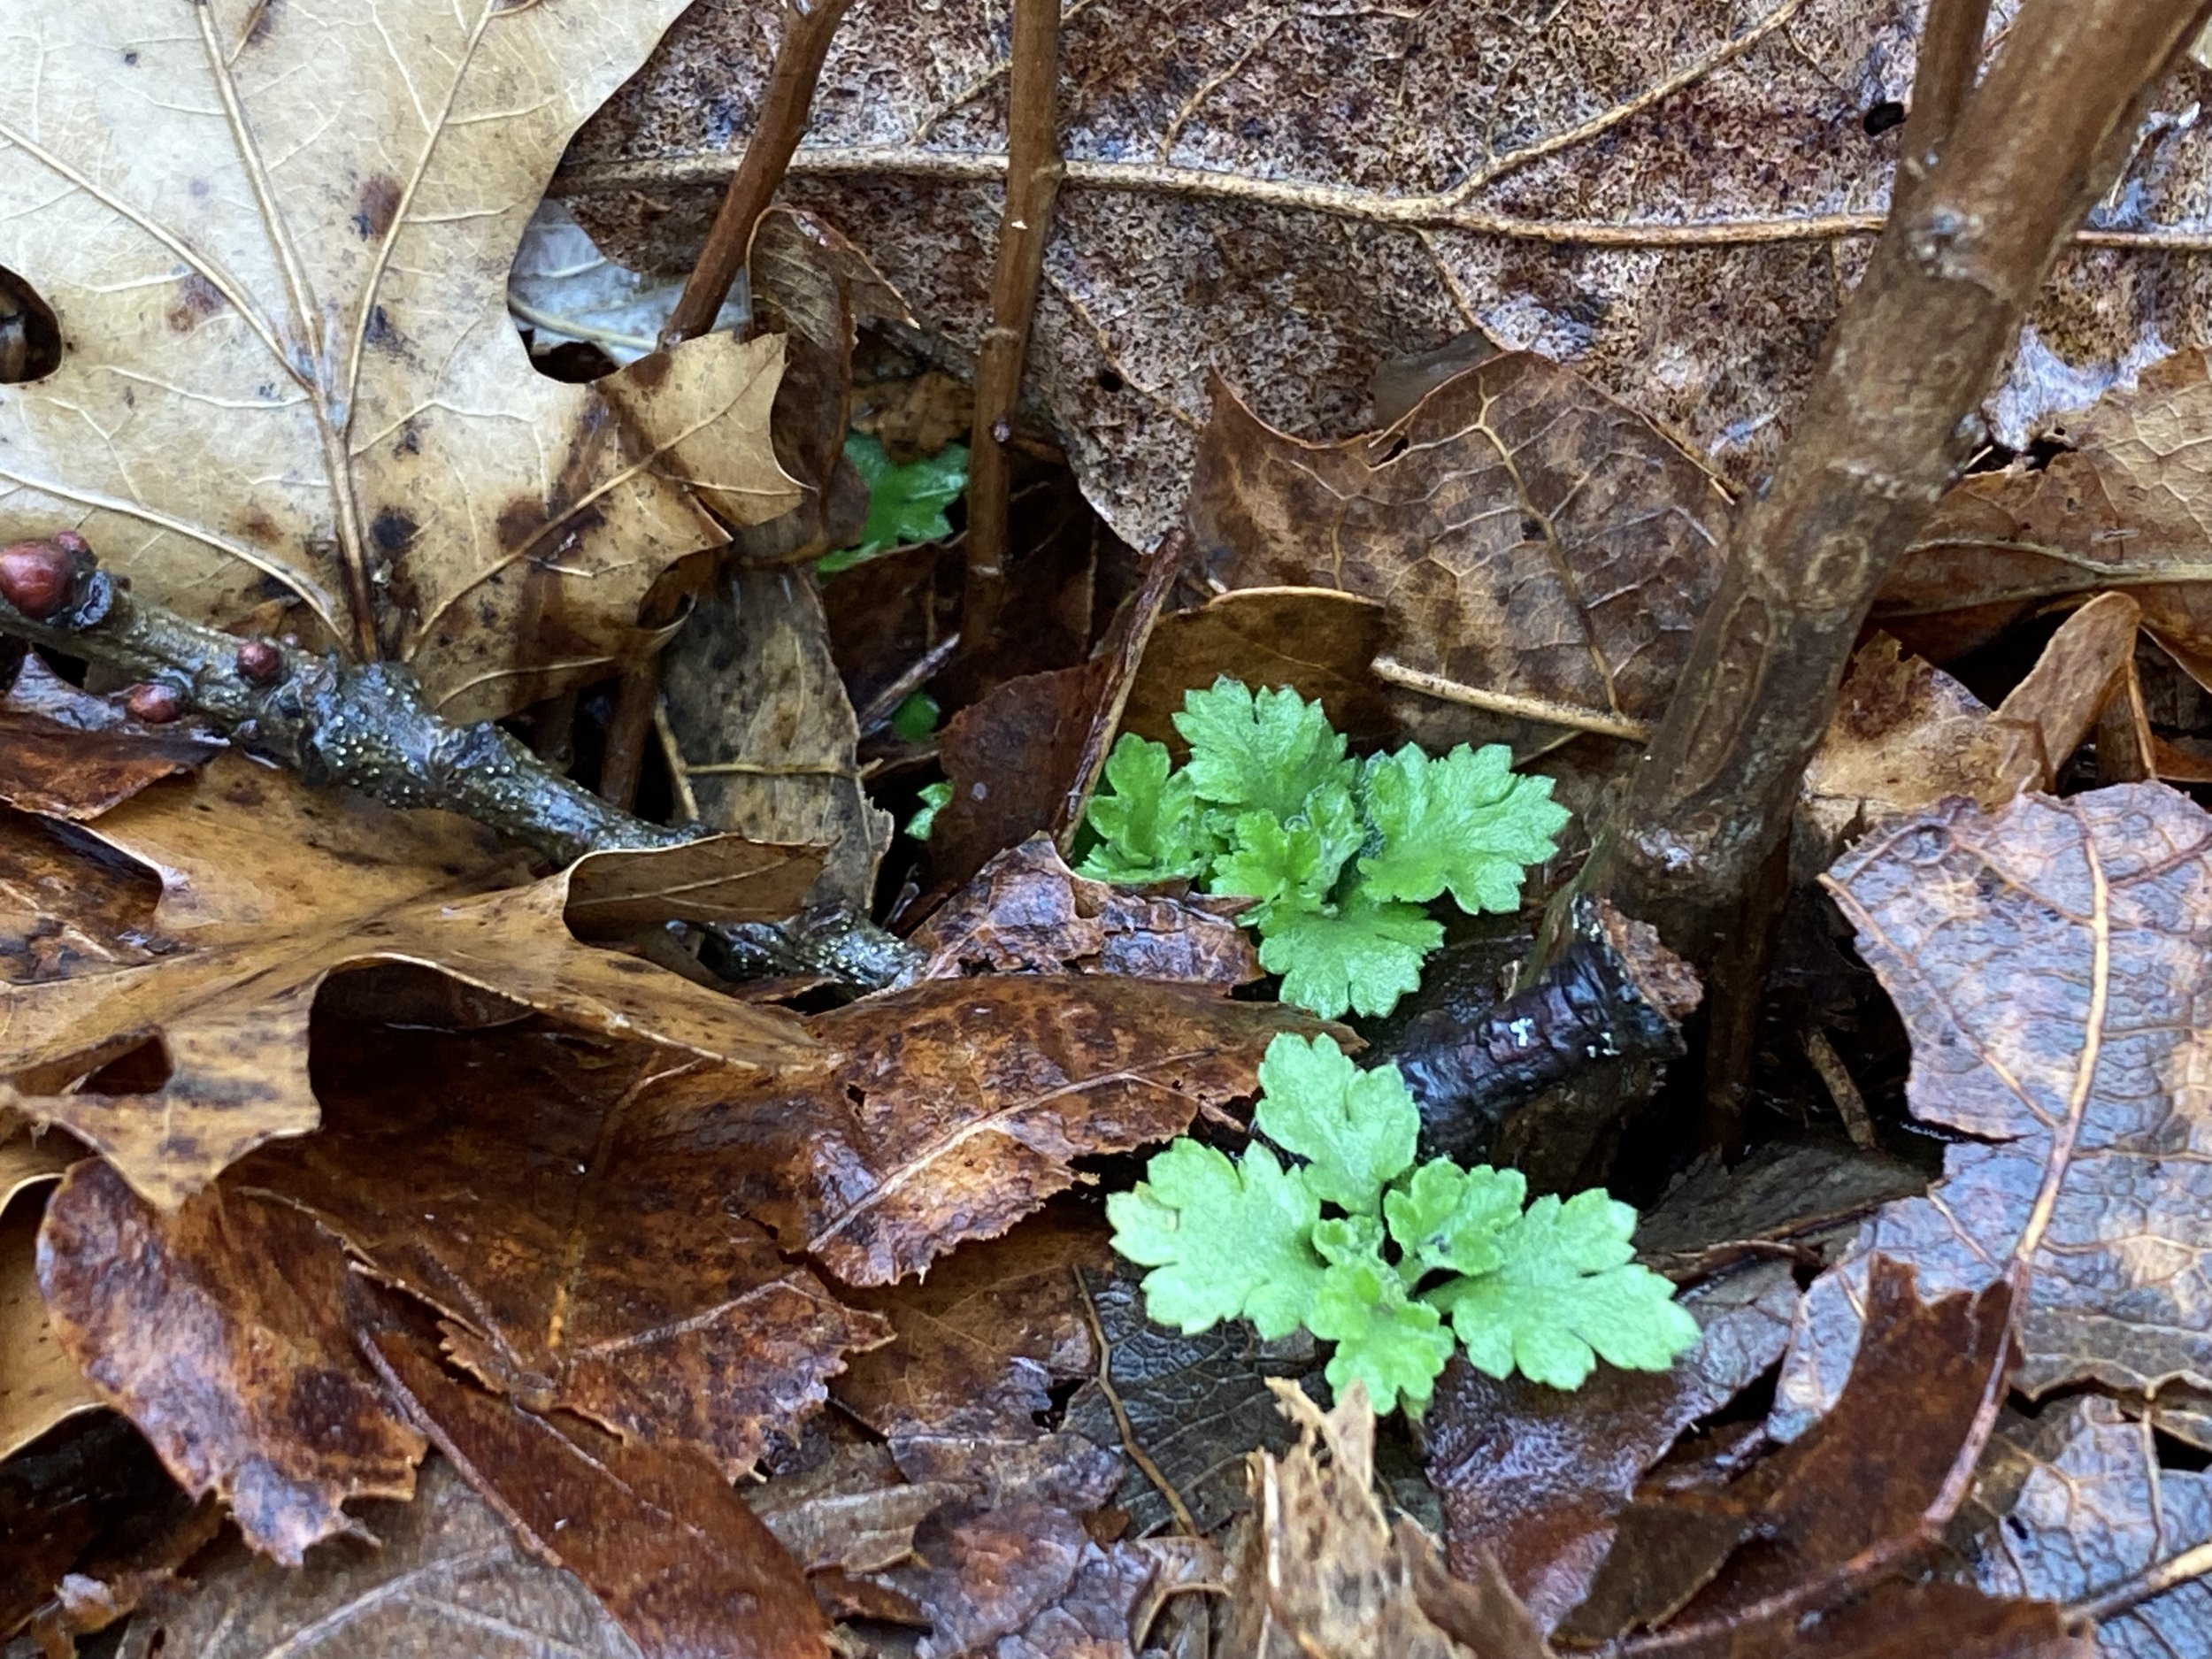
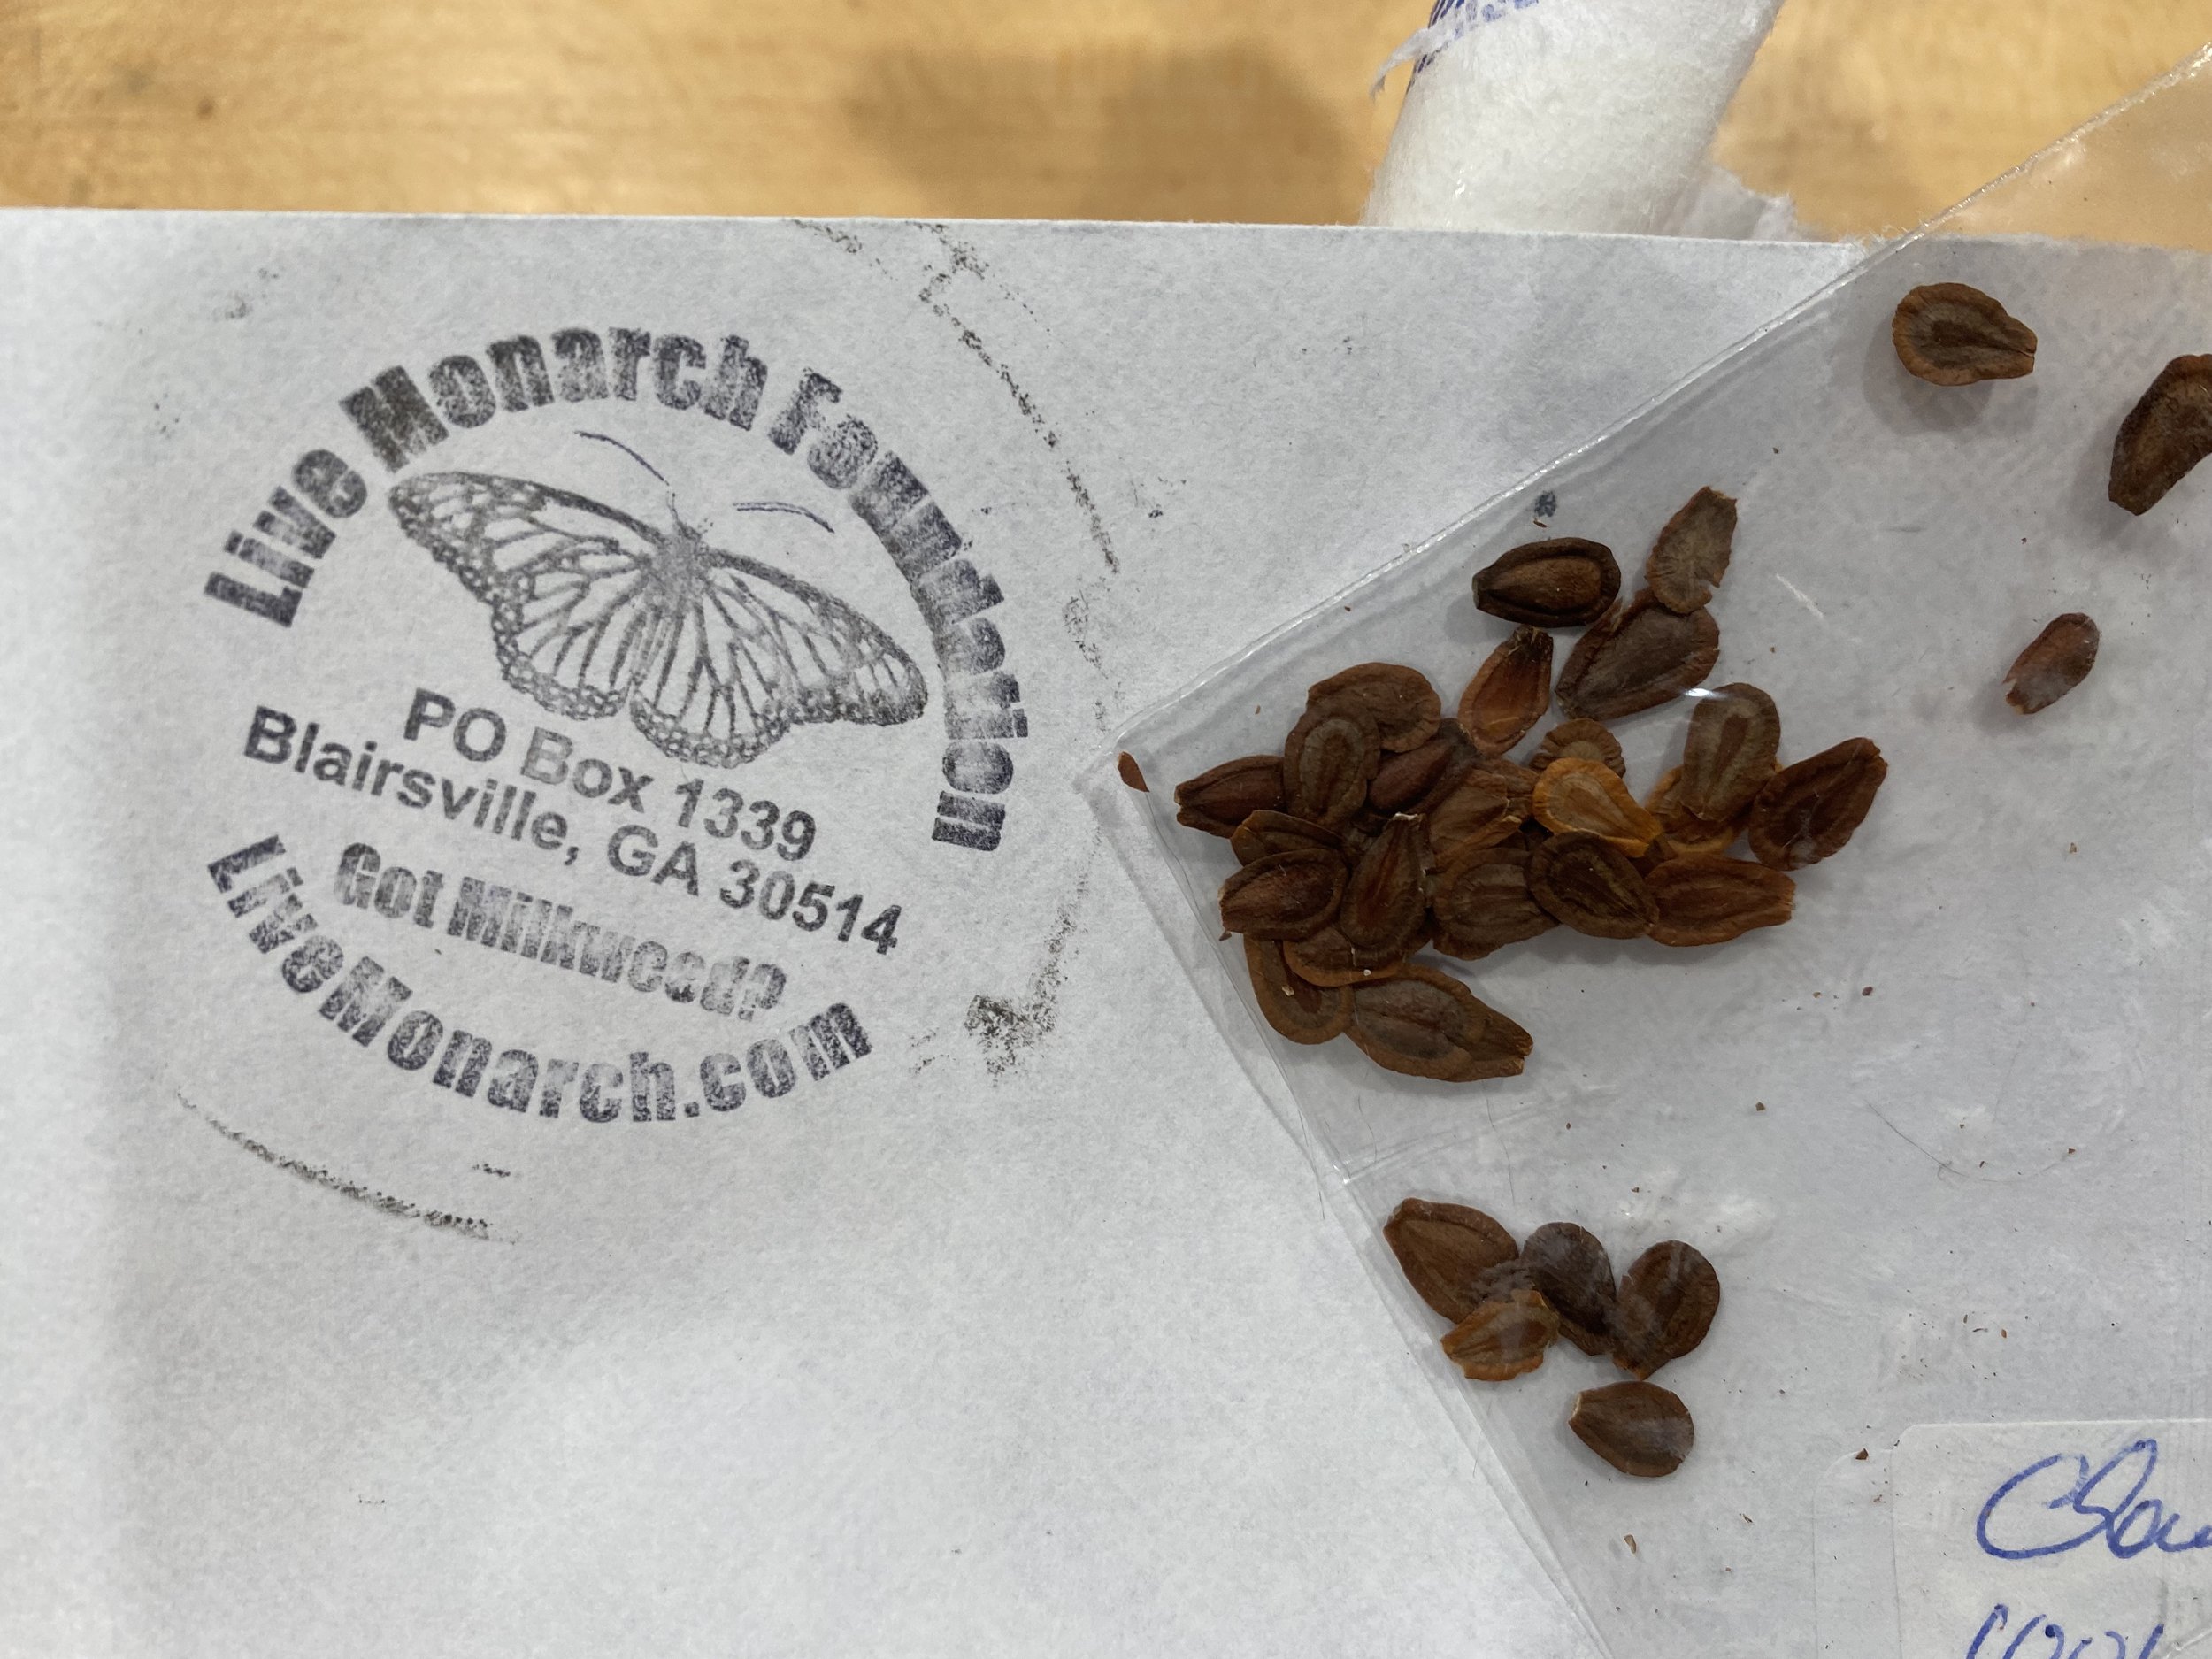
Focus on adding native plants. Once established, they will be low care and tend to require less water than other plants. They also have an established relationship with hey native pollinators. They are connected. Check out George O. White State Forest Nursery, they may still have some seedlings left. Order even if they say sold out, you may still get the seedlings if the previous person didn’t pay for their order.
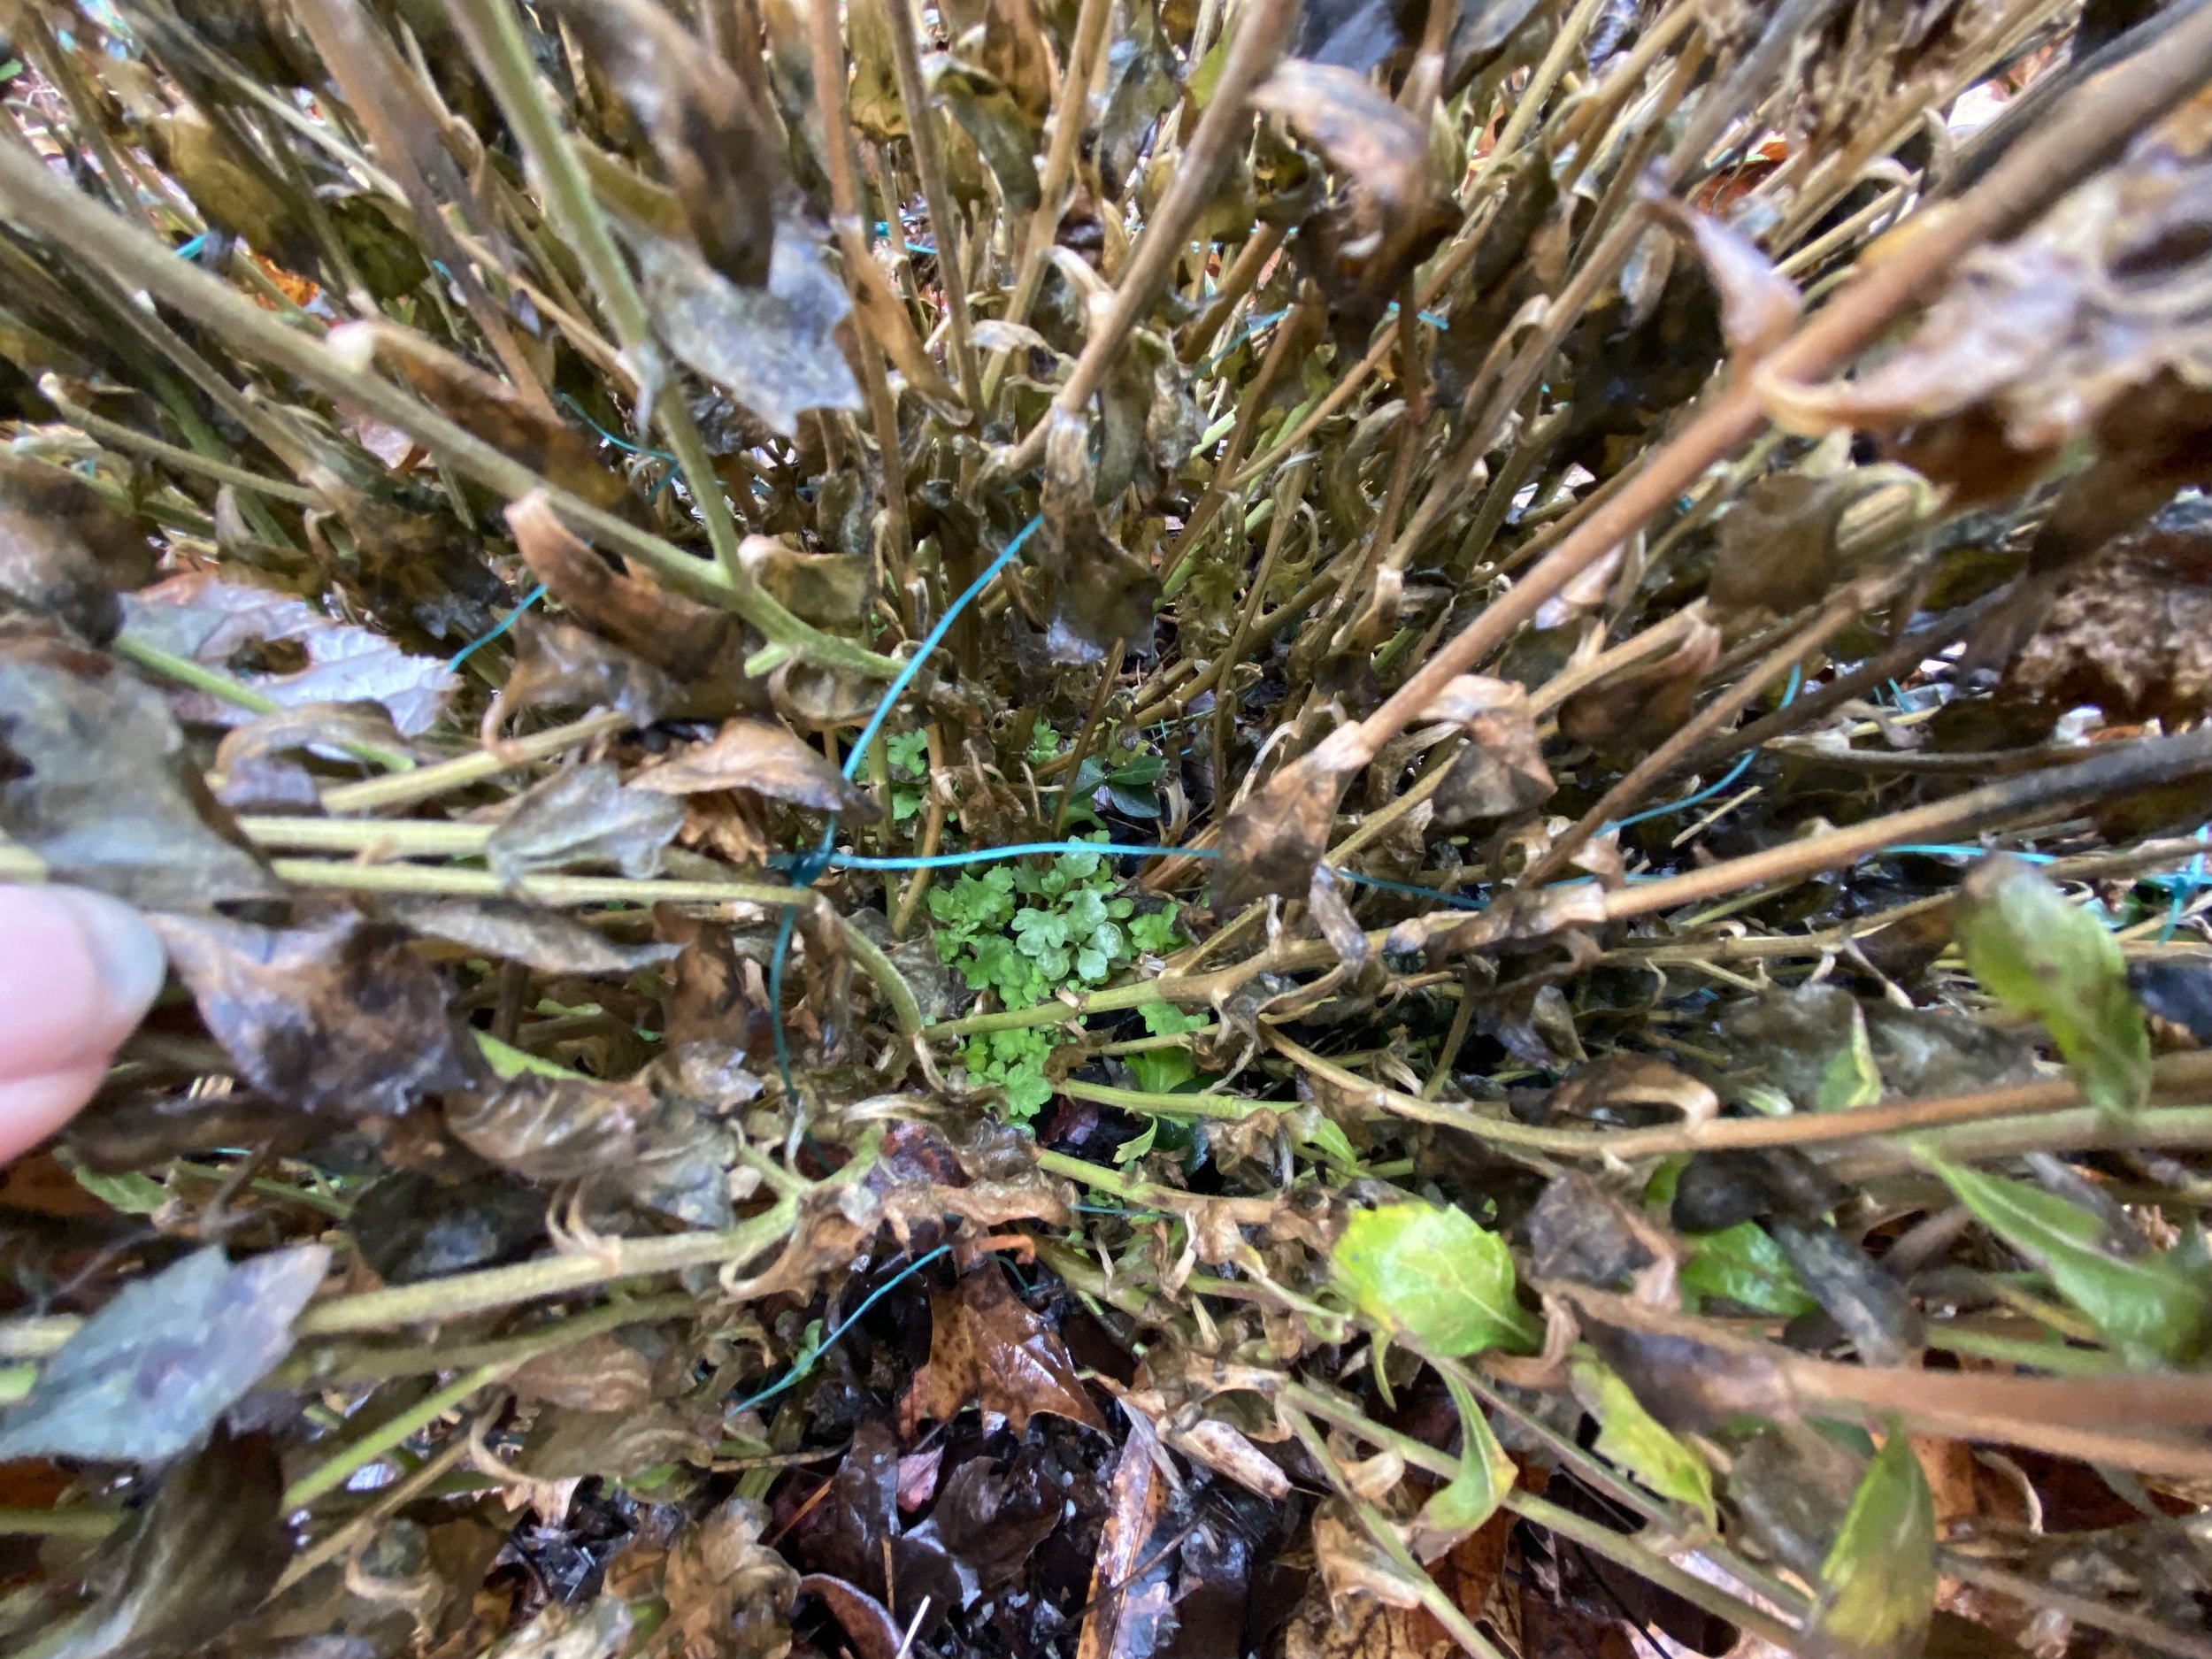
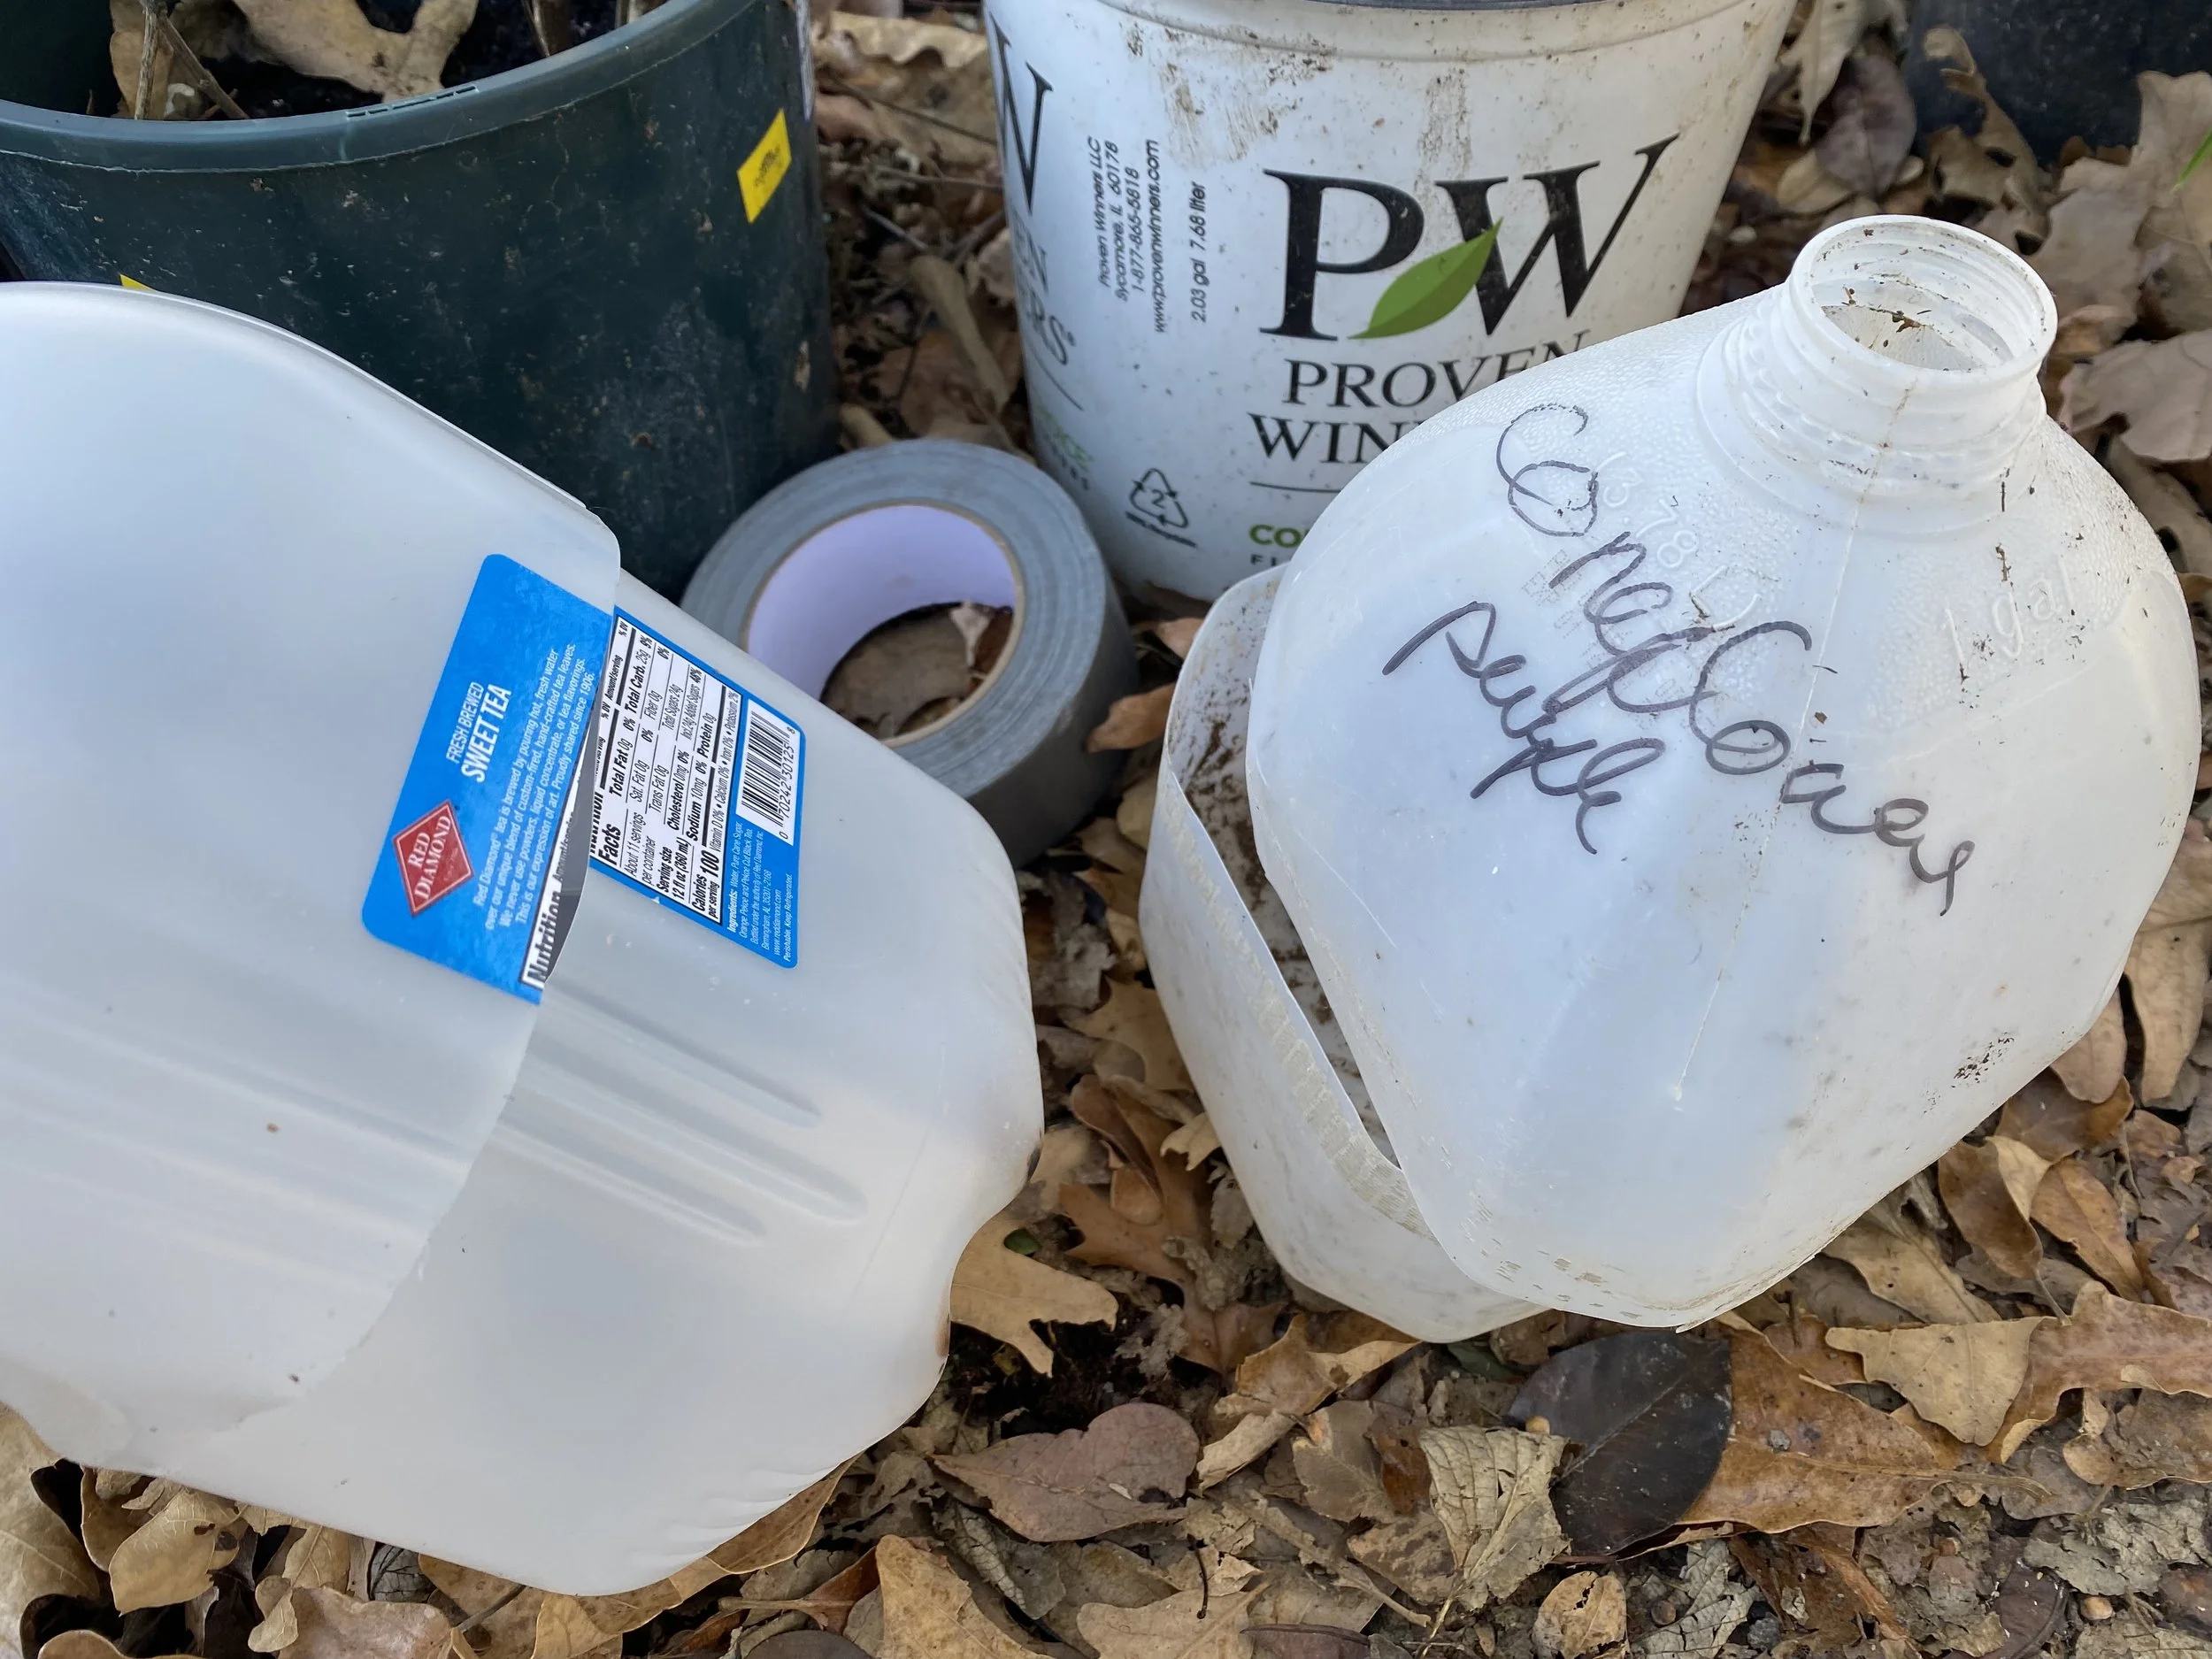
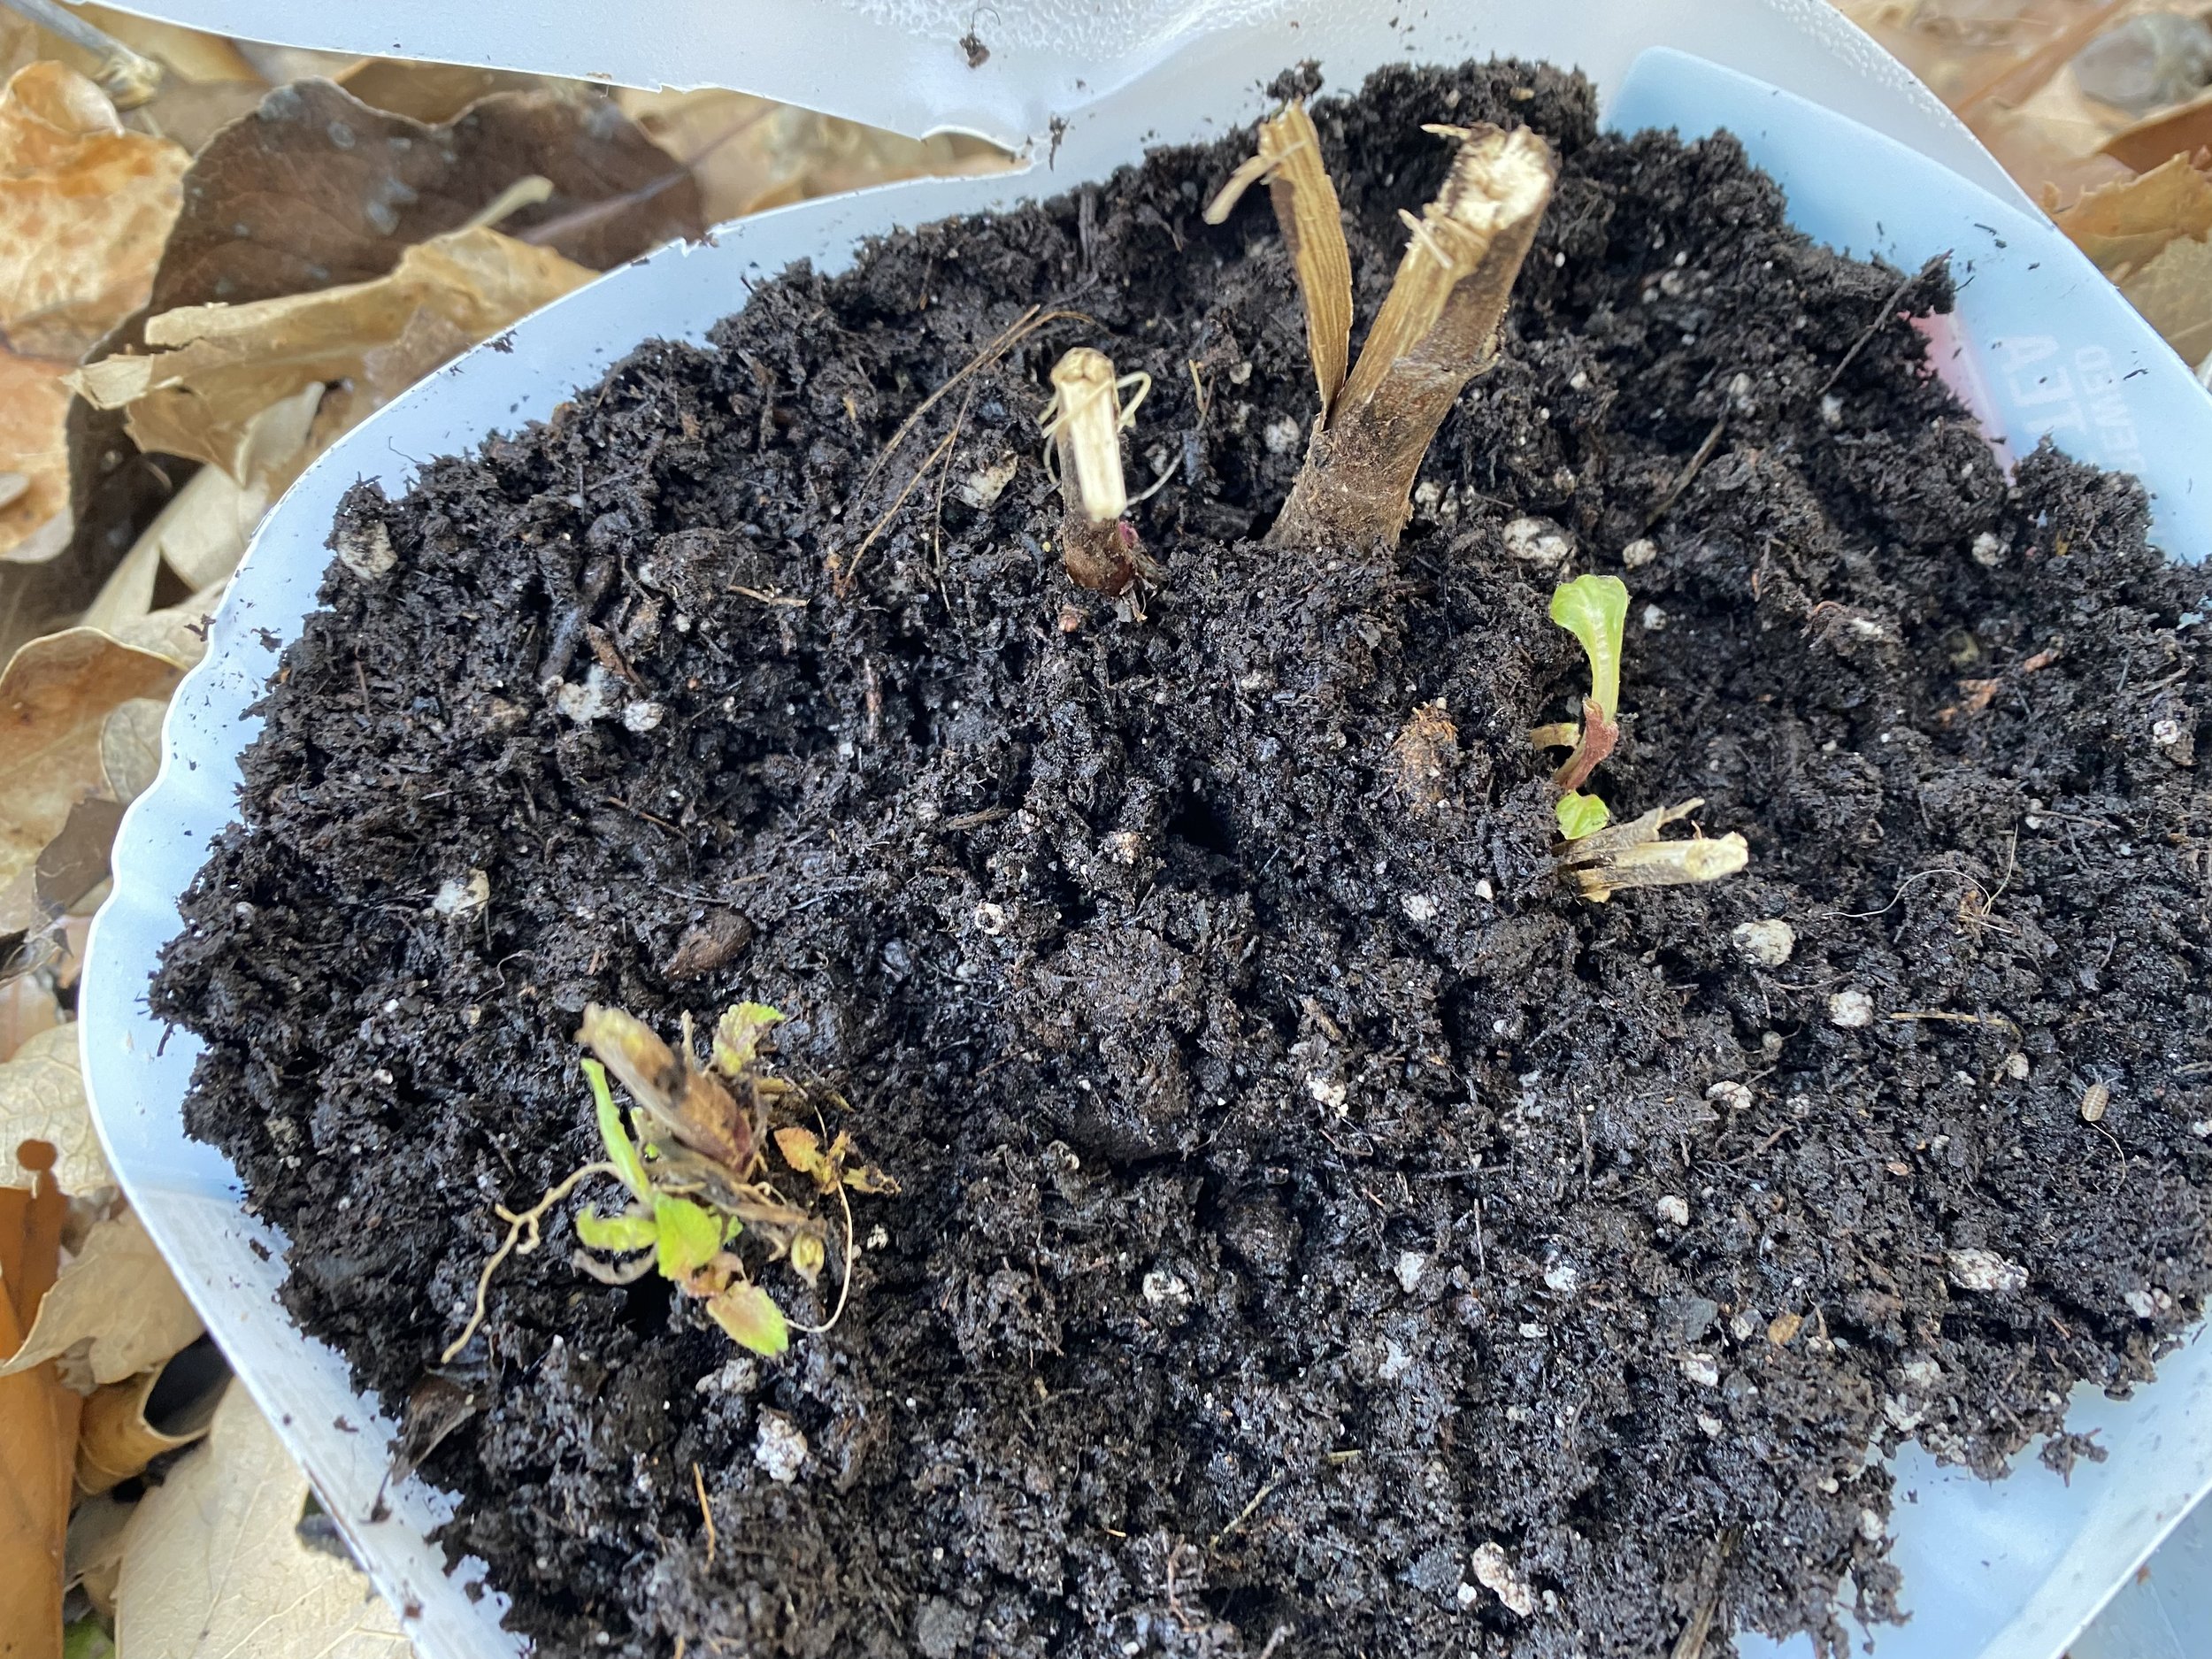
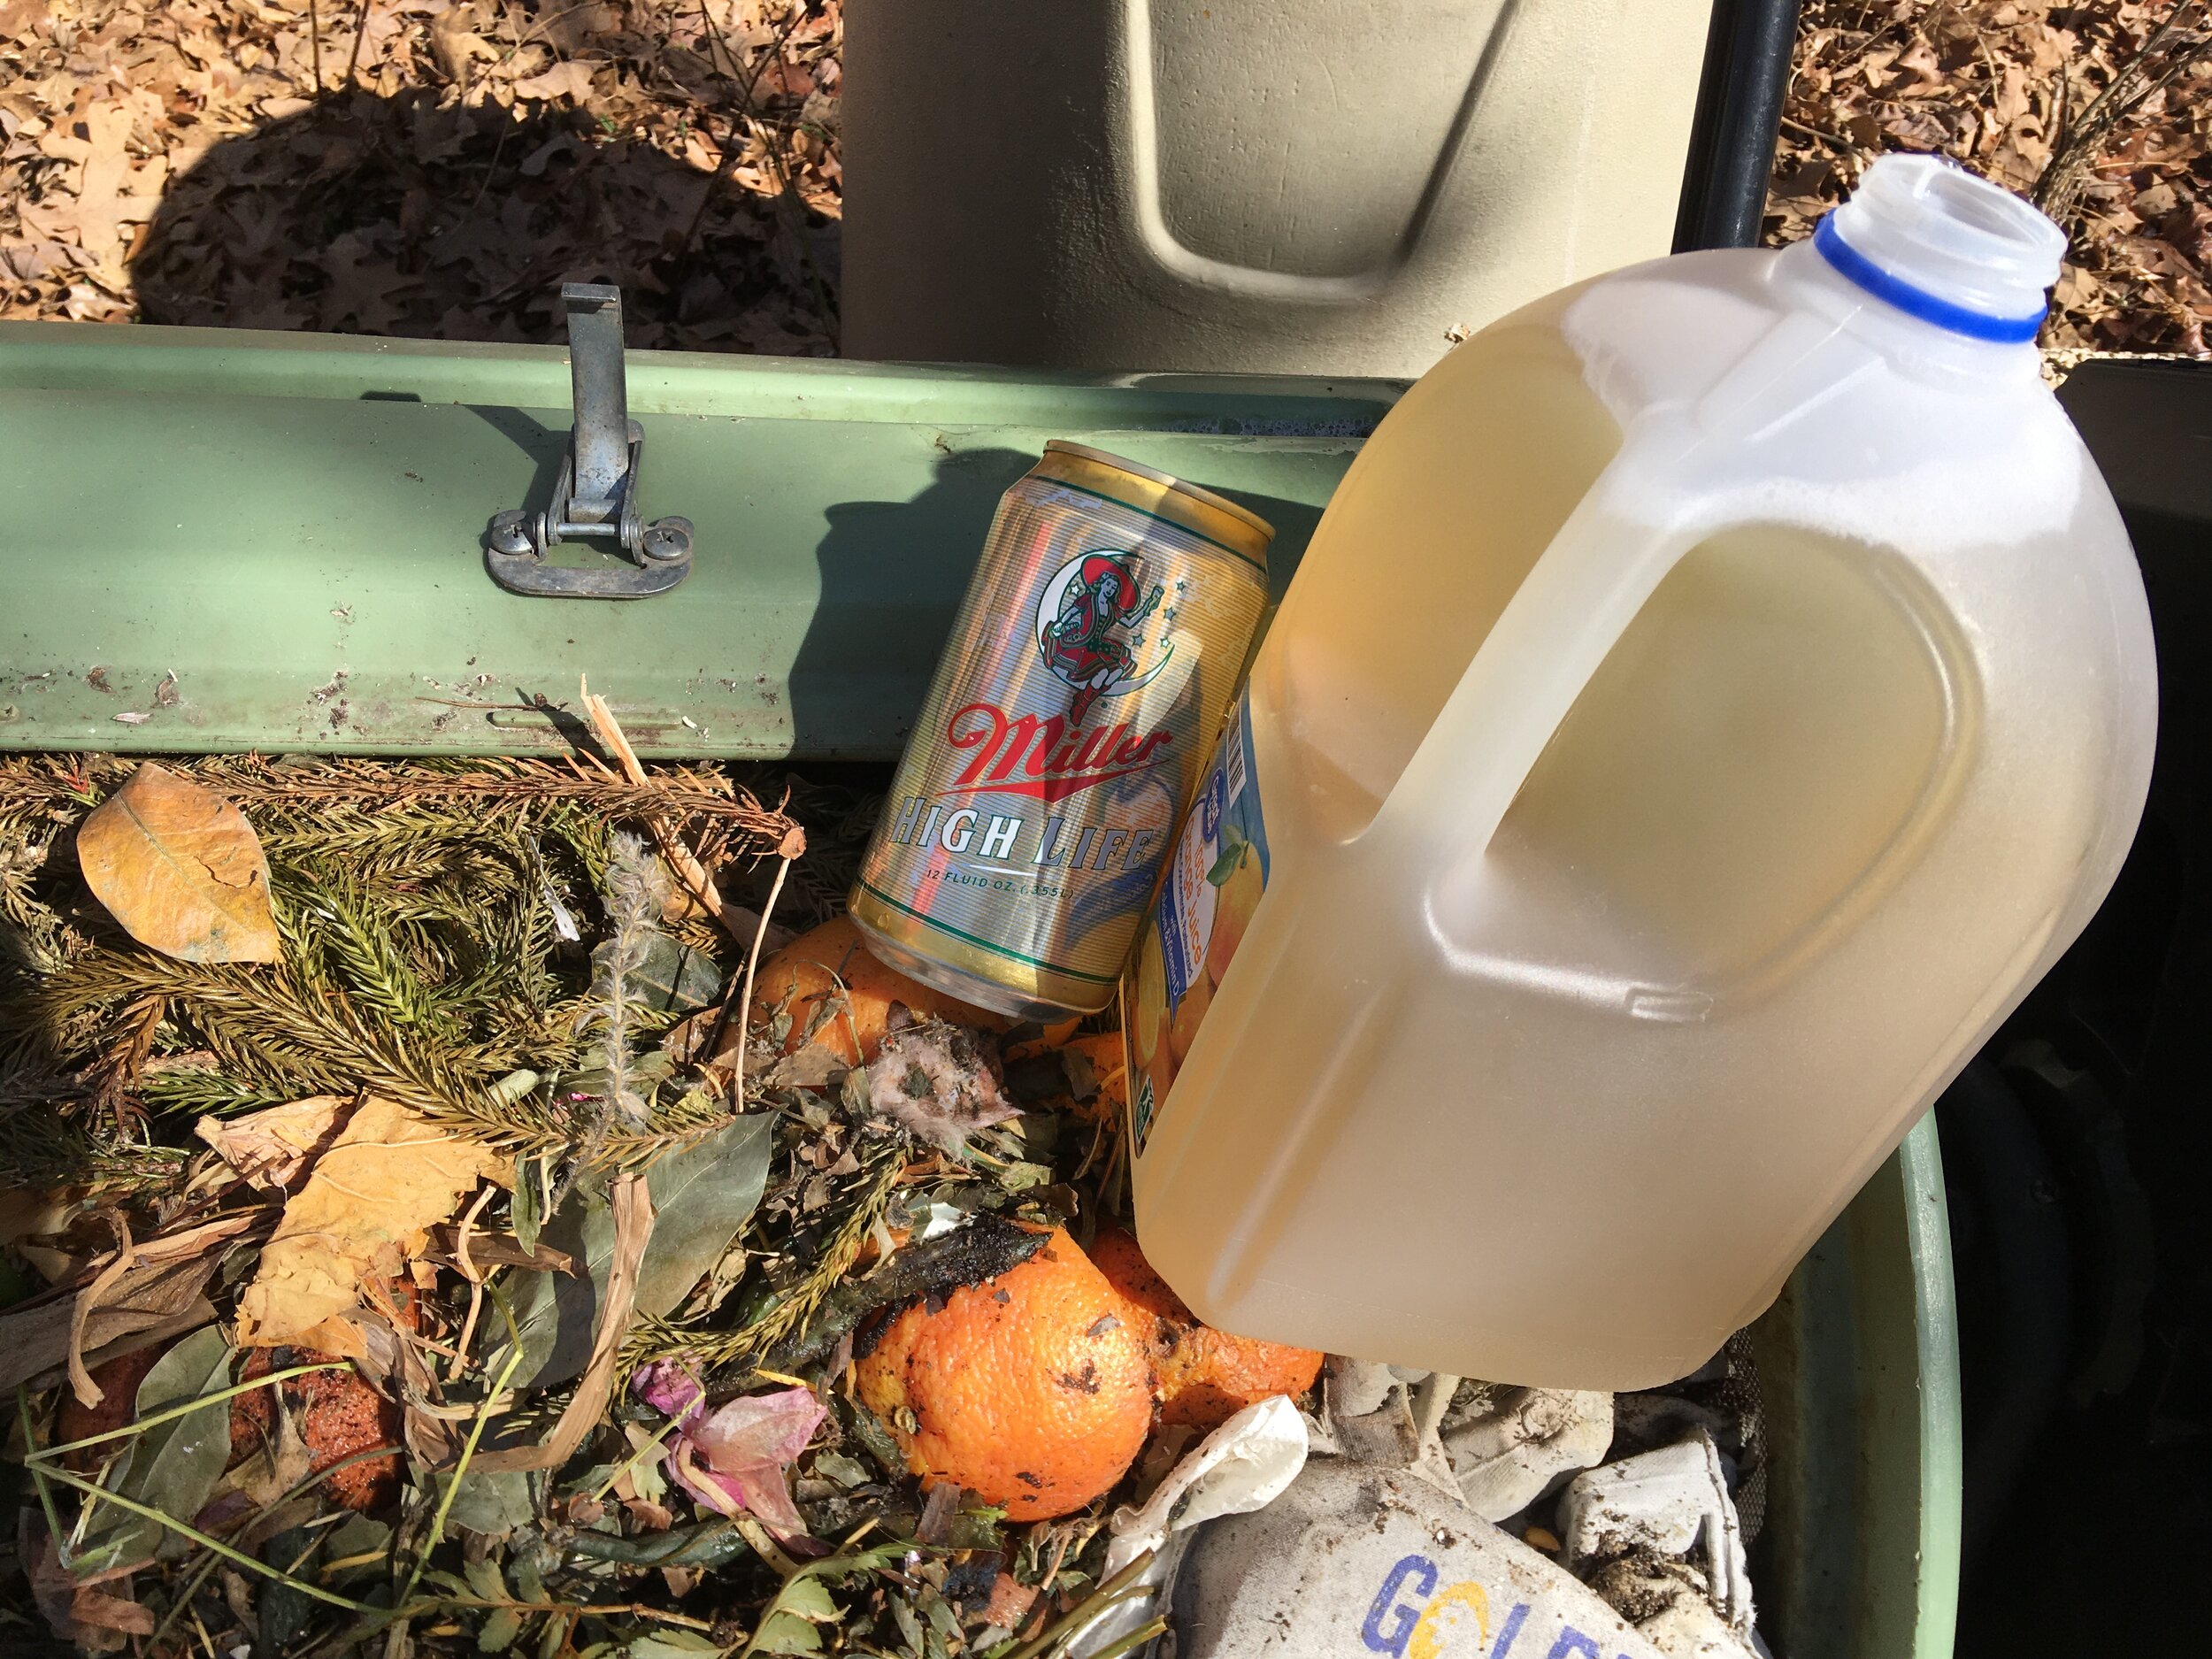
On warm days, remember to water mums planted this past year. New mums need a gallon a month to keep their roots moist their first year. Once established, mums will become perennials and deter bugs from around where they are planted.
Pile mulch and leaves on garden beds if they’ve been blown off by winter winds.
Check inside plants for any hitchhiking bugs and remove. Make sure they are getting their sunlight needs met. If not, move them. Water with diluted fertilizer. Prune as necessary.
Drop your garden pruners and other garden tools off to get sharpened, this is a slow time of year and this will give you a head start on the season.
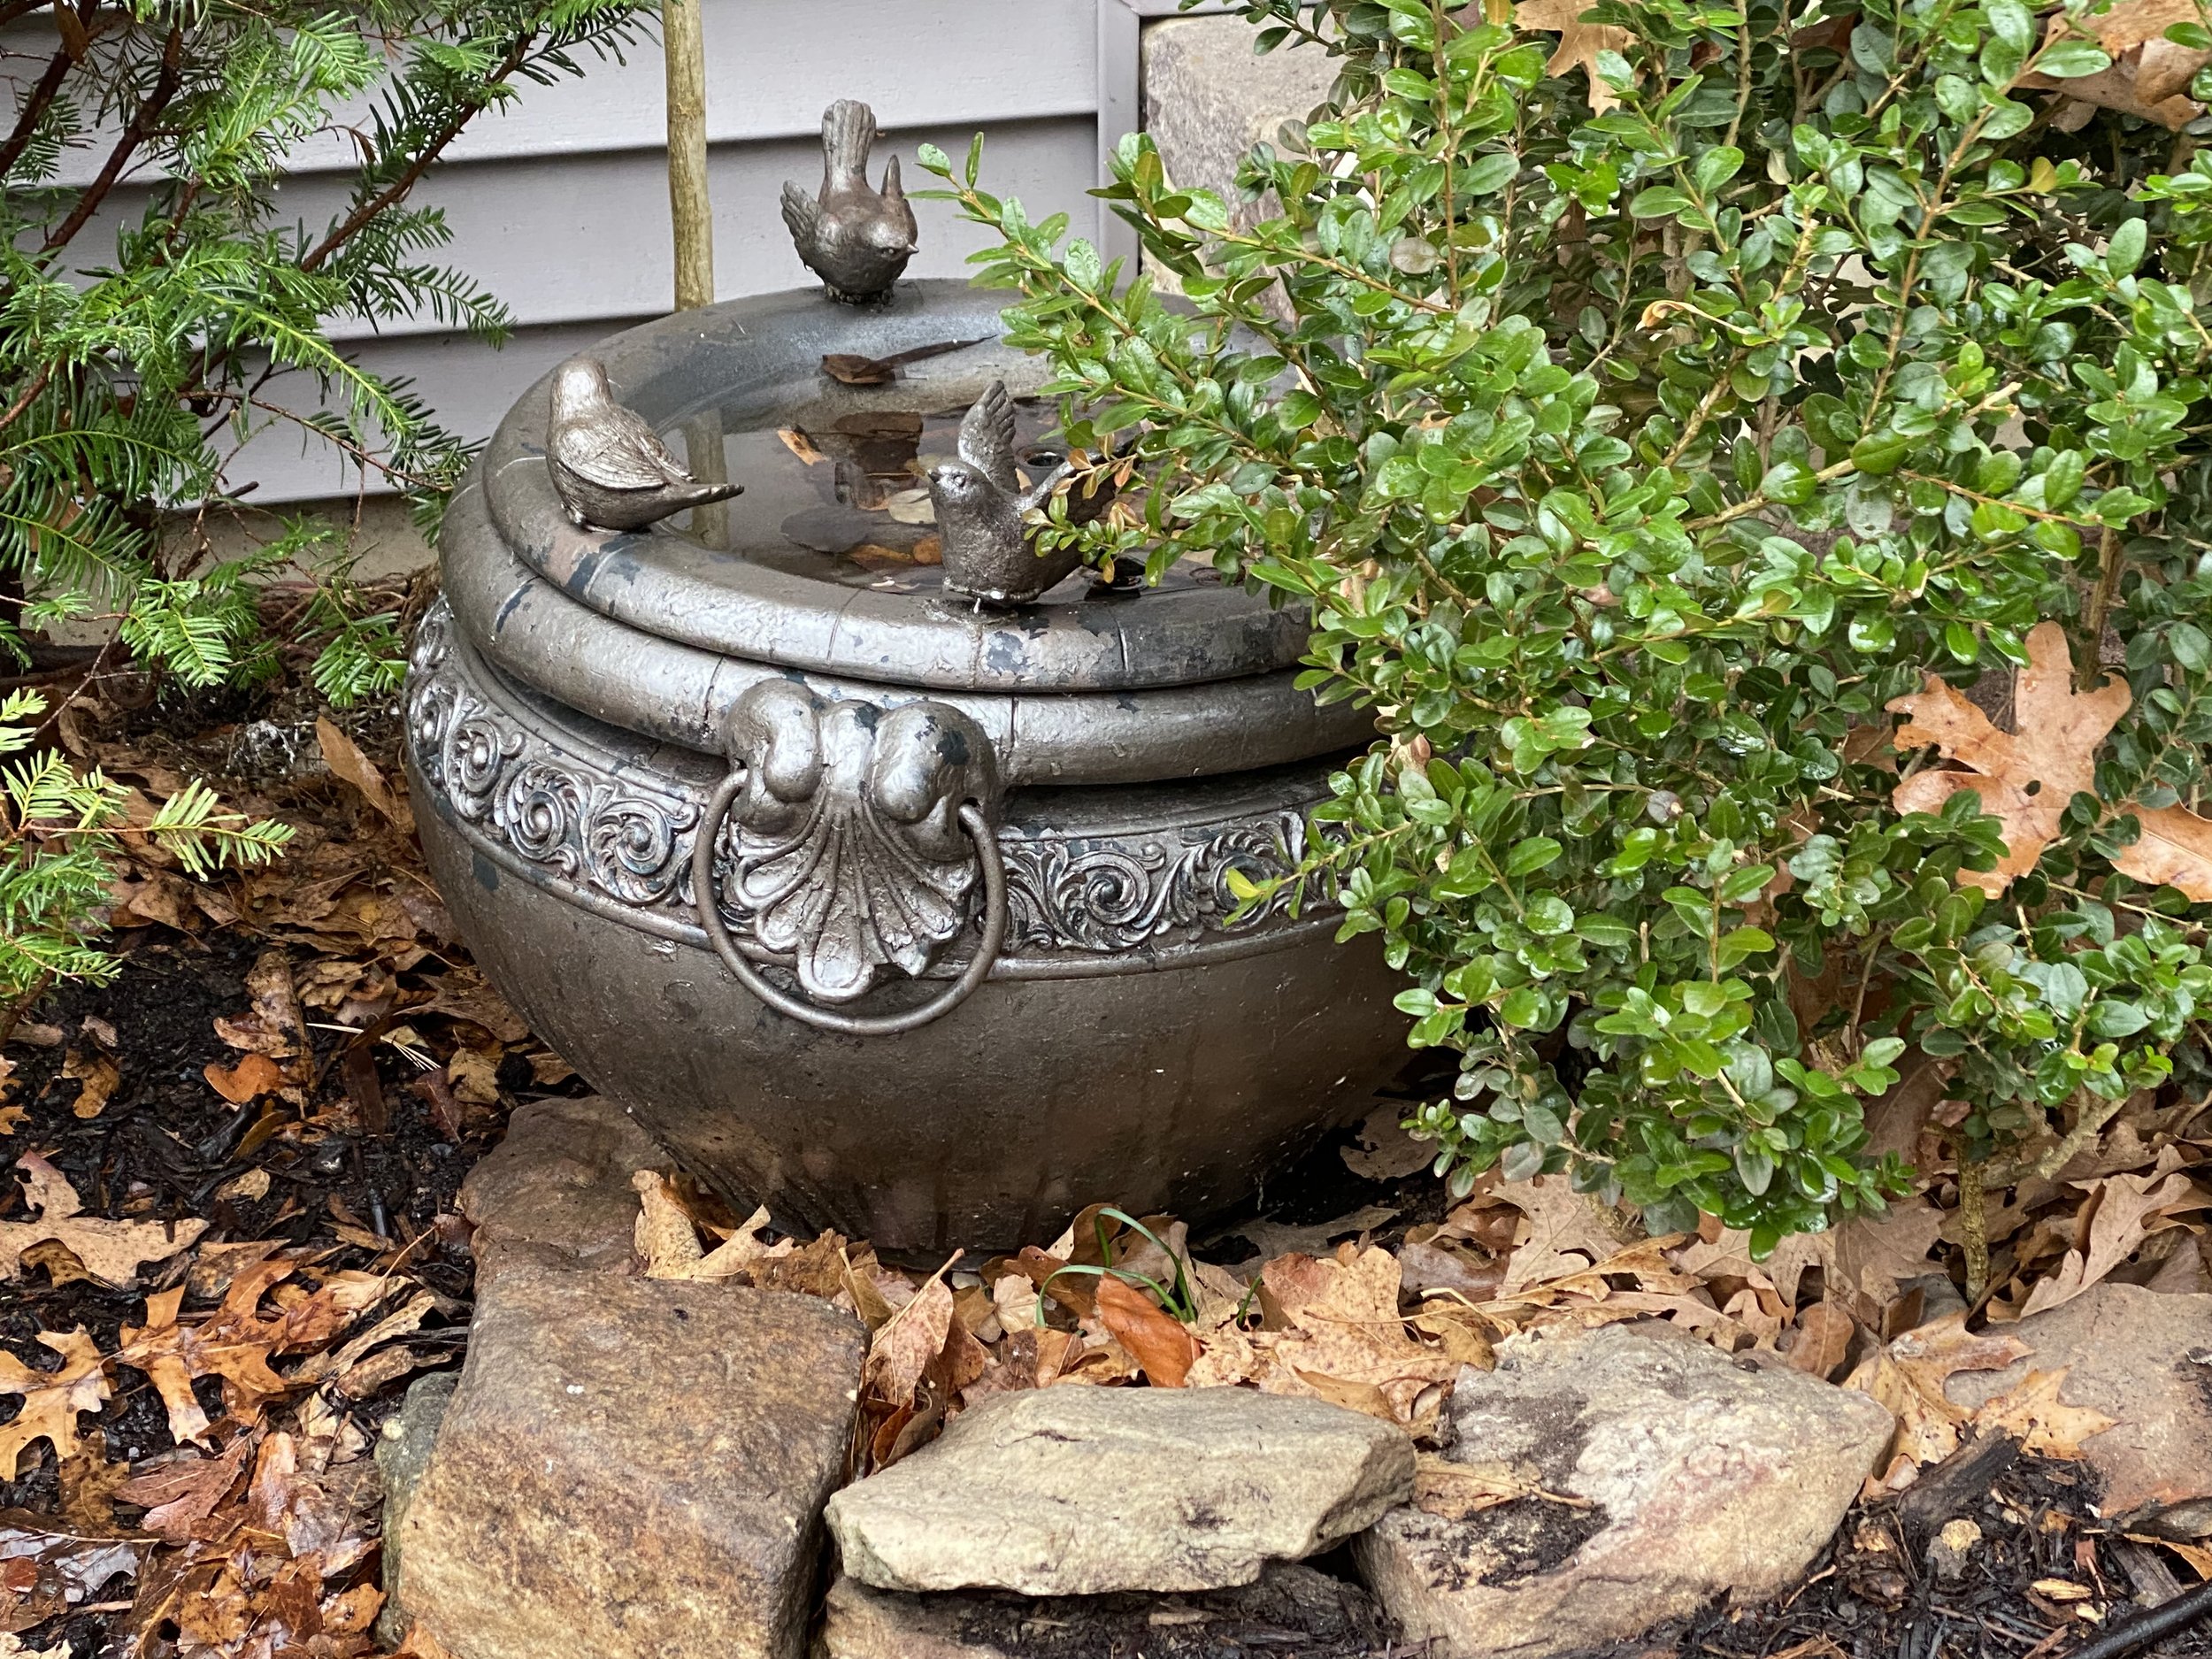
When feeding birds, add a little sand in the bird feeder mix. Birds need sand to help them digest seeds. Also ensure they have an available water source. Feed suet on cold days.
If you have fish in an outside pond, make sure it has a hole in the ice so fish will get oxygen.