Blooming Bulb Garden
/
One of my bulb gardens in bloom at a friend’s office. (Photo by Charlotte Ekker Wiggins)
Blooming Bulb Garden
Most years in fall, when spring bulbs are on sale, I pick up a few bags and make bulb gardens to share with friends mid-winter. Usually by early to mid-February those of us who live in Missouri are more than ready for spring and a little bulb garden offers the promise of more flowers to come.
This past year, I used crocus, small daffodils and tulips in my bulb garden, the bulbs layered so their roots could get nourishment as they grew. After watering and covering the bulbs with new potted soil, I wrapped them in a metallic wrap and placed them in a refrigerator to chill for 3 months.
Once the tips started to show, I started to pull them out and share as gifts for Valentine’s Day.
Usually the crocus bloom first, followed by the daffodils and tulips.
Here is how they look as they are getting started:

Bulbs after 12 weeks of cold getting ready to grow. (Photo by Charlotte Ekker Wiggins)
Once warmed up, it doens’t take the bulbs long to get growing. I place them in an area where they can get sun but not directly, and away from heat sources so that the heat doesn’t dry out their soil.
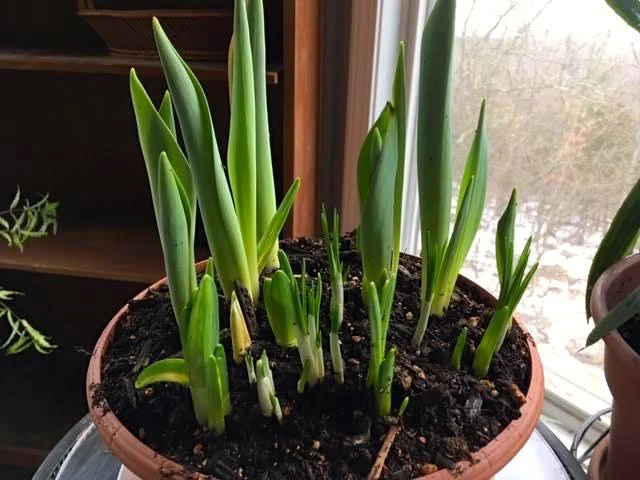
My bulb garden growing but not yet in bloom. (Photo by Charlotte Ekker Wiggins)
My crocus have bloomed in my pot, now waiting for the daffodils and tulips.

Daffodils bloom in my kitchen pot garden between potted begonias. (Photo by Charlotte Ekker Wiggins)
Another way to bring on an early spring is to add a floral quilt on your bed, like Pink Applique Tulips. These tulips last as long as you have the handmade quilt on your bed and no watering required!
Charlotte