Spring Pot Gardening
/
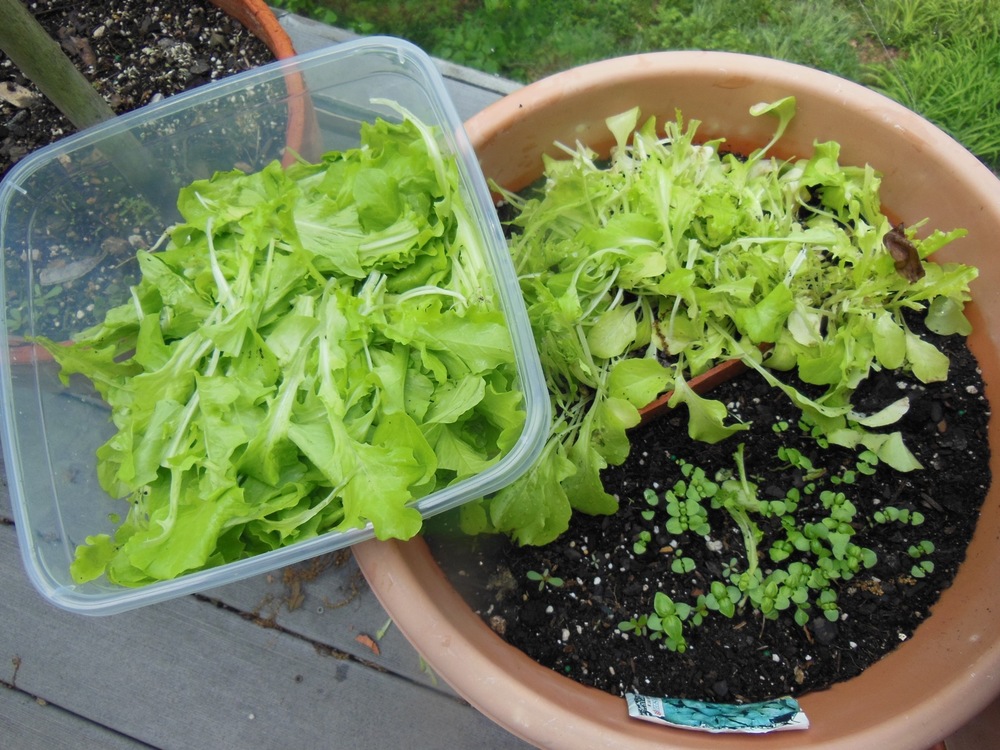
Lettuce and mixed greens are an excellent spring crop to grow in pots. (Charlotte Ekker Wiggins photo)
Spring Pot Gardening
Besides the sheer fun of saying you have a “pot garden,” growing food in pots is an easy and practical way to get yourself fresh produce.
Growing in pots allows each plant to have its own space, allows for easy pest control and helps you provide the right soil and other unique growing conditions. In addition, you can bring some pots such as herbs inside and extend the growing season over winter. I garden in USDA Hardiness zone 6b so for about 5 months some plants need to be protected inside.
To decide what to grow, here is a list of the basic five for spring pot gardening:
Lettuce and mixed greens
Radishes
Peas
Spinach
Onions
All of these crops like cool spring weather.

Radishes, from the red bulbous root tot he greens, are excellent in salads. (Charlotte Ekker Wiggins photo)
A note about radishes. Add the top green to a salad, they are delicious.
If you have a crop you can’t get to, don’t toss it just yet, let it “bolt” or go to seed. If it’s not a hybrid, you can save the seeds for next year and local pollinators will appreciate the flowers.

This spinach is going to seed and will become bee and butterfly flood. (Charlotte Ekker Wiggins photo)
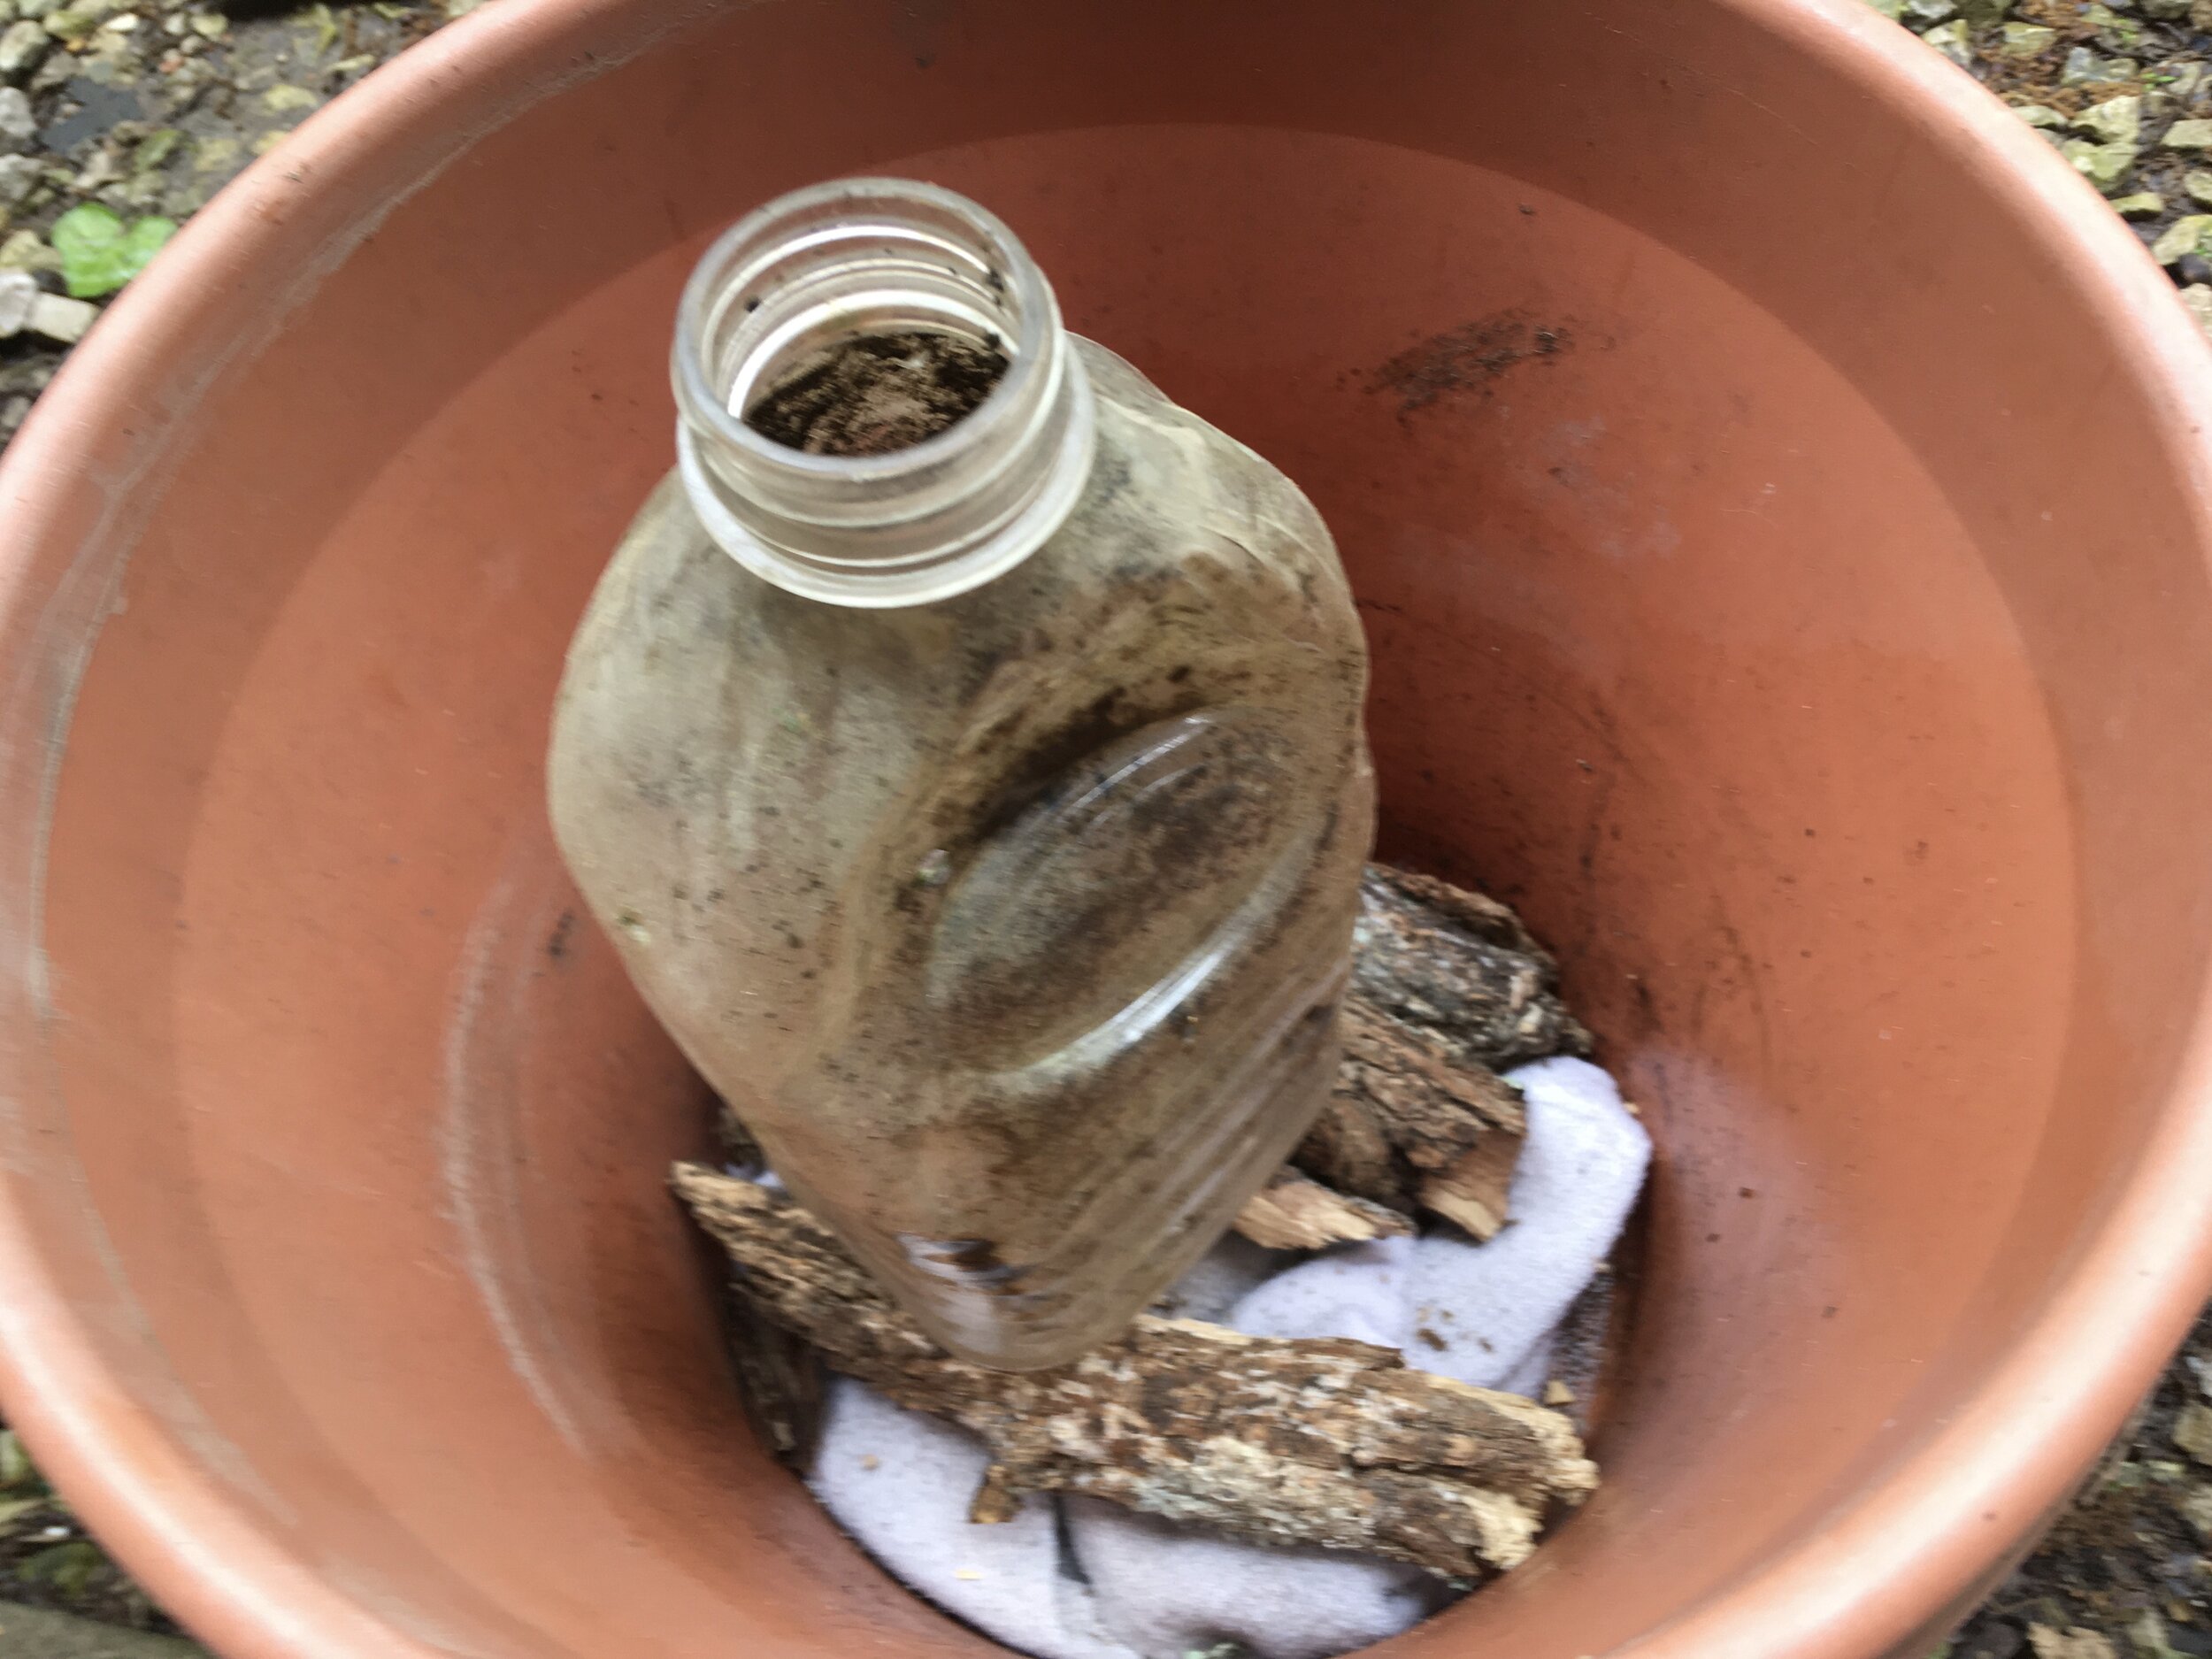
If you can’t use what you grow, compost. You can start by putting the unused greens in the bottom of the next pot you are making.
Once you pot herbs, you can have them year around. I’ve had this pot of parsley for a couple of years now, wintering it over inside.
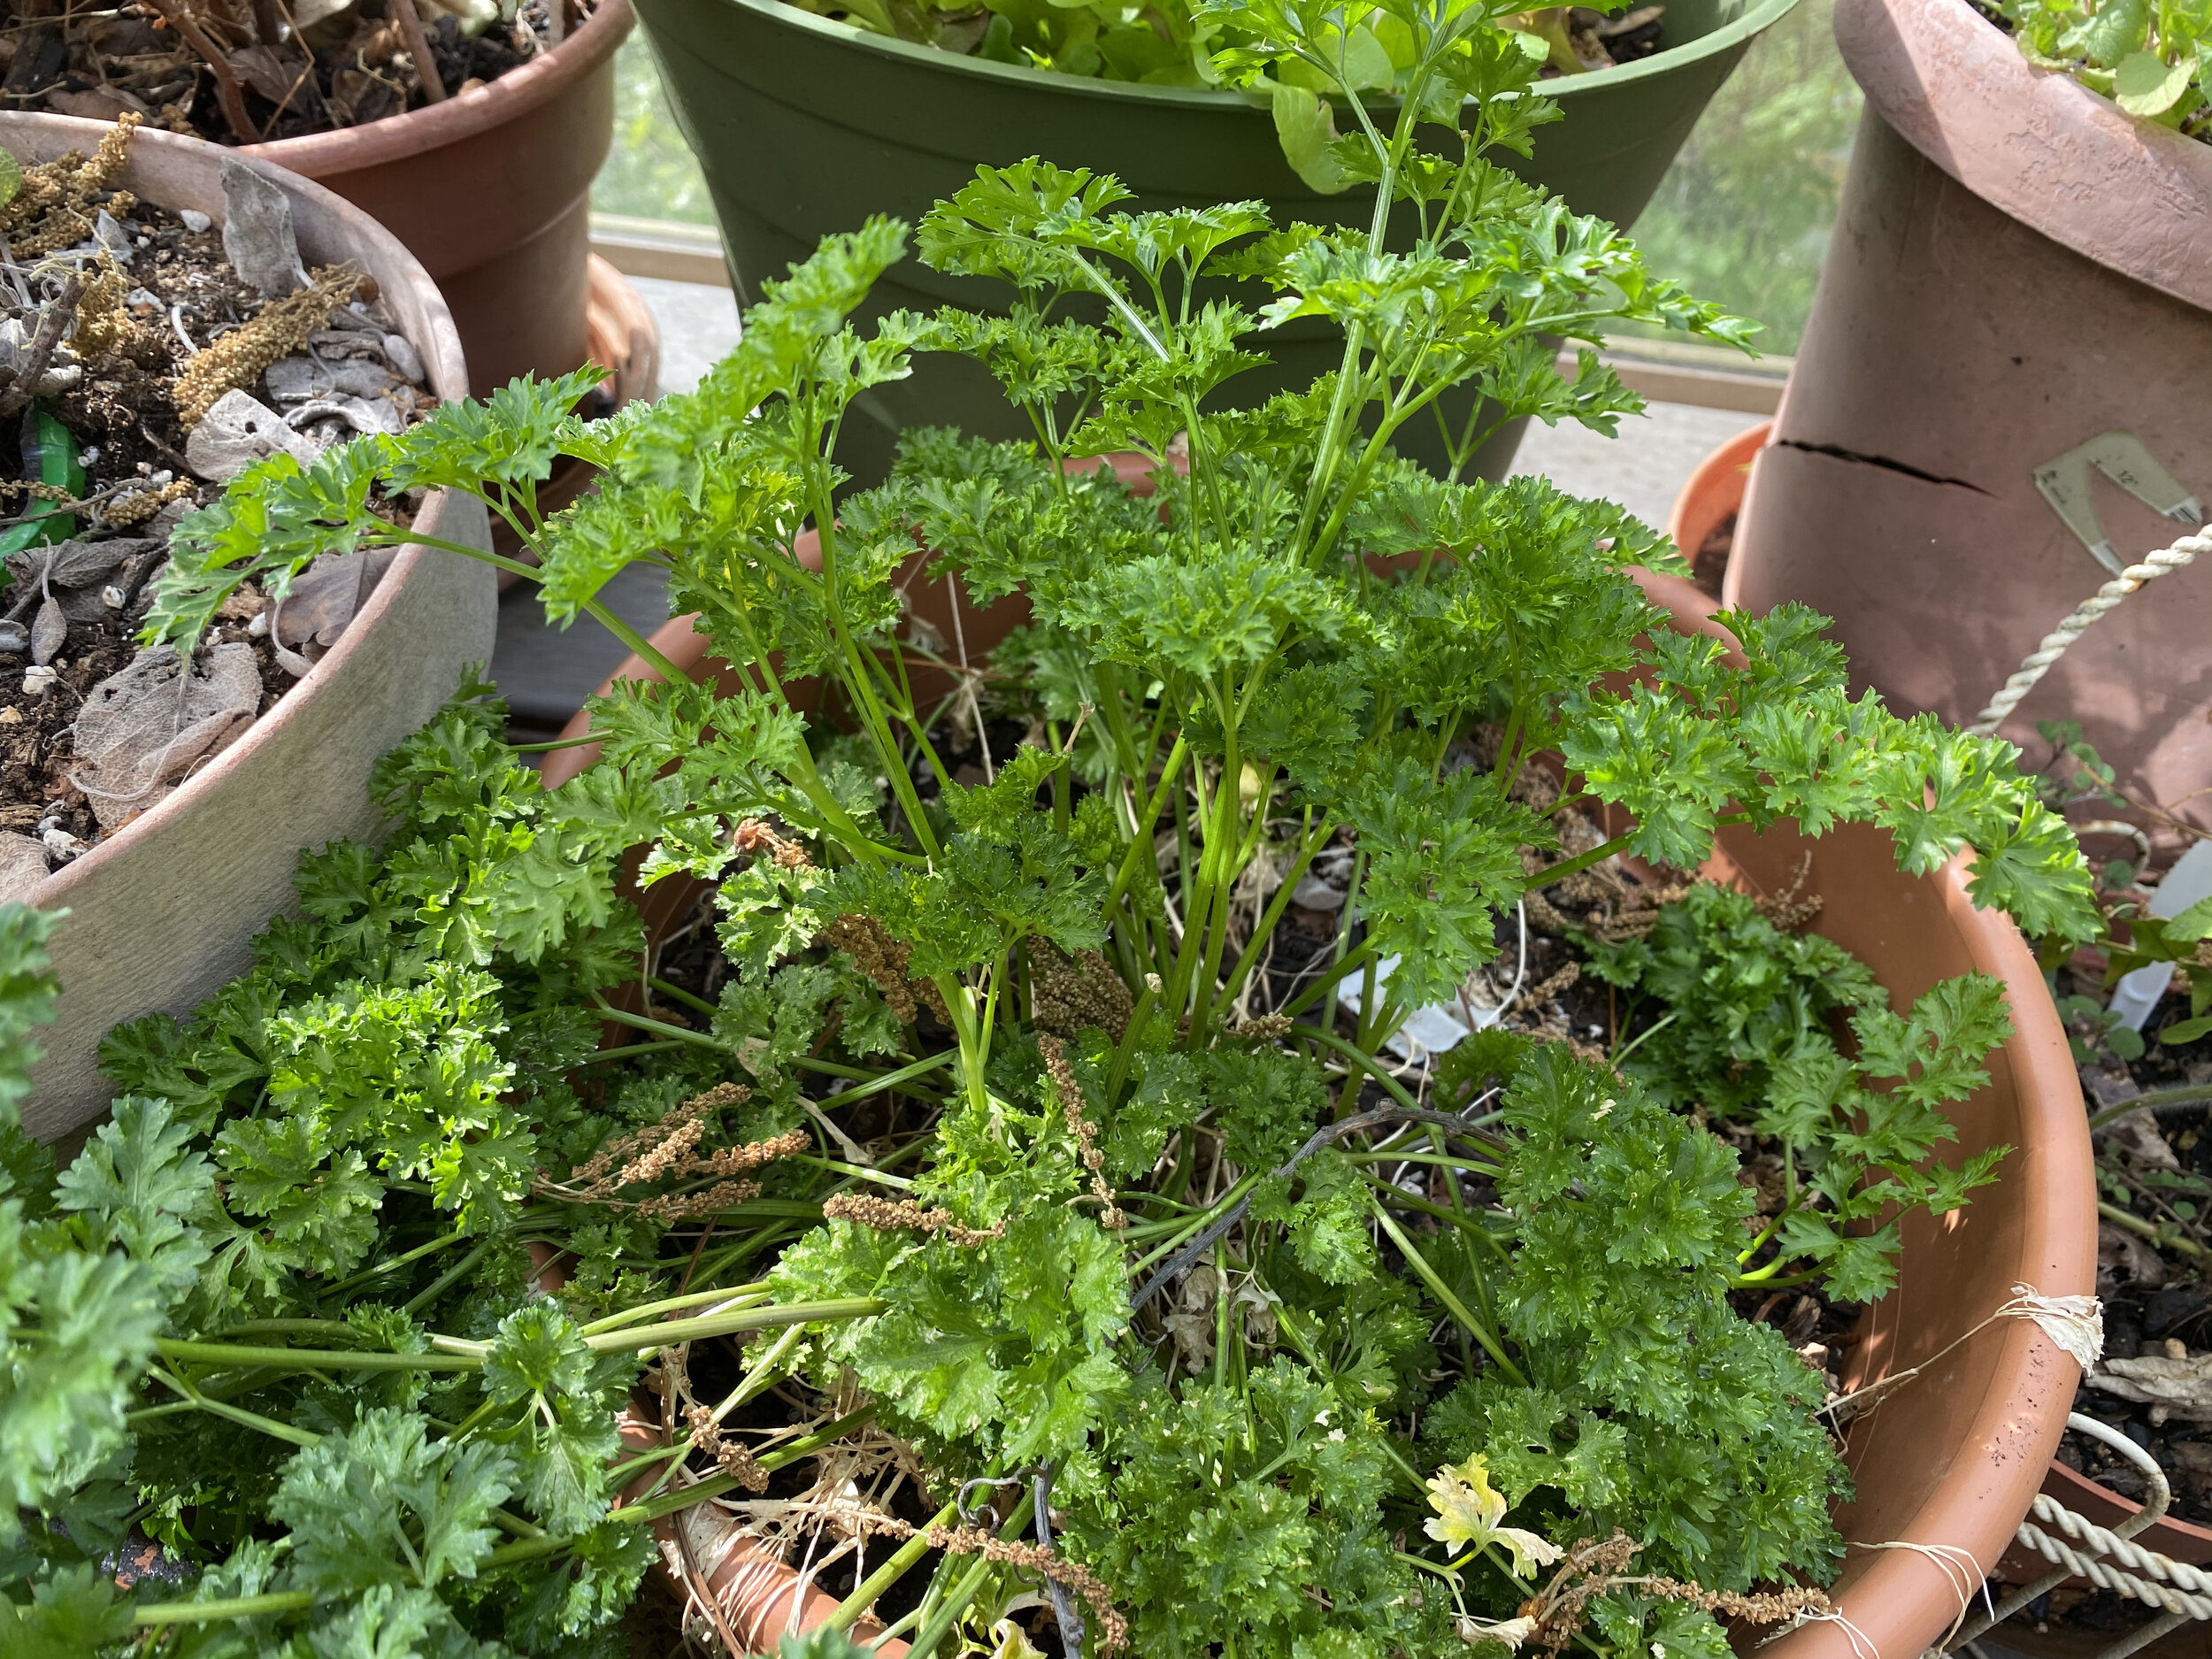
Herbs are excellent plants to grow in pots; here I have parsley that wintered over inside. (Charlotte Ekker Wiggins photo)
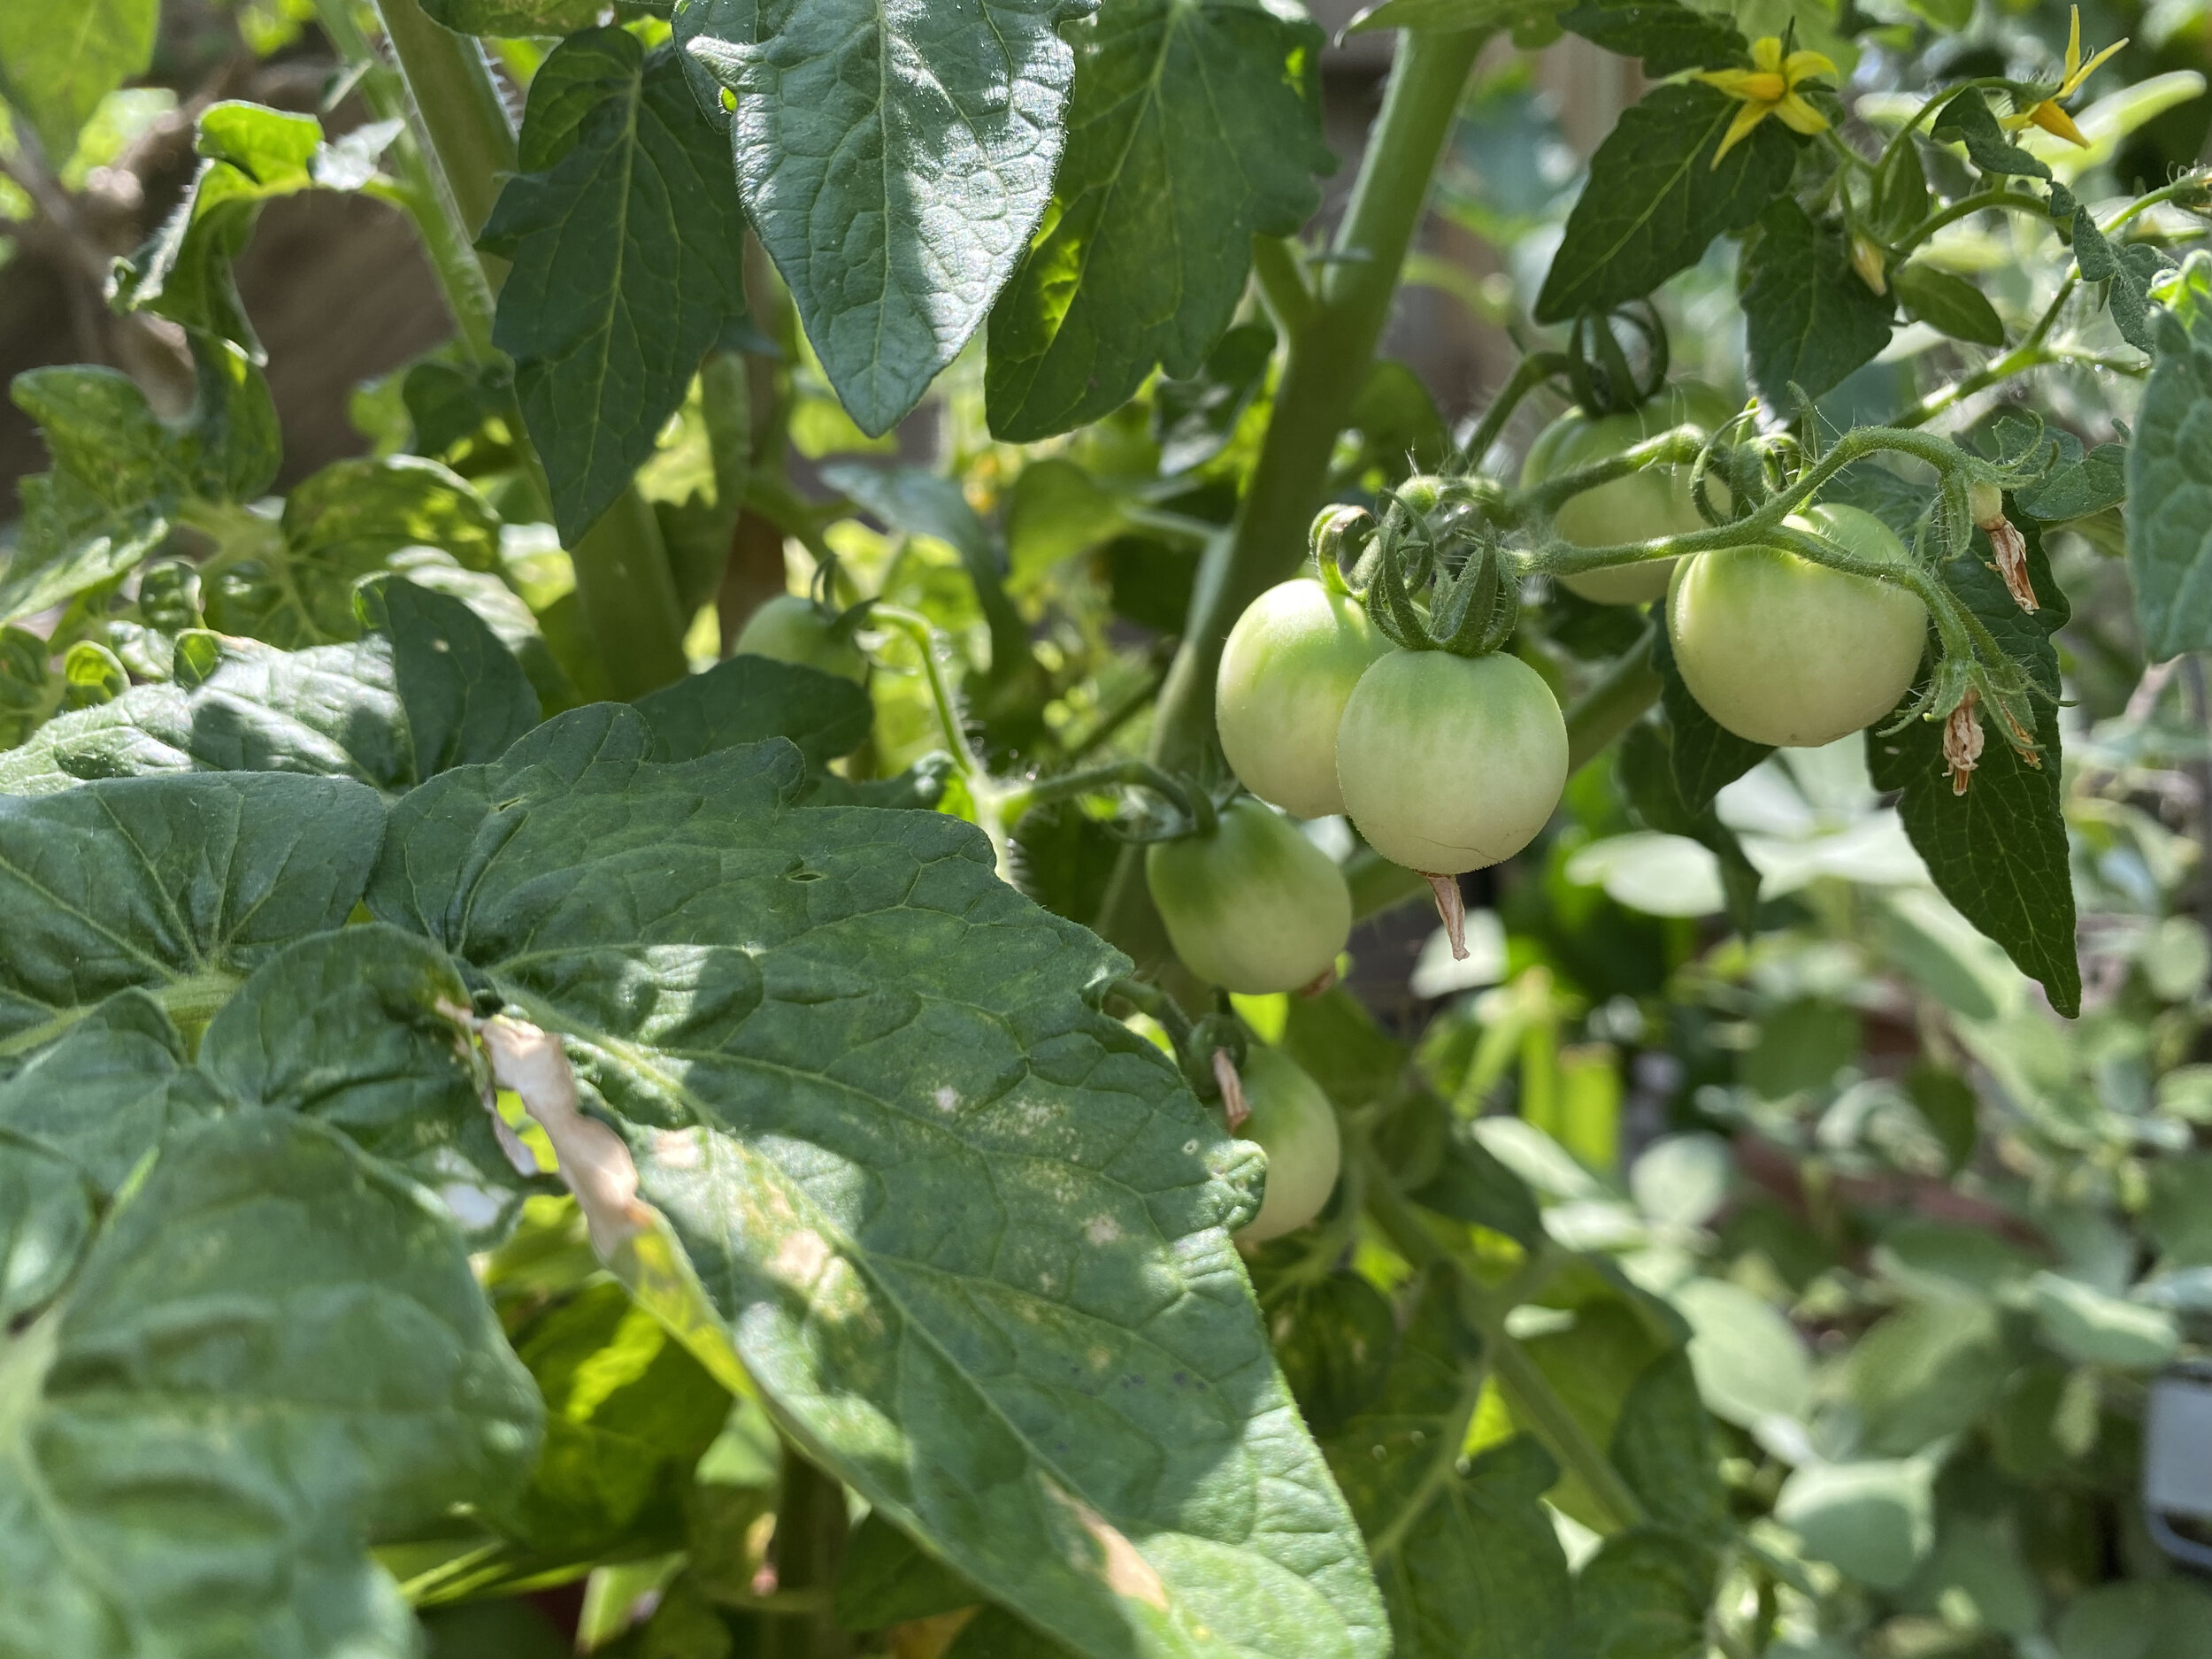
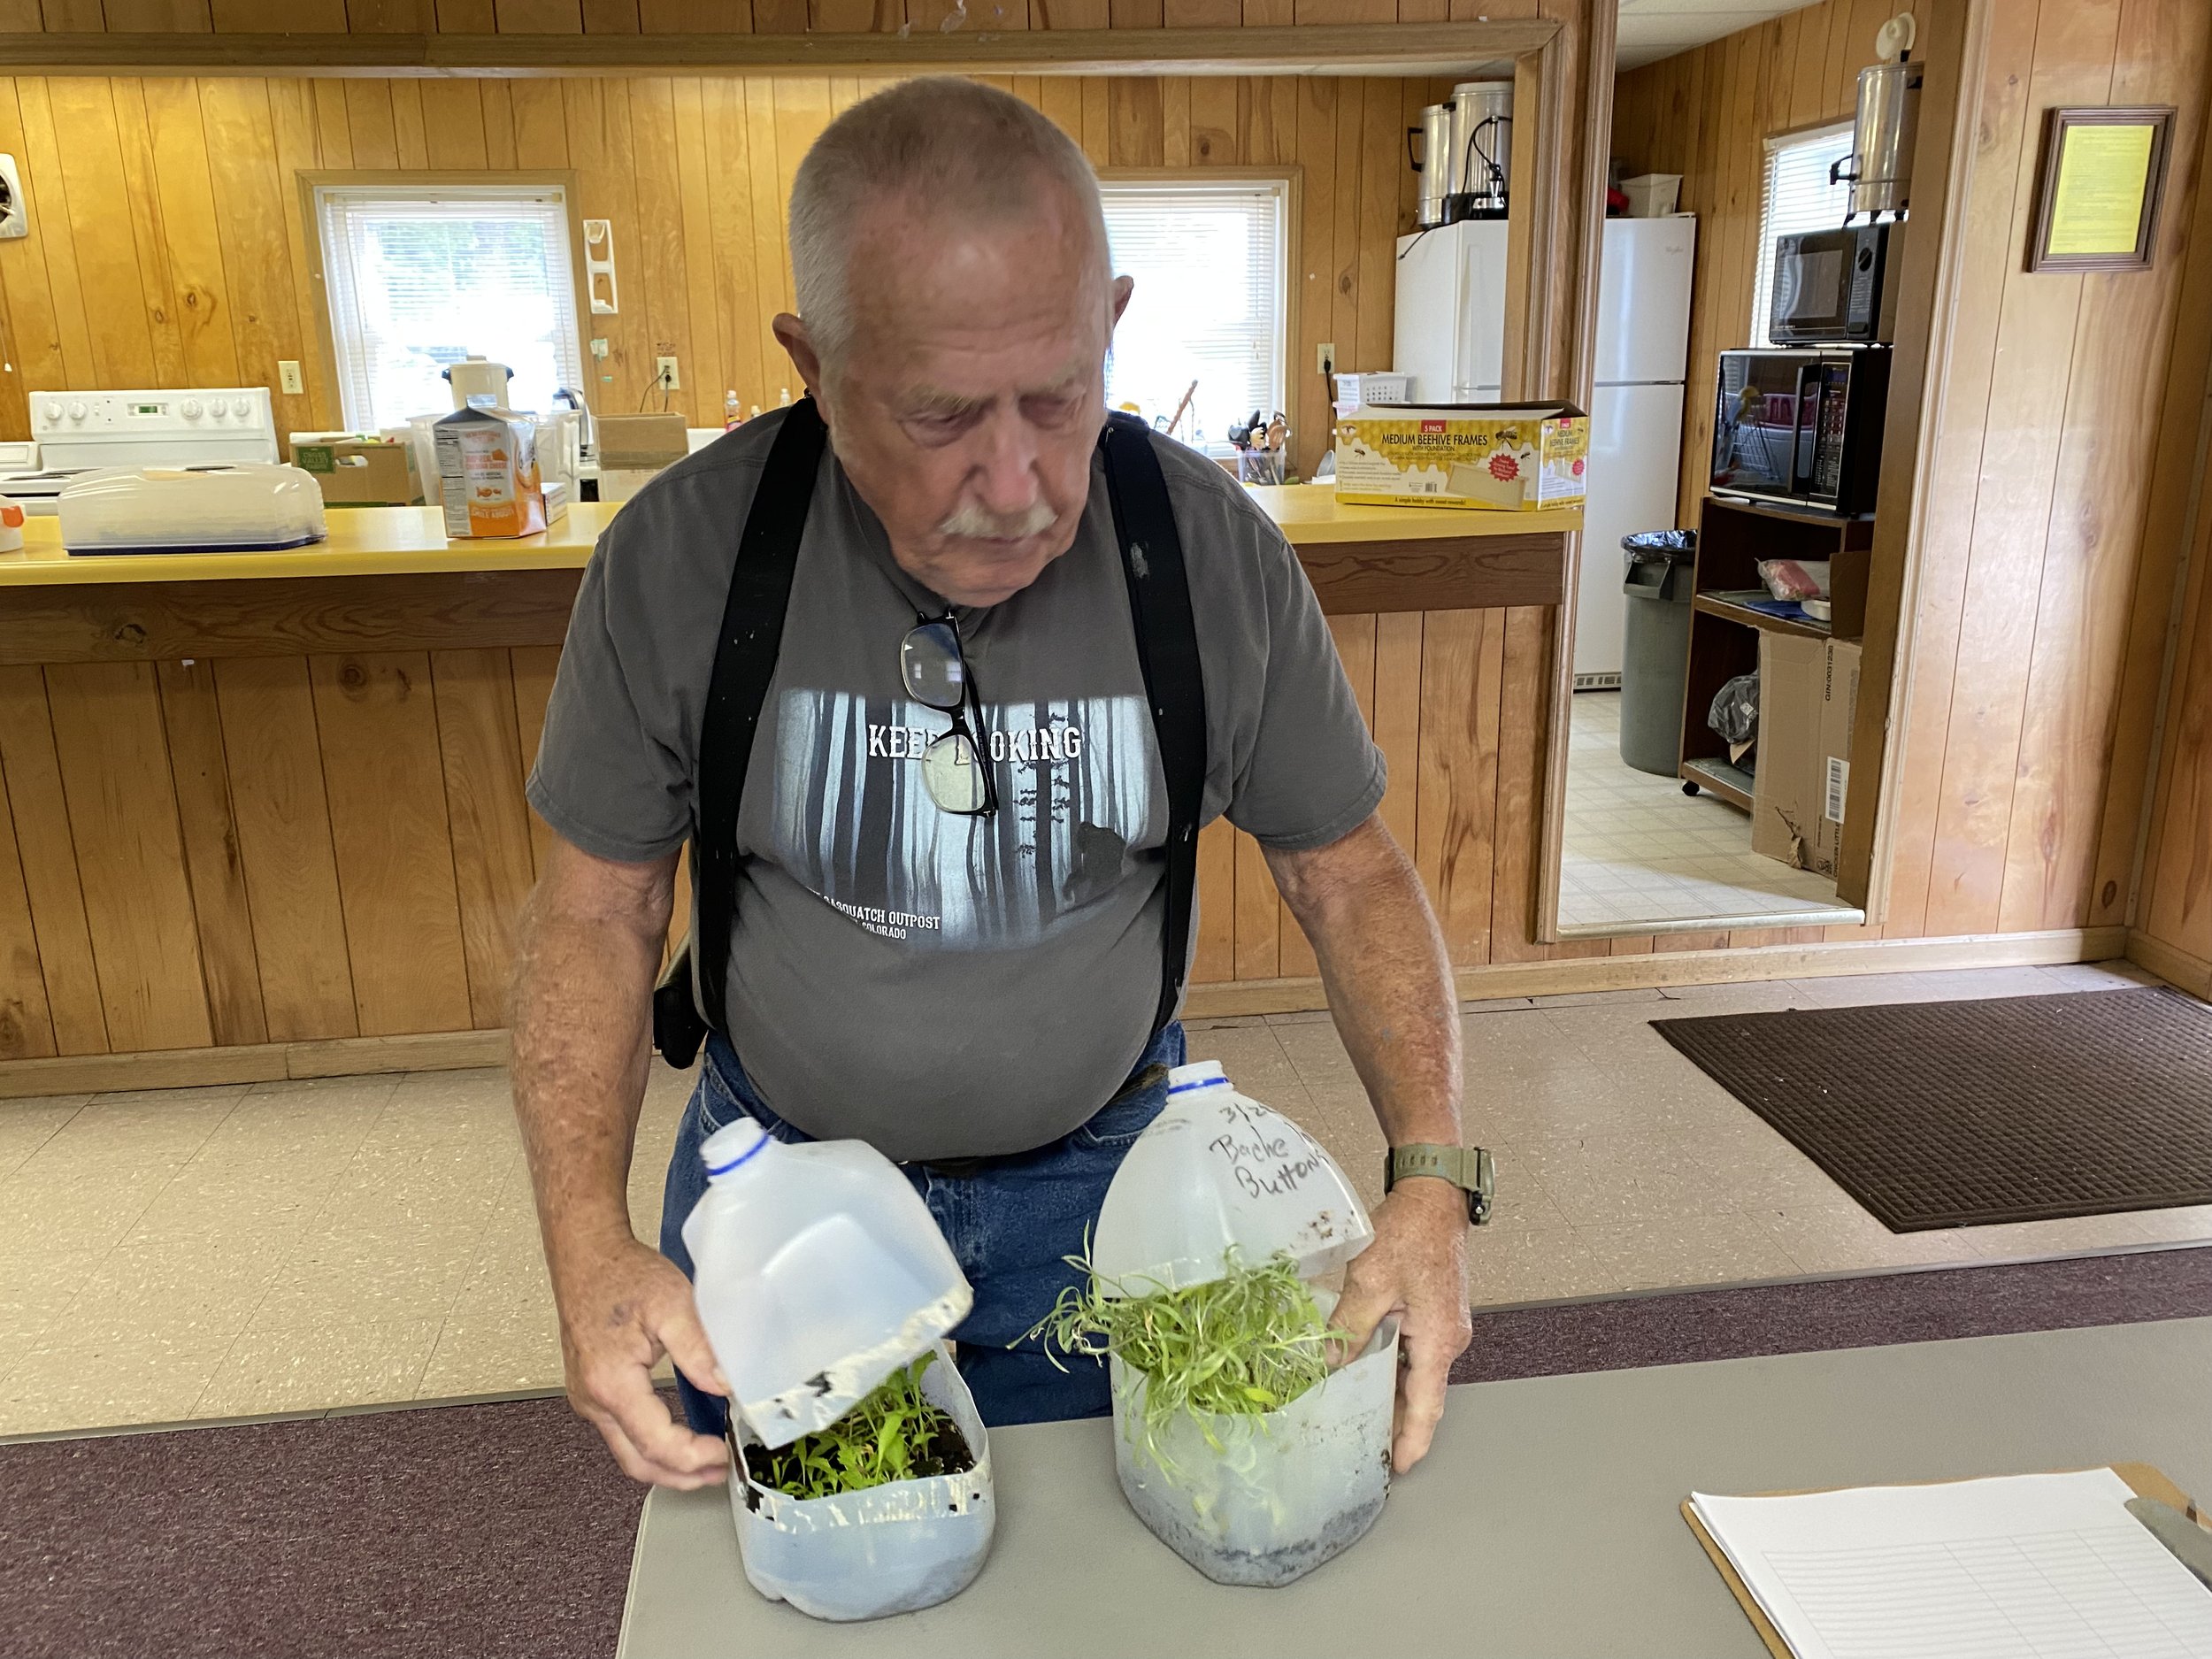
One other crop you can grow in pots gets your ready for summer. I grow tomato starts in a pot, then move them to their individual pots to grow more before locating them in their final growing location. Because I have to start them in February, using a pot for their nursery works well.

Start new plants in pots; here cocktail tomatoes are getting an early start. (Charlotte Ekker Wiggins photo)
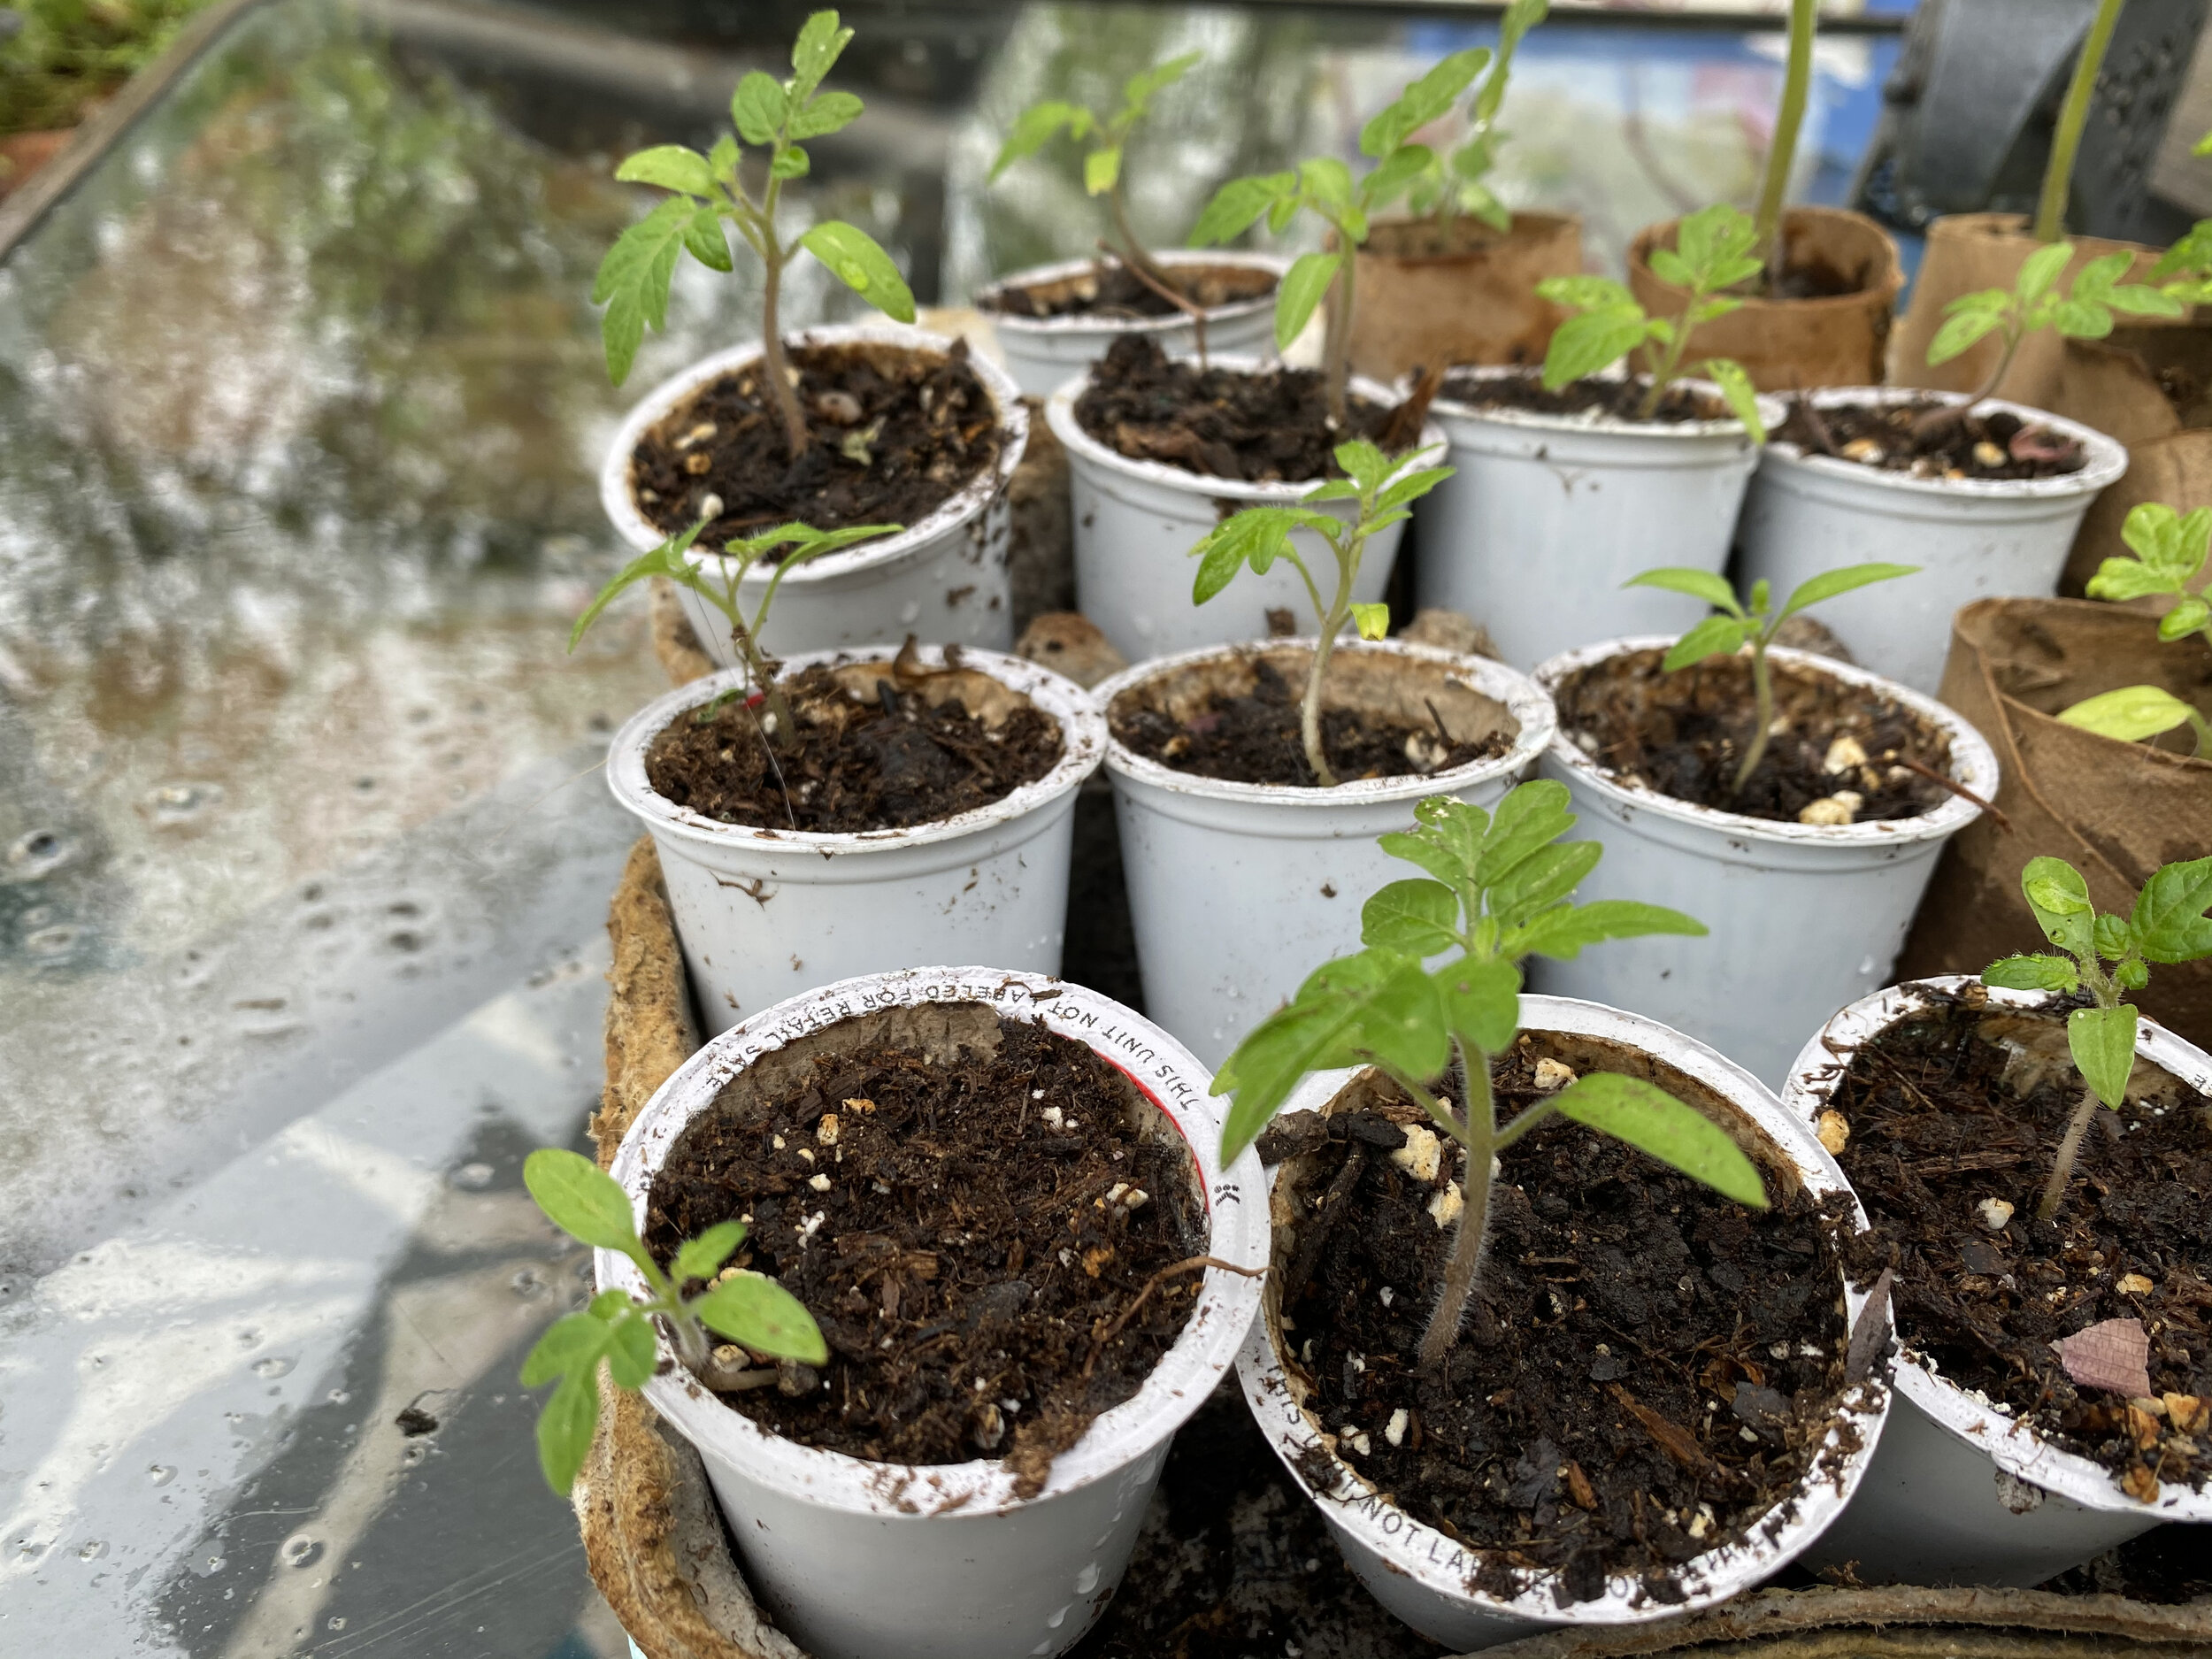
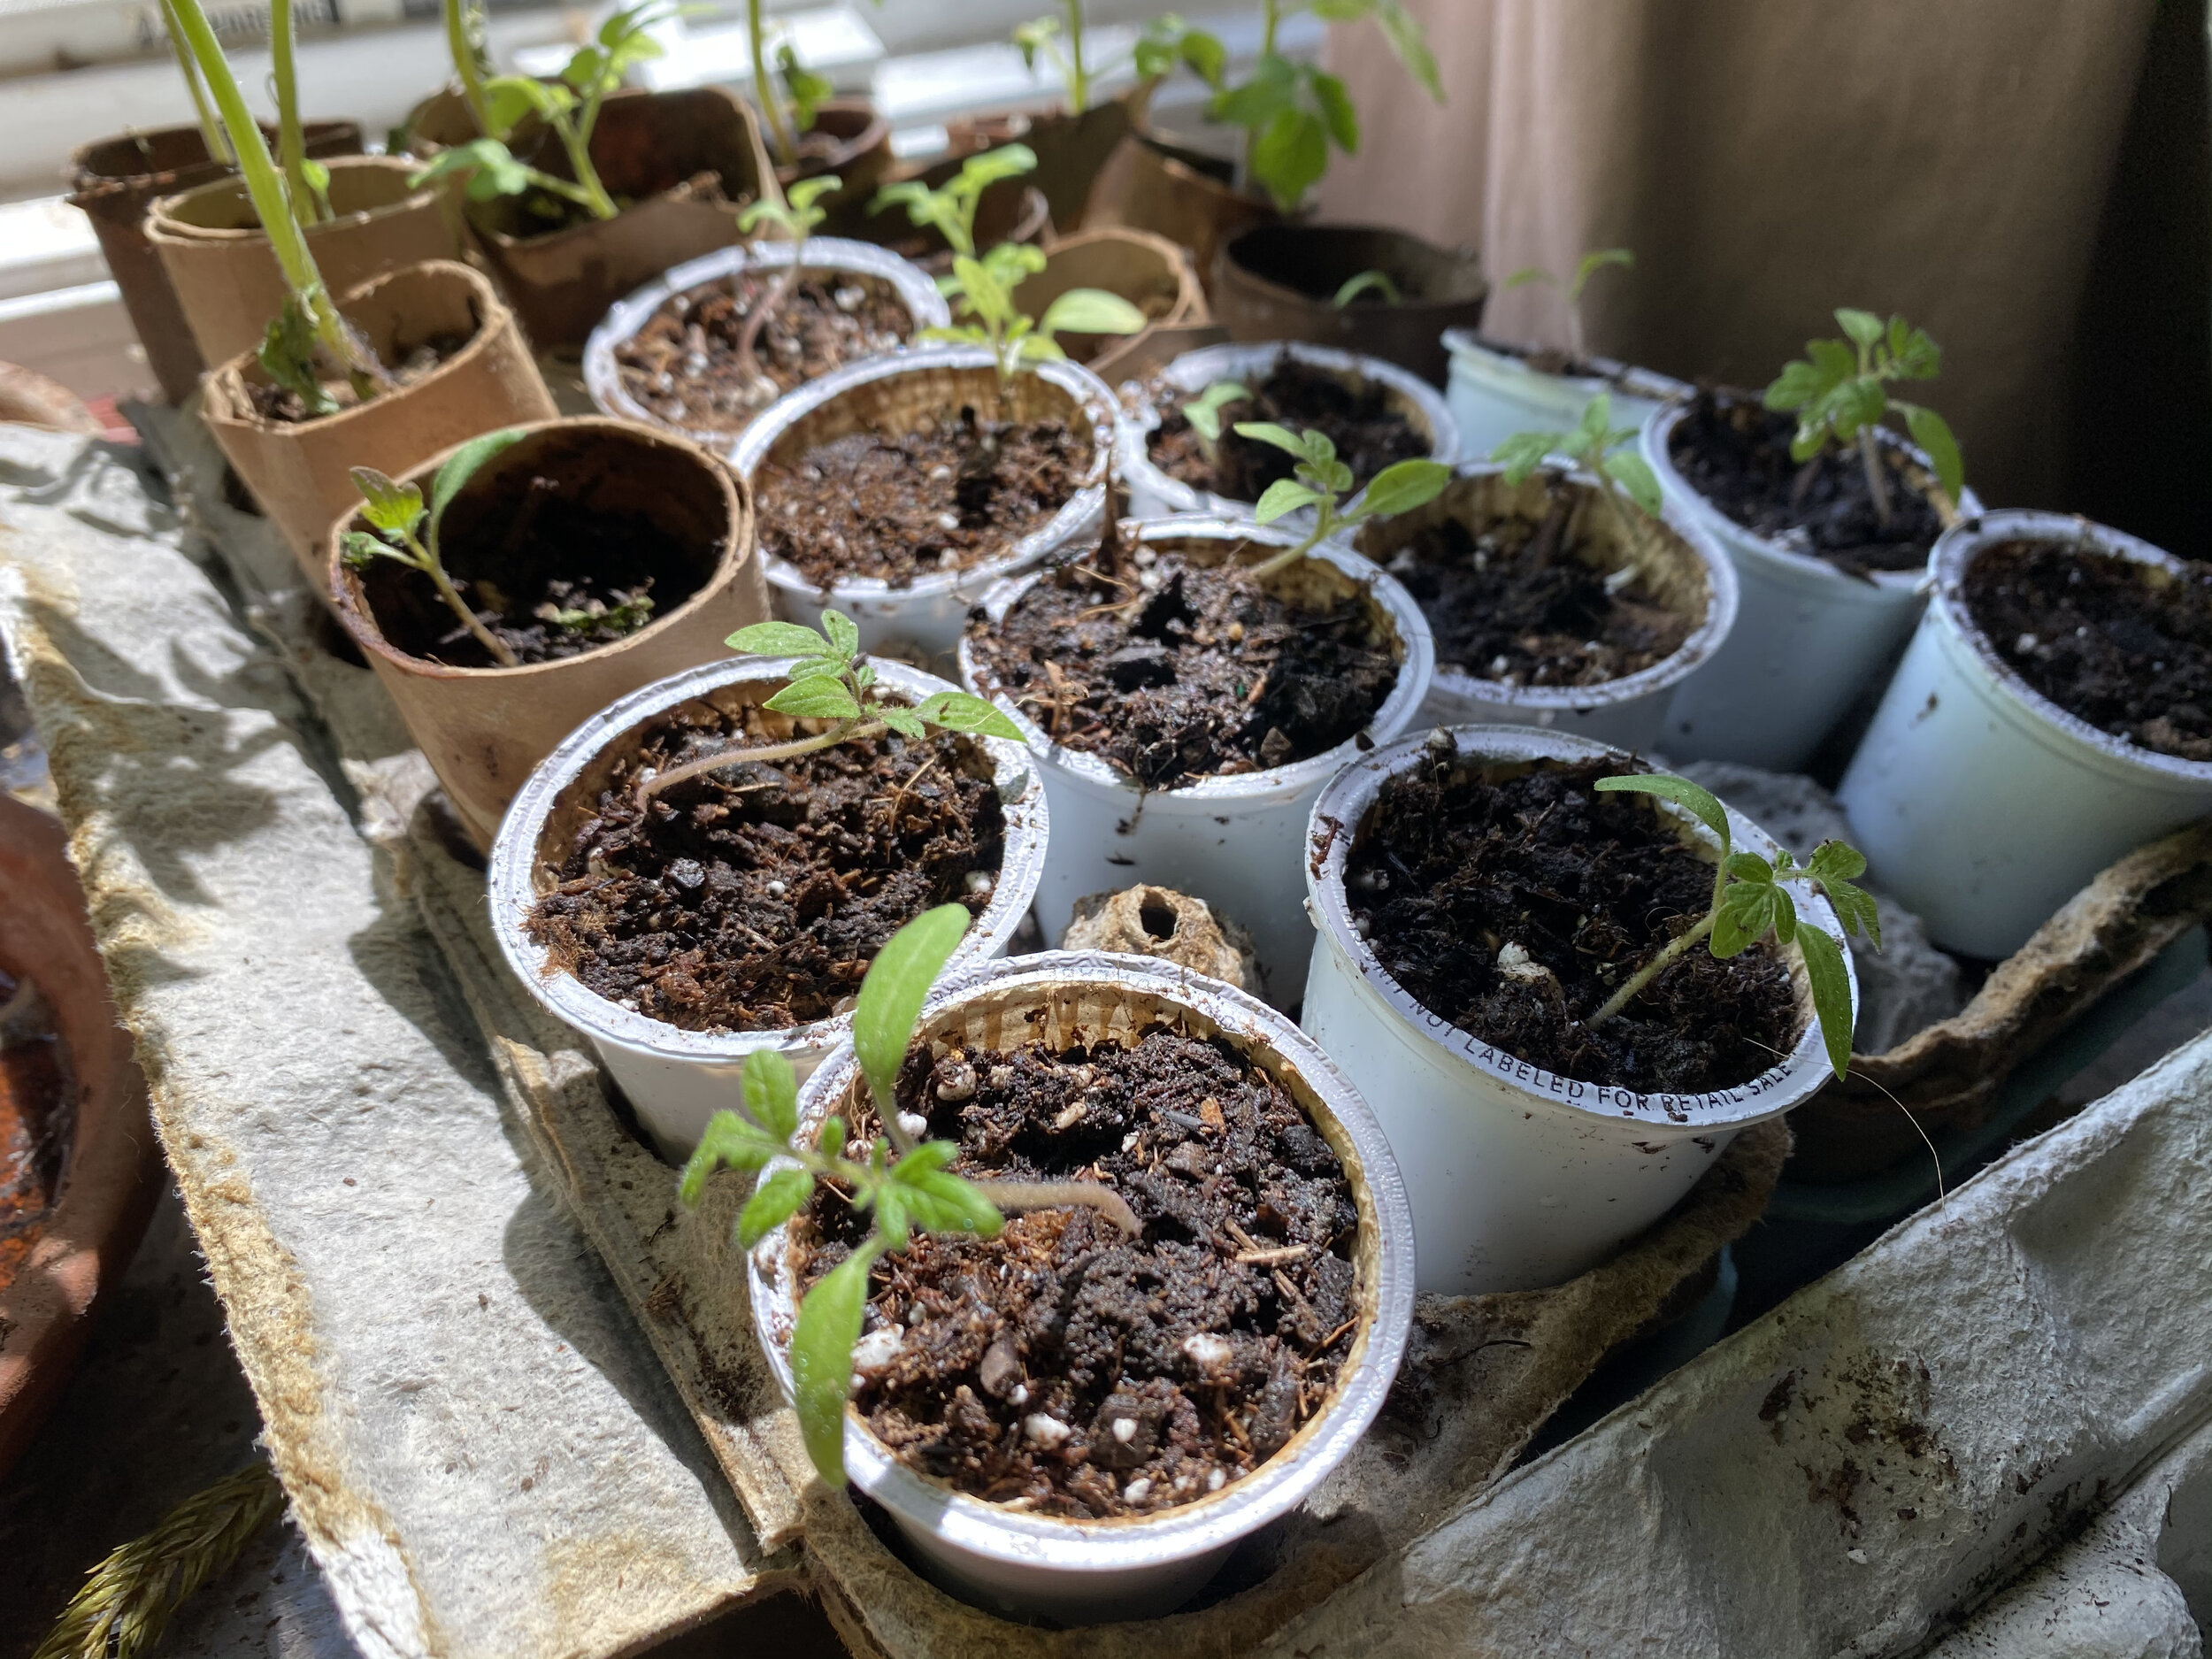
Once starting to crowd in the pot, I carefully move them to either toilet paper pots or their own pots. I give them a few hours a day outside so they get used to the change in conditions before planting them permanently in my garden or leaving them in pots outside on my deck.
There’s a strategy to this. I have squirrels and chipmunks who have developed a taste for tomatoes. If they decide to eat those in the garden I can then bring in the pots to have tomatoes growing inside.

Cats may enjoy an empty pot for naps and dust baths. (Charlotte Ekker Wiggins photo)
If you have inside cats, you may find they enjoy having an empty pot of soil to curl up in and take a dust bath.
A few last tips about gardening in pots:
Include a handful of compost at the bottom to keep your soil healthy.
Don’t dig up soil from your garden; start with new potting soil.
Wet soil down before adding seeds or plants.
You may also need small gardening tools to make the process easier.
Pot gardening allows you to grow your own in small spaces and have a healthy source of fresh produce all year. Here’s a quick peek at the start of this year’s pot garden.
For more gardening, beekeeping, cooking and easy home decor tips, subscribe to Garden Notes.
What are you going to grow in pots?