Not Forget Me Nots
/Not Forget Me Nots
I was walking through my garden when I spotted a little dash of blue.
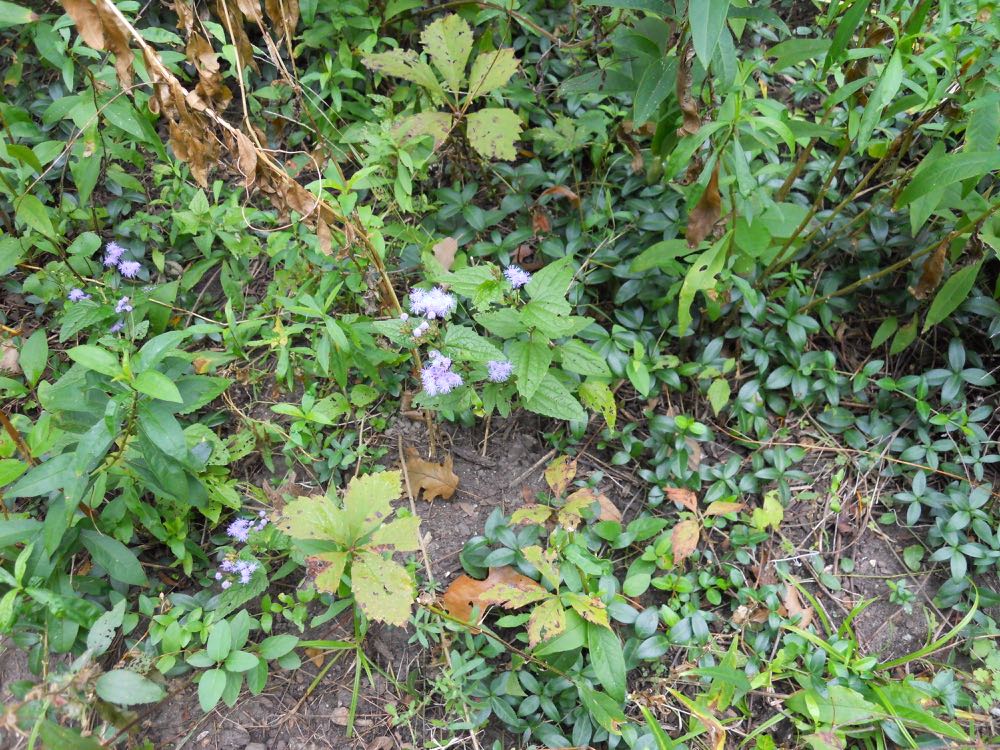
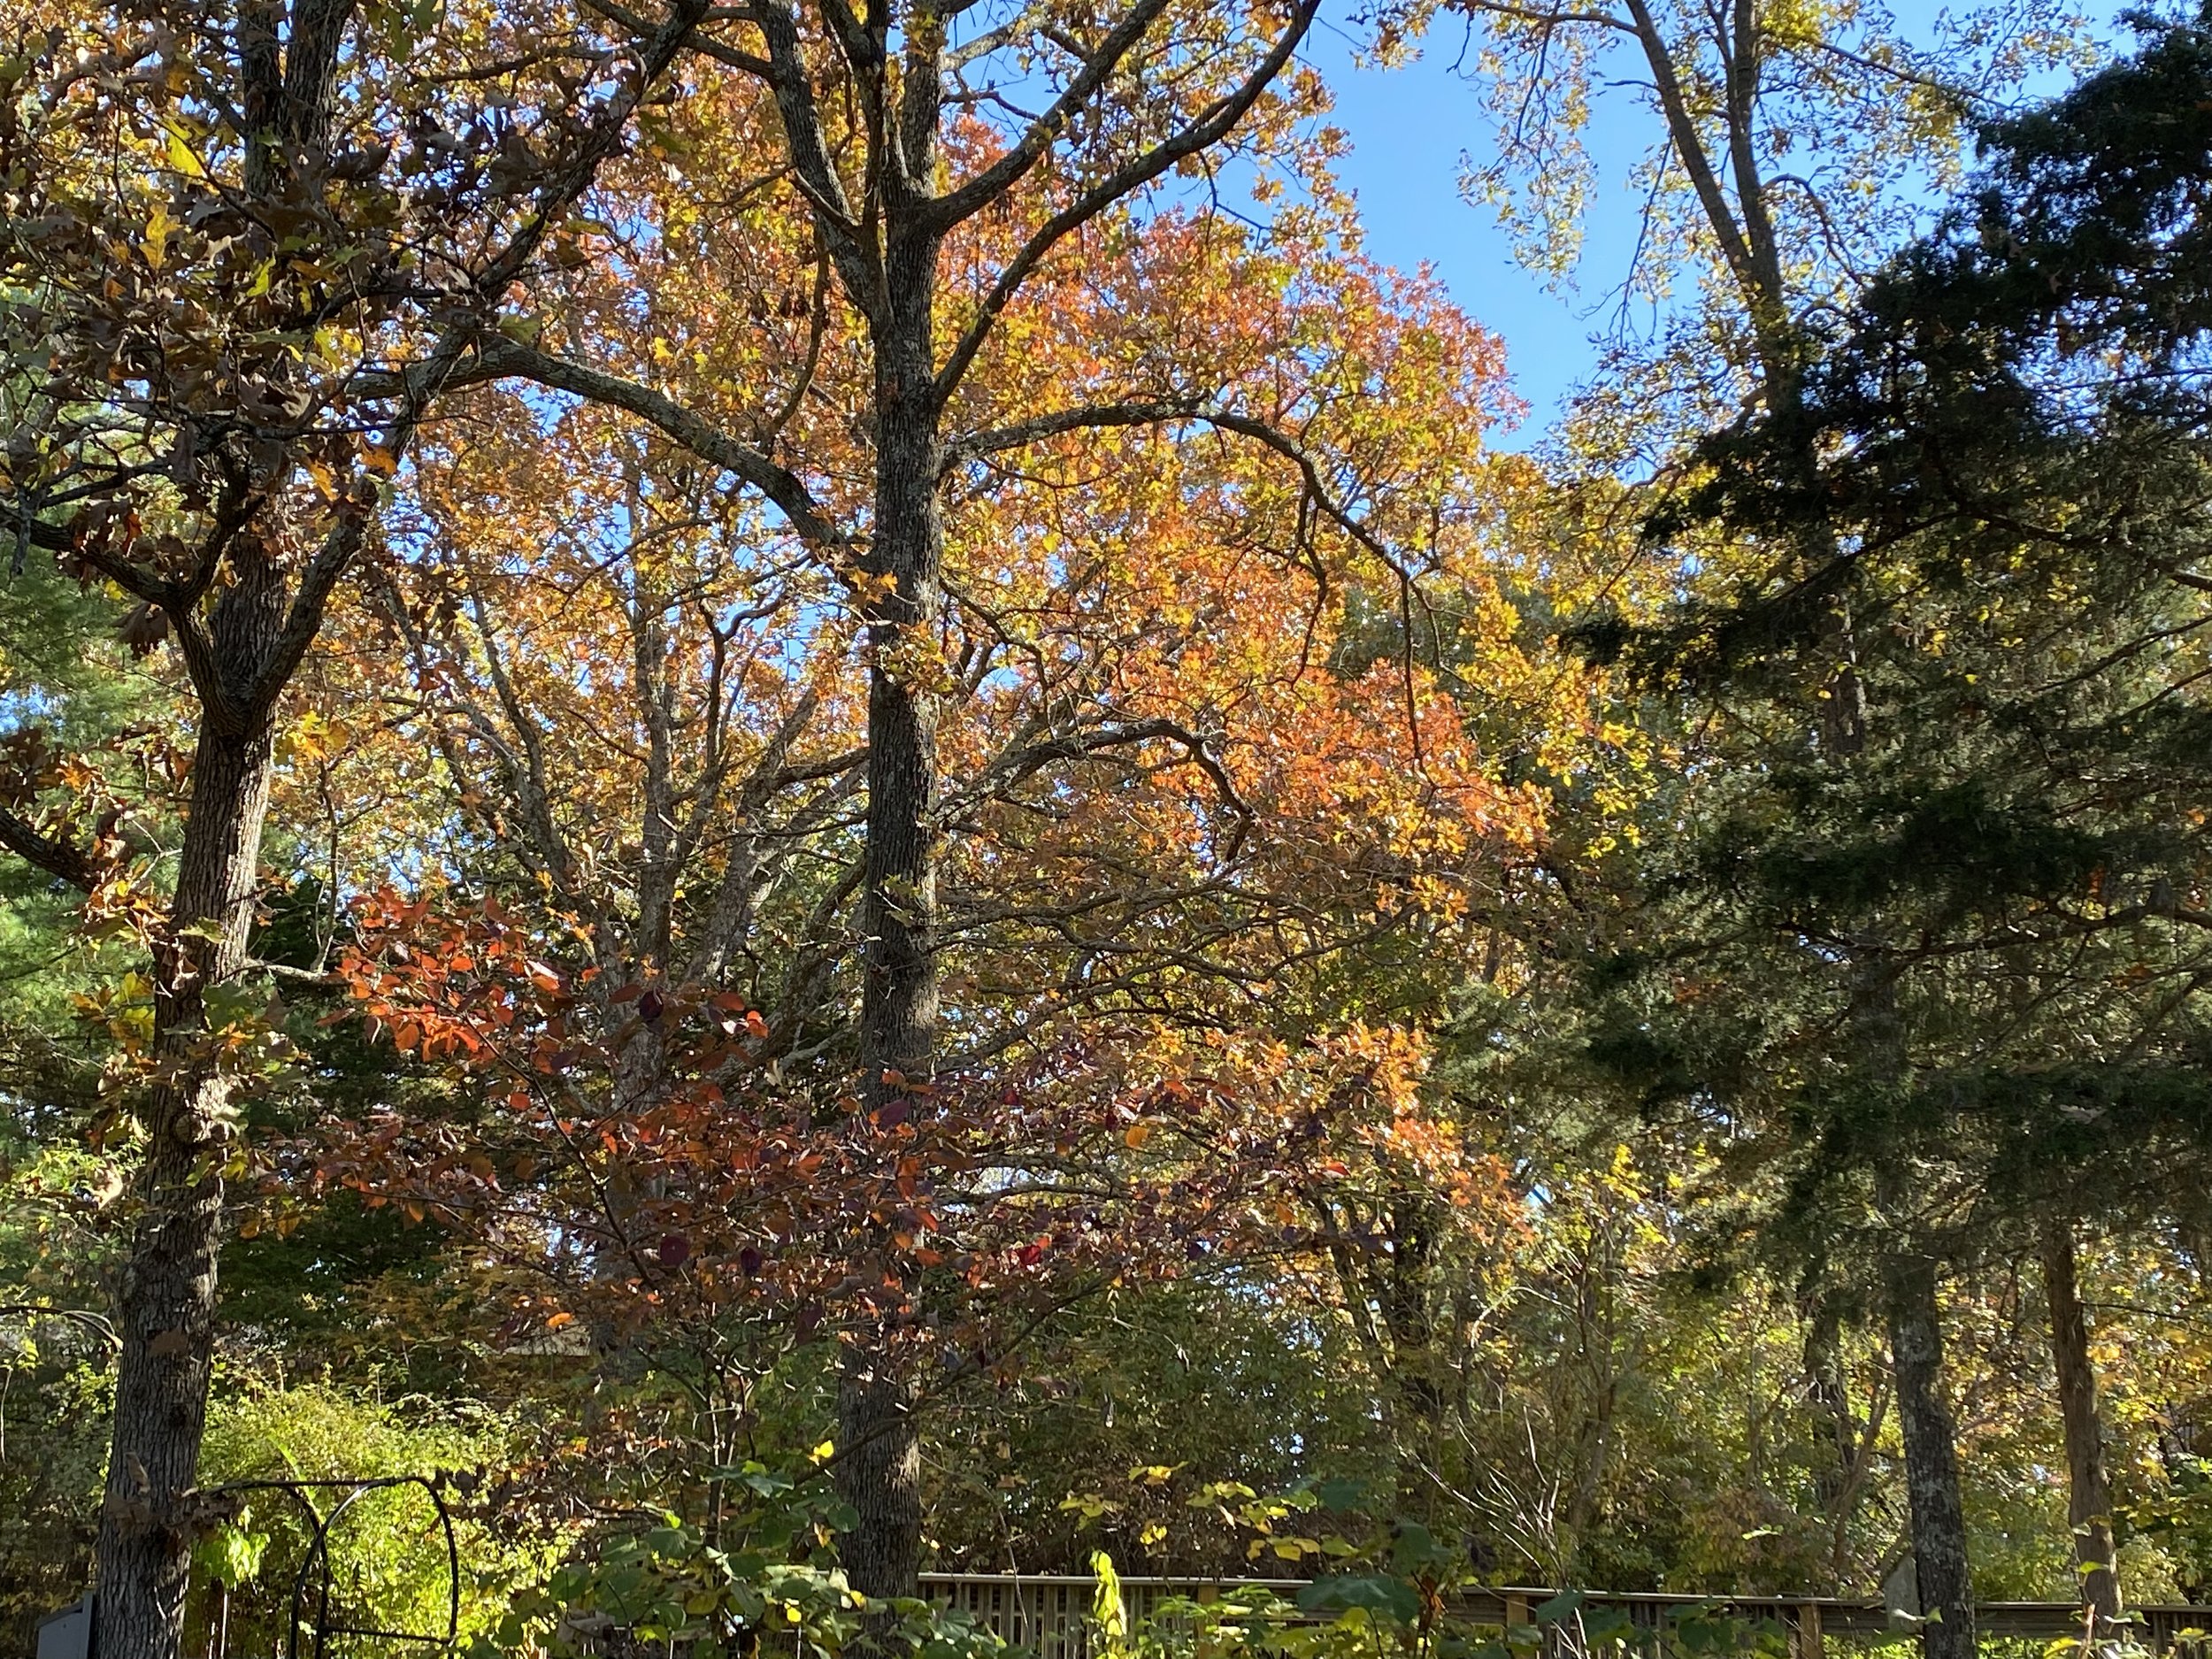
Spotting the first of several patches of Blue boneset in bloom at Bluebird Gardens.
The tell-tale sign of what I found was there, the tiny blue flowers that look like tiny puff balls with spiky hair. These are not forget-me-nots, which is how I first identified them many, many years ago, but a blue boneset, also called wild ageratum and more commonly referred to as a mist flower.
Fall-Blooming Missouri Wildflower
This native Missouri wildflower is part of the daisy family and blooms July through October. The usually grow along ditches, lakes, streams and any moist low areas according to Edgar Denison, Missouri Wildflowers.
Under cultivation, it spreads rapidly with an interwoven mass of roots and can be highly aggressive. One of the advantages of gardening on a limestone hillside is that some aggressive plants have a hard time of it. This little patch of Wild ageratum has been in the same spot for years with little expansion.
If I would make a note of it, I could trim them in summer next year and they would grow into more of a bush shape but I like being surprised finding them growing as they will.

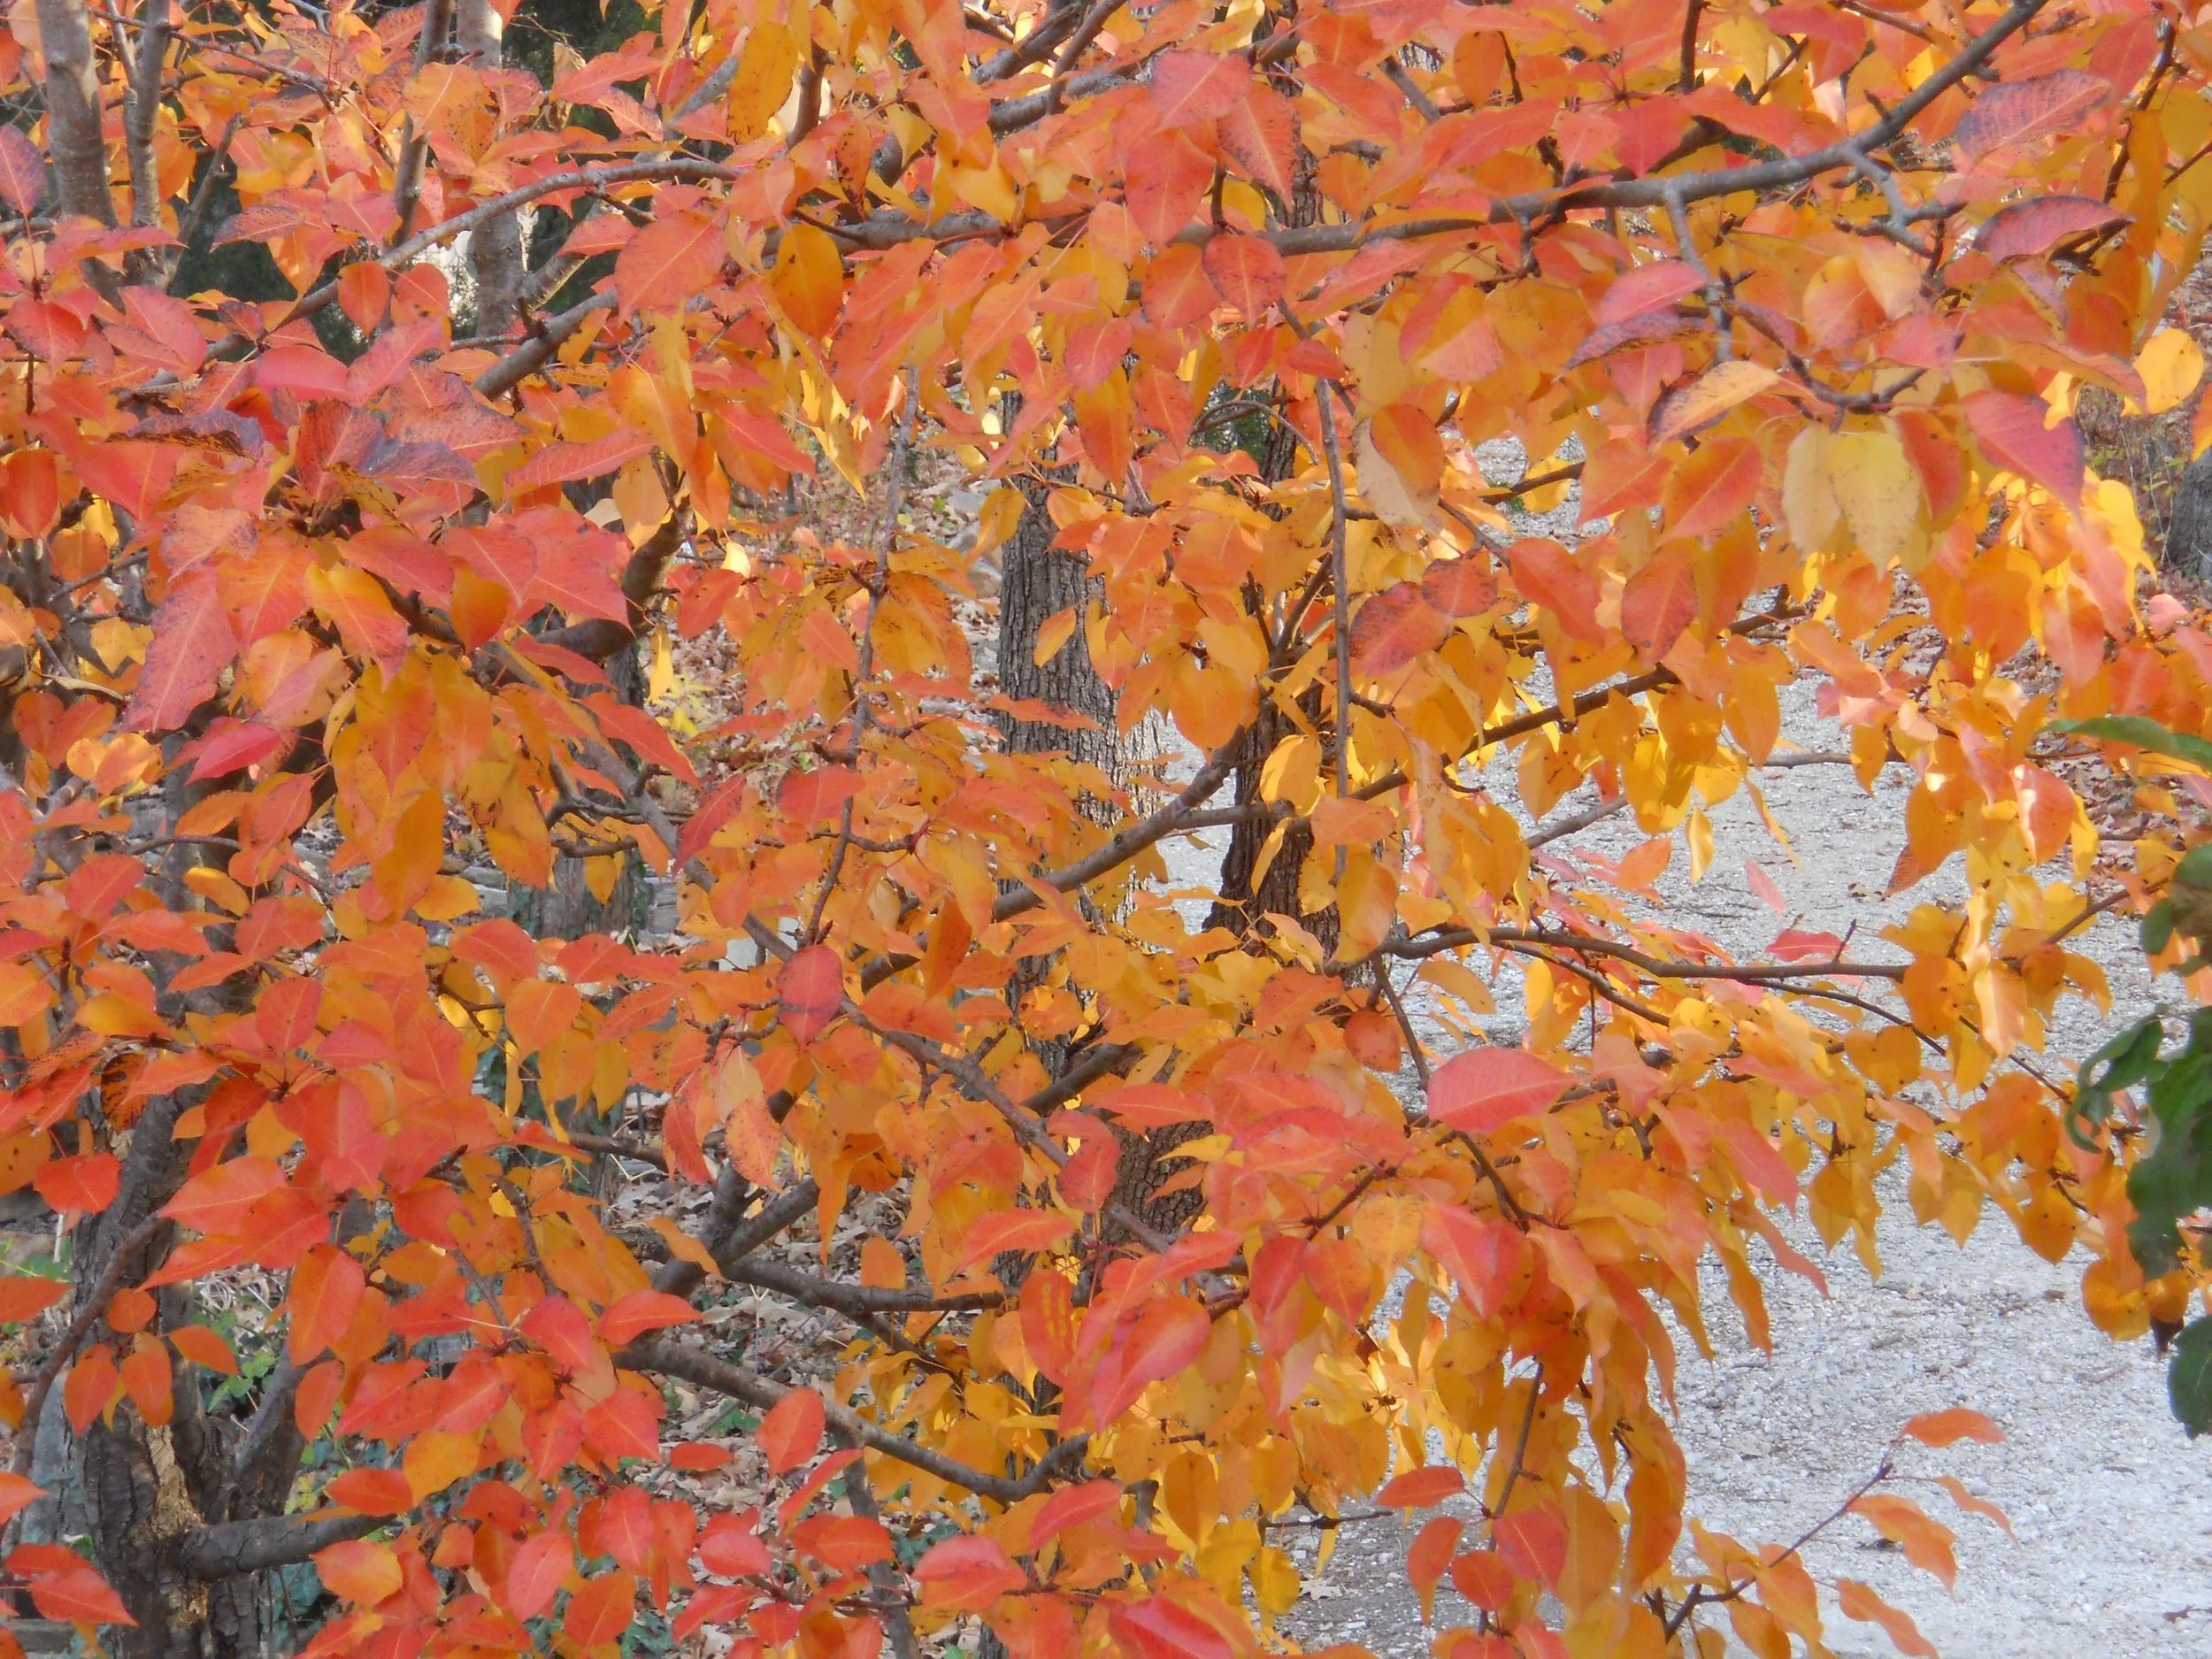
Wild ageratum at Bluebird Gardens, one of the last flowers to bloom before season's end.
Favorite Pollinator Plant
According to the Missouri Department of Conservation, butterflies, skippers, and bees are strongly attracted to the flowers. Other insects eat the foliage. Not many mammals eat this plant because of its bitter taste.
End of the Season
Wild ageratums are the last flowers to bloom in my garden. Since I mis-identified them to begin with, I still think of them as forget me nots and my reminder to take notes about what went well in this year's garden so I can get better prepared for next year.
Charlotte