Amaryllis Nursery
/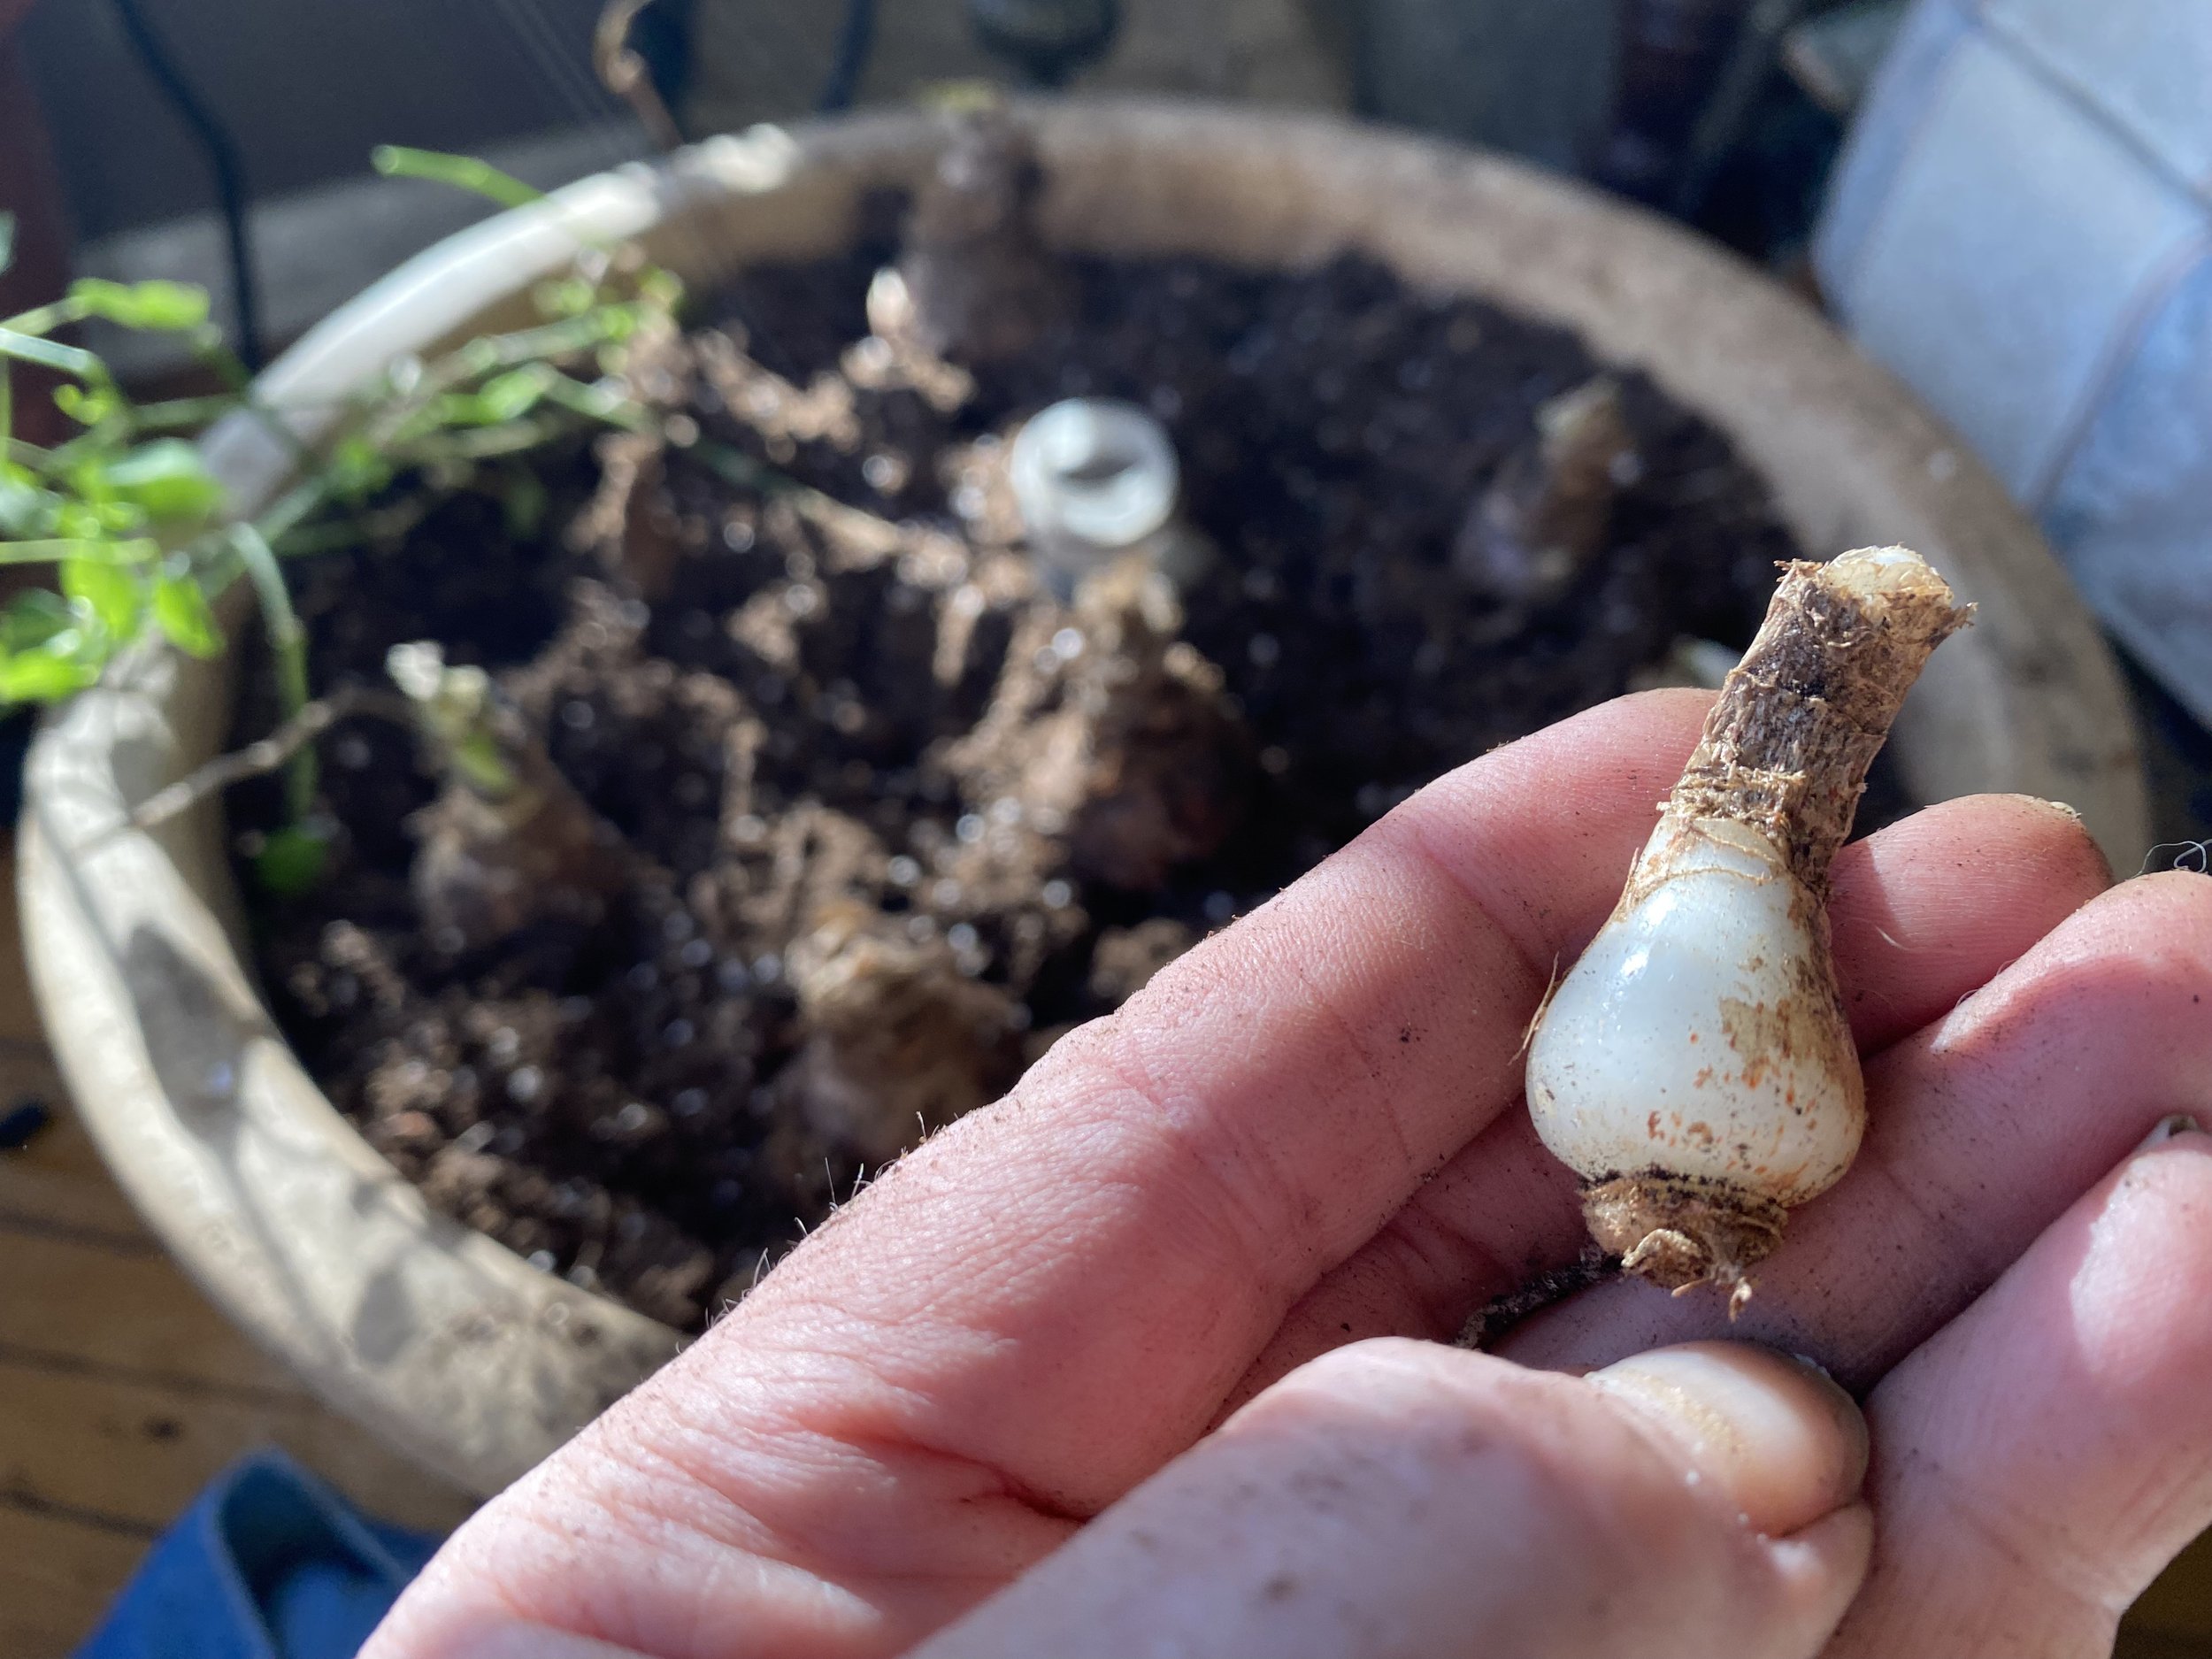
baby amaryllis bulb getting ready to be planted so it grows more. (charlotte ekker wiggins photo)
Amaryllis Nursery
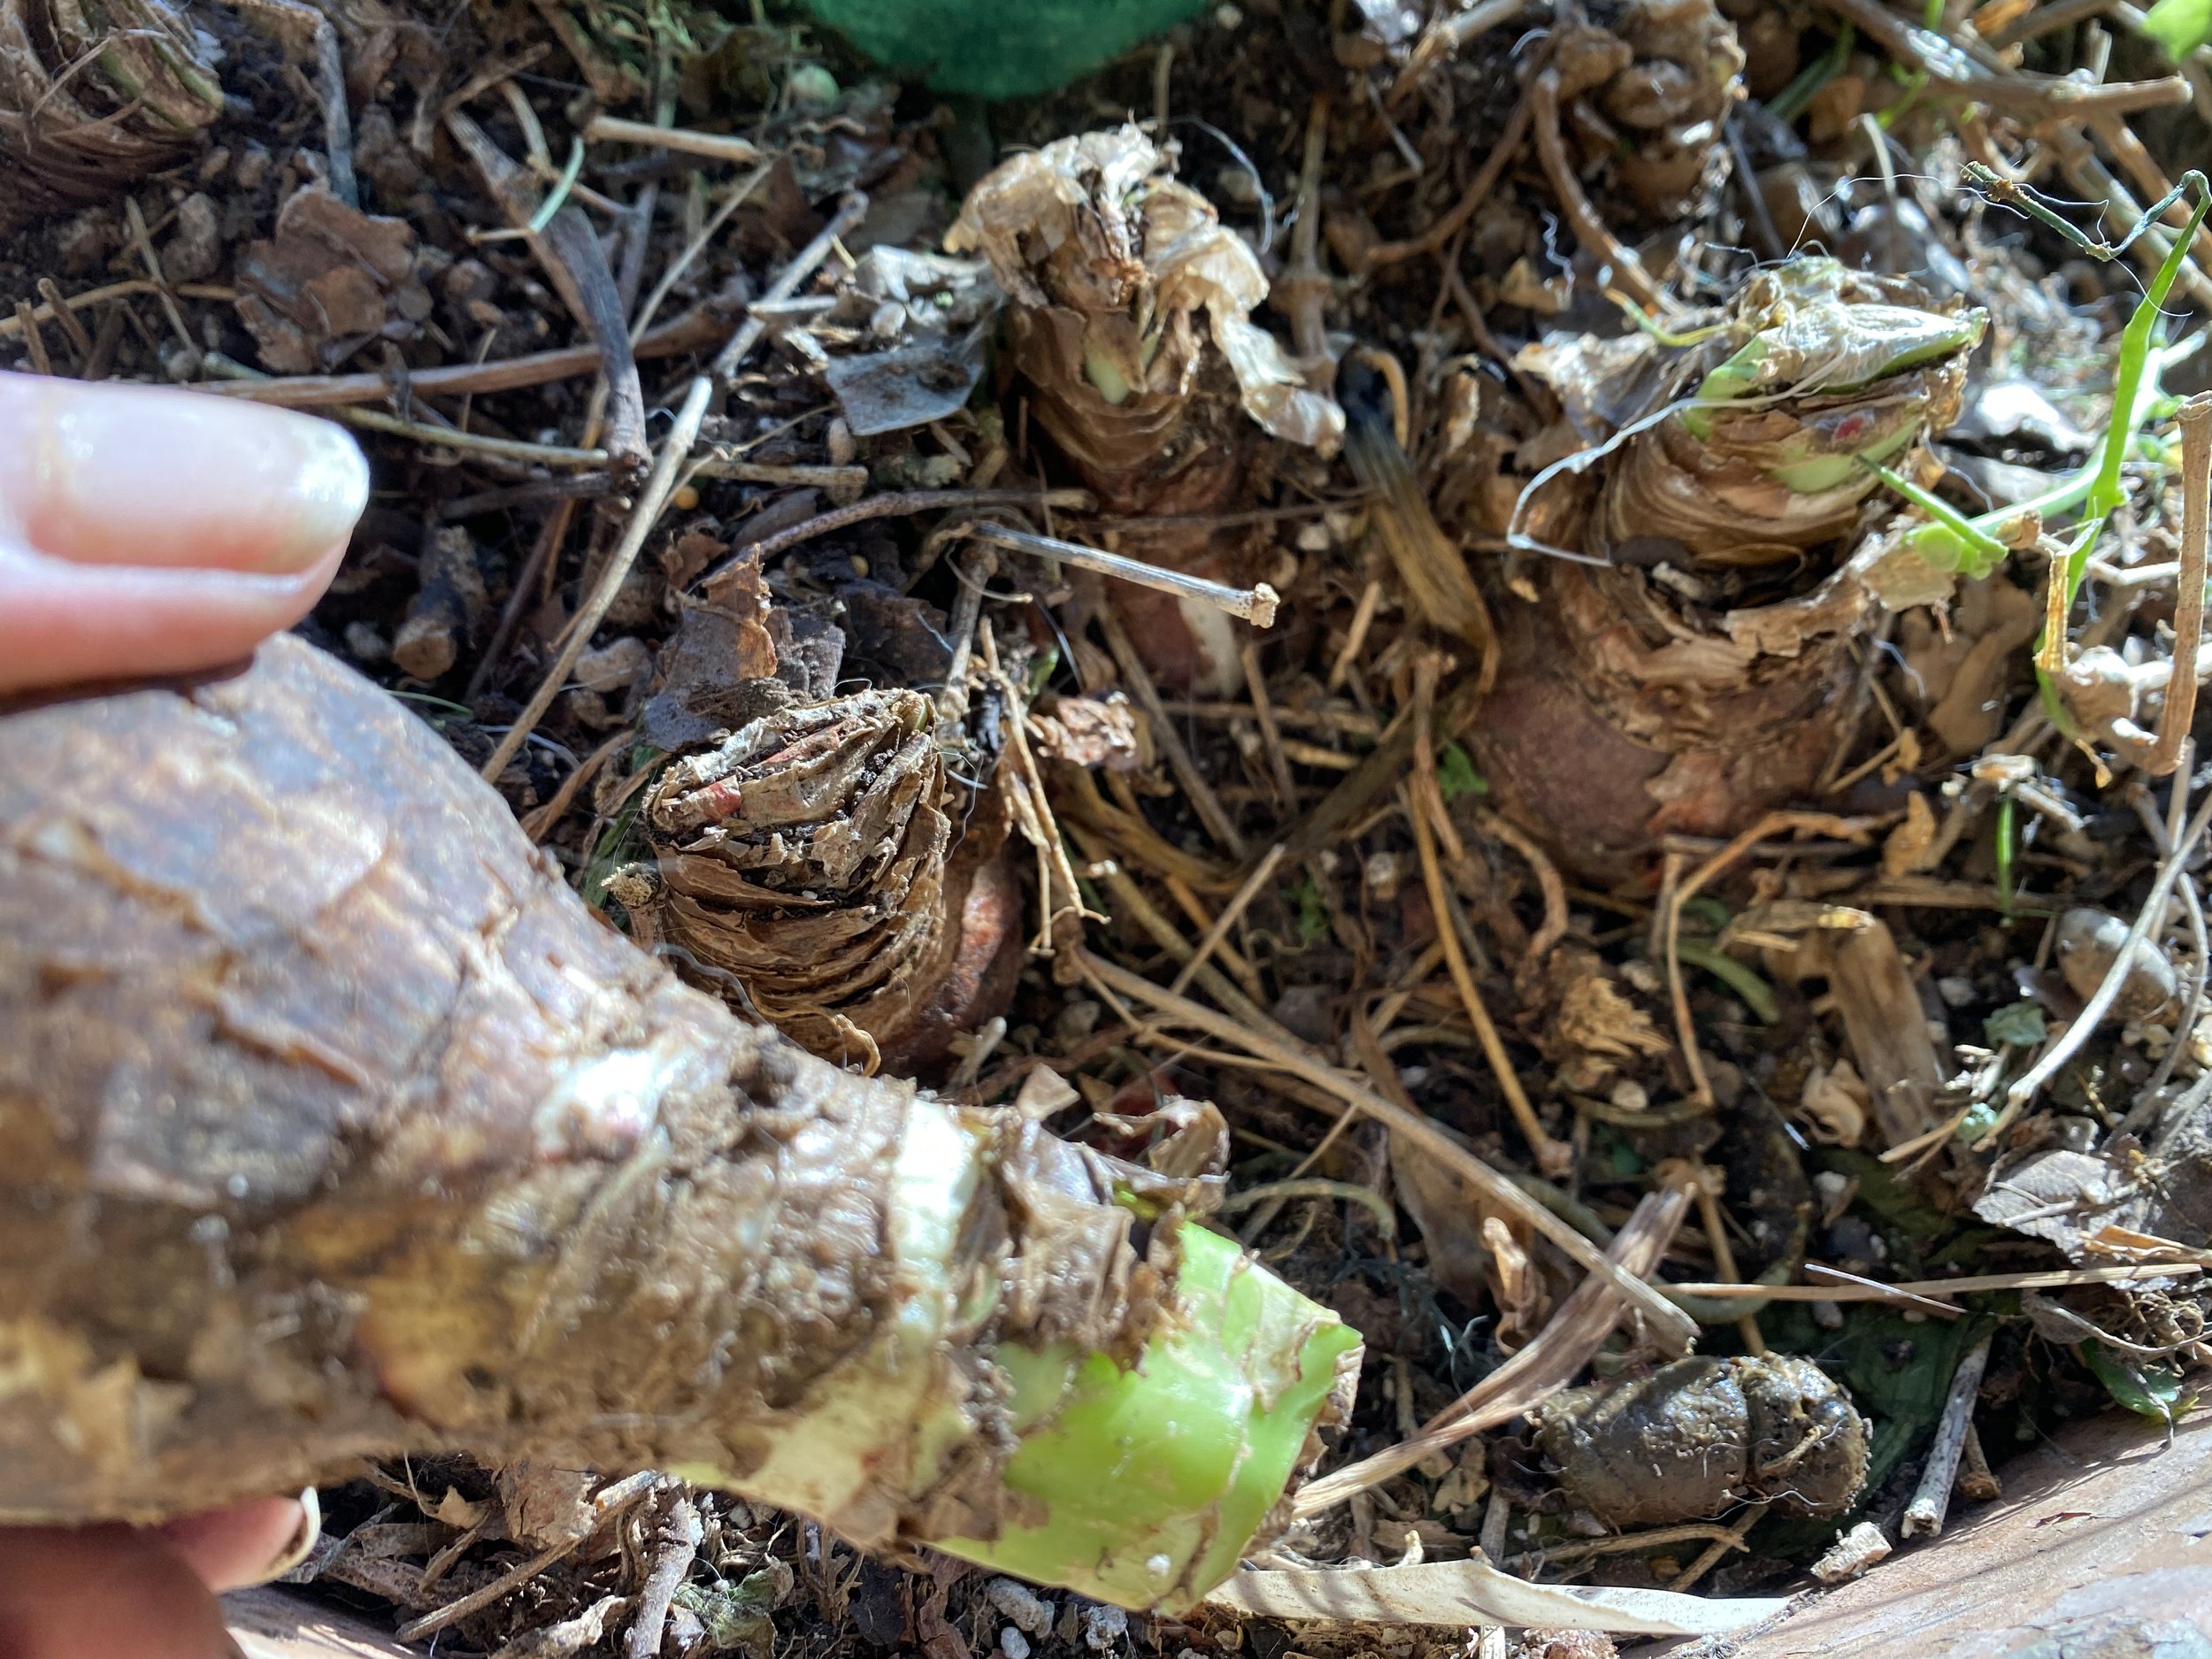
One of the things I enjoy about growing Amaryllis is finding the baby bulbs attached to the side of a mother bulb that has recently bloomed and gone into dormancy.
It can take several years before the baby Amaryllis bulbs store enough energy so they can bloom but I like monitoring their growth and celebrate when they are finally an adult bulb.
this size amaryllis bulb is 4 years old and may bloom this year. (charlotte ekker wiggins photo)
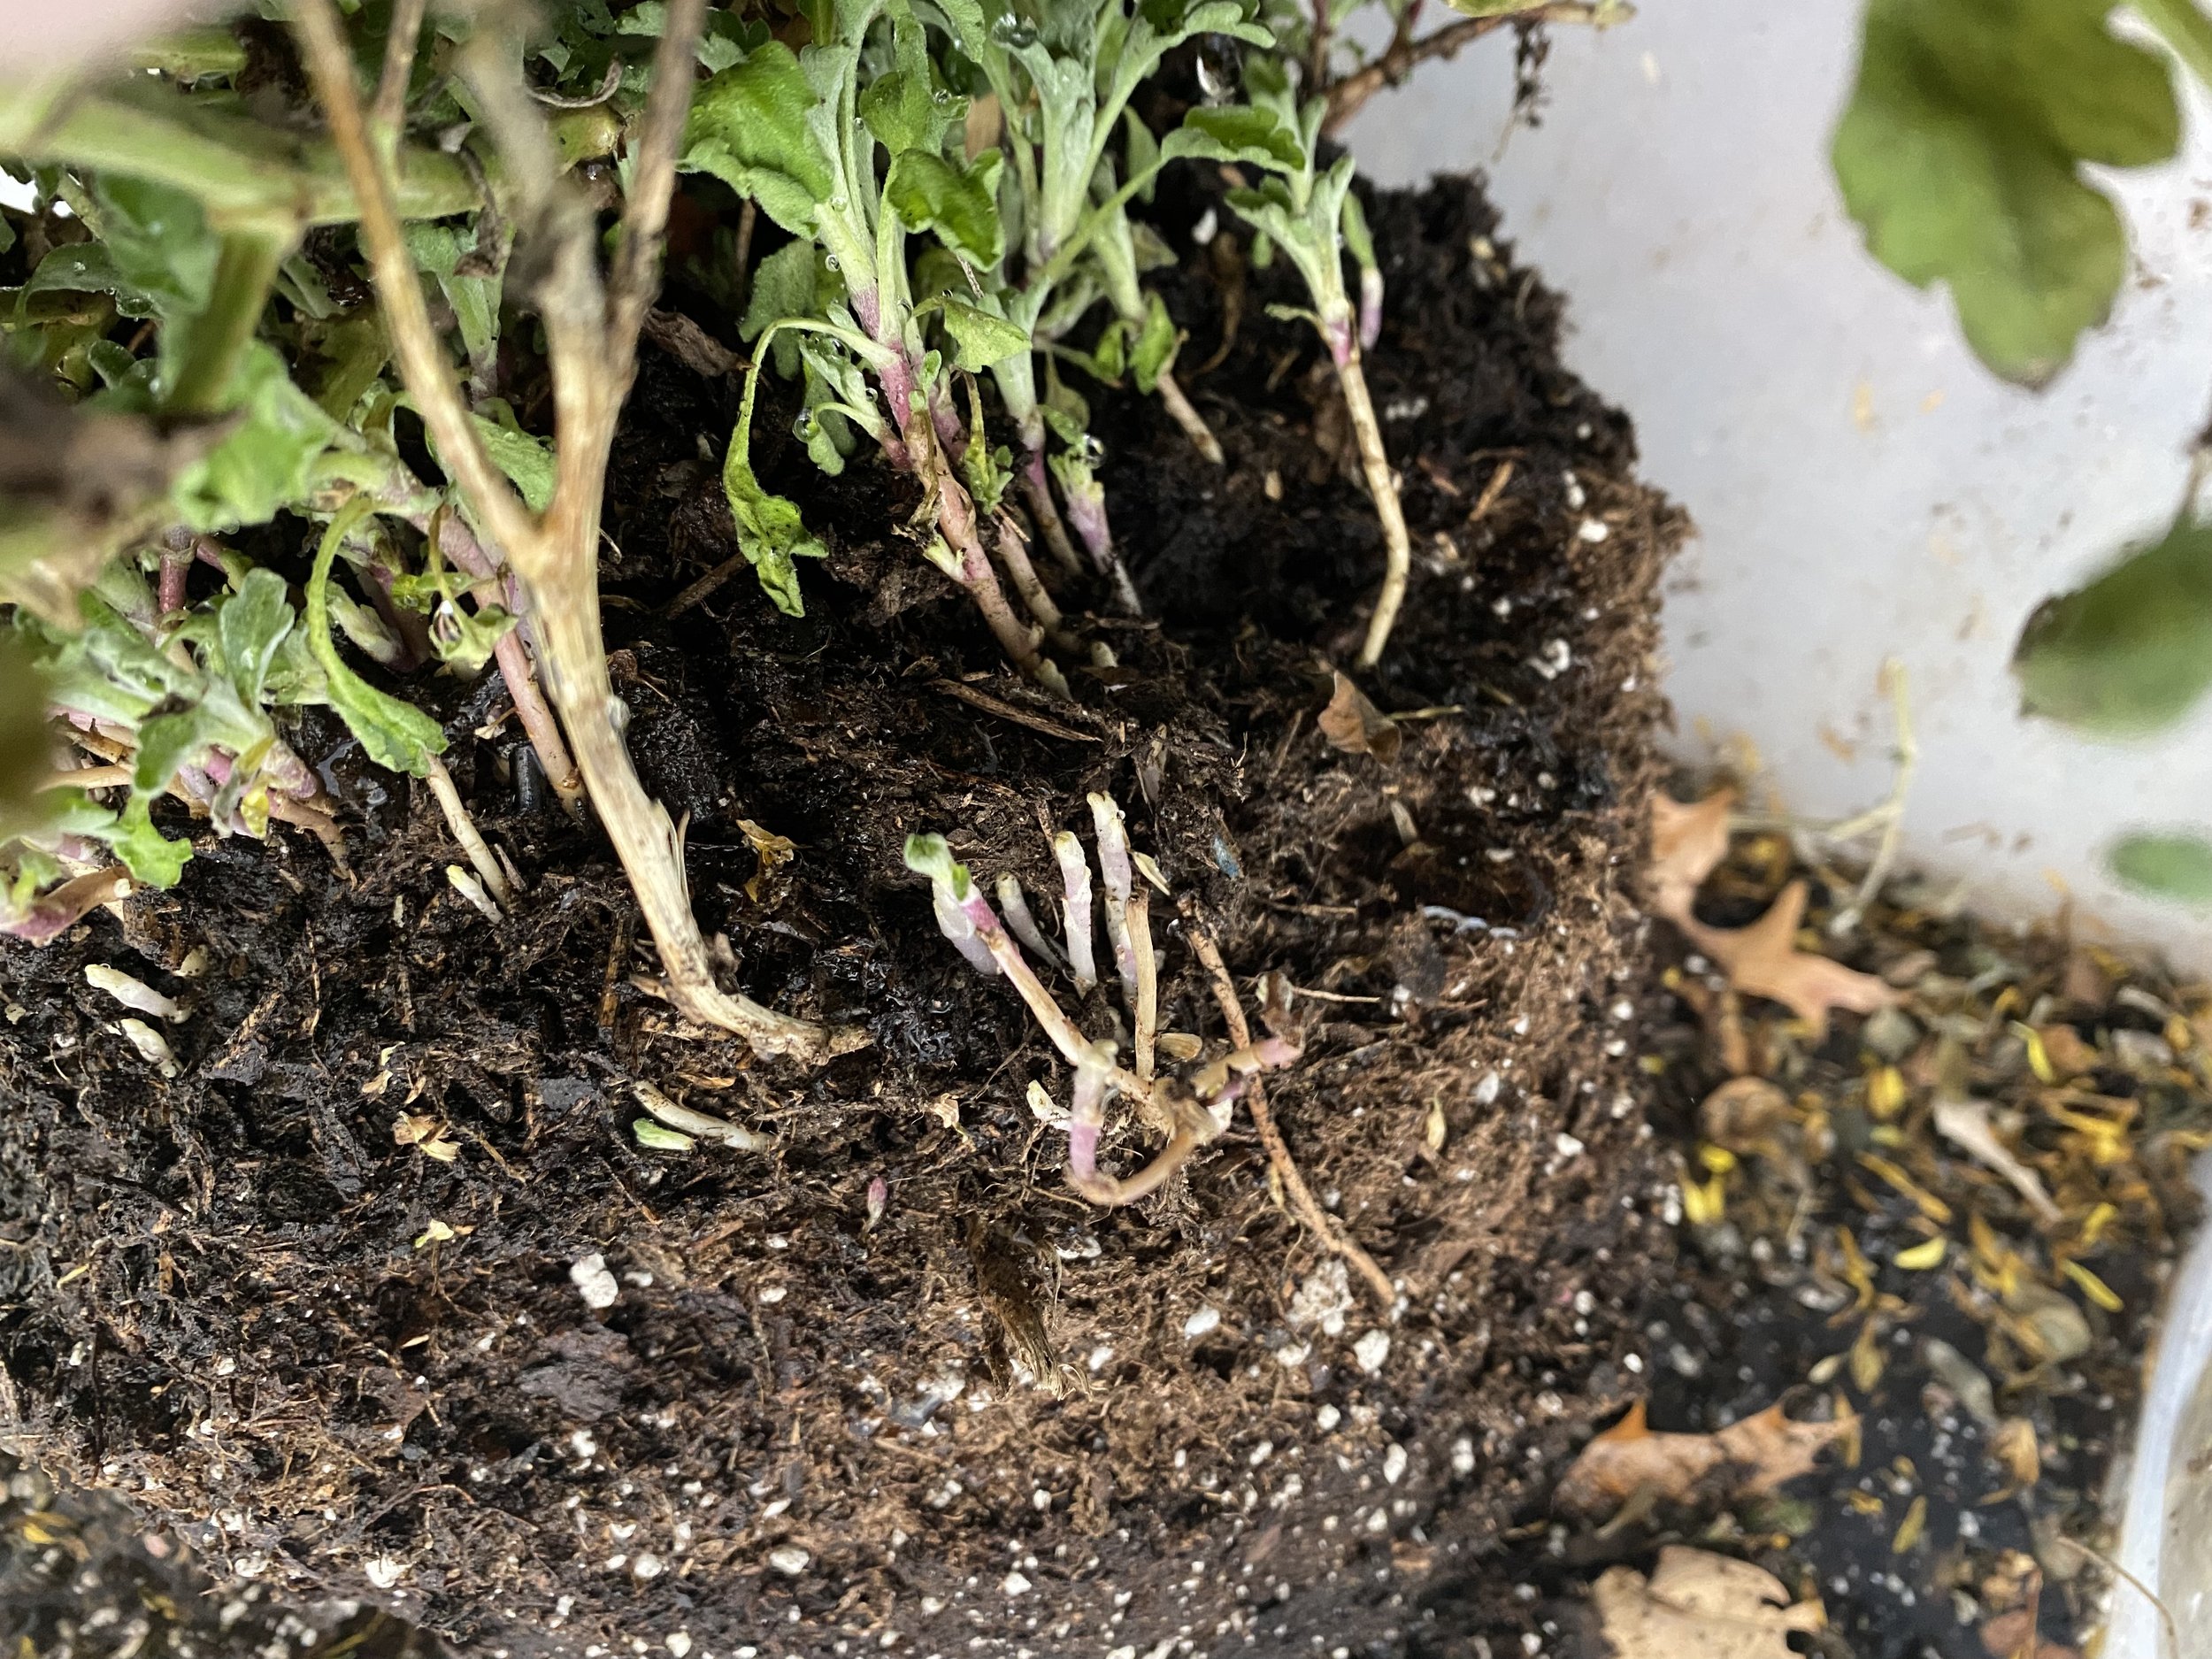
To care for the small Amaryllis bulbs, I wait until they are big enough to remove from the mother bulb and can grow on their own. You will know when that is because the roots will be separating from the main bulb.
Plant the bulb the same way you would an adult bulb, buried about 1/3 from the bottom in good potting soil.
Water.
I also apply compost so the bulb has extra food as it collects sunlight in the bulb.
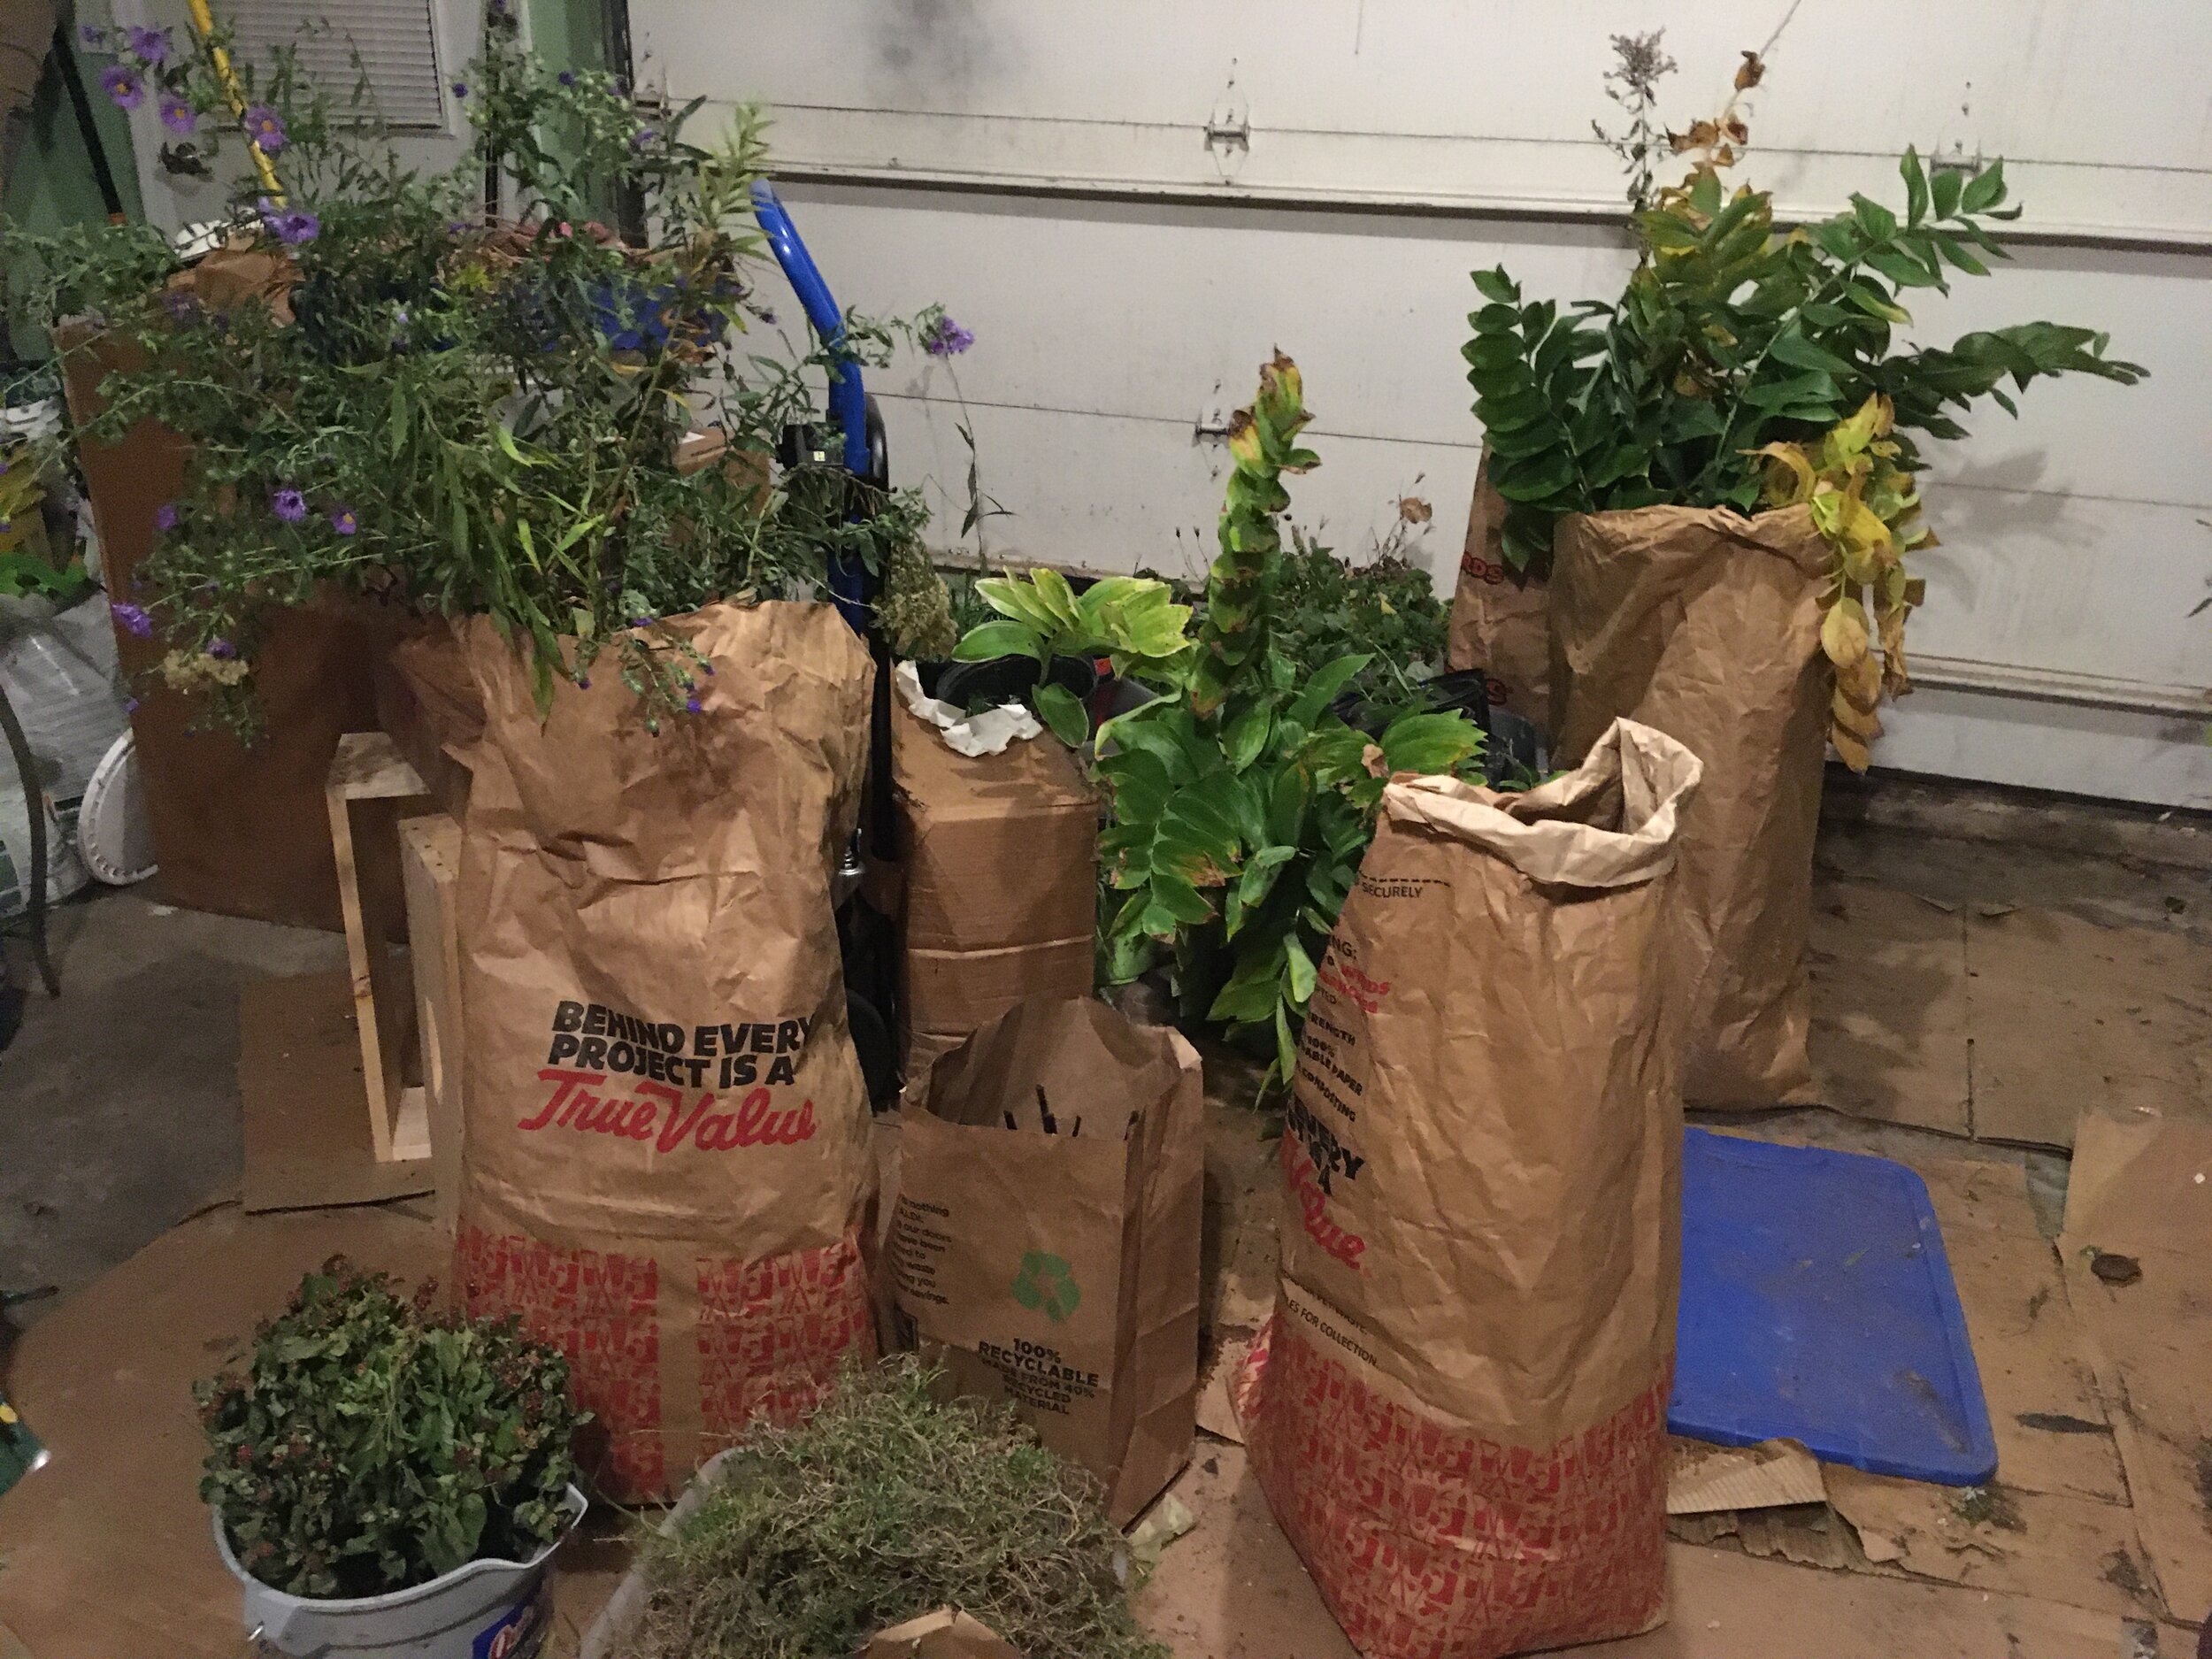
Once the greenery dies back, I may lift the bulbs and let them “rest” in a dark spot for a couple of months before planting them again.
Are they worth it?
See for yourself.

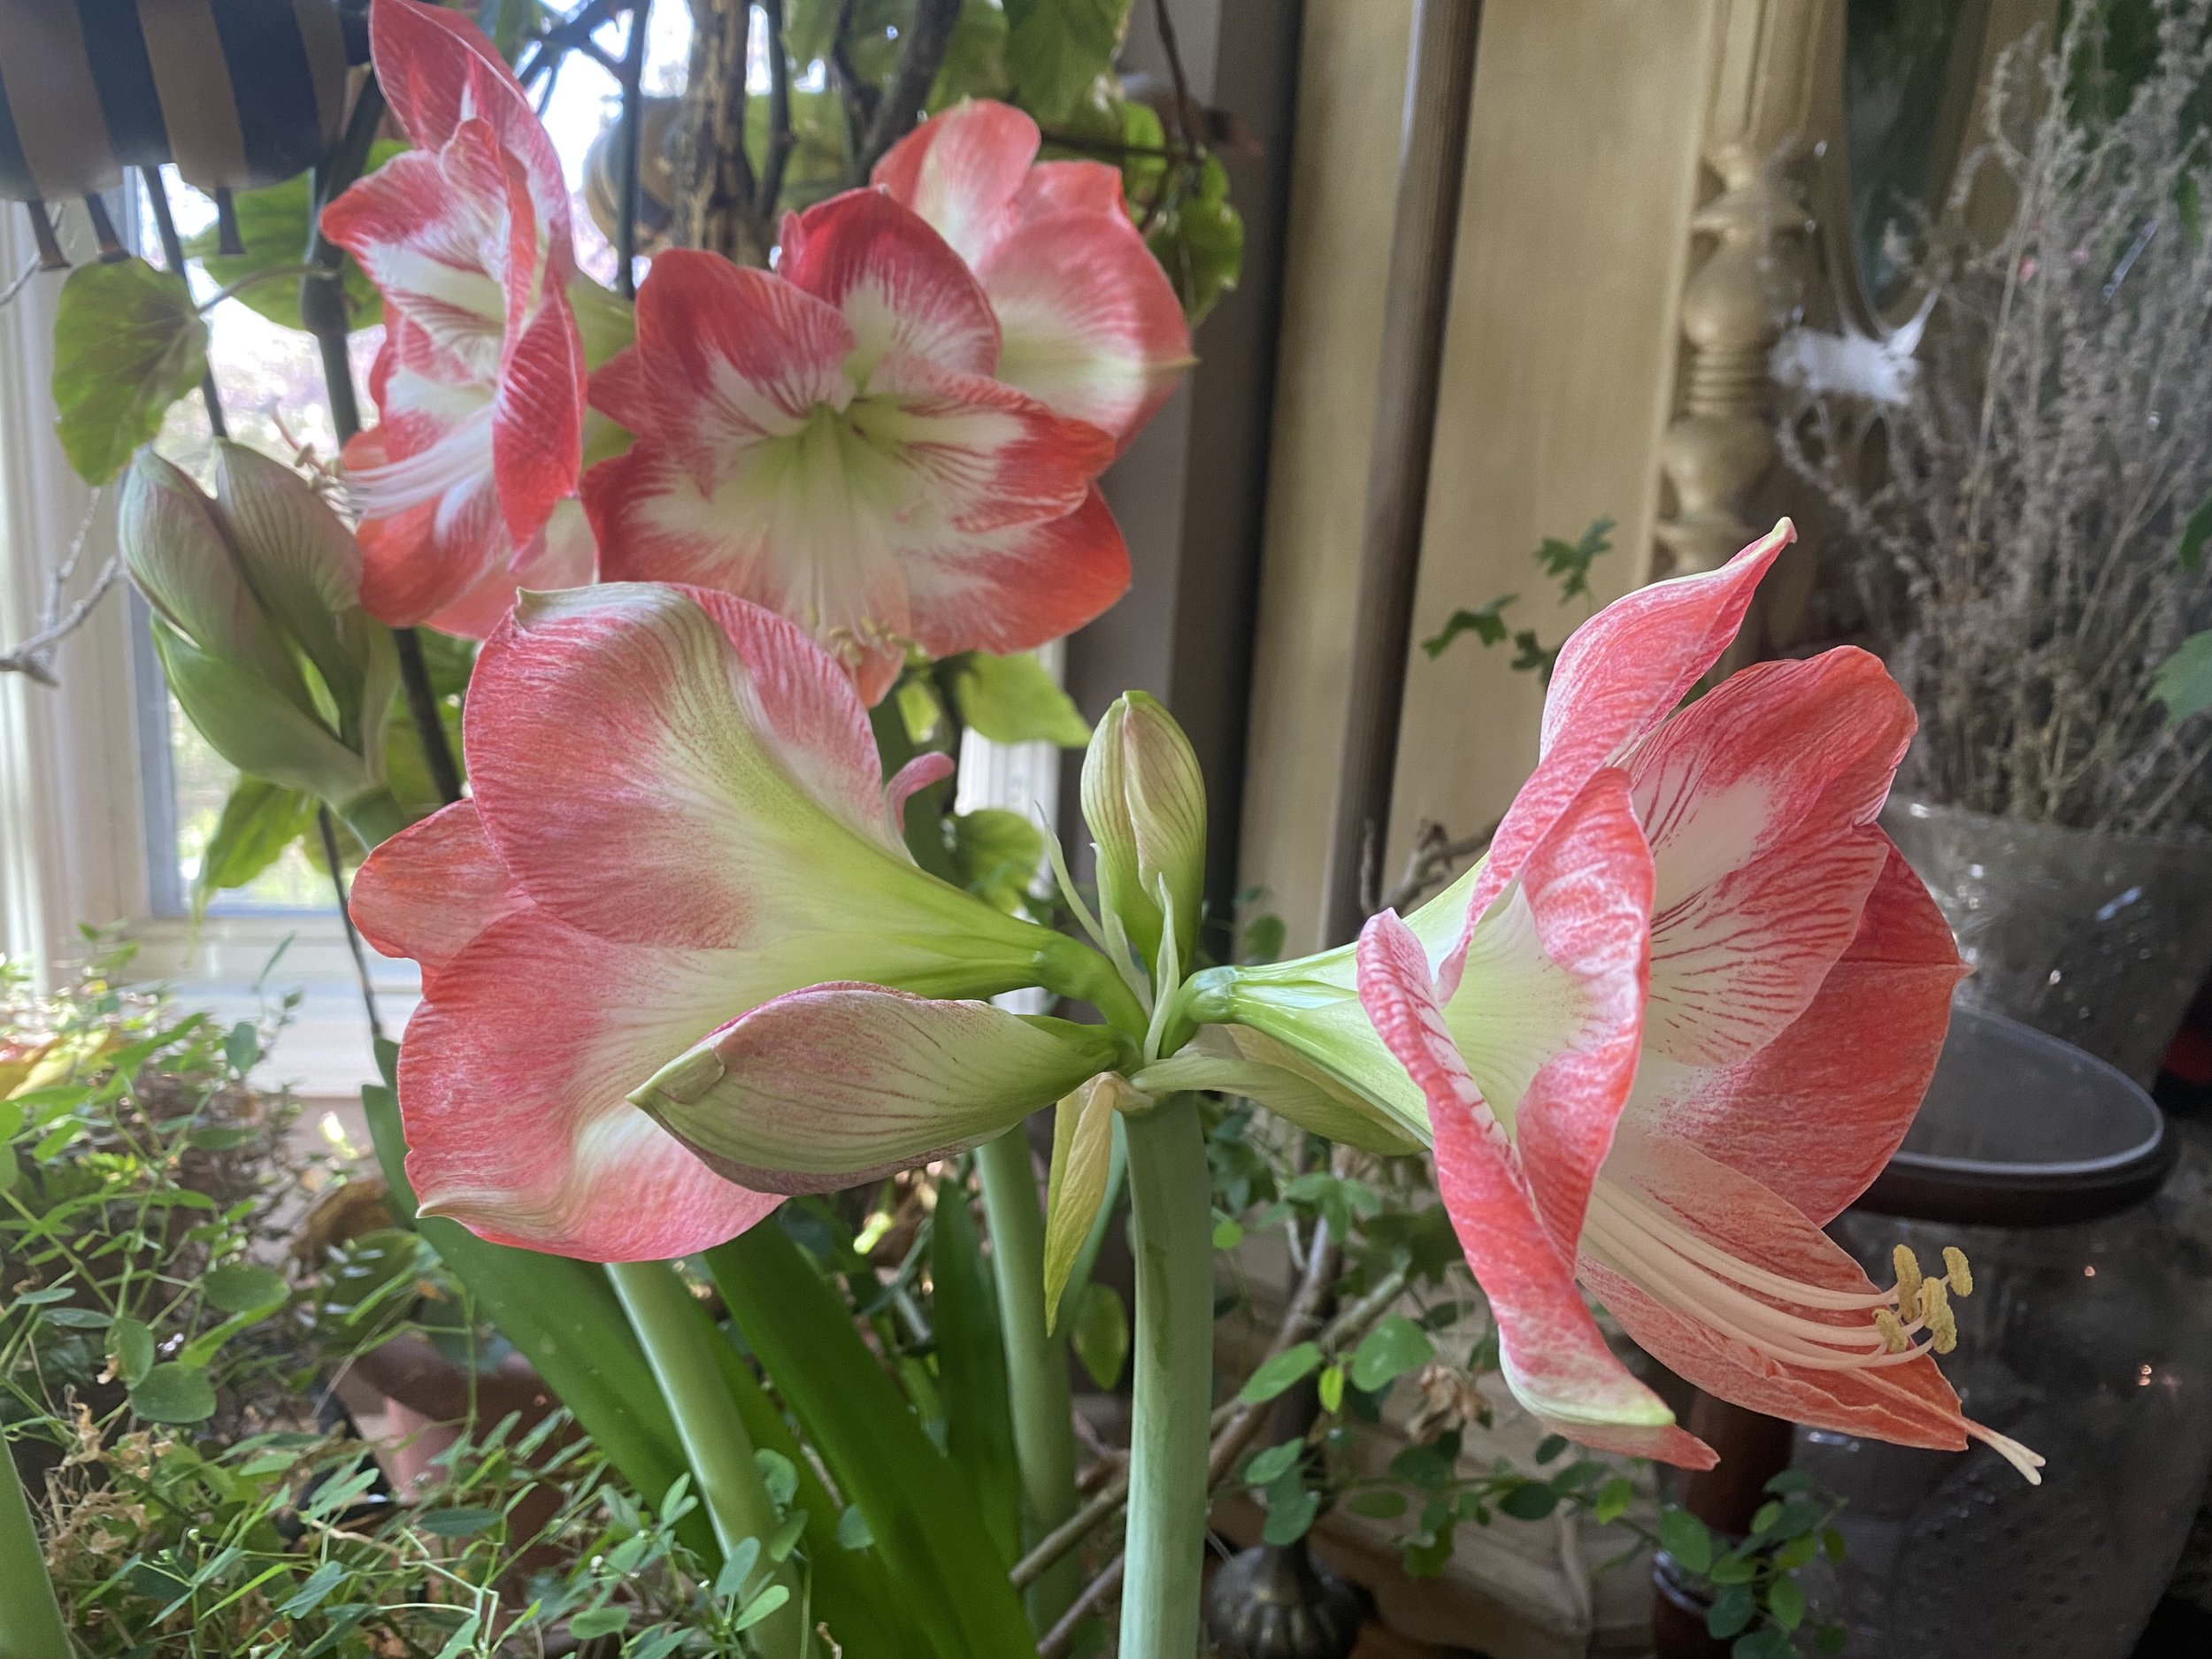
this is a collection of apple blossom amaryllis that usually bloom in january. (charlotte ekker wiggins photo)
I happen to think they are. Those lovely blooms brighten up my winter days and keep giving back year after year.
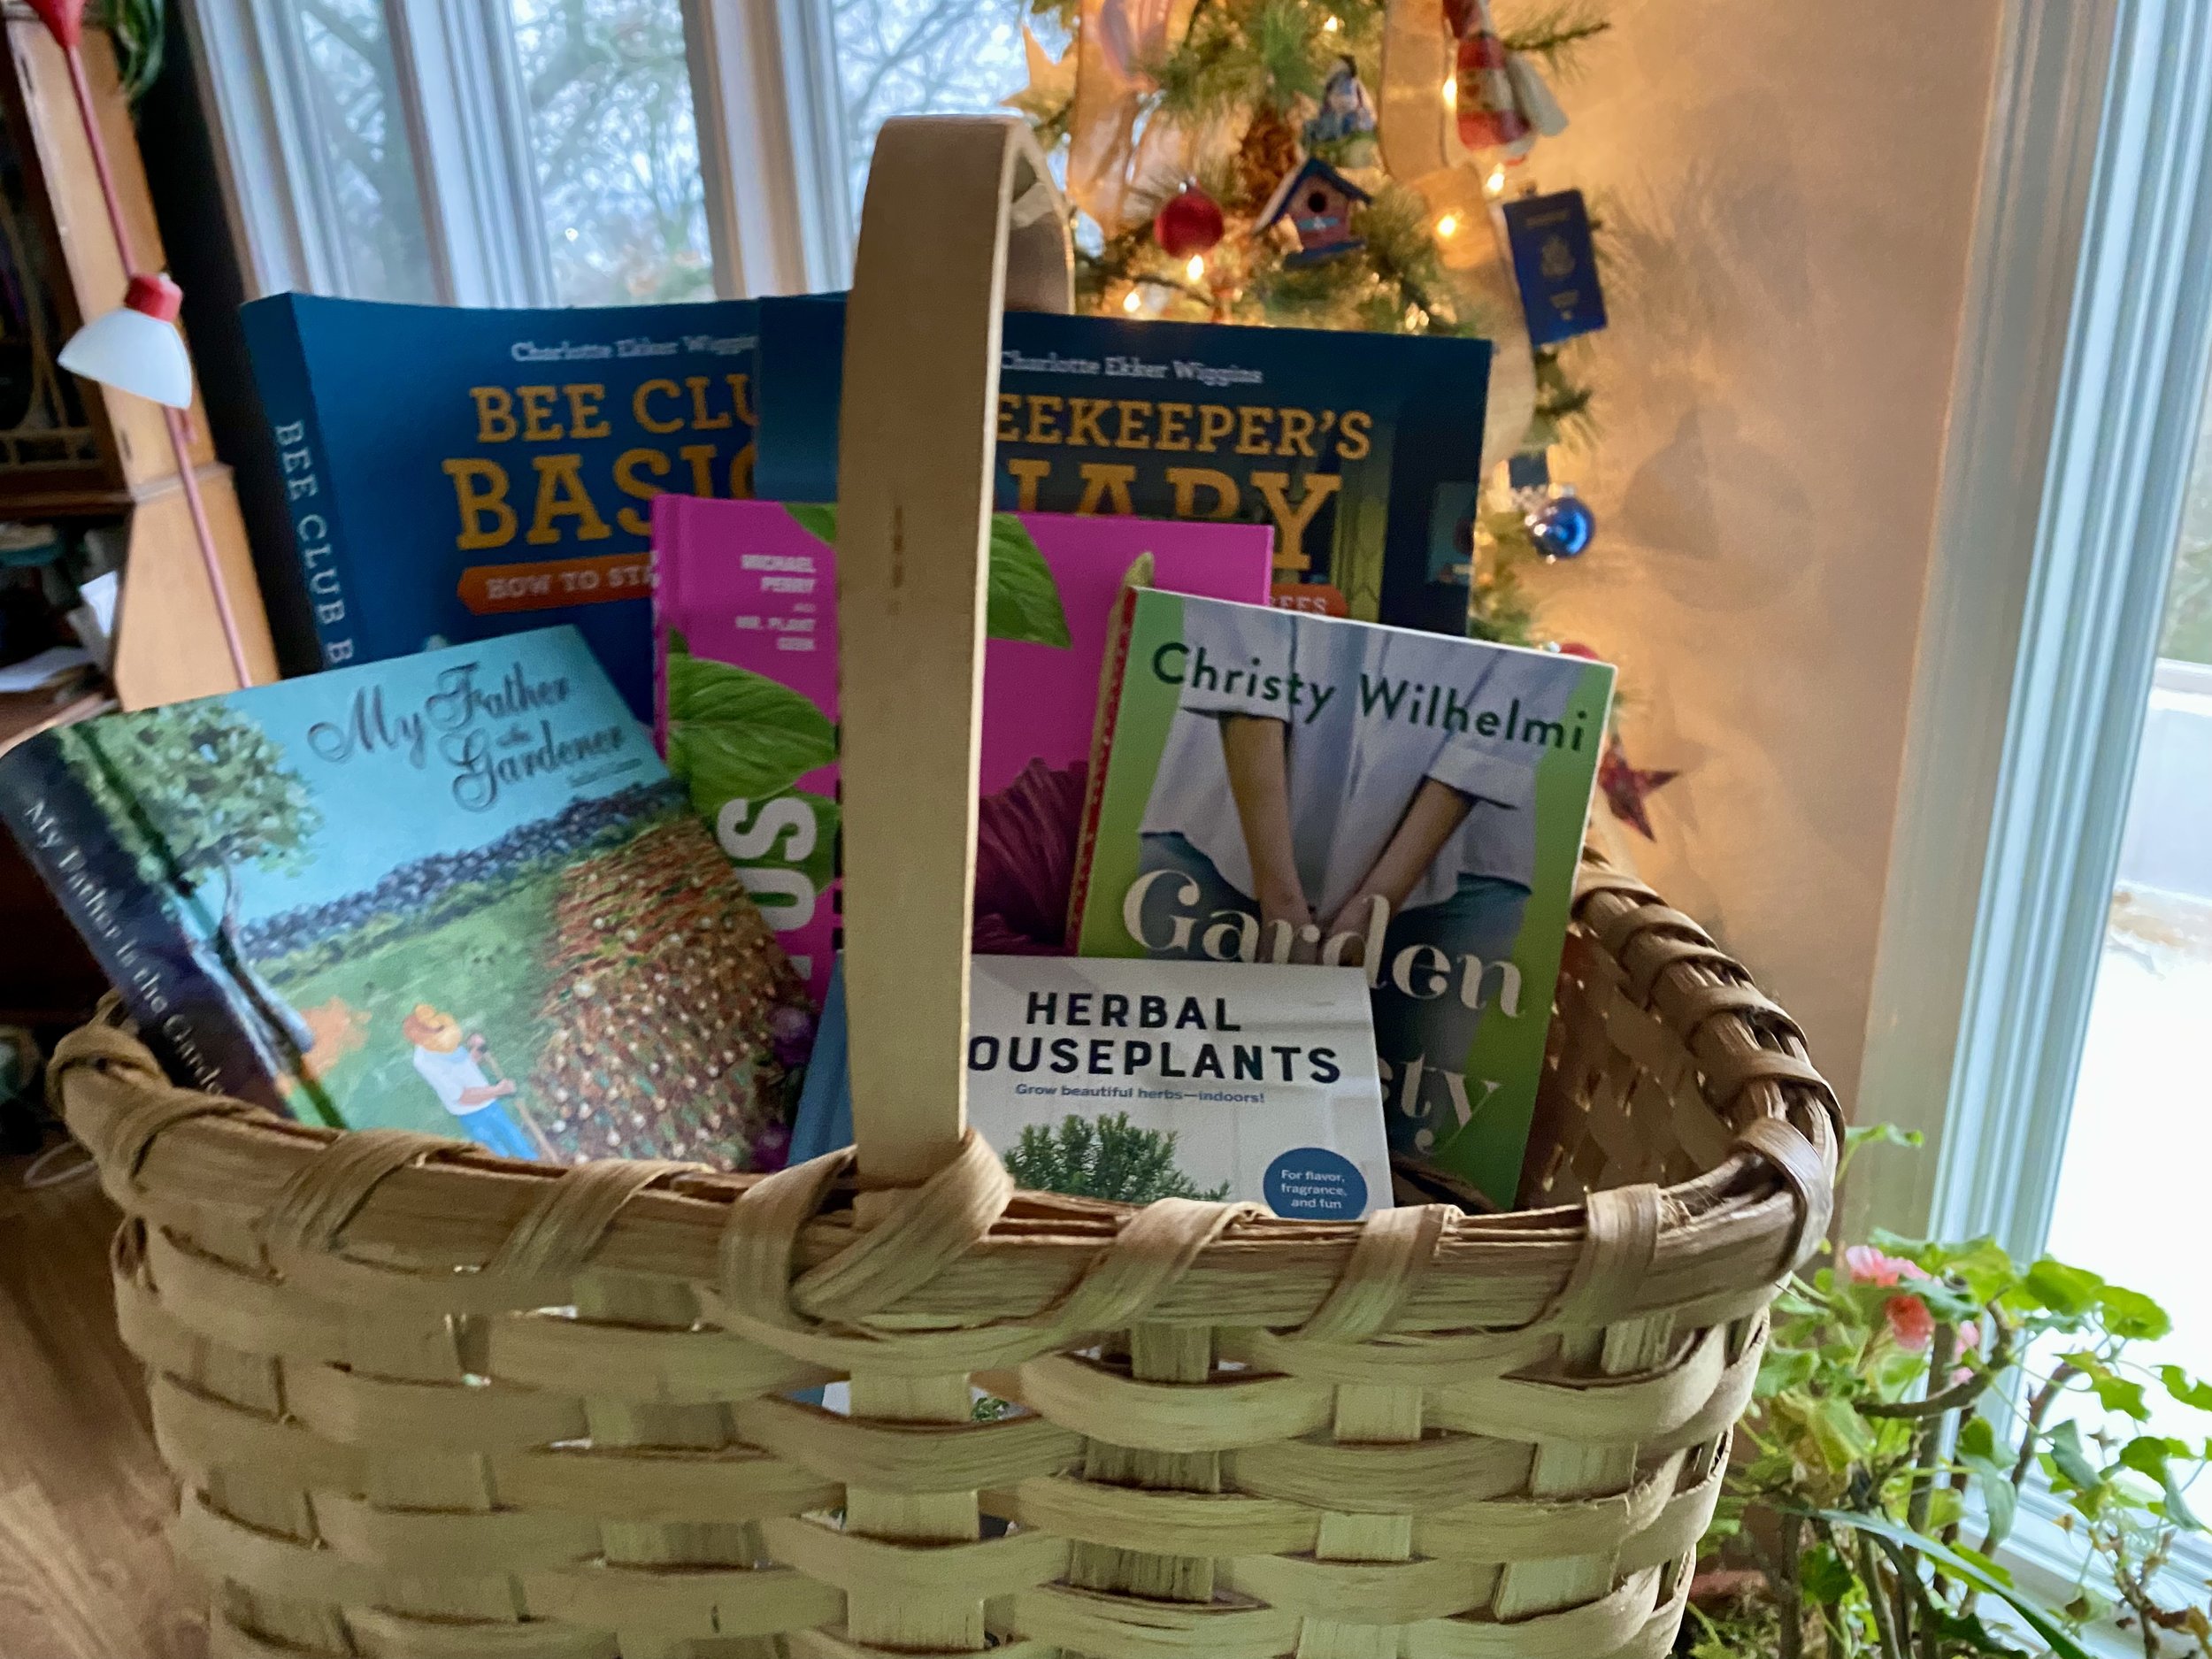
For more tips on gardening, beekeeping, cooking and easy home decor, subscribe to my weekly Garden Notes.
Charlotte